


Chapter 12: Archaeology of the Chozo
These apparitions make for a challenging duel.
We'll now be exploring new and familiar areas of the ruins to find more handy items. First we'll be tracking down another artifact. Go through the door leading into the Sun Tower, then destroy all the War Wasp Hives on the walls. Before you can climb up the Spider Ball track you'll need to scan four symbols to open the door blocking the track above.
Two symbols hide behind the two Cordite statues on the walls, shoot the covers off with Super Missiles and scan the symbols. The remaining two symbols are hidden at the top of two of the four thin pillars around the room. Once the door opens begin climbing up the track. Watch out for the Oculus climbing around the tracks, don't hit one otherwise you'll fall.
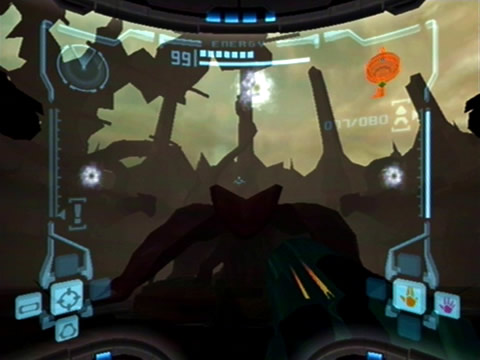
With some careful maneuvering you'll make it to the top. Inside the next corridor you'll see a white apparition flying through the wall ahead, you'll also hear a screeching sound. Go through to the Sunchamber and you'll discover what the apparition is. Once outside it'll become quite dark and three white spheres will float out from the giant flower where Flaahgra once sat.
Each one will turn into a ghostly figure resembling a Chozo, scan one to reveal it as a Chozo Ghost. The Power Beam (and Super Missiles) is the only weapon that can harm these ghastly fiends, watch out for their electrical attacks, each hit will stun Samus for a few seconds. Concentrate your fire on one ghost at a time, but you'll find locking onto them will be trouble, as they'll be disappearing often.
This region of the ruins is very visually inspiring.
Try to keep up with them as they move around, and remember that Super Missiles really help. It'll be a tough battle, but once you take them all down the Artifact of Wild will appear above Flaahgra's flower, jump up there to claim it. The vines will also disappear from the door below, so head on through and make your way back to the Arboretum. Once there drop down and go over to the Gathering Hall room. Once there save your game over in Save Station 2.
From the Gathering Hall you can go across to the Watery Hall to find Missiles CR.17 and CR.18 in the Dynamo room, but you might want to wait until you find the Gravity Suit so you can also find Missile CR.14 in the Watery Hall, it saves having to come back here later. Climb up the Gathering Hall, and don't forget to pick up Missile CR.12 above the door at the top.
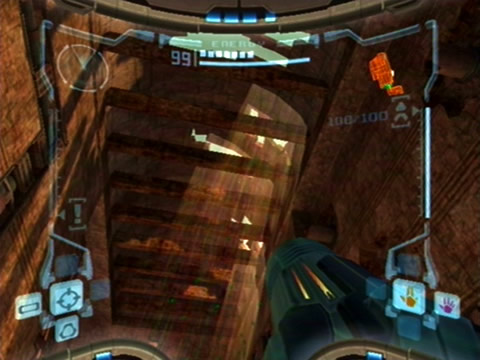
Once you're ready go across to the Furnace. Once inside, use the Spider Ball track to reach the upper part of the narrow tunnel ahead. Watch out while traversing through the tunnel as the blocks will disappear as you roll over them, so you'll have to be quick. Roll through the next small tunnel to reach the main area of the Furnace. Above you around the ceiling are a range of Spider Ball tracks with Plated Parasites crawling around.
Scan one, but you won't be able to use the tracks until you find a Power Bomb. Blast all the Beetles that jump out of the ground, then scan the shimmering wall over on the left for the Cradle/Great Poison Chozo Lore entry. You won't be able to access the white door just yet, instead go through the small opening beneath the shimmering wall. Travel through the following ruined corridor to reach the Crossway.
This elaborate tribute to the Chozo is more than simple decoration.
This huge room has a few things waiting for you. Use the large half-pipe and boost yourself up to the ledge on the other side, there you'll find three shimmering walls with the Infestation, Worm & Hatchling's Shell/Cradle Chozo Lore entries. Missile CR.19 is also hidden in this room. Once you've claimed it, go over to the opening on the same ledge as the three shimmering walls, turn right at the end to find a Blast Shield covering a door. Shoot it off and go inside.
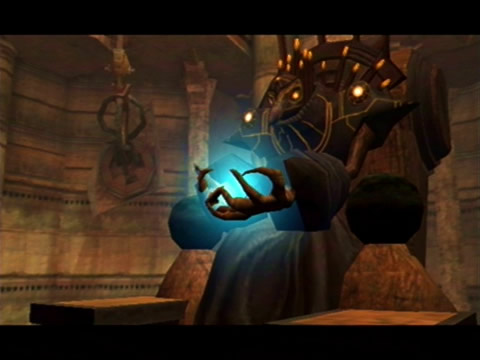
Go through the next corridor with the Scarab swarm to find yourself in the huge Hall of the Elders room. Drop down into the main open area of the room, a Chozo Ghost will hover out of the giant statue's grip ahead and attack. There's only one this time so you should take it down pretty easily. Upon destroying the ghost the Chozo statue's hands will begin to glow.
Behind the statue you'll find a shimmering wall with the Hope/Shapeless Chozo Lore entry. You'll also find a small opening near the entrance of this room that leads to a Missile Reload Station. Scan the device for your logbook and use it to top up your missile payload. Go back into the larger room, then jump up to the statue's hands. Activate the Morph Ball and the statue will throw Samus out onto a railing on the floor in front of it.
You'll bounce up to a Spider Ball track above, so hold R to grab hold. At the end of the track is a Morph Ball slot, activate it to switch on three slots on the wall up behind the statue. Each slot is covered by an energy field, the left slot can be opened with the Wave Beam, the middle slot is opened with the Ice Beam, and the third the Plasma Beam. Jump up to the slots and open the left one with the Wave Beam.
Activate the slot to rotate the large pylon in the floor in front of the statue. Jump onto the statue's hands again and activate the Morph Ball, this time you'll be taken up to a narrow catwalk up at the top of the room. Follow the tunnel to reach the other side of the large force field, scan the button to deactivate it - this way you can easily reach the door up here by climbing up the ledges.
Empty this pool to make it a viable half-pipe.
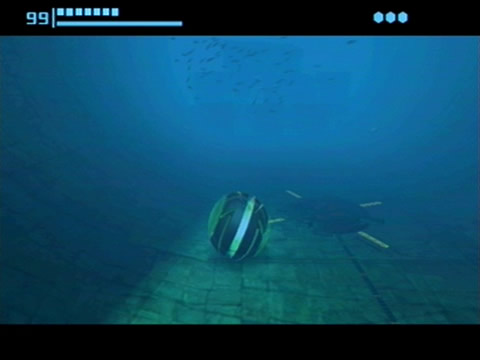
Through the next door and corridor you'll find the Reflecting Pool room. There's an important item hidden in a room up adjacent to this one, so we're in the right place. Scanning the console by the water reveals that the pool is holding its current water level steady. You'll need to drain the pool to be able to use the half-pipe to reach the upper walkway of the room. Jump into the water and bomb the grating at the bottom to drain the pool.
With the water drained you'll be able to boost up to the upper walkway, just watch out for the Stone Toads positioned around the edges of the pool. Up on the walkway, two doors opposite each other are covered with Blast Shields. Blow off both covers, one door leads to a Save Room and the other to the room containing the Ice Beam! No traps await you in here, so just walk forward to claim your third Beam Weapon.
You'll now be able to freeze stuff and open up white doors with this weapon. Go back outside and save your game in the room opposite. In the Reflecting Pool there's a white door eventually leading to an elevator leading back down to the Tallon Overworld, but it leads to an area where you won't be able to do much so we won't bother going up there yet.
Inside the Save Room you'll notice a small opening up on the wall to the right of the Save Station. Going through you'll find another elevator leading down to the Overworld, but before you go head back to the Hall of the Elders to find Energy Tank CR.04 - watch out though as you'll have to face three Chozo Ghosts each time you enter the room from now on.
Chapters:
- Duel with the Rock Monster
- Archaeology of the Chozo
- The Gravity Suit
- Underwater Wreckage
- Mining Operations
- Treasure Hunt
- Phazon Mutants
- Old Rivalries
- The Source