


Chapter 5: Purification

The ruins are full of nasty surprises.
With the Charge Beam in hand, a bunch of Eyons on the walls ahead will open up and spray their green beams everywhere. Now that you've got the Charge Beam, charge it up and fire at each of the Eyons to blow them apart - no more simple stun shots. Take note of a small obstruction on one of the walls here, once you've got the Morph Ball Bomb you'll be able to break through it.
Go back through the Watery Hall and head back to the Gathering Hall. This time we'll be climbing up the room to reach the door way up at the top. Use the raised ledges starting near the door leading back to the Arboretum to eventually reach a small tunnel, then use the Morph Ball to get through.
Watch out for the Shriekbats near the door at the top, and keep in mind that there's a missile hiding above the door, but you'll need the Space Jump Boots to reach it (real pros can use Morph Ball Bomb jumps too). Go through the next ruined courtyard and a tunnel with three Eyons to reach the large Energy Core room. Way ahead over the poisoned pond is a door with a locking system placed over it, so you won't be able to go up there just yet.

Always remember to scan unique boss encounters.
Instead, go through the passageway on the left. Watch out for the Shriekbats and the holes in the ground in the winding corridor, eventually you'll spot a small opening at the base of a wall. Walk over to the opening in the wall, as you do you'll probably hear a grumbling sound. Turn right at the small opening and.... ahhhh! It's Professor Umbridge from Harry Potter! Kill it, kill it! Not really, it's just an ugly Stone Toad (don't forget to scan it).
It'll be blocking the path you'll need to access soon, but you won't be able to hurt it without the Morph Ball Bomb, so activate the Morph Ball and crawl through the small opening in the wall. Keep crawling through the tunnels and you'll reach a door. Inside is the Burn Dome, home of the Hive Mecha's twin variant - the Incinerator Drone. Refer to the bosses guide for tips on burning it down.
With the Morph Ball Bomb safely tucked away, blow open the small obstruction on the wall with a bomb and head through to find Missile CR.15. Now it's time to head back to the Energy Core. Once inside, blast the Shriekbats that'll try to attack, then turn left to find the Stone Toad waiting. Activate the Morph Ball and the toad will suck Samus inside its belly.
Drop a bomb to blow the toad apart to clear the passage (amazing how one little bomb can blow it apart so effectively). Inside the small room you'll find one of three large machines scattered around the Energy Core. Scan the slot on the wall for your logbook to reveal it as a Morph Ball Slot. Activate the Morph Ball and bomb-jump up to the slot. You'll be magnetically attached to the slot, so drop another bomb to activate it.
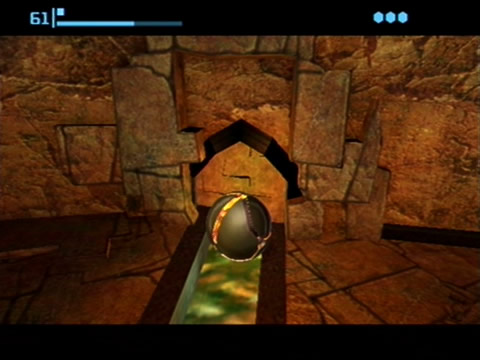
Use the Morph Ball Bomb to literally break down barriers.
The machine behind Samus will come to life and all the poison will drain out of the room. You'll hear a ticking sound in the background so you've only got several seconds to activate the other two machines. Roll over to the small opening in the wall next to the machine and drop down into the empty pond. Jump over to the Morph Ball slot just ahead and activate the machine.
Several platforms will rise up in the drained pool, quickly go back into the pool and climb up to the door leading back to the Gathering Hall. From here jump across the platforms to reach an opening in one of the walls (watch out for the Shriekbats). Quickly race up the passage to find the final machine and activate the Morph Ball slot to raise the final platforms and to unlock the lock-sealed door.
Go through the next winding corridor to find yourself in a room with a Spider Ball track leading up to a narrow hole in the wall. You won't be able to go up there yet, instead go through the small opening at the base of the wall. Roll through the narrow room ahead to find yourself inside a large smelting cauldron in the Furnace room. Here you'll find Energy Tank CR.03.
Now it's time to go for the ultimate prize - the Varia Suit! Journey back to the Arboretum (the room with the giant tree) and save your game on the way there. Once back in the Arboretum, you'll be in a similar situation as you were in the Watery Hall, there's a door you need to reach at the very top of the chamber but four symbols must be scanned to open it.
Go back up to the wooden bridge attached to the tree, there you'll find the first symbol adorning the side of the tree's trunk. Below the bridge is a colony of Venom Weed, shoot them from above and they'll retract, revealing the second symbol below. Jump up to the ledge above the wooden bridge against the wall and look back at the tree.
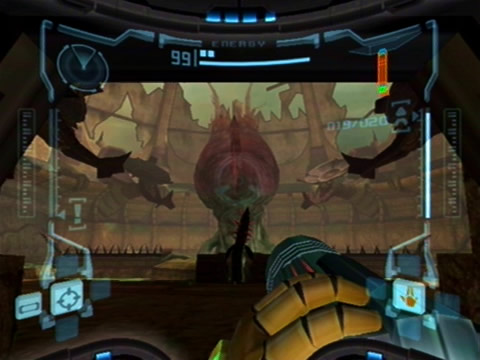
Get ready for a major boss encounter here.
Ahead you should spot a War Wasp Hive on the tree, shoot it before any Wasps come out. Go over to the small tunnel running along the wall which contains two blocks blocking the way. From here look way over to the other side of the room beyond the narrow tunnel, the third symbol is hidden next to a ledge in clear sight. Use the Morph Ball and plant bombs to destroy the blocks in the narrow tunnel, once on the other side jump up to the ledge above the third symbol.
Watch out for War Wasps coming out of another nest on the tree, once they're gone scan the Venom Weed hiding in the next narrow tunnel for your logbook. While standing, shoot the Venom Weed so they retract, then quickly roll through the tunnel before they emerge, if you're caught use bombs to break free. Once on the other side, jump up the ledges to reach the door blocking the way, then turn around and scan the final symbol on the tree to open the door.
Destroy the small obstruction on the wall beyond with a bomb and crawl through to find a door. Blow off the Blast Shield and head inside. Go through the next two tunnels while watching out for the various Venom Weed packs and Reaper Vines. At the top of the second tunnel you'll find a few crates, blow them open to refill energy and missiles.
The next room - the Sunchamber - is where the source of all the icky poison riddled throughout the ruins is, and it's not a pretty sight. You'll be greeted by the monstrous Flaahgra, a huge insectoid creature residing in a huge flower-shaped object in the center of the room. Refer to the bosses guide for tips on fertilizing this bug out of the ruins.