


Chapter 12: Restoring Aurora Unit 217
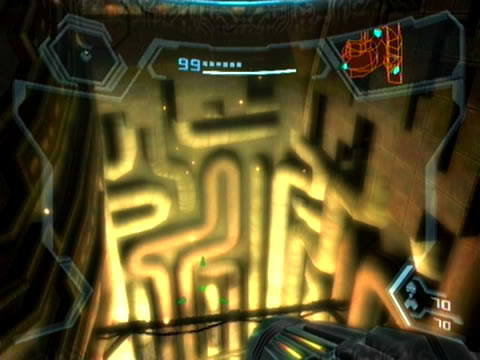
Retro's done an amazing job with bloom lighting.
Travel around to the eastern side of the AU's chamber and take the exit there. Beyond you'll discover the Maintenance Shaft AU chamber inhabited by a number of floating puffers which you've certainly seen before. Scan these to reveal them as Sky Puffers - as always take them out from a distance to avoid the nasty noxious gases they emit upon eruption.
Leap over the chasm present midway through the chamber (but don't forget to look down, some of the best lighting effects can be seen here) and move onward through the exit up ahead. Facing you out on the outdoor balcony is the massive Spire Pod structure - scan the rooftop to learn that retractable doors can be opened to store massive objects inside (you'll find out its usefulness later on).
Use the Kinetic Orb Cannon on the balcony for quick transit across to the Spire Pod. Upon landing you'll meet a truly odd sight - Ghor's powered armour rests motionless (and pilotless) at the center of the deck. Scan the armour to learn that its engines are still warm, so Ghor can't be far away; but we still don't know if he's rampant or not.
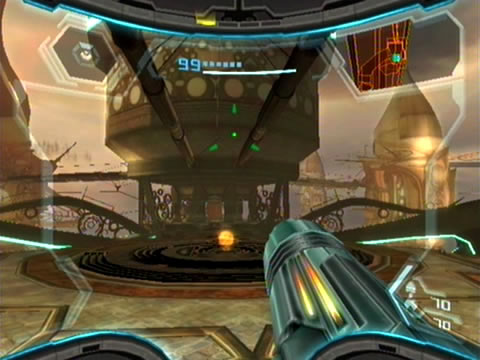
The Spire Dock plays an important role in your mission.
You'll find two Zipline Cables leading in opposite directions away from the Spire Dock - the one on Ghor's armour's right leads you in the right direction, but we'll take a quick detour down the left cable for some exploration (but feel free to bypass it and move onward). Take the left Zipline Cable and step around the balcony of the pod structure to find the main entrance. Step inside to find yourself facing a SkyTown orange door - scan it for your Logbook for now.
Hear the item proximity humming sound? Look up on your left to spot a Ship Missile Expansion resting at the open lip of a narrow tunnel running around the walls - don't forget its location. Step along the corridor and leap across the floorless sections, taking out the roving Sky Puffers from a distance.
At the far end of the balcony rests a sealed wall section, but fear not. See the maintenance platform rising up and down? Leap atop it and activate the Morph Ball. Roll through the visible narrow tunnel above to find yourself on the other side of the retractable wall. Simply use the control unit beside the wall and follow the on-screen instructions to unseal the gear and give yourself clear passage (notice they managed to find a use for the old Missile firing animation from the first Metroid Prime?).
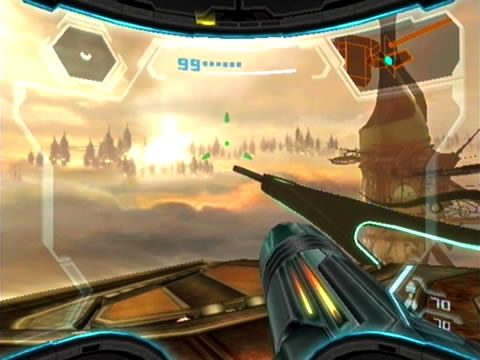
Uncontested views deliver amazing eye candy.
Look for a small group of metal debris blocking a pipe section near the large rotating gears - eventually you'll return here to find that Ship Missile Expansion past all this debris. Climb up the nearby ledge and head through the door on the north side, discovering a very tight elevator shaft beyond. Power up the lift via the hand scanner and ride it topside.
Exit the lift to discover the Escape Pod Bay - an otherwise deserted chamber containing nothing more than an elaborate docking frame (and pretty visuals beneath the transparent floor). Look for small spider-like creatures streaming down from the open-air shaft above, scan one to reveal them as Steamspiders. These tiny critters won't go out of their way to harm you, so let's head back down to the Security Station.
Once down below, take the nearby exit on the south side of the chamber. The chamber beyond houses a lone Databot, shoot it and scan the Alone entry for your Logbook. This one chronicles the time the Chozo departed Elysia for realms unknown, leaving their work to the robotic Elysians and the hope of one day uncovering the secrets of the elusive sentient planet.
If you hop aboard the nearby lift you'll find yourself at a soon-to-be active landing pad. Security shutters are currently sealing the landing pad off, so until you restore Aurora 217 this area's unusable. But don't let that stop you from marveling at the intricate Chozo architecture and the glorious view of the pod networks far off in the horizon.
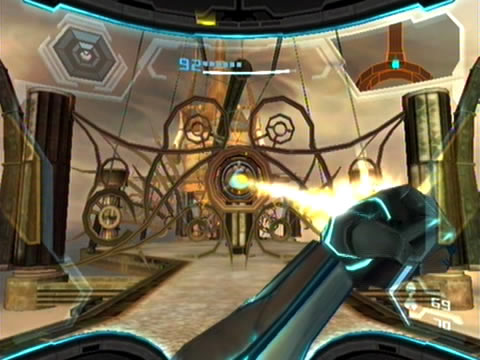
Unfortunately, this elaborate gate must be cleared from your path.
After managing to tear your eyes away from the view (it's not easy...), we'll head back to the Spire Dock and ride the opposite Zipline Cable to the west. Upon landing at the waiting balcony, head on inside to discover the Junction chamber. This very rickety structure sounds like it's about to collapse and plummet into the clouds below, but thankfully you won't ever witness anything of the sort (take a gander up at the massive gears in the center of the region). Move around the curving hallway to the opposite side where you'll discover a white blast-shielded door guarded by a pack of Tinbots.
Along the way, if you travel left and roll through a section of collapsed debris, take note of the Chozo bust above the door nearby. Scan the bust to learn that this Chozo was a key scientist in the development of Power Suit technology - we owe this particular Chozo a lot. Through the door lies a Zipline Cable blocked by an elaborate gate, for now you won't be able to unlock it.
If you take the right hallway through the Junction you'll find a door leading outside to the Hoverplat Docking Site, but with no way of crossing the floating platforms you won't be able to proceed (take note of the giant hologram above the door - curiously it's not Ghor and you can't scan the image displayed, is it perhaps the head of a Steamlord?). Deal with the group of Tinbots congregating around the white blast-shielded door on the western side of the Junction before moving through.
Outside lies the Skybridge Hera region - home to a severely weakened bridge floating above the clouds. A second Steamlord greets you as you step outside before promptly vanishing. Scan the huge elaborate gate blocking your path to learn of its dilapidated state (looks alright from here), and that a strong tug should release it from its hinges. So simply lock onto the C-icon at the center of the gate and grapple it back to remove the obstruction from your path.
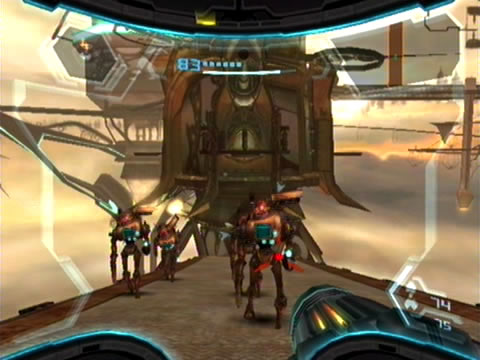
Steambots tackle you atop a rickety old bridge.
As the gate falls into the clouds below, another surprise awaits. Three small aerial units ambush your position, and they certainly aren't Jolly Roger drones. Scan one to reveal them as Dragoon Battle Drones - pesky little critters constantly sending homing missiles your way. They possess an odd weakness: use the Grapple Lasso to tear off their propulsion units to down them instantly (try firing a Missile at them to see what happens). With your position clear don't forget to pick up Missile Expansion ST.03 hiding within the pillar in the center of the platform.
Tear down the next gate blocking your path and take a look at the sagging bridge ahead. At this point Aurora 242 may chime in with intel of a cache of Chozo technology - thankfully we're headed right for it. Scan the bridge ahead to learn that its support structures have been compromised and traversal is certainly not recommended.
But there's no other way over, so leap aboard. As you land the entire bridge shudders and creaks, slowly succumbing to gravity as you travel across. A nasty obstacle awaits you at the far end of the bridge - watch as the Steamlord you spotted earlier activates a group of Steambots at the edge of the bridge. But there's no time to waste playing with these mechanical foes, so simply leap over them, dismantle the gate up ahead and step to solid ground. Watch as the entire bridge structure fails, falling down into the clouds below - and taking the entire group of Steambots with it (earning you a bonus Friend Voucher too).
Don't look down...
Deal with another trio of Dragoons between yourself and the massive pod structure before heading inside. Cross the curving hallway and leap across the platforms lining the chasm for safe travel. Beyond this hallway lies the huge outdoor Construction Bay region; watch as the camera pans around and handily shows you were you need to go - a door up on the western side of the pod structure.
If you look to your right from the entrance you'll see an incredibly tall narrow shaft leading skyward, but a nearby control terminal is offline so you won't be able to make use of it. Instead, climb up the circular floating platforms to the huge elongated structure hovering some distance out from the pod (the cables supporting those circular platforms must be incredibly strong...). Upon arriving near the elongated structure you'll spot a number of Grapple Points lining its underside, except large metal panels set between each ensure you won't be passing along there anytime soon.
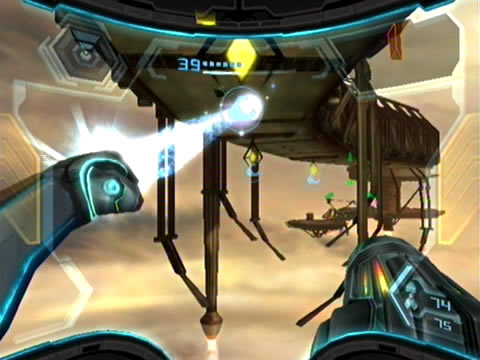
So we'll need to find a way to remove those panels. None of you firepower does any good, so there must be another way. Look closely at the nearest end of the structure, see the shower of sparks raining down? Scan the object to learn that this safety clamp is holding a platform in place. Lock on and send a Missile into it, releasing the clamp and extending a platform bearing a handy Grab Ledge. Leap up there and use the Morph Ball to enter the narrow tunnel running through the entire length of the structure.
Not all the Chozo's creations are friendly...
See the Bomb Slots along the way? Energize each to release the metal panels directly below. With all panels removed and your path clear, head back outside and climb down to face the nearest Grapple Point. But before you swing across, look over at the far end of the structure. See the trio of creatures hanging on the ceiling there? You can't scan them from here, but those Shriekbats won't be too pleased to see you, so take them out from here before swinging across (you'll have another chance to scan them later).
Once safely across, you'll find yourself atop an extended arm of a tall floating pod. Roll through the narrow tunnel along the arm and look for a network of narrow tunnels circling up the central pod. Roll up to the top of the structure to find two Dragoons waiting for you. Deal with both, then take a look over at the main pod structure. You're almost there, just need to bridge that final gap.
Luckily help is right behind you. Spin around to find another crane arm stretching out into the distance. Simply activate the hand scanner nearby to wind the crane arm over to face the pod structure. Roll along the arm once it's in position then simply leap across to arrive back on the pod's balcony. Watch out for one final Dragoon giving you trouble here. You may also wish to step around the balcony away from the door, around the corner lies the top of that huge narrow shaft you spotted down at the main entrance.
Take a look out at the floating elongated structure from here - spot the small balcony? You won't be able to reach it till later. Now let's go find that new Chozo tech. Step inside the main pod structure to find yourself in a hallway populated by a number of repair drones and an inactive elevator. Power up the lift via the hand scanner and be sure to break open the scattered SkyTown storage units for health and ammo refills. Fire at and then scan the lone Databot here for the Slumber lore entry, this one details the Elysian's marathon sleep to preserve resources and their observation of Tallon IV's plight fifty years ago. Ride the lift down and exit the Ballista Lift chamber via the only door found here.
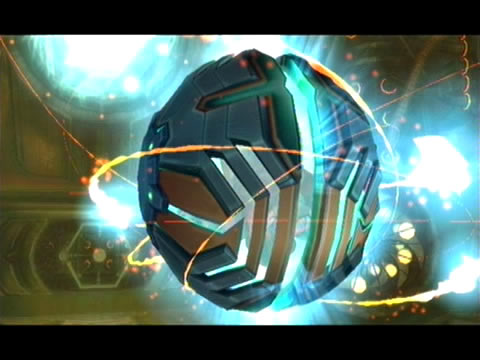
The Boost Ball is a very welcome addition.
A very welcoming sight awaits you in the Ballista Storage chamber beyond - right ahead of you lies an upgrade item. Scan it to reveal your prize as the Boost Ball! But as you step towards the chamber your prize is promptly snatched away while you find yourself lowered down into a vast chamber below - the Boost Ball's chamber was simply the tip of the iceberg.
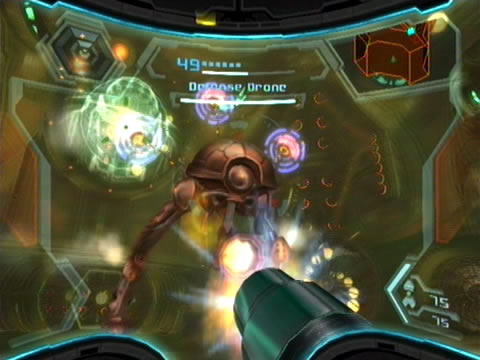
You're certainly not alone here - a giant robot guarding the region springs to life and attacks (notice all the enormous holographic panels displaying Ghor's image surrounding the chamber - I think his allegiances are certainly coming under question now). You'll need to defeat this Defense Drone to retrieve the Boost Ball and an exit, so refer to the bosses guide for tips (especially on Hypermode difficulty).
With the Defense Drone rendered a heap of cogs and gears, the Boost Ball will promptly pop up out of the floor in the center of the chamber. With the Boost Ball finally in your arsenal you'll be able to power up any inactive devices requiring kinetic charges to operate. Grab any health and ammo refills before leaving (and take note of the sealed hatch on one side of the chamber). See the small Morph Ball-shaped hologram on the lift platform? Scan it for your Logbook to reveal it as a Spinner.
Veterans of the first two Prime titles will know what to do. Simply enter Morph Ball mode, hop into the hologram and use the Boost Ball briefly to find yourself shunted below into a circular track running inside the platform. Use the Boost Ball to build up momentum around the track, and keep moving as you see the hatch slowly rotate around to line up with the large orange arrow. Once the hatch lines up with the arrow the entire lift will re-activate, sending you back up to the main entrance high above the ceiling.
Use the Boost Ball to restore inactive Chozo equipment.
Now that you've got the Boost Ball, we'll be able to open up access to Aurora 217's inner chamber. Stand up and head back outside to the Construction Bay. Once there, use the nearby maintenance tunnel to make a quick return to the exit far below (ignore the pesky Dragoons if you wish). Watch out for more Dragoons hiding in the Maintenance Shaft GP chamber.
Once back at Skybridge Hera, you've got a slight dilemma with that massive open space where the bridge once resided. But not to worry, as you'll immediately spot the inactive Kinetic Orb Cannon near the door. Use the Boost Ball once again to restore power to the cannon, then simply hop into the hologram while in Morph Ball mode to blast yourself across the region back to the Junction pod. Power up the cannon's partner on this side of the bridge before heading inside if you wish.
Go inside the Junction and head for the eastern side. You'll find another squad of Tinbots awaiting you there, but this time try to bowl down a number of them all at once using the power of the Boost Ball, if successful you'll score the bonus Bowling for Bots Friend Voucher. Exit the Junction and ride the Zipline Cable back over to the Spire Dock. From here, use the nearby orb cannon to return to Aurora 217's pod.
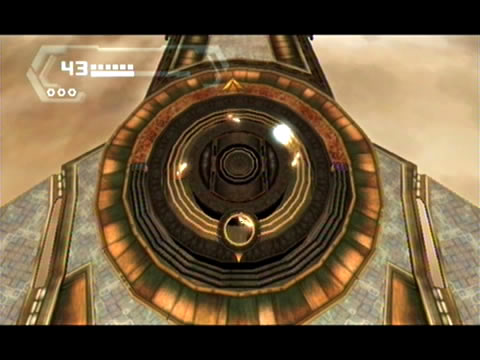
Travel inside to the Aurora Chamber and hop inside the gate blocking access to 217. Use the Boost Ball to build up enough kinetic energy to open the gate wide. The Aurora Unit's communications panel swings up as the gate opens, so step forward and activate the central switch. A female computerised voice announces 217's need of repair before a tiny maintenance hatch opens in a cloud of dust in the corner of the chamber.
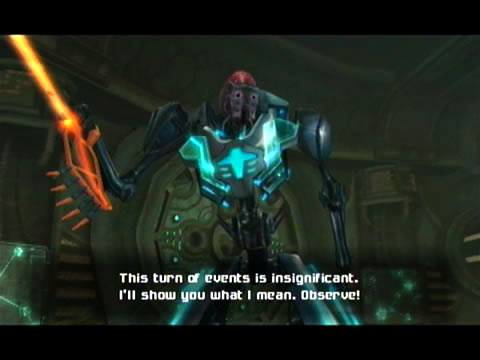
Ghor makes it clear which side he's on.
Activate the Morph Ball and roll down through the maintenance tunnel to find yourself directly below 217's holding tank. At first glance around the circular chamber you'll see numerous holding cells, each one possessing an inactive Tinbot held behind yellow containment fields. Sure enough, before long they detect your presence and move to intercept.
Hold out against the waves of Tinbots approaching your position. With all hostiles cleared out the yellow containment fields power down, granting you access to the small alcoves. Look for a large insertion point terminal directly across from the thick cables underneath Aurora 217 - insert the vaccine there and watch as it literally purges the virus, even clearing out the icky Phazon growths on the terminal.
With 217 finally back in good form we're ready to head up topside and pay it a visit. Except for one slight snag. As Samus readies to return above, none other than Ghor himself turns up and makes his intentions perfectly clear. Like Rundas, Ghor is now completely corrupted by Phazon and has become yet another of Dark Samus' puppets.
After making a quick speech, Ghor emits a powerful Plasma burst around the chamber, severely damaging several exposed circuitry panels. Samus returns fire but the damage is already done. Ghor escapes through a large hatch, stating that Samus can't destroy the Seed without first restoring 217's network connection - so let's not let him down.
Chapters:
- GFS Olympus
- Meet the Hunters
- The Liberation of Norion
- Heroes Corrupted
- A Broken World Ravaged by War
- The Deadly Phazon Threat
- A Fallen ally
- Samus' Gunship on the Frontlines
- Disabling a Leviathan's shield
- Heart of the Phazon Corrupter
- Chozo Paradise Among the Clouds
- Restoring Aurora Unit 217
- Hunting the Rogue Machine
- Uncovering Bryyo's Secrets
- Ghost Ship
- The tip of the SkyTown Iceberg
- Piecing together the Leviathan's Bane
- The Metroids Arrive
- Save the Second Chozo World
- The Pirate's Homeworld Unveiled
- Rescue operations in Enemy Territory
- The Final Chozo Gift
- Repositories of Chozo and Pirate Worlds
- Phazon Mines Part 2
- Breaking out the Heavy Weaponry
- Storming Pirate Command
- Join the Federation's Leviathan Strike
- Return to Norion
- Excavation of the Bryyo Ruins
- Bryyo's Final Bow
- Charting out the Ruined Valhalla
- Aurora 313's Final Message
- Ridley's Final Phazon Fight
- Opening the Wormhole
- The Source of the Poison
- The Masters of Phaaze