


Chapter 2: Meet the Hunters
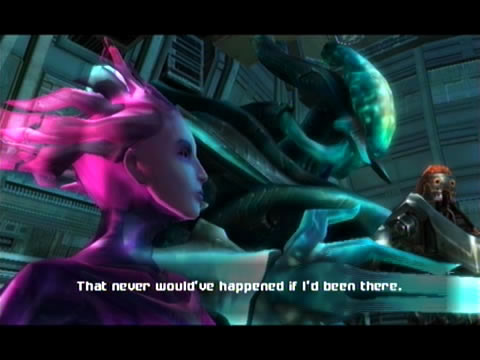
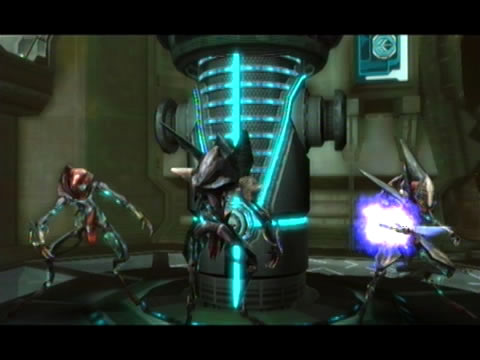
Gandrayda, Rundas and Ghor - your friendly competition.
With your game saved, head back outside to the bridge and speak to the GF Marine. With your path clear, step through the door ahead and proceed down the corridor to the briefing room. Looks like you've found the right place - as you enter you'll watch a cutscene as Samus and her bounty hunter brethren listen as Admiral Castor Dane briefs the group on their mission.
Samus, Ghor (who you saw earlier at the security station), Rundas (the big icy fella) and Gandrayda (the purple huntress showing off her mimic powers - and no, she doesn't look familiar at all...) are all recruited to restore Aurora Units infected by a malicious Space Pirate-originated virus. You'll also meet the Olympus' Aurora Unit, 242, your eventual advisor for all of Samus' missions (and owner of the deep female computer voice heard throughout the ship).
The original plan for the hunters is quickly scrapped however, as a Fleet Trooper soon advises the detection of a mysterious wormhole appearing in orbit above Norion - and a massive fleet of Space Pirate vessels pouring forth. Finally, time for action. Admiral Dane scrambles all Federation fighters and orders the hunters down to Norion - at first glance it appears the Pirates are more interested in the planet rather than the gigantic GF fleet in orbit.
Once you've regained control don't waste any time heading back to the bridge (but be sure to scan all the terminals around the briefing room to learn of the sudden change in atmosphere). Also speak to a few of the Fleet Troopers to hear their nervous chatter before leaving (they look almost comical frantically working at their stations).
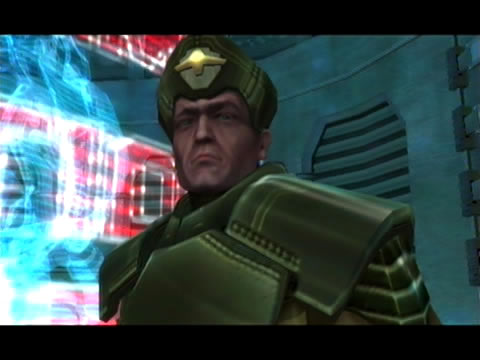
Admiral Castor Dane - a man with many responsibilities.
Exit the briefing chamber and head back to the bridge (time to get nervous when the lights flicker out in the connecting corridor). Once back in the bridge quickly step towards Admiral Dane and have a quick word with him. He urges you down to the planet, but you're about to finally discover what the Space Pirates are capable of in ship-to-ship combat, as a massive red beam streaks through the visible GF frigate outside, tearing it apart in one blast. From here you can easily see the attackers - odd triple-pronged elongated craft with spots of what can only be Phazon covering portions of their hulls.
Speak to any of the Fleet Troopers along the way if you wish, these guys certainly have their work cut out for them now. Also be sure to scan Admiral Dane for your Logbook, this is your only chance to do so. Remember to save your game nearby as a few one-off encounters are coming up. Head back towards your ship, but this won't be a simple backtracking tour.
As you enter the Flag Bridge Access chamber you'll spot a pair of GF Marines through the window ahead firing at something off-screen. Before long an energy grenade sails in, obliterating the wall and allowing a pair of Pirate Militia to attack your position. Quickly scan one before opening up on the pair - those two turrets above you will help.
Clear both targets and step through the damaged wall. The door you originally entered this chamber via earlier is blocked, so you've only got one way forward. Exit the chamber to spot a GF Marine running down an observation corridor beyond. Very quickly follow him, right around the corner a nasty surprise awaits. A huge and equally ugly Space Pirate boarding craft attaches itself to the hull before deploying another pair of Pirate Militia. Step forward and draw their fire, eliminate both quickly and ensure the survival of both GF Marines present here to score yourself a bonus blue credit.
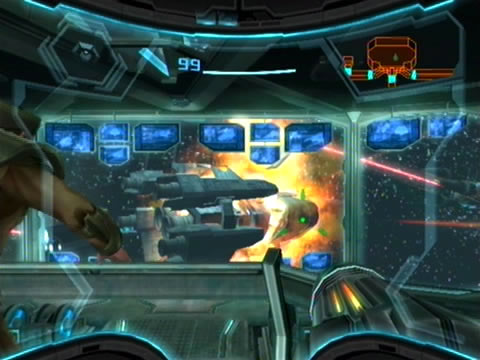
Space Pirate destroyers demonstrate their deadly prowess.
Scan the boarding craft (the Pirates really need better technology) and check on the Marines before moving on. As you enter the next chamber you'll hear the sound of nearby weapons fire. Up ahead on your left rests a GF Marine in a dire situation - don't waste any time in opening up on the pair of Crawltanks shooting at him (don't bother scanning them yet). Save this Marine to score yourself another blue credit. Before leaving the Xenoresearch Lab be sure to scan visible equipment down in the main chamber below, and grab any health refills from the scattered crates if you need.
Move onto the next corridor for an unfortunate sight. A pair of GF Marines are busy exchanging fire with a lone Pirate Militia right before a dying Stiletto fighter crashes headlong into the hull, breaching the region and sucking everything into space. As you regain control immediately lock onto the red switch above the open hatch and blast it to seal the rupture and save the hapless GF Marine clinging on for dear life. If you manage to save this Marine you'll be rewarded with a handy Friend Voucher. If you fail at all to save this one or the previous few, restart the game back up at the save station near the bridge and try again.
With this Marine saved there's nowhere else to go but back. Return to the Xenoresearch Lab to witness yet another boarding craft breach the chamber below and deploy a number of Pirate troops. These sneaky customers will try to steal the Energy Cell powering the generator in the chamber below. By extracting the cell the Pirates will open up access to your floor, so be ready to hunt them down.
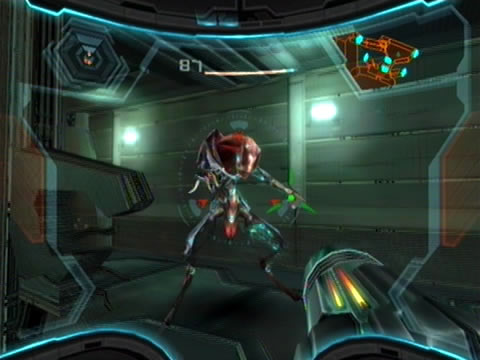
Space Pirate boarders quickly assault the Olympus.
That classic Space Pirate theme kicks in, so let's get to work. Scan one of the Armored Pirate Militias for your Logbook, then open up on them with standard fire and Charge Beam shots (not much you can do about sending explosive blasts their way).
Keep an eye out for them on your radar as you'll be chasing them throughout the chamber (watch out on Hypermode however, keep your distance and use cover - don't let them catch you standing still). Defeat all three and retrieve the fallen Energy Cell. Insert the Energy Cell back into the generator; although this will now seal you inside the main chamber. Which is probably not such a good idea, as a never-ending swarm of Crawlmines promptly stream down the walls from above.
Scan one of the somewhat cute critters for your Logbook before opening up on the multitude of targets. Wait for larger Crawltanks to appear, quickly scan one for your Logbook as well. Focus on the Crawltanks, eventually one will break up through a panel in the floor. The game will inform you that the Morph Ball can fit into small spaces - but you already knew that. Stick around if you wish to rack up kills for Friend Vouchers at every 100 kill interval, but don't lose too much health. Quickly activate the Morph Ball (C) and roll down into the open tunnel. Once under the floor you'll be safe from the swarm.
Roll through a nearby service duct to exit the chamber and move on ahead to find yourself below fellow hunter Rundas' position. Watch as he effortlessly freezes and dismantles a hapless Pirate Militia. Roll along the service duct and drop bombs to clear out any obstructions. Roll down a short drop to find a nice surprise, Energy Tank OL.01 waiting inside a small blue capsule. Breach the capsule with a bomb and roll forward to claim your prize.
Don't let the Pirates take any trophies.
Move onward to find yourself launched into the Disposal Chamber - not exactly where you need to be right now. See the locked hatch up ahead? Spin around and scan the terminal opposite to reveal a Bomb Slot on the hatch. Scan the Bomb Slot for your Logbook before hopping into it with the Morph Ball and deploying a Morph Ball Bomb. Red lights flash and a message appears above Samus: "Air Lock Cycling." That can't be good. Before long the hatch opens, exposing the chamber - and Samus - to the vacuum of space.
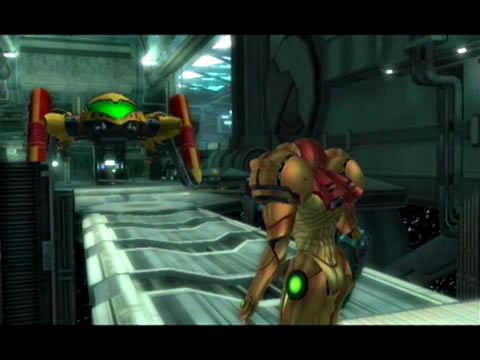
Watch as Samus tumbles over and over outside the hull of the Olympus, only to quickly grab hold of a nearby access port and pull herself back inside the ship. Phew, that was very, very close. Step through the door ahead once you regain control to enter the vast Repair Bay A chamber. As you enter you'll see an endangered GF Marine trading fire with an odd pair of floating mines before two huge docking bay doors seal shut and separate you from each other (notice a quick glance of Gandrayda taking on a Pirate Militia?).
A chunk of debris promptly crashes down in front of the hangar door's access terminal, a quick scan reveals that a concussive blast will clear it away. But that GF Marine is in dire trouble, and speed is absolutely necessary here if you want to save him. Look up, see the docked Stiletto fighter above? You'll need to climb up there to find a very special item hiding in an adjacent chamber. Don't bother scanning anything here as you won't have time, and ignore any Pirate Militias or Crawltanks giving you trouble.
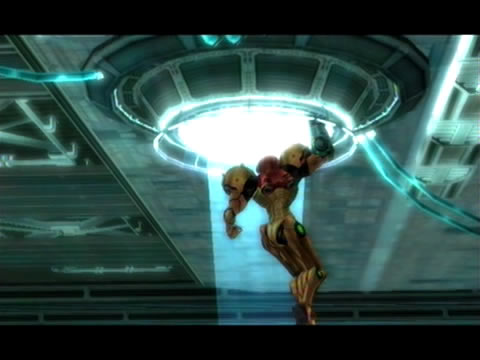
Samus barely survives a trip outside the flagship's hull.
Climb Repair Bay A as fast as possible and enter the small room tucked away in the corner above to locate a glowing blue Missile pod. Step forward to claim the Missile Launcher, something you'll certainly be relying upon throughout your travels. Quickly return to the Repair Bay and leap down to the damaged debris blocking the terminal. Blast it with a Missile and quickly activate the terminal to open wide the hangar door. Step through to face the second sealed hangar door overlooking one of the huge Stiletto fighter-conveyer belts.
See the four red locks above the hangar door? Blast all four locks to open the hangar bay door wide and extend a connecting bridge. If you've been fast enough, the pair of floating mines firing at the GF Marine will lose interest in him and attack you instead, multiplying as they do. Scan one to reveal them as Aeromines. These odd drones can't fire at you with their shields raised, instead one at a time each one will lower their shield to fire at you. Pop each one off as their shields drop to slowly clear them all out.
If the Marine survived you'll score another bonus blue credit upon dismantling all the Aeromines. Knock down the annoying Pirate Militia above on the balcony and go check on the Marine. He'll offer some obvious advice; a save station lies just beyond the door nearby, be sure to use it and save your game now. Return to the Repair Bay Shaft and activate the terminal beside the sealed hangar door. Finally, beyond this door lies the main docking bay where your ship waits patiently.
One hurdle remains before heading planetside.
But Samus is far from clear yet. As she runs towards her ship an audible growl stops her cold. Looking up at the overhead command station, an unfortunate GF Marine is promptly sent hurtling through the glass down to your level. Followed soon after is a massive hulking monster covered in thick armour plating and glistening Phazon spreading over its body. Samus quickly sends her ship away to make room for your first boss fight. This monstrosity is a Berserker Lord, the latest generation of Phazon-enhanced Space Pirate personnel. Refer to the bosses guide for tips to avenge the GF Marine and finally make it down to Norion where plenty more action awaits.
With the Berserker Lord facing a nasty fate (I'm sure that was a Space Pirate fighter it got up close and personal with), your ship will return and await departure (along with a handy gold credit for your efforts). Before leaving, if you want another shot at the training drones nearby they're still operational despite that huge space battle going on outside. Once you're ready, enter your ship and travel down to Norion to continue the campaign against the Space Pirates.
Chapters:
- GFS Olympus
- Meet the Hunters
- The Liberation of Norion
- Heroes Corrupted
- A Broken World Ravaged by War
- The Deadly Phazon Threat
- A Fallen ally
- Samus' Gunship on the Frontlines
- Disabling a Leviathan's shield
- Heart of the Phazon Corrupter
- Chozo Paradise Among the Clouds
- Restoring Aurora Unit 217
- Hunting the Rogue Machine
- Uncovering Bryyo's Secrets
- Ghost Ship
- The tip of the SkyTown Iceberg
- Piecing together the Leviathan's Bane
- The Metroids Arrive
- Save the Second Chozo World
- The Pirate's Homeworld Unveiled
- Rescue operations in Enemy Territory
- The Final Chozo Gift
- Repositories of Chozo and Pirate Worlds
- Phazon Mines Part 2
- Breaking out the Heavy Weaponry
- Storming Pirate Command
- Join the Federation's Leviathan Strike
- Return to Norion
- Excavation of the Bryyo Ruins
- Bryyo's Final Bow
- Charting out the Ruined Valhalla
- Aurora 313's Final Message
- Ridley's Final Phazon Fight
- Opening the Wormhole
- The Source of the Poison
- The Masters of Phaaze