


Chapter 35: The Source of the Poison
Watch as the Federation fleet enters the wormhole...
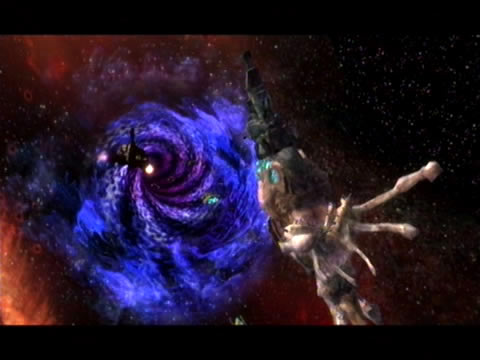
Summon your star chart to select the final location labelled above the image of the Olympus - Phaaze. After dealing with so much trouble caused by the malicious Phazon and defeating Dark Samus multiple times in different forms, we're at last taking the fight to the ultimate source of it all.
Sit back and watch the cutscene as Samus joins the Federation strike force in high orbit above the planet. Engineers aboard the Olympus promptly command your captured Leviathan to open a twisting purple wormhole - into which the entire fleet bravely enters on Admiral Dane's command.
Venturing deep into uncharted enemy space - nothing but a vast stretch of Phazon-blue awaits on the other side of the wormhole. Welcome to Phaaze - origin of the plights of Tallon IV, Aether, Norion, Bryyo, Elysia and the Pirate Homeworld - and the evil being Dark Samus itself. This sentient planet has caused plenty of trouble for the galaxy, let's just hope it never managed to duplicate itself over the countless years...
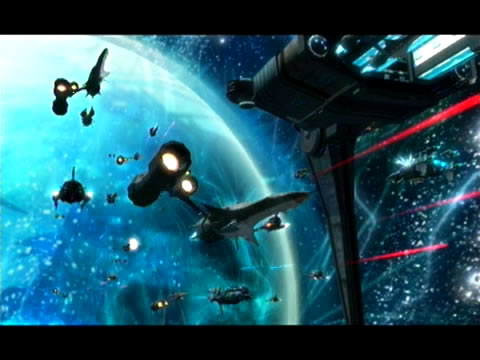
But there's no time for answers, like where did this rock come from or how long its been here. Dark Samus still possesses a strong Pirate force, and their presence is immediately revealed. Pirate destroyers lying in wait move to intercept the Federation fleet, engaging in a final climactic battle. But the space battle is just a ruse - the Federation's role is to buy Samus enough time to infiltrate the surface and discover the location of Dark Samus and the captured Aurora Unit 313.
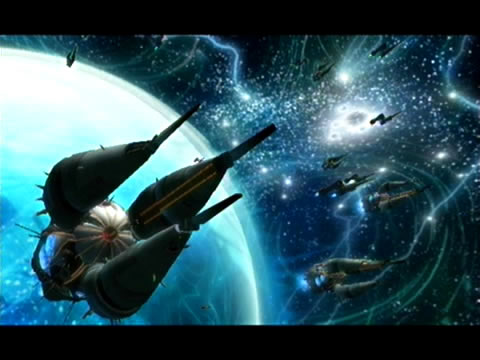
...To find planet Phaaze and its Pirate armada on the other side.
Not wasting any time, Samus heads for the planet with haste. This entire planet is literally composed of living Phazon, so it's a good thing she knows exactly where to land. Touching down in a most alien landscape, from here a majestic view of the stars stretches above whilst massive Phazon tentacles and a thoroughly Phazon-inspired environment surround your position.
One final twist remains. You might be wondering of the risk Samus is taking travelling right to the heart of all Phazon in the universe when 75% of her body has already been corrupted by the stuff - and you'd be absolutely right.
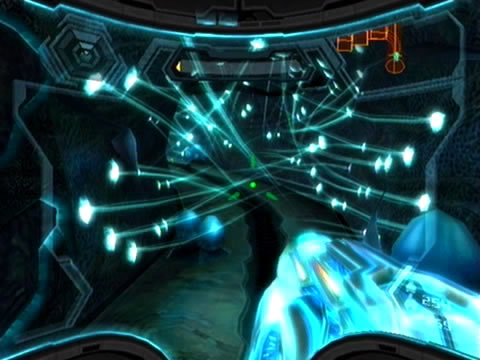
Immediately upon stepping off your ship and touching the corruptive Phazon turf, Samus finds herself entering an extremely dangerous corruptive state - so close to complete Phazon corruption that a warning message appears on your visor. Suggesting that you hit A to drain all your Energy Tanks - that might not sound like a very good idea but you've no other choice.
Press A and watch as Samus expels her Phazon-powered Energy Tanks, draining the lot to temporarily save herself from total corruption. The game then explains the scenario: since Samus is now in the heart of Phazon land and in a near total corrupted state, all her Energy Tanks needed to be drained to save her life (a very cheap trick I know, especially on the Hypermode difficulty).
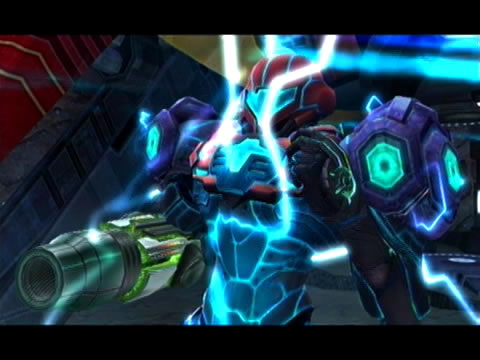
A heated battle to determine the fate of the galaxy.
This means you're now locked in a permanent state of Hypermode (with Samus producing a healthy blue glow) - with only your Phazon-powered arsenal available. But unlike those times inside the Leviathans, the thick yellow bar drains completely and reverses your life bar's purpose. Over time and with damaged sustained, this yellow bar will slowly rise. Allow the bar to fill up completely and it's all over - you'll witness Samus suffer a fate worse than death.
Do not allow that to happen. With haste and a number of sneaky tricks you'll ensure safe passage through this wacky planet to Dark Samus' lair deep underground. Thankfully your visors still work in this perma-Hypermode, so be sure to fire up your Scan Visor and quickly scan the surrounding environments to learn more about this hideous place (but don't bother on Hypermode difficulty - just run).
Samus enters a dangerously high corrupted state.
Scanning your ship reveals that its security lockdown is in effect - it no longer recognises Samus in her current state. Climb up the rocky terrain ahead and don't mind the swarm of Miniroids pelting down the deep chasm below. A single exit lies ahead - scan the Phaaze Door for your Logbook before stepping through.
As you move through this corrupted world, be sure to keep firing your weapons to help slow the ascent of Phazon levels in Samus' body. Step through to the Entry Canyon and move onward.
Your first local lifeform greets you here, be sure to dispatch Jelsacs from afar to avoid a nasty jump in your Phazon meter. Leap down the cliff edge here and step forward, watch out for a second Jelsac loitering on the far wall. A number of pesky Phazon Hoppers and Hopping Metroids will no doubt arrive to give you trouble, quickly take them all out (they're no match for your ammo-less Hyper Beam).
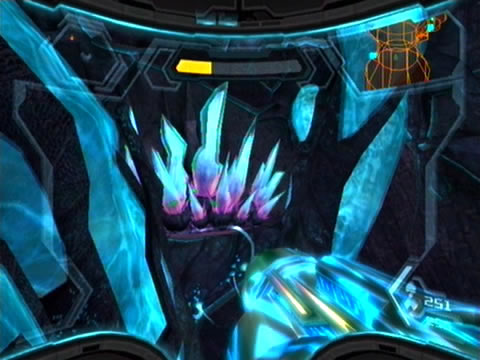
Oddly enough, some of your foes may drop health units when defeated, but doesn't that work against keeping your Phazon meter low? Not quite. Scan one of the floating orbs to learn that these are in fact Anti-Phazon units, so be sure to pick them up to actually lower your Phazon meter. Also be sure to take a look at the base of the cliff you climbed down - a Phazon Fungus growth resides beside a razor-sharp spiky crystalline growth.
Plenty of weird sights await in the ultimate source of all Phazon.
Scan this object for your Logbook - these Black Phazon Crystals for the most part are simply another member of the fauna here. Step through the canyon and look up where the ground-based hostiles attacked from; see the huge burrows lining the walls? These entry points allow more hostiles to pour in, destroy them with Hyper Missiles if you wish.
Around the corner you'll discover a familiar blockage - a huge Phazon mass almost identical to the one guarding the path to the Leviathan portal back on the Pirate Homeworld. Simply deploy your Grapple Lasso onto the gross eye and deliver overloading Phazon energy into the mass to burst it apart. Notice your Phazon meter dropping slowly as you overload the obstruction? Don't forget this incredibly handy trick.
Exposed beyond the Phazon mass lies an immensely deep pit - far too deep to see the base from here. But with no other choice, say goodbye to the starry sky and icky surface of Phaaze and take the plunge. Thankfully Samus' suit comes equipped with powerful inertial dampers, as she leaves a nasty crater at the base while none the worse for wear.
You've landed among a collection of infant Metroid eggs, but don't worry, these things won't be hatching anytime soon. Exit the chamber and step through to Cavern Alpha - home to a twisting corridor filled with sticky Phazon tendrils. Scan the odd foliage to learn that these snatchers grab hold of anything wandering within their grasp, but can't grapple smooth surfaces. So quickly enter Morph Ball mode and use the Boost Ball for speedy transit.
Use your Phazon weaponry to help slow the climb of complete corruption.
Stand up and move ahead through the airy cavern. Several Phazon Fungus and Black Phazon Crystals inhabit the cave, but don't waste your time trying to find Anti-Phazon units. Several Phaz-Ing have taken up residence here - and anything allowing you to make use of the Grapple Lasso shouldn't be passed up.
Instead of blasting them apart with your Hyper Beam, deploy the Grapple Lasso and overload the target with Phazon energy - all the while very quickly draining your Phazon meter. A brilliant tactic - this will save you much hassle later on.
Move through the region and clear out any hostiles along the way. Climb up the rocky platforms to eventually find yourself face-to-face with a massive spiky Phazon growth. We've seen these before, simply strike the mass with a Hyper Missile to clear the path (notice in fact you can still have a peek of the sky outside on the left). A lone Phaz-Ing greets you in the exposed passage ahead, deal with it before leaping up.
Move through the region and keep using the Hyper Grapple on any hostiles to keep your Phazon meter dry. Step through the exit tucked away in a corner to locate a cozy chamber possessing a single tiny exit. If you step to the right and look down through the twisting observation window, you'll see the tunnel network covered in red flower-like growths. Scan one from here to learn that these organic masses feed Phazon energy into nearby blockages.
Use Hyper Missiles to make short work of these obstacles.
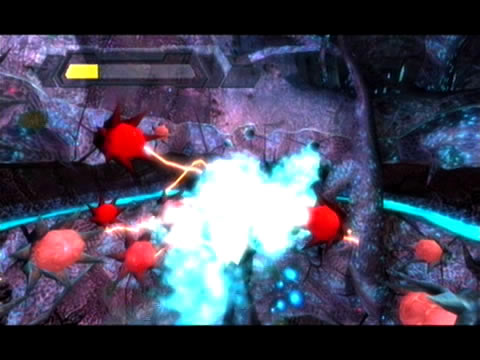
So let's clear them out. Roll into the tunnel and hold A as you pass by the red growths. The Hyper Ball will make short work of them - although take note: they take a beating on Hypermode difficulty. Clear out all nearby growths to eliminate a huge blockage barring your passage. Keep rolling downward to discover another set of red fleshy growths. Clear all these out to reach the base of the shaft.
Roll out and quickly stand up - you're not alone. A small being hovers ahead near your exit, and promptly begins draining your Phazon meter. Before you might think that's a good thing, quickly scan the being to reveal it as a Phazon Puffer. All the other Puffers may have been pushovers, but this one's readying a nasty trick. If you allow it to draw enough Phazon energy from you, it'll deploy it right back at you and severely increase your Phazon meter.
So wait a few seconds for it to drain some of your Phazon meter, then open up and obliterate the target before it expels anything. Step through the exit ahead to locate Cavern Beta - a massive intricate chamber stretching skyward and plummeting down to parts unknown. Home to several Jelsacs, you'll need to carefully exterminate them from a distance before leaping across to the solid platforms. Use Hyper Missiles to rip apart the spiky Phazon growths before making the leap.
You'll also find this place home to never-ending pesky Phazon Metroids - thankfully your Hyper Beam is strong enough to tear them apart without having to switch on the X-Ray Visor. If one of the parasites manages to grab hold, simply enter Morph Ball mode and finish the target with your Hyper Ball. Safely make it through this region to find the Drop Shaft - a very thin and very hostile-filled cave.
Roll through the small hole ahead to enter the main chamber, and get ready for heavy opposition. Placed at the center of the chamber is another of the solid Phazon blockages you found earlier, while small red flower-like connecting growths surround the chamber. You may also spot another familiar fauna here - concentrations of small wriggling Phazon weeds. Quickly scan the fauna for your Logbook - these Tangle Weed hurt on contact, but weapon fire will force them underground.
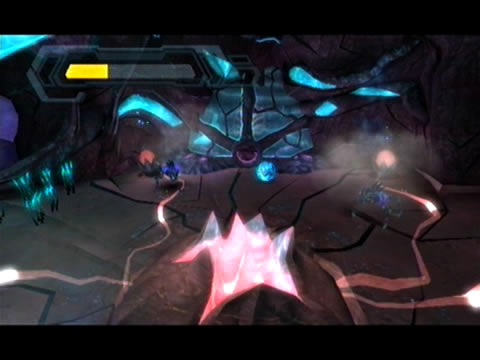
The local mutated wildlife is hardly welcoming.
But that's not your biggest worry. Numerous burrows line the ceiling, of which multiple Hopping Metroids emerge. Now the red growths lining the walls can only be harmed by the Hyper Ball's weaponry, so feel free to begin rolling around and deploy the deadly electrical energy - any Hopping Metroids caught nearby will certainly feel the sting. Or you could always destroy all the burrows to make your job easier.
Either way, eliminate all the surrounding growths to purge the hardened Phazon shell at the center of the chamber, revealing a handy exit beneath. Roll through the tiny hole to find yourself plummeting down into a similar chamber. This time the ceiling is home to several Phazon Hopper burrows, and these pests possess far more resilience to your Hyper Ball, so feel free to clear out the bug nests.
Use the Hyper Ball again to tear apart the red Phazon growths, clearing the next hole. Drop below to the final chamber, home to a roving Phazon Puffer. The being will immediately begin drawing Phazon energy from you, so instantly stand up and dispatch the creature before it throws anything back. Begin ripping apart the red growths around the walls, but watch out for another Phazon Puffer inevitably appearing.
Quickly clear out the hovering orb and carry on destroying the red growths. With all targets clear and the hardened shell blown apart, fall through the final hole to soar down a massive shaft - we must be incredibly deep under the planet's crust by now.
Chapters:
- GFS Olympus
- Meet the Hunters
- The Liberation of Norion
- Heroes Corrupted
- A Broken World Ravaged by War
- The Deadly Phazon Threat
- A Fallen ally
- Samus' Gunship on the Frontlines
- Disabling a Leviathan's shield
- Heart of the Phazon Corrupter
- Chozo Paradise Among the Clouds
- Restoring Aurora Unit 217
- Hunting the Rogue Machine
- Uncovering Bryyo's Secrets
- Ghost Ship
- The tip of the SkyTown Iceberg
- Piecing together the Leviathan's Bane
- The Metroids Arrive
- Save the Second Chozo World
- The Pirate's Homeworld Unveiled
- Rescue operations in Enemy Territory
- The Final Chozo Gift
- Repositories of Chozo and Pirate Worlds
- Phazon Mines Part 2
- Breaking out the Heavy Weaponry
- Storming Pirate Command
- Join the Federation's Leviathan Strike
- Return to Norion
- Excavation of the Bryyo Ruins
- Bryyo's Final Bow
- Charting out the Ruined Valhalla
- Aurora 313's Final Message
- Ridley's Final Phazon Fight
- Opening the Wormhole
- The Source of the Poison
- The Masters of Phaaze