


Data
Guides and strategies
Media
Chapter 13: Deep Sea Diving
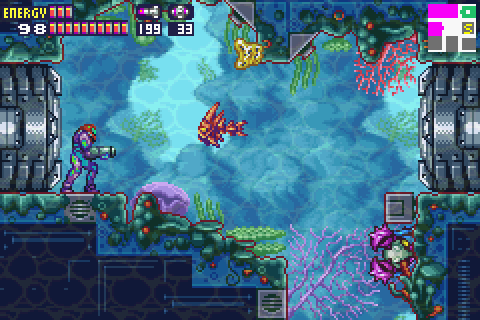
Take a moment to enjoy the underwater sights.
Upon exploring this underwater area you'll find that all the eventual exits are sealed with red doors, so we must unlock Level 4 Security Doors to escape from this area, otherwise we're stuck. Climb down the coral-filled shaft, not far down on the left wall you can crawl through an opening to reach Power Bomb S4.01. With the item tucked away go back into the shaft and head through the door on the opposite wall. At the far end of this corridor you'll find Missile S4.06. With this missile in hand go back into the shaft and climb down to the bottom.
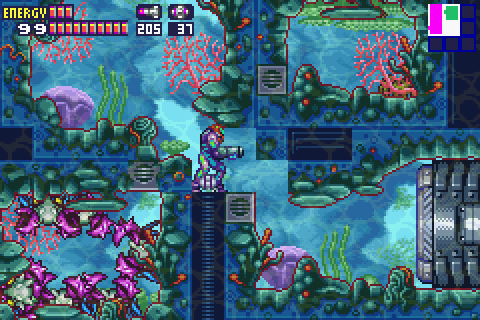
Go through the left door and walk over to the large tube in the center of this next corridor. At the end of the corridor is a red door so you'll have to find another way around. Go inside the tube and lay a Power Bomb to reveal several missile blocks up above. Shoot them out and climb up. Watch out for the mini-Draygon creatures above (use the Charge Beam), you can also find Power Bomb S4.02 hidden over on the right wall. Once you've grabbed the bomb head left to find an opening in the left wall. Go through and proceed down the next corridor.
Watch out for the mini-Draygons that appear, then bomb your way through the two blocks at the end of the corridor and drop down. Down below lay a Power Bomb to reveal two narrow openings in the ground. Drop down through the right hole and make your way down the shaft while looking for hidden tunnels. At the very bottom you'll spot a large Skultera, go over to it and blow it apart with missiles. Drop down into the bottom left corner where the Skultera was and bomb your way through the ground. You'll land snugly in the Level 4 Security Room below, so step onto the pad to unlock the red doors so we can finally leave this area.
No choice - you must unlock security level 4 to escape.
Head through the red door on the right and begin Space Jumping up the following shaft. About halfway up the shaft you'll find a small alcove in the right wall, roll through the hidden tunnel there to find yourself in another shaft leading down to Energy Tank S4.02. Once you've found it head back to the previous shaft and go through the right door at the top.
Note:
At this point in the next corridor you'll be given the chance of making your way back to Sector 5 and bypassing the next Data Room we'll be visiting. If you manage to get back there and visit a Navigation Room you'll witness a special cutscene not normally available. Getting back to Sector 5 is extremely difficult though, you'll need to utilize some very tricky Shinespark moves to get there successfully. For full details and a great walkthrough for making it back to Sector 5, check the MDb's Metroid Fusion -> Secrets and Tips section.
We'll now be going over to the Data Room near the Navigation Room for a handy missile upgrade. Go back through the long corridor to reach the tall shaft leading up. Go through the door opposite to find yourself in another long corridor with a large green tube in the center. This tube also houses a secret, use a Power Bomb to break open a hole in the ground that leads down to Missile S4.07. Space Jump back up into the corridor once you've grabbed the missile and go through the right door. Ascend the next shaft and head right at the top.
Those crabs must be linked to this locked door.
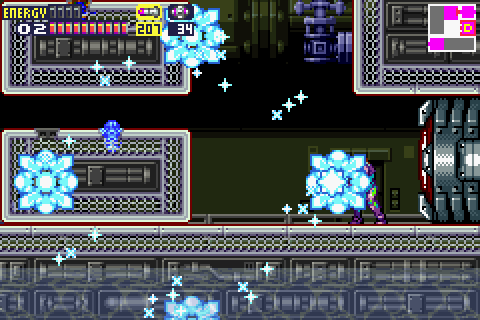
Cross through the next small room to find yourself in a larger underwater environment with crabs on the walls that fire out projectiles. Head right to find a door leading to a Save Room, then climb up through the center part of the room. Near the top you'll find a small creature that expands a large blowfish-type head covered with spikes as you approach it. This expansion will block the way so you can't get through and the creature appears to be invincible to attack. Instead stand back and freeze it while the creature's small to give yourself enough room to get past.
Go through the door on the right to find yourself in a room with narrow tunnels going up into the ceiling. You won't be able to go up there due to another blowfish, instead head through the door on the right. You'll find the next corridor blocked by one of the giant green/purple pillar creatures, so we'll need to find a way around. Open up the door on the left and walk over to the pillar. From here, dash to the left through the previous room and into the large underwater room where you first encountered the blowfish. You should activate the Speed Booster just in time to break through blocks in the floor.
Drop down and head through the door on the right. Run through the following corridor to activate the Speed Booster by the time you reach the end, then duck and Shinespark up into the open roof section just in front of the next door. You'll fly up into the corridor where the pillar was blocking the path, but here you'll be able to pick up Power Bomb S4.03 and Missile S4.08 before leaving.
With both items in hand go through the door on the right end of the previous corridor to find a shaft leading skyward. Watch out as you Space Jump up this shaft as several X will appear and turn into blowfishes, try to avoid touching any. Use missiles to break through the floor at the top then crawl through to reach the door. Use a Power Bomb in the next room to destroy the walls and waste all the Owtches crawling about.
Use the Diffusion Missile to escape.
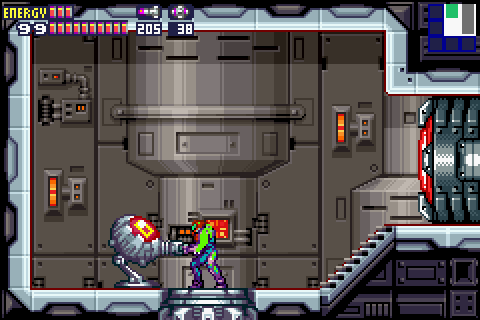
The next large room has an obstruction filling the center of the room with three narrow tunnels leading through it. Each tunnel has a blowfish in it however, and you won't be able to freeze them, so go through the red door in the corner to find Sector 4's Data Room. Step into the pod to receive the awesome Diffusion Missile upgrade! Experiment with this addition in the previous room with the blowfish, upon firing a charged missile it'll create an ice shockwave that'll easily freeze the blowfish, allowing you to crawl through unhindered.
From the other side of the wall go through the opening on the left to find the room containing Missile S4.09. Once you've grabbed it go up through the door in the top left corner of the room with the blowfish to reach the large blue room near the entrance of the sector. Before you head up to the Navigation Room take a quick detour to track down Power Bomb S4.04, it's not too far away. With this Power Bomb in your possession you'll have cleared out all the items in Sector 4, so we'll now go back to the Navigation Room for the next objective.