


Data
Guides and strategies
- Techniques Guide
- Power-up locations
- Bosses Guide
- Mini-bosses Guide
- Search View Guide
- Obstacles Guide
- Walkthrough
- Game endings
- Secrets and tips
- Game maps
Media
Techniques Guide

Samus can run, jump and shoot. Along with these standard abilities, Team Ninja have granted players a generous range of acrobatic techniques for Samus to utilise.
Samus will have access to most of them for the entire duration of the game, and each one can be mastered with practice. Read on for more details.
Select a technique:

Sensemove
Of all the new techniques brought to the table, the Sensemove should be high on your list of tactics to master. In essence, this technique allows Samus to stylishly avoid incoming enemy attacks and leap to safety thanks to her back-mounted thrusters. Not all enemy attacks can be avoided this way, but when successfully deployed you'll completely avoid any damage.
Standard technique: When either a melee attack or projectile blast is about to strike Samus, press any direction on the D-Pad to automatically leap to safety. You'll need to time this correctly, but practice will generally lead to improved performance and instinct-level reflexes.
Note that if you're currently moving Samus around by holding down the D-Pad, you'll need to momentarily release it and quickly tap any direction again to successfully perform a Sensemove. The Sensemove can also be used in first-person view, and is vital for avoiding attacks when unable to move. Simply wave the Wii Pointer to the far sides of either side of the screen at the right moment to leap away.
Another piece of first-person view trivia: if the blue outline of Samus' visor ever turns green, that's your warning that an attack is imminent and that you should immediately flick the Wii Pointer to either side of the screen.
A Sensemove can also be used during Concentration (see below). While holding the Wii Remote vertically for the Concentration technique, either press any direction on the D-Pad at the right moment (which is a tad awkward), or shake the Wii Remote side-to-side or forward-to-backward to perform a Sensemove if attacked (thanks Etecoon3!).
As for attacks that can't be avoided with a Sensemove, just check the size of the attack - if it's absolutely massive and covers a wide area - run or jump to safety.
Advanced: If you begin charging your beam and perform a Sensemove before the charge fills, it'll instantly reach a full charge. This is perfect when surrounded by chaos on all sides and is a good alternative when Accel Charge powerups aren't available.
Sometimes incoming enemy attacks will outlast a single Sensemove. In that case you can string together endless Sensemove leaps, so long as you release and press the D-Pad when Samus lands (pressing it rapidly usually keeps the timing right).
Oddly, everything around Samus appears to slow down ever-so-slightly whenever you enter first-person view. Whether it's intentional or not, this grants players an excellent chance to Sensemove away from incoming danger in this vulnerable state - ideal when trying to score a Missile or Super Missile hit on a boss monster.


Concentration
The Concentration technique is the primary method Samus has to replenish her Missile payload and health (when critically low) while away from a Navigation Room or her gunship.
Standard technique: With Samus standing still, hold the Wii Remote vertically, then press and hold A (make sure you hold the remote vertically first or you might accidentally enter Morph Ball mode when pressing A). Samus will fully recover her Missile payload in around three seconds.
Advanced: To restore health, Samus must first be critically low, with usually under 25-30 units left - this number will be higher depending on how many E-Recovery Tanks you have (the health bar will flash red and Samus' breathing is audibly strained). While Concentrating, her health bar will slowly fill up, but will only restore when the bar fills completely.
She must remain unharmed during the entire process, and due to her immobile stature this trick is only rarely going to work during frantic boss battles. Concentration should only be used as a last resort during said boss fights and other difficult encounters - ideally learn the Sensemove well and avoid danger instead of relying on this technique.
However, keep in mind that you can use the Sensemove during Concentration - the game doesn't tell you this, but by shaking the Wii Remote or pressing the D-Pad at the right moment (while holding the Wii Remote vertically and pressing A), Samus can still dodge enemy attacks. It doesn't always work perfectly, but keep this trick in mind - it's a lot better than standing still and taking a hit (thanks Etecoon3!).
Concentration will restore a single Energy Tank of health, but finding E-Recovery Tanks will allow Samus to restore additional Energy Tanks.
This technique will be well-used on Hard mode - if you find yourself low on health before a boss or mini-boss encounter, look for some weaker enemies nearby (like a Geemer). Very carefully take a hit or two deliberately until Samus' health drops below 30 units, then run away and perform Concentration to fill your Energy Tank back up to 99.
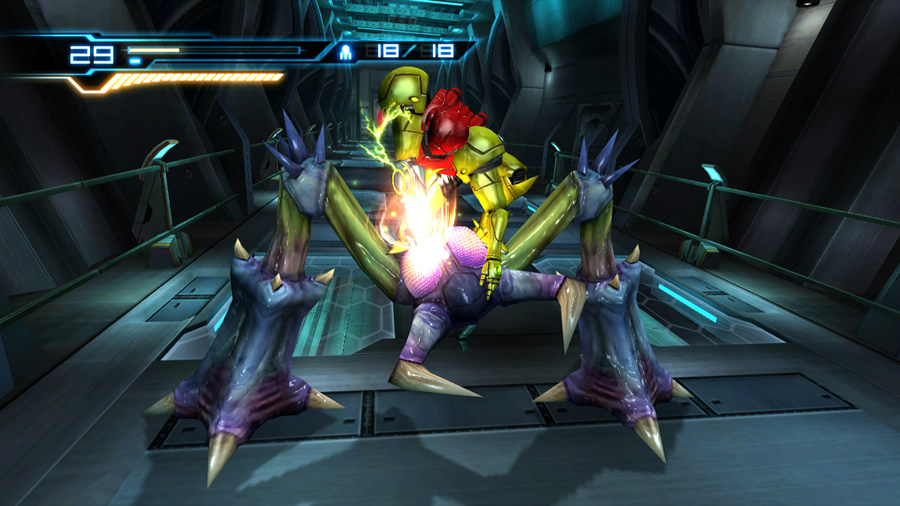
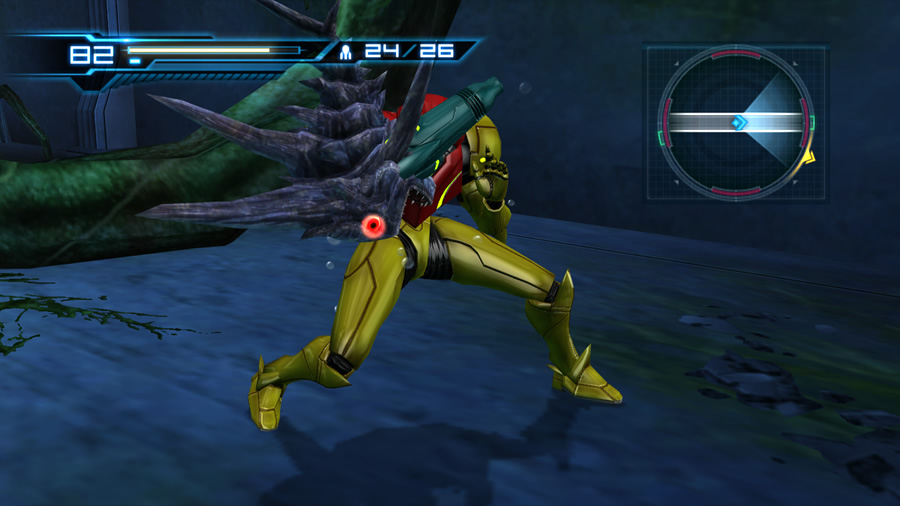
Overblast
This technique allows Samus to leap aboard an enemy and deliver a close-range blast to their head.
Standard technique: Try to jump atop an enemy - if close enough Samus will automatically leap atop their head. The charge gauge will fill instantly; press 1 when ready to deliver the blast. You'll need to fire quickly as the creature may throw Samus off after a split-second of hesitation.
Advanced: Not all enemies are vulnerable to an Overblast. Stronger foes may also need to be weakened first - don't be surprised if a healthy opponent is able to knock Samus off before she can fire a shot.
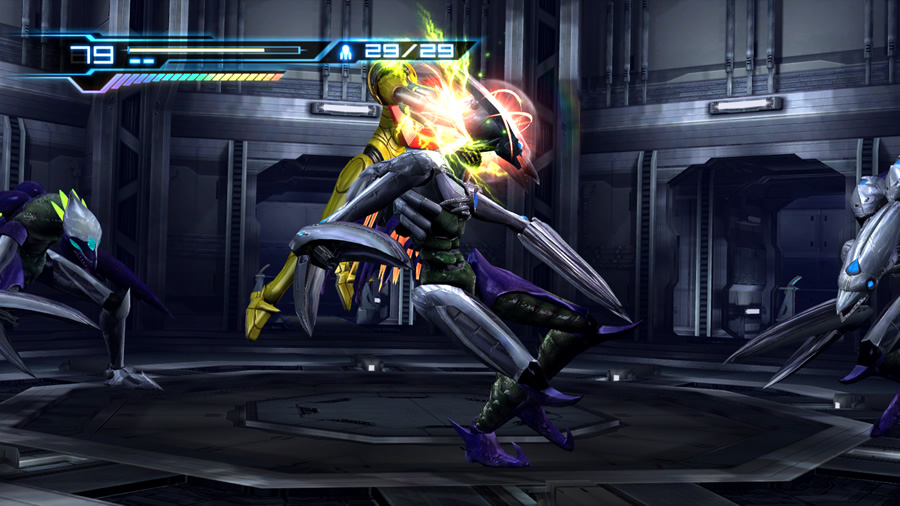
Lethal Strike
Use this technique on a downed opponent to finish them off (with style).
Standard technique: When an enemy is stunned (either laying in a heap or hunched over, motionless and breathing heavily), approach the target and hold 1. Samus will automatically execute a stylish maneuver to conquer the target.
Advanced: Some foes can only be defeated with a Lethal Strike, and others can actually survive the attack. For tougher foes, you'll need to learn how and when they'll be stunned to move in and finish them off quickly. This technique can also be used against certain bosses, either to conquer them outright or snatch away a serious chunk of their health.
Counter Attack
Some enemy attacks will render Samus paralyzed momentarily, but you can still fight back.
Standard technique: If an enemy grabs hold of Samus or renders her immobile, try either firing your beam or hold it down to charge it up - on occasion you'll be given a chance to fire back at your attacker. Otherwise Samus will simply shrug off the hostile... or receive a nasty scratch from an unavoidable attack.

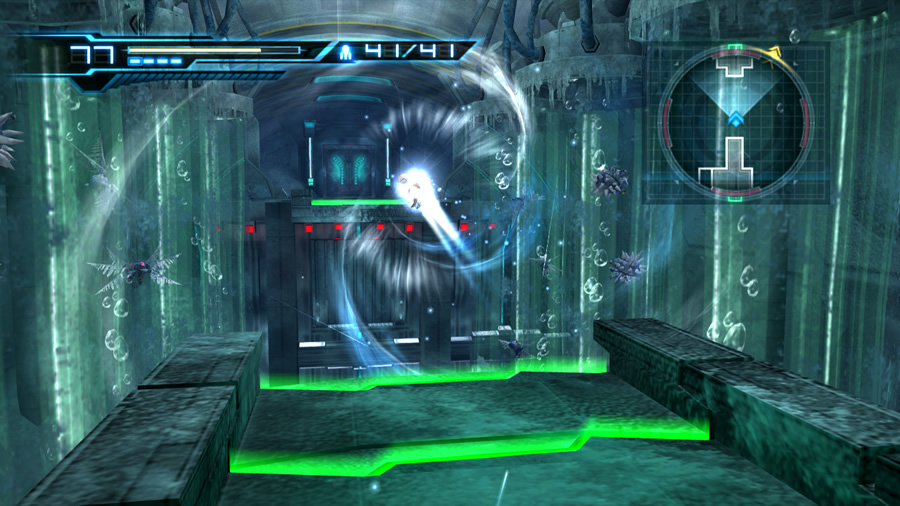
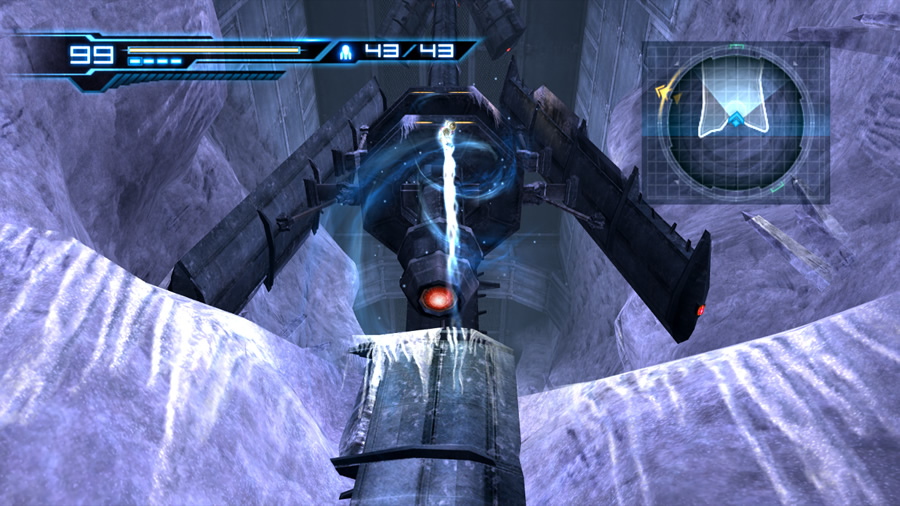
Speed Booster / Shinespark
Once the Speed Booster becomes available, Samus can run at high speeds to break through certain obstacles and gains access to Shinespark techniques.
Standard technique: Run in one unbroken direction long enough to engage the Speed Booster. Certain obstacles (and enemies) will break apart as Samus passes through them. You can also effortlessly climb steep slopes with an active Speed Booster.
To perform a Shinespark leap, hold 2 while the Speed Booster is active to stop running and build up the charge. Before the charge runs out, release 2 to leap straight up, or hold a desired direction on the D-Pad before releasing 2 to leap horizontally.
Advanced: Don't be afraid to run right to the edge of a platform before using the Shinespark to leap across a chasm - Samus won't run off the edge and instead pushes up against an invisible barrier.
Wall Jump
A wall jump, or "kick climb", allows Samus to scale narrow shafts with ease.
Standard technique: Jump towards a wall and Samus will begin sliding down the surface of said wall (note that not all walls are suitable for wall-jumping). Press 2 again to launch Samus off the wall in the opposite direction. If another wall is close enough, press 2 as Samus touches it to leap higher. Keep this up to climb to the top of any narrow shaft.
Advanced: Samus can mantle (hoist herself up) at the top of a shaft or at small ledges. You also don't need to change directions on the D-Pad while wall-jumping, just keep it pressed in the original direction with which you started the climb. Also note that you can enter first-person view at any time, either while hanging from a ledge or sliding down a wall.