


Metroid Prime 2: Echoes overview
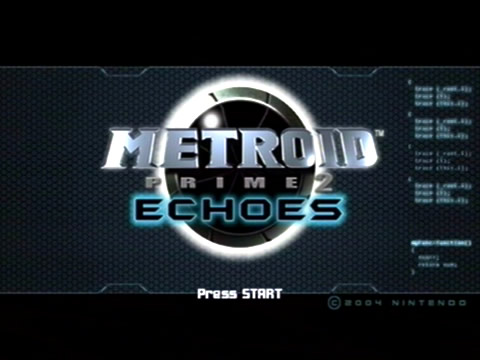
Metroid Prime 2 title screen.
Returning to the bounty hunter behind the visor, Metroid Prime 2 delivers another stellar adventure worthy of the Metroid name. Expanding upon the magnificent 3D experience introduced in the first game, Samus' next romp is nothing short of epic.
Once again taking us behind the visor, Samus' exploits will draw you across the war-torn planet of Aether, righting wrongs and taking the fight to some seriously nasty fiends.
Players familiar with the initial Prime title will feel right at home from the get-go, as the entirety of the game's mechanics build on the former's. With new weapons, limited ammo systems, new items like the classic Screw Attack and an entire world split in two dimensions to explore, there's plenty to see and do.
While fighting for the light side of this war, Samus won't just have the twisted creatures of Dark Aether to worry about, as an old acquaintance is simply counting the minutes down to meeting up with our favourite bounty hunter one more time...
Echoes is also home to the series' first multiplayer outing, where up to four budding hunters can battle it out in a variety of modes within unique environments inspired by the game's main setting. Classic weapons and powerups make for very interesting showdowns to be had - even if four duelling Samus clones sounds weird enough.
Controller overview (GameCube version)
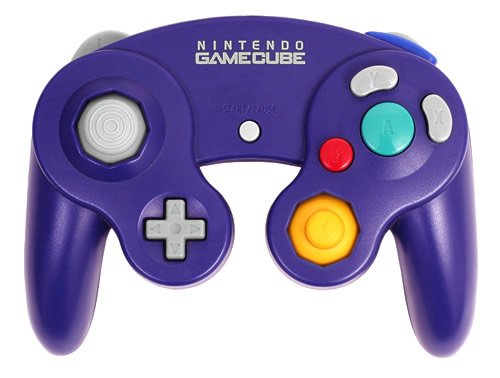
The Nintendo GameCube controller.
With a control system almost identical to Metroid Prime's, veterans of the first title won't have much to master. New weapons, visors and items will deliver the most challenge in discovering how best to use them. The limited ammo system for the new Light and Dark Beams will have you monitoring your precious payload supplies, especially when you see what these babies are capable of. Don't think that limiting your ammo is a cheap attempt on Retro's part to weaken Samus, as there's a few nifty ways to recover ammo very easily.
Basic controls work exactly as Metroid Prime's. The Control Stick maneuvers Samus, while the C-Stick selects her available beam weapons. Read on for a quick overview of what all those pretty buttons do.
| Button | Operation |
|---|---|
 |
Press this to fire Samus' selected arm cannon weapon. Press it repeatedly to fire a continuous volley of shots, or hold it down before releasing a Charge Beam shot for greater effect. Use this to lay standard bombs in Morph Ball mode. |
 |
Press this to jump. Once you've scored the Space Jump Boots, press B a second time while in the air to perform another jump to propel Samus higher. |
 |
Press this to activate Samus' Morph Ball mode. While in Morph Ball mode Samus can lay standard bombs and Power Bombs, and can roll through narrow gaps in the environment. |
 |
Press this to launch a missile. Once you locate each primary weapon's Charge Combo, pressing Y after charging up the weapon with A will deliver the blast. Also use this to unload a Power Bomb while in Morph Ball mode. |
 |
Press Z to summon a 3D overhead map of the world. All the controls for manipulating the map are on-screen, giving you easy access to examine the area Samus is currently exploring. Press Z again to return to the game. |
 |
To strafe, hold down L and tilt left or right on the Control Stick. You can also hold down L to lock onto any nearby enemies in view. |
 |
Hold R to freely aim Samus' arm cannon around. Hold down L before releasing R to allow Samus to remain locked in that aiming position to enable movement again. Use R while in Morph Ball mode to attach to special magnetic tracks once you've recovered the Spider Ball. |
 |
Bring up the game's sub-screen to give access to game options, the Logbook and an overview of what abilities Samus is currently carrying. |
 |
Switch to the Combat Visor when using a different visor mode. |
 |
Switch to the Echo Visor. |
 |
Activate the Scan Visor, then use L to lock on and scan objects/enemies glowing a bright colour. |
 |
Switch to the Dark Visor. |
 |
Return the arm cannon to the Power Beam. |
 |
Switch to the Annihilator Beam. |
 |
Switch to the Light Beam. |
 |
Switch to the Dark Beam. |
Controller overview (Wii version)
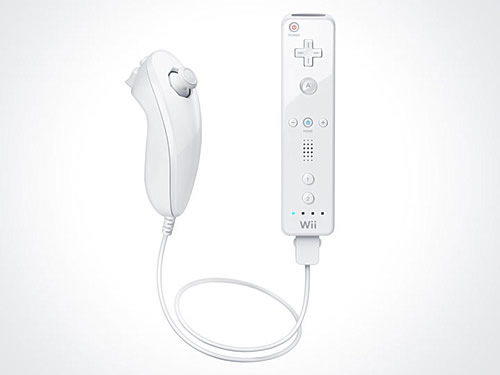
The Nintendo Wii Remote.
The Wii version of Metroid Prime 2 borrows an almost identical control system from Metroid Prime 3, both in the Metroid Prime Trilogy version of this game and its stand-alone Japanese release. The point-and-shoot mechanism offers a far smoother system to the original GameCube style, allowing Samus to aim anywhere and fire while moving.
Just point and aim the Wii Remote at your screen to aim in any direction fluidly. Movement is handled via the Nunchuk's control stick, while all other functions available in the original game have been mapped appropriately.
| Button | Operation |
|---|---|
 |
Press A to fire Samus' arm cannon. Press rapidly for continuous shots, or hold down and release for a stronger Charge Beam blast. While in Morph Ball mode, press A to lay up to three bombs at a time. |
 |
Press this to jump. Press a second time while in mid-air to perform a Space Jump to propel Samus higher. While in Morph Ball mode, hold B and release to use the Boost Ball ability. |
 |
Press Down on the D-Pad to fire a missile. Lock onto a target before firing to release a homing missile. Once you collect Charge Beam Combos, first hold A to engage the Charge Beam, then press Down to use the Charge Combo. Once Power Bombs are equipped press Down while in Morph Ball mode to lay the explosive. |
 |
Press and hold Minus to summon a selection of available visor modes. Initially you'll begin the game with the Combat Visor and Scan Visor. While holding Minus, point at one of the three regions on the screen to select a visor, or point at the center to return to the Combat Visor. |
 |
Press and hold Plus to display a selection of available beam weapons. Point to any available weapon on-screen to activate, and return to the Power Beam quickly by briefly pressing Plus. |
 |
Press C to enter Morph Ball mode. From here, direct Samus with the control stick, lay bombs with A, hold B to use the Boost Ball ability, hold Z to attach to magnetic rails with the Spider Ball and perform a Spring Ball jump by flicking the Wii Remote up vertically. Lay Power Bombs with Down on the D-Pad. |
 |
Hold Z to lock onto any nearby enemies. Depending on your Lock On/Free Aim settings, your target reticule will either latch onto the selected target or simply act as a guide while the reticule remains freely moveable. See below for more details. |
 |
Press 1 to view a 3D map of your current position. Follow the on-screen legend to manipulate the map. |
 |
Press 2 to view the inventory, Logbook and options screens. |
Wii controller settings
| Option | Effect |
|---|---|
| Sensitivity | Select the Wii Remote's pointer speed with this option. Beginner players can set the speed to Basic if having difficulty aiming correctly, while most players should find the Standard setting just right. Veterans of PC mouse-and-keyboard configurations may find the Advanced setting suitable, just keep in mind that it's very sensitive. |
| Lock On / Free Aim | When switched on, if you lock onto an enemy target with Z, Samus will remain facing the target to keep it in view. Your aiming reticule will remain freely moveable, allowing you to fire at anything while keeping the enemy in view. Switching this off will render the lock-on exactly as it was in the GameCube version, keeping your aiming reticule firmly attached to the target. |
| Swap Jump and Fire | This option allows you to swap the functions of the A and B buttons (default A to fire, B to jump). |
| Swap Visor and Beam | This option allows you to swap the functions of the Minus and Plus buttons (default Minus to select visor, Plus to select beam weapons). |
Difficulty settings
GameCube version: Initially the game will default to Normal mode as the only available selection. Complete the game on Normal mode to unlock access to Hard mode, a significantly tougher challenge where foes boast more health and Samus' defense level is lowered.
Wii version: The Wii version gives you initial choices of Normal mode and Veteran mode. The Normal mode is ideally meant for beginners, while Veteran mode is roughly the equivalent of the original GameCube title's Normal mode. Complete the game on Normal or Veteran to unlock Hypermode, the toughest option available.
With a different number of difficulty settings between the two versions, the table below shows how they appear to compare between each other:
| Console | Difficulty settings | ||
|---|---|---|---|
| GameCube: | Normal | Hard | |
| Wii: | Normal | Veteran | Hypermode |