


Data
Guides and strategies
- Power-up locations
- Shinespark Guide
- Bosses Guide
- Obstacles Guide
- Walkthrough
- Game endings
- Secrets and tips
- Game maps
Media
Chapter 4: The Wingless Dragon
Use the Ice Beam to make handy stepping stones.
Trek back to Brinstar and backtrack to the corridor where the first Chozo Statue you found resides. Pick up Missiles BR.05 & BR.07 along the way if you wish. Once back in the statue's corridor head left past the rocky outcropping and pick up Energy Tank BR.02 up in the ceiling. Go left again to find a small familiar chamber with a line of Bomb Blocks covering up a shaft leading down.
Bomb your way through and descend the shaft. Go right at the base to find an elevator in front of a rocky wall adorned with a creepy statue head. The eerie music playing indicates your proximity to something big and ugly, so we'll ride down the elevator to find out what it is.
Welcome to Kraid's lair, where you'll find a crazy winding maze of rooms. Follow these directions closely if you don't want to become lost, and always remember to use your map if you do lose your way. Begin by entering the Save Room down on the left of the main shaft to save your game, and don't forget to pick up Missile KR.01 before leaving. Exit the Save Room and blow open the red door across the shaft.
If you take the time to explore more of Kraid's area, you'll find a range of Zip Lines in some rooms and corridors, but they can't be used yet until powered up. Beyond the red door mentioned before you'll find a path leading to the power generator. Inside the first corridor you'll find Missile KR.02. Traverse right beyond the Missile and watch out for the Sidehoppers bounding around.
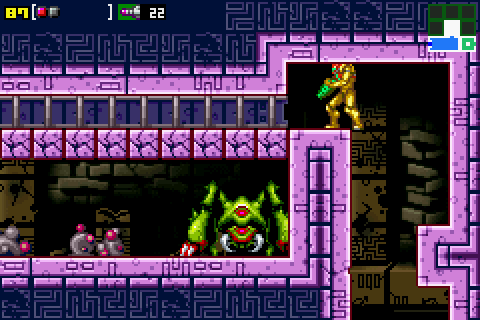
Kraid's lair is a complete menagerie of hostile creatures.
In the following room you'll find a shaft leading skyward with a large glass tube running up along the right wall. Bomb open the floor right up against the tube and drop down below to locate a Morph Ball Launcher. Use the Launcher to shoot Samus up the tube to the higher expanse of the shaft where you can pick up Missile KR.03 (you can also pick it up on the way back to save time).
Once you're ready climb to the apex of the shaft and go left. Cross the following acid-filled corridor and note the Zip Line in the ceiling. The following room is a shaft leading down, but there's a hidden enclosure you'll want to find halfway down. Drop through the narrow shaft up against the left wall and lay bombs as you fall.
Near the bottom is a Bomb Block covering the enclosure, blow it open and use the Morph Ball Launcher below to reach inside. Take out the enemies and blow open the red door with a Missile. This next corridor houses the Zip Line power generator, jump on it and activate the Morph Ball to power it up.
You can now grab hold of the Zip Line's clamp and hitch a ride to the other side of the conveyer belt in the ceiling. Shoot the red switch to call the clamp over, then just jump up and touch it to ride across. Keep in mind that you can also ride across while in Morph Ball mode - pretty neat when blocks lined up along the conveyer only give you a small space to pass through.
On the far right side of this corridor you'll find Energy Tank KR.01. Now the game plays a trick on you. Notice the left door sealing as you entered the room? That means your only escape is via the right door. So head on right and save your game in the adjacent room. Go right again and jump down to the door below you in the shaft you've visited earlier.

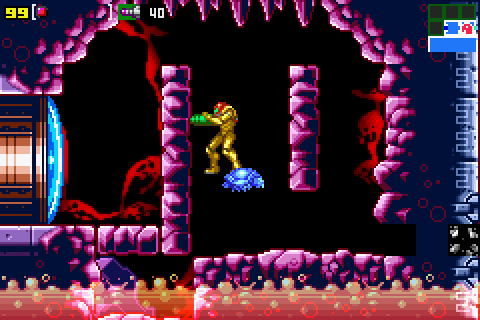
Is that acid real?
Cross the next small room to reach a large purple acid-filled room. The door behind you will seal, so something's definitely going on. Grab hold of the clamp on the Zip Line ahead and you'll be ambushed by Mua, a giant Acid Worm creature attacking from the acid. Check out the bosses guide for tips to cut this worm out for good.
With the worm dead the acid will drain and the doors will unlock, allowing you to escape. Pick up Missile KR.04 before leaving, then exit via the left door. From here retrace your steps back to the main elevator shaft. Now we'll go after Kraid himself. Save your game if you wish, then go through the blue door down on the left wall below the Save Room's door.
Cross this acid-filled corridor to find a Zip Line in the ceiling. Activate the Morph Ball and bomb-jump up to the clamp to be carried across to the left side of the room, with the Morph Ball active you'll avoid slamming into a range of blocks along the way. Beyond the door you'll find a shaft leading skyward, from here you can pick up Missile KR.05.
Once you've got it, bomb through the floor of the shaft where you can see a Ripper flying about in the acid below. Drop down to discover that the acid isn't real and is in fact concealing a huge hidden shaft. At the base go right. Go right again and break through the red door ahead to find the corridor containing Missile KR.06. With that item secured, go back into the room with the red door and look around. See the suspicious looking block at the foot of the left door? Bomb it open and fall through to discover a hidden area.
In this hidden shaft you'll see a large block that resembles the ones you found near Unknown Item #1 in Crateria. Keep descending the shaft and head left to save your game. Back in the previous room, head right going past the pipes spewing enemies in the floor. At the end of the corridor you'll find a door, but instead of going through shoot open the crumbling blocks above and crawl through a narrow tunnel above the door.
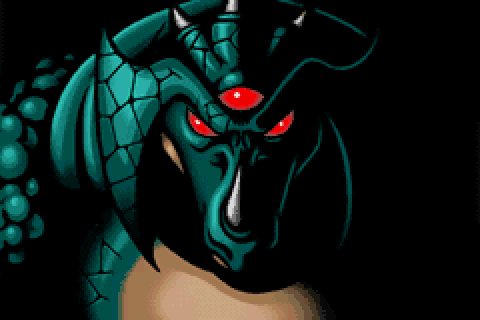
Kraid awakens.
In the following room you'll find Unknown Item #2 (guess what it is?) and notice that you couldn't have entered this room via the door. Leave the room (recharge health/ammo first) and crawl up into the narrow tunnel above in the previous corridor. Roll along while watching out for the crawling enemies and make your way up to the door above near the hole you first entered this room via.
Watch out for the multitude of Sidehoppers and flying bugs in the following green corridor, at the end you'll find a Save Room. Head right after saving to find a small green room with a crumbling block in the floor. Bomb open the block and fall through the concealed tunnel to find yourself in a giant room full of red crawlies, now very close to Kraid's lair.
You'll slip down between two more of the Unknown Item blocks, if you fall down make your way back up to them and destroy each one. Go left through the tunnel they covered and proceed through the door you'll find. The next room yields a weird sight - one of the eyeball creatures known to SM & MF veterans covers the next door. Walk up to the creature and wait for the eye to slowly open before firing a single Missile into it.
One shot will do, just watch out for projectiles the eye expels. Go inside to face a nasty sight, you've just woken up Kraid and he looks pretty irritated. Give him a coffee to calm him down... uh, I mean check the bosses guide for tips on taking this oversized monster down.
With Kraid finally admitting defeat, the game will show you the Gold Statue room back up in Crateria, where you'll witness the eyes of Kraid's half of the statue open with a flash of red. Now you'll just need to find Ridley before gaining access to Tourian. With Kraid gone and the giant room empty, bomb through the left corner to find a small room housing everyone's favourite - the Speed Booster.
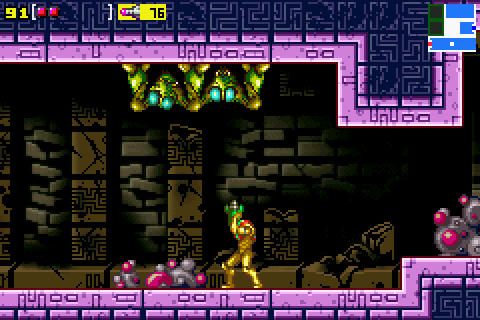
Watch out for this pair of hopping foes.
Time for some happy Shinesparking days. Refill your energy/ammo via the statue then go down into the corner underneath it. Start running to the right and re-enter Kraid's lair. Keep running through Kraid's lair to build up the Speed Booster's charge, you'll then slam through the wall on the right side and emerge back out in the large room full of red crawlies. Keep running up the slope and shoot open the door on the right side of the room.
You'll now enter a tall shaft leading skyward, slam through the Speed Booster block-wall and begin climbing up (you can always crouch and Shinespark straight up the shaft to save valuable time). The first door up on the left wall leads to Missile KR.07. Pick it up then ascend to the apex of the shaft. Head right to save your game if you wish then go left and jump onto the clamp of the Zip Line in the ceiling of the following corridor.
Face right as you travel along the conveyer and fire Missiles madly at the flying bugs, as you don't want to fall into the acid below or you'll fall through to the corridor containing Missile KR.07 and be forced to backtrack. At the end of the conveyer shoot out the Unknown Item block and head left to find yourself back in the main shaft. Before leaving be sure to pick up Missile KR.08 and Energy Tank KR.02. With both items secured head back up to Brinstar, you're done here for now.