


Data
Guides and strategies
- Power-up locations
- Shinespark Guide
- Bosses Guide
- Obstacles Guide
- Walkthrough
- Game endings
- Secrets and tips
- Game maps
Media
Chapter 7: Ridley's Magma Pit
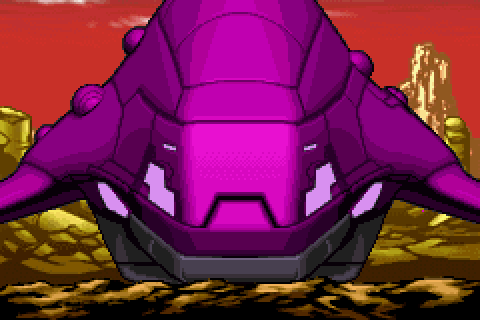
The Space Pirate Mothership arrives.
Ah, another familiar area complete with a familiar tune. You'll find that Ridley's area is layed out much like the original Metroid, but in the visual department appears similar to Ridley's lair in Super Metroid. Jump off the elevator and go down to the doors below. You won't find much through the right door, so instead travel left. Save your game in the room beyond before continuing on. Now there's one of two things that may happen next.
In the following room your path is blocked by a green door which can only be opened by Super Missiles. If you've followed my directions thus far, you'll already have a few in your arsenal so blow it open and head on through. But if you haven't got any yet (or if you're going for a 100% item rate), you'll need to find Super Missile RI.01 nearby. Jump up through the hole in the ceiling to find a tall shaft leading skyward.
You won't be able to reach the door in the alcove above, so continue on up the shaft. At the very top you'll spot the giant Kiru Giru creature you fought not long ago sitting up against a wall in a separate alcove. The creature looks as though it's escaping from its cocoon, and that can't be good. You'll need to make your way over to where the creature is, to get there begin by backtracking up to Norfair. Once there go back inside the room where you initially fought the creature to find a gaping hole in the floor where it crashed.
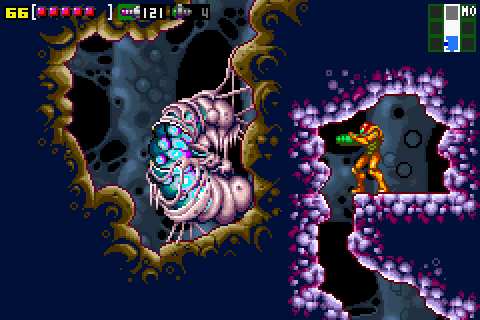
Some ugly sights await in Ridley's lair.
Follow the tunnel down to re-enter Ridley's area. You'll immediately fall down into the tunnel where the remains of the creature's cocoon lies, with it nowhere to be found. Uh oh. Head through the opening in the left wall to fall into a giant open room where Super Missile RI.01 resides. Walk over to the left end while clearing out the eggs lying around.
As soon as you spot the Super Missile hidden within the wall a crazy boss theme begins to play right on cue as Imago - an overgrown multi-eyed wasp - charges in from the right. Check the bosses guide for tips to rip the stinger off this monster and send it packing.
Now we'll finally venture deeper into this area. Leave Imago's room and descend the shaft. You'll find yourself back down in the room with the green door, blow it open and head left. The following long corridor is home to a pack of enemies, but if you bomb the floor near the first pillar you'll find a hidden tunnel running along under the floor. Use it to sneak past all the enemies and shave off precious time if you're going for a fast completion.
Beyond this corridor you'll discover Energy Tank RI.01 sitting idly in a narrow room. Watch out for the fake blocks covering a hole in the center of the room, shoot Missiles into the floor to see where the solid blocks end. Stand on the fourth block from the door (not including the one directly under it), and jump from there to clear the hole and reach the Energy Tank. Pick it up and trek left. Cross the following corridor taking care when moving through the centre enclosure (use the Wave Beam to clear out the hidden enemies.

Pick up the map data on your way through.
Beyond here you'll discover a tall shaft dropping down below. Descend the shaft and save your game through the left door below (the right door leads back to the room with the previous Energy Tank). Drop through the narrow crevice in the floor of the shaft and proceed further down to discover Missile RI.01 along the way. Once at the base of the shaft, go right to find the Map Room. With the map downloaded, head right to find the longest horizontal corridor in the entire game.
From here you can turn back to pick up Missiles RI.02 & RI.03. With both Missiles secured go back to the ridiculously long corridor and trek to the right end, using the roof sections to bypass the enemies below. Not far in you'll find Missile RI.04 easily atop a pillar, so make sure you pick it up. Once you finally reach the right end of the corridor you'll discover another Save Room, so save your game before heading on.
Beyond here lies a tall shaft leading up, you'll want to climb up and go through the second door on the left roughly halfway up, just watch out for the fireball-like enemies crawling around the platforms.
We're now on the final run to Ridley's lair. In the following long corridor you'll spot a hole in the floor bridged by a platform. Try to avoid shooting the platform and falling through otherwise you'll end up in a room lower down connected to the previous shaft - a real time-drainer. Proceed through the corridor whilst watching out for Sidehoppers and other enemies. Don't forget to pick up Missile RI.05 in here before moving on.
In the next room you'll discover Missile RI.06 guarded heavily by fireballs bouncing around the room. Bomb through the floor closing off the alcove and clear out the enemies before claiming your prize. From here you should also find Super Missile RI.02 up through the ceiling. Moving right along, you'll discover Missile RI.07 atop a pillar in the next room. But watch out for the hole below, as if you fall down you'll miss your chance at this Missile for now as well as three others and a Super Missile, you don't want to blow it.
Firstly, freeze one of the blue fireball creatures as it crawls down the right side of the pillar, then use it to reach the Missile. Then from atop the pillar, just hold Left to drop off the pillar and grab hold of the platform's edge at the base of the left door. From there go forth and pick up Missiles RI.08, RI.09, RI.10 and Super Missile RI.03. With all that new ammo weighing you down, go back to the room with the hole and drop down below.
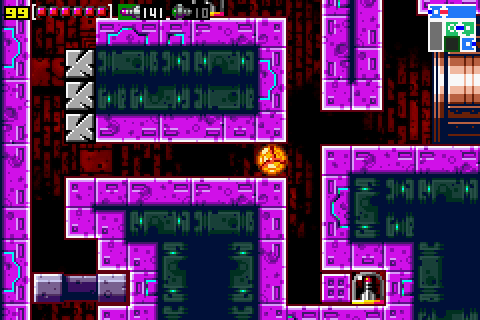
Many items here offer a tough challenge to reach.
Go left at the base of the shaft to discover a Save Room, where it's a very good idea to save your game now. Beyond you'll discover a large open room. Proceed over to the left side to discover a Monster Door covering the hatch. Watch out for its energy projectiles, but it shouldn't be much trouble at all. Once the creature blows, open the door and get ready to enter Ridley's lair. Enter the room and... huh? It's empty!
Check your map, you are indeed inside Ridley's room but he's nowhere in sight! Do the only thing you can do and proceed left through the door on the other side of the room. Inside this next corridor you'll discover the final Unknown Item, as well as Energy Tank RI.02 hidden beyond the left wall. If you're low on health or ammo fear not! Just use the statues to refill your energy/ammo, then go back inside Ridley's room. Now you'll face the screaming dragon, and it won't be too happy to see you. Check the bosses guide for tips to defeat this monster that doesn't know when to quit.
Once you've dealt the final blow to Ridley, among his ravaging screams the game will return to the Gold Statue room, where the eyes on Ridley's part of the statue promptly open. With one last shriek Ridley will explode, allowing you to finally leave this hole. Leave via the right door and proceed back to the Save Room, using a flying bug emerging from the pipe back in the following room as a stepping stone to reach the hidden tunnel up above.

Watch out Samus! Ridley has arrived.
Save your game before moving on. We'll now pick up a couple more items on our way out of here. Proceed right beyond the Save Room and right again in the next shaft, all the while holding down Right to build up the Speed Booster's charge. In the next purple corridor you'll charge up the Speed Booster and careen through the wall at the far end, blowing through a group of enemies as you do. Pick up all the items they drop before moving on.
The following green corridor contains Energy Tank RI.03, bomb through the floor near the raised platform ahead to expose a hidden tunnel running under the floor where you'll find it. Keep going right to eventually find yourself back in the shaft you visited earlier. Climb to the apex and travel left. You'll now be in a huge lava cavern, head left and use the flying bugs popping out the pipe to reach Missile RI.11 above in the top-right corner.
With the Missile in hand, make your way over to the left side of this large room. Beyond the swooping enemies you'll find a dead-end. Shoot out the block in the floor up against the wall with a Missile and bomb your way down through a hidden tunnel. Drop down into the room below and go left. You've now completed a counter-clockwise run of Ridley's area, as you're now back in the elevator shaft leading up to Norfair. Jump on the lift to finally leave this place.