


Data
Guides and strategies
- Power-up locations
- Shinespark Guide
- Bosses Guide
- Obstacles Guide
- Walkthrough
- Game endings
- Secrets and tips
- Game maps
Media
Samus' upgrades
Samus' upgrades | Missile locations | Super Missile locations
Power Bomb locations | Energy Tank locations

Morph Ball
Double-tap down while standing to activate this classic ability. With the Morph Ball Samus can assume a small ball shape to easily fit through small tunnels and cracks abundant in the terrain. While in Morph Ball mode Samus can also lay small bombs and Power Bombs.
Found in: Brinstar
You'll find this ability within about 20 seconds of starting the game (really). Just travel left as you begin and climb over the large rocky structure to find it waiting on a pedestal.

Long Beam
The handy Long Beam ability increases the projectile distance for all of Samus' Beam Weapons. Initially her range is quite short, this upgrade increases it right up to the edge of the screen.
Found in: Brinstar
Shortly on in the game you'll discover the first Chozo Statue with empty hands outstretched. Jump on the hands and activate the Morph Ball. The statue will display a map showing the location of the Long Beam - way up a tall shaft ahead. Climb up the shaft and cross the corridor level with the glowing target on the map to find the Long Beam waiting inside.

Charge Beam
Simply put, the Charge Beam allows Samus to build up energy in her Beam Weapon before releasing a more powerful blast (hold B). You can also perform a simple charge jump by spin jumping while the Charge Beam's fully powered.
Found in: Brinstar
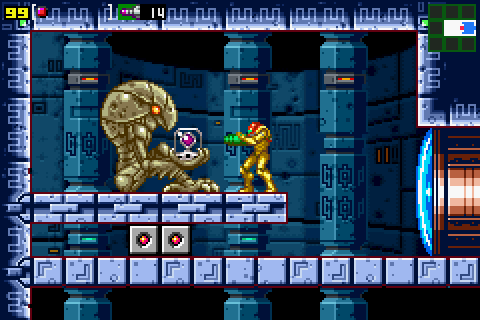
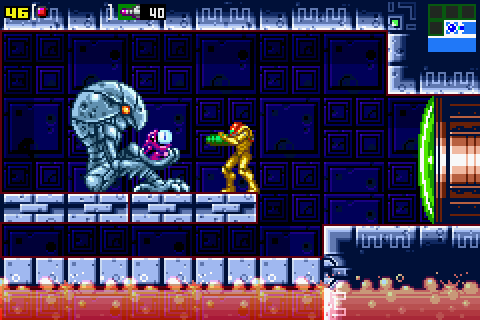
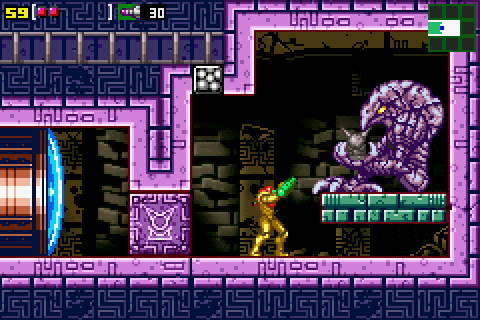
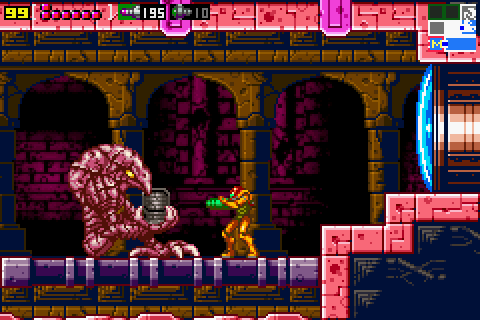
On your way to finding your first Missile Tank (in the long corridor leading to Norfair's lift), you'll experience what seems to be an earthquake occurring near the left side of the room. Come back once you've picked up your first round of Missiles to be ambushed by the huge Deorem (Centipede) boss. Defeat this overgrown insect to receive the Charge Beam as your prize. Check the bosses guide for more information.
Bomb
Another of Samus' must-have abilities, the Bomb grants you the destructive power of laying small bombs while in Morph Ball mode. From breaking open hidden tunnels to blowing away unaware enemies, the Bomb will come in handy in a plethora of situations.
Found in: Brinstar
The second Chozo Statue you'll find in the game (right after locating the Long Beam) will show you exactly where the Bomb is. Exit the chamber the statue lives in via the right door and descend the huge shaft. Slip through the first door down along the right wall and through the adjacent room to find a second tall shaft. You'll need to break through the red door across the way to reach the Bomb, but you'll need some Missiles first.
Grab your first Missile Tank in the long tunnel way down at the base of the shaft and return to the red door (you'll face the Deorem mini-boss on the way). Blow the red door open with a Missile and begin the long trek through the following corridors until you reach a dead-end shaft leading up and down (you'll face Deorem again along the way if it survived the first battle).
Down below at the base of the dead-end shaft you'll find the Map Room behind a red door, but if you ascend the shaft and go through the left door up above you'll eventually reach the Bomb's chamber.
Unknown Item #1 (Plasma Beam)
Veteran Super Metroid players will recognize this Unknown Item's appearance as that of the Plasma Beam, but you won't be able to use its enemy-shredding firepower until later in the game. Once you've found it you'll be able to shoot through the large blocks with a Plasma Beam image engraved on the side.
Found in: Crateria
You'll find the first Unknown Item buried in a chamber in Crateria. Start from the elevator leading down to Norfair and go right. You'll find a huge water-filled cavern with a range of platforms suspended above. Make your way up to the top-left corner of the room and jump up through the shaft in the ceiling there. You've now entered the Chozo Ruins area, not far to go now. Travel through the narrow tunnels on the right to find a blue door beyond. Go inside to find this item at the far end of the watery chamber.
Power Grip
This handy addition allows Samus to grab hold of ledges and pull herself up if she can't reach a platform. Just hold the direction in which the ledge resides to grab hold of the edge, then from there you can either shoot around while hanging, drop down or climb up onto the ledge.
Found in: Crateria
Right after locating the first Unknown Item described above, leave the room it resided in (grab the Missile Tank first), then make your way up through the narrow tunnels in the adjacent room to reach open air above. Once out in the open travel over to the door up on the left side of the region and proceed through. A massive shaft leading down resides in the following area, you'll need to fall down to find this item. Once at the base shoot through the wall on the left and crawl through a small series of narrow tunnels to find a hidden room inside. The giant intimidating-looking Chozo Statue inside holds this powerup.
Ice Beam
As the name suggests, the Ice Beam is capable of freezing enemies in their tracks, rendering them temporarily harmless. While an enemy's frozen Samus can safely stand on them and use them as handy stepping stones to reach otherwise unreachable areas. The Ice Beam's also essential when combating Metroids.
Found in: Norfair
You'll discover that the Power Grip's almost essential before finding this item, although sequence breaking can be pulled off here. From the main elevator in Norfair which leads back up to Brinstar, go right. Pass through the Save Room and proceed through the next giant chamber (you may need the Power Grip here). On the far side you'll find a gigantic green shaft leading up and down, you'll need to go up for now. Proceed through the first door up on the left you find, then cross the corridor to find the Ice Beam waiting beyond the door on the far side.
Unknown Item #2 (Space Jump)
Once again veteran Super Metroid players will instantly recognise this item as the Space Jump, but you'll need to wait until later in the game before you can use it. Once it becomes available you'll be able to continually spin-jump through the air. You can also dismantle the large square blocks with the Space Jump image engraved on the side.
Found in: Kraid
The trek to this item's a little tricky so I'll try to be specific. Once you've powered up the Zip Lines (see the walkthrough for more details) you'll be able to freely explore more of Kraid's area. From the main elevator, go through the second door down on the left. Proceed through the next corridor and go left to find a shaft leading up.
Further up this shaft you'll find a Missile Tank, and you'll also find that the base of this shaft hides a second tall shaft leading down. Descend to the very bottom and go right. Cross through this empty room and you'll find a second seemingly-empty room. See the small crumbling block at the foot of the left door? Bomb through it and climb down below. Descend the room below to and head right at the bottom (there's a Save Room on the left).
At the far end don't proceed through the door, instead break through the wall up above the door with help of the floating platform to reveal a narrow tunnel. Crawl through to find the statue inside holding this precious item.
Speed Booster
This classic ability allows Samus to run at incredibly high velocities, so high in fact that any enemies that dare cross her path are incinerated instantly. The catch is that you'll need a lot of room to build up enough speed to activate the Speed Booster.
With this you'll be able to break through Speed Booster blocks (the ones with arrows printed on the front) and you'll have access to all the famous Shinesparking abilities. For full details on all the Shinesparking tricks you can imagine, check the shinesparking section.
Found in: Kraid
The Chozo Statue you'll find in Norfair right after finding the Ice Beam will point to a room right behind Kraid's den, so you'll need to finish off Kraid before finding the Speed Booster. Check the walkthrough for full directions to Kraid's room and the bosses guide for hints to flatten the monster.

Hi-Jump Boots
With this item Samus can execute higher and longer jumps, depending on how long you hold down A. Always handy for reaching those out-of-reach platforms, and as an added bonus you'll be able to jump around while in Morph Ball mode (also known as the Spring Jump). Shinesparking in Morph Ball mode is also only possible once you have this ability.
Found in: Norfair
You'll first need the Speed Booster to reach this handy footwear. With that in hand, enter Norfair via the Brinstar elevator. Go right and proceed to the end of the large chamber partially filled with lava. Once at the end, shoot the door open and run back as far as you can to the left. Run back right to build up power in the Speed Booster, you'll then tear through the door and blow through the floor in the adjacent shaft.
Drop down below and you'll find another line of Speed Booster blocks barring the way down. Use the corridor beyond the left door to build up enough speed to break through these blocks. Once you're through continue on down the shaft and proceed through the first door you'll find on the left. Cross the corridor to find the Hi-Jump Boots waiting in a room at the far end.
Varia Suit
One of Samus' most vital upgrades, the Varia Suit gives you what it always has - protection against extreme temperatures, the ability to wade through acid and a reduction of damage taken from enemies.
Found in: Brinstar
Just like in the original Metroid you'll find the Varia Suit hidden in Brinstar. You'll need the Hi-Jump Boots to reach this (Or do you? It is possible to find it without them, all you'll need is the Ice Beam - check the secrets and tips page for more details). From the elevator leading down to Norfair (in Brinstar), cross the long corridor on the left to reach the second tall shaft. Climb all the way up to the very top and proceed right.
Cross the following long corridor to find a small apparently empty room. There's a range of fake and destructible blocks in the ceiling, blow through them to find a tall shaft leading skyward. Climb up and wait for the destructible blocks to reappear, then stand on the left edge of them (don't fall through the fake blocks). From here you'll be able to jump across to the left wall and reach the platform up above.
From there climb up and head left, traverse through the acid-filled corridor to find the Varia Suit beyond the left door.
Wave Beam
The final Beam upgrade (next to the Plasma Beam), the Wave Beam grants Samus' energy projectiles a wavy pattern as she discharges them. But it's not just for looks, as Samus' shots will penetrate any solid wall or object and pass straight through them. A great corridor-clearer.
Found in: Norfair
The Chozo Statue nearby the Varia Suit will show you exactly where this item is - buried in Norfair. The route there is tricky and mazelike, so to begin go back to the room in Norfair where you found the Hi-Jump Boots. From here use the narrow tunnel to head left, you'll now enter a super-heated area but the Varia Suit protects Samus from harm here.
Now it's time for a long trek - keep going left through numerous corridors and rooms until you can't go any further. At the end you'll reach a small shaft leading down. Down below through the red door you'll find the Map Room, but you'll also find a way to penetrate the base of the shaft. Drop down and descend the following shaft. At the base proceed right through the following rooms until you reach a small room with a Save Room beyond the right door.
Shoot your way down through the floor to find a hidden room below. Travel left and cross the following corridor to locate the Wave Beam waiting in a dead-end chamber.
Unknown Item #3 (Gravity Suit)
The third and final Unknown Item is without a doubt the Gravity Suit, you'll instantly recognise the canister-shaped item as the same one you found in the Wrecked Ship (which makes you wonder, as this game occurs before Super Metroid, is a second Gravity Suit powerup already hidden within the ship?). You'll be rewarded with the Gravity Suit's abilities later in the game, and once you do you'll be privileged to walk through liquid environments freely as well as walking through deadly lava without taking a scratch.
Found in: Ridley
Surprisingly you'll find this item before fighting Ridley beyond his lair (which is handy as you can fill up on energy and ammo thanks to the statue). Finding your way there is fairly tricky and lengthy, so check the walkthrough for precise directions.
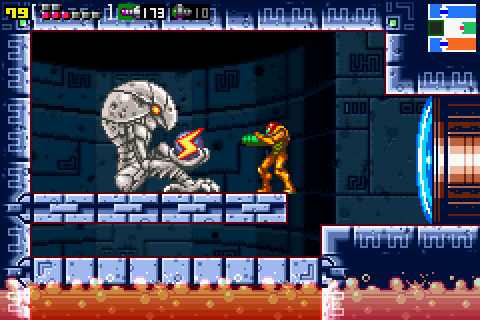
Screw Attack
With the Screw Attack Samus will charge energy through her suit while somersault jumping. As the energy charges over her suit she'll be rendered temporarily invulnerable - any enemies she comes in contact with will be incinerated. You can also break through Screw Attack blocks with this ability.
Found in: Norfair
You can find this item either before or after taking Ridley apart (here I'll direct you to find it after fighting Ridley - check the secrets and tips page for tricks to pick it up early). With Ridley suffering his first defeat, leave the area and go back to Norfair. Once up in the elevator room the wall on the right will collapse revealing another room beyond. Go through the red door to find a room with a ruined Chozo Statue (this one would direct you to Tourian if it were still standing).
Proceed beyond it and descend to find a corridor leading left. Run through the next few rooms to build up the Speed Booster's charge and keep firing to blow down any walls in the way. At the far left end of a long corridor you'll break through a range of Speed Booster blocks concealing a Morph Ball Launcher. Use the launcher to shoot Samus up through the ceiling.
You'll tear up through a number of rooms until reaching the peak of the shaft. From here go through the left door and proceed through the adjacent corridor to find the Screw Attack beyond the red door.
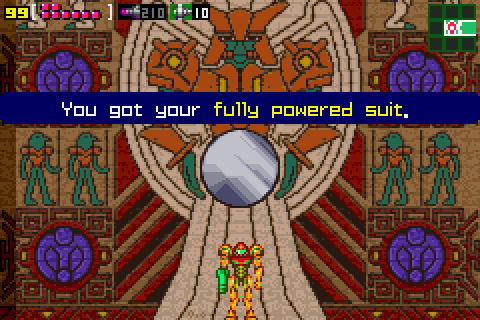
Plasma Beam / Space Jump / Gravity Suit
When you finally recover (spoiler time) Samus' Power Suit you'll also be given all three of the Unknown Item's abilities. Check the individual item's descriptions above for a quick overview of their abilities.
Found in: Chozodia
MAJOR SPOILER BELOW!
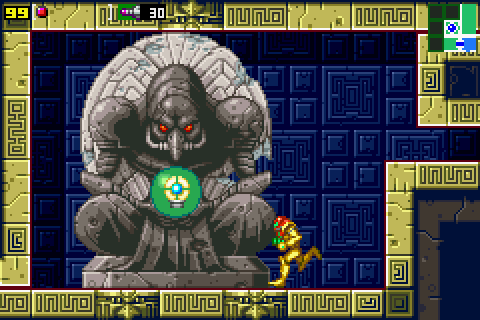
You'll need to successfully infiltrate the Space Pirate Mothership and make your way through the mazelike Chozo Ruins in Chozodia to reach the highest chamber where you'll confront the huge Chozo Warrior Engraving boss. Defeat the statue and you'll regain Samus' fully-powered suit with these three new abilities. Check the walkthrough for proper directions and the bosses guide for survival hints against the Chozo Warrior boss.