


Chapter 10: Close Encounters with the Lethal Kind
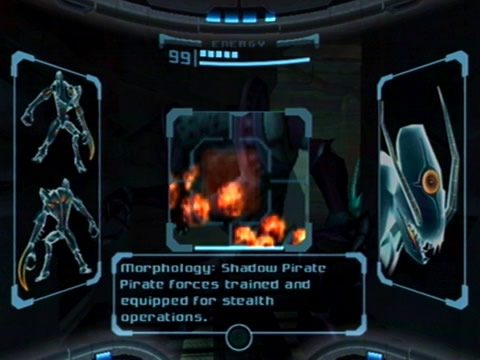
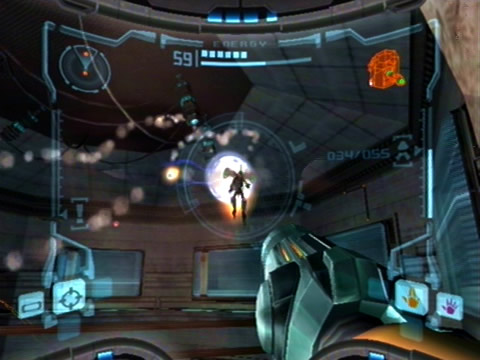
This Shadow Pirate welcomes Samus to the Space Pirates' labs.
You're now in a dangerous area - the Space Pirate's Phendrana research facility, so naturally you'll encounter Pirates here for the first time. As soon as you enter the first room the music becomes far more tense than the outdoor music. Watch out for the Turret at the far end of this first narrow room, shoot it down or quickly scan the console on the right wall to switch it off.
Around the corner you'll face a nasty surprise, the first of many Space Pirates will come charging at you. Scan him to reveal him as a Shadow Pirate, these ones have temporary cloaking fields that make them partially invisible. Blast away with the Charge Beam or missiles to finish him off, then head through the door at the far end. The next room - the Research Entrance, has a load of nasty surprises.
A security drone hovers down and spots Samus, sounding an alarm and summoning several normal Space Pirates. Scan one before engaging them, then show 'em why you're called The Hunter. These guys are far stronger than the weakened Pirates you faced on board the research frigate so strafe around often to avoid their fire and watch out for their bayonet weapons.
Once they're gone the doors will unlock. Use the blue door on the ground level in the corner to reach the Map Station of Phendrana. Leave the room after downloading the map and go up the ramps to the second level of the Research Entrance. Quickly blow apart the Turret in the ceiling and head through the purple door.

The Pirates have this area well and truly fortified.
Proceed through the next tunnel while shooting down the Scatter Bombus, beyond here you'll find yourself in Research Lab Hydra. There's a load of consoles here to scan with information seeping out of them, so once all the enemies are gone take your time in reading everything. Scan the button on the right of the large force field to shut it off, then get ready to engage more Pirates.
There'll be several of them hidden up on the upper levels, use the elevator on the far side of the room to reach them. Once all the enemies are toast (including the Turret up on the top level), go back down to the ground level and scan all the consoles for a load of information.
You'll also find the Mining Status, Phazon Analysis, Security Breaches, Parasite Larva and Glacial Wastes Pirate Data entries scattered throughout the lab. After scanning two or three the game should tell you that you've scanned 50% of all the logbook entries, so we're on track.
Once you're done reading all the info in this lab, climb up to the top level and head through the purple door in the ceiling (I don't know what the Pirates were thinking when they put standard doors in the floors and ceilings). Watch out above in the next tunnel as there's a few Turrets waiting, quickly shoot them before they hit you.
With all the Turrets down head through the next door to find yourself in the massive Observatory. Jump down into the room and deal with all the Space Pirates hanging around (your radar comes in real handy when tracking each target down). In this room is a massive holoprojector, once you take down all the Pirates a console in the small command alcove will activate.
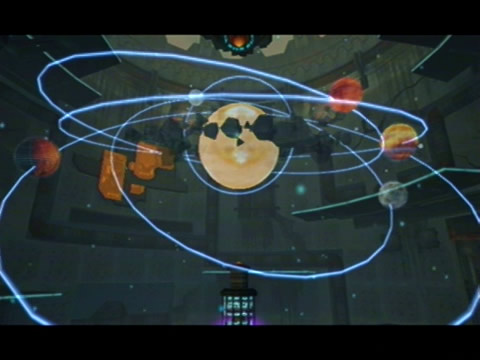
A holographic readout of Tallon IV's star system.
Scan it to activate a Morph Ball slot up on one of the walls. Bombing this slot activates another on the other side of the room, use the platforms on the walls to reach it. With both slots charged, the lower holo node will rise and the four Spinners at its base become active. Use the Boost Ball to charge up each Spinner, as you charge each one a large mechanical arm will lower down from above, with all arms lowered the upper node will lower down and the holoprojector will activate.
You'll witness a spectacular sight as a holographic representation of the galaxy fills the air between the two nodes. The camera will pan up revealing an item waiting atop the upper node, you'll definitely be wanting to pick this one up. Before climbing to the top, scan the floating planets to record both the Tallon IV and Zebes Research entries for your logbook. The other scannable planets reveal interesting facts too.
You can also scan the Contact & Phazon Program Pirate Data entries near the button that switched on the first Morph Ball Slot. With all the scanning done, climb up to the top of the holoprojector, where you'll find the small interesting-looking item.
Scan it to reveal it as the Super Missile! With this baby you'll be able to fire off a destructive missile while charging up the Power Beam - definitely a welcome addition to your arsenal. Up here, go through the door covered with a Blast Shield to save your game in the room beyond, then head past the purple door.
Proceed through the next Scatter Bombu and Crystallite infested corridor and shoot off the Blast Shield on the door at the end. Go inside to find a large elevator, scan the panel to activate the hologram and jump on. Go through the door at the top of the shaft to emerge outside in the Control Tower. More Pirates will ambush you here, use the same tactics as before to finish them off - you'll have a fiery experience with all the exploding crates.
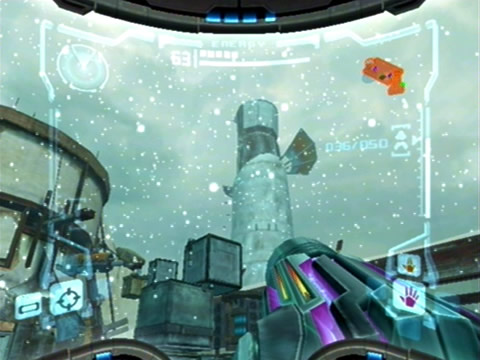
You'll need to return here later for the item hidden below that tower.
After taking all three down you'll be attacked by Flying Pirates equipped with mounted jetpacks. Scan one before engaging them. Move around quickly to avoid their homing missiles, a single Super Missile should take each one down, but watch out when they fall as they'll try to slam into Samus before exploding. If you manage a direct hit with a Super Missile they'll explode in the air so you won't have to worry about any dive-bombers.
Once you've conquered them all the door locks will release. Go through the next purple door (find out which one is the right way by looking at your minimap) and ride the elevator down (there's an artifact out here in the Control Tower but you can't reach it yet). Go through the next Scatter Bombu filled corridor to reach Research Lab Aether. This is a significant point in the game, and you'll see why when you walk forward into the lab.
What's that object floating around in the stasis tank in the center of the room? It's none other than the very first 3D Metroid! You'll get a few camera angles of the Metroid before returning to Samus' view, once you're back in control scan all the consoles in the room, but don't scan the Metroid just yet. You'll find the Metroid Studies & Meta Ridley Pirate Data entries up here.
Eventually you'll find out what the Pirates are doing with the Metroids here in their labs, but you can probably guess already from all the info you've gathered so far. When you scan the Metroid and add it to your logbook, the creature will spontaneously break out of the tank and attack.
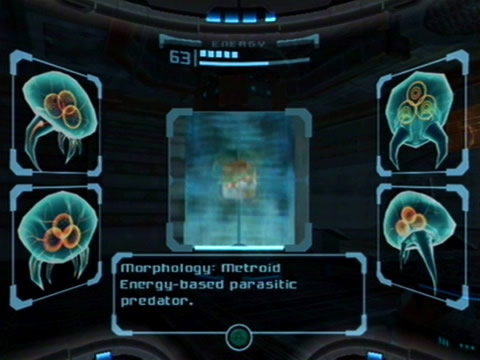
The first 3D Metroid.
You don't have the Ice Beam yet so the usual trick to take Metroids down won't work, instead just hammer away at it and watch out when it lunges at you. If it catches you and begins sapping energy, activate the Morph Ball and drop a bomb to shake it off. A well aimed Super Missile will easily take it down.
Once the Metroid's dead a Pirate will jump up through the wall on the right side, giving you access to the lower part of the lab. Go down there and finish off all the Pirates. With them all gone, scan all the consoles around the room to find more information, including the Metroid Forces, Phazon Infusion and Metroid Morphology Pirate Data entries. Here you'll also be able to pick up Missile PD.06 and Energy Tank PD.02.
In the center of the lab you'll find a huge container concealing the remains of a dead Elite Pirate, these Space Pirates are a revolting unethical bunch, and that's why you're here to stop them. Also watch out for another Metroid contained within one of the stasis tanks on the ground floor. Once you're done here blow open the crates above the purple door in the floor and go down.
Down in the next cave you'll encounter two Ice Beetles, scan one and blow them both apart, they're not much different from the Beetles in the ruins. The adjacent room is where you want to be - the Research Core. Shoot the Pirate across from you and watch out for the pair of Flying Pirates that emerge from the ground level below (try and dodge their missiles, if they strike near you you'll catch the reflection of Samus' face in the visor - always fun to catch a view of our gorgeous gal's face).
With the Pirates down, take a look around the room you're in. This huge multi-level shaft has a large structure in the center with a force field protecting an object down at the base. The concealed object is what you're after. You'll need to scan three consoles to deactivate the three force fields, so proceed down each level while keeping a lookout for the consoles. Watch out for the Turrets stationed around the room as you descend.
This containment lab is heavily guarded - and fortified.
With all three fields down you'll be able to pick up the Thermal Visor, a good reward for travelling so deep into Pirate territory. Notice that there's a white door in this room, you won't be able to go through there so we'll have to backtrack way back to the entrance of the research area. When you've grabbed the visor the power in the entire research area goes down, plunging you into total darkness.
It's time to give the Thermal Visor a try (enjoy the detailed HUD it features). Once active you'll be able to see in the dark and easily spot enemies. You'll be ambushed by more Pirates, finish them off and ascend the shaft. As you do watch out for the Metroids breaking out of their containment cells - remember to use Super Missiles.
Once you reach the door at the top you'll find that it's powered down. Using the Thermal Visor you'll be able to see a circular power conduit to the right of the door. Blast it with a shot from the Wave Beam to restore power to the door.
In the next cave you'll be confronted by two Sentry Drones, scan one and start blasting away at them. These drones are annoying as they'll cause Visor interference whenever they're nearby. Keep pounding each one to knock them down, then go back up to Research Lab Aether. Watch out for the Pirates that ambush you in the lab, and be careful of the Turret over in the far alcove.
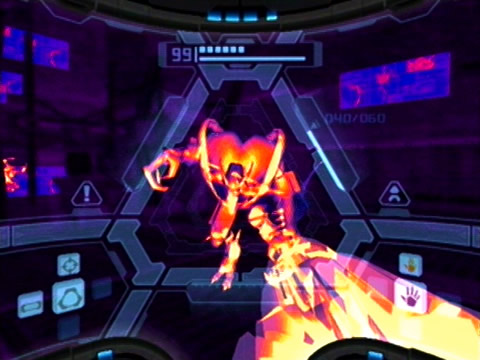
Use the Thermal Visor when the lights go out.
Two Metroids are hovering around in stasis tanks, if they break out they'll attack the Pirates, it's funny to watch as they devour them. Further up the lab you'll face a few Shadow Pirates, but with the Thermal Visor you'll easily be able to track them, and they don't have projectile weapons so it's easy to avoid taking damage. Watch out for the Turret at the top of the lab, then you're clear to exit this area.
Head back up to the Control Tower and deal with the Flying Pirates before moving on (by the way, this room is the highest point of Tallon IV you'll be visiting, but all you see over the edge of the walls are endless clouds, so you must be pretty high up). Go back down to the Observatory and deal with the Pirates there before stopping to save your game. Once you're ready head back to Research Lab Hydra and deal with the enemies there.
There's also Missile PD.05 to be found here. With all the enemies gone it's time to go back to the Research Entrance. Once there you'll be ambushed by the final Pirate team, take them all down but watch out for the Turret in the ceiling, go for it first before engaging the Pirates. Once you've cleared the area go back outside for a much-needed breath of fresh air, after going through all those filthy labs you'll need a bath.
Chapters:
- Pirate Science Vessel
- Escape!
- The World of Tallon IV
- Restoring the Power Suit
- Purification
- Memories of Norfair
- It's a cold, cold land
- Chozo Temple
- Back to the Drifts
- Close Encounters with the Lethal Kind