Data
Guides and strategies
Media
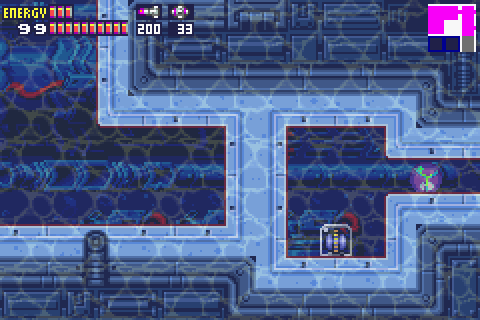
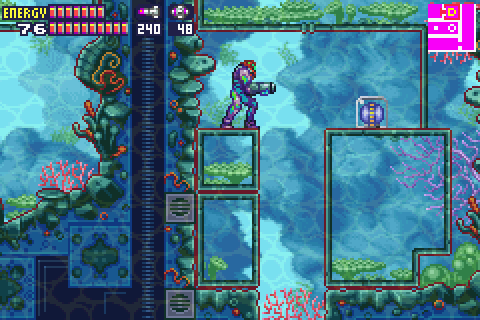
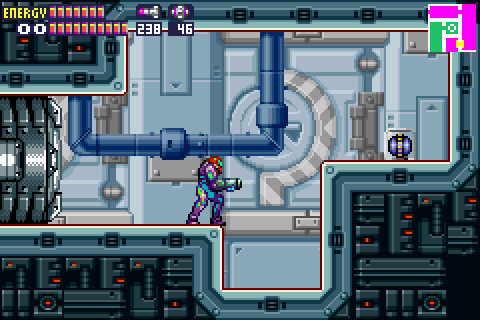
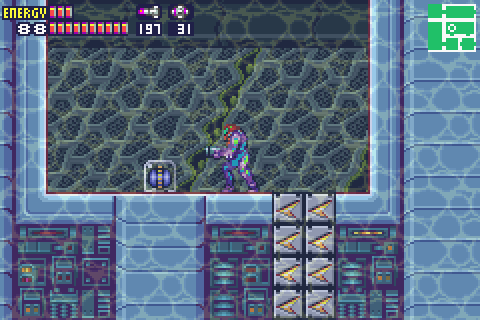
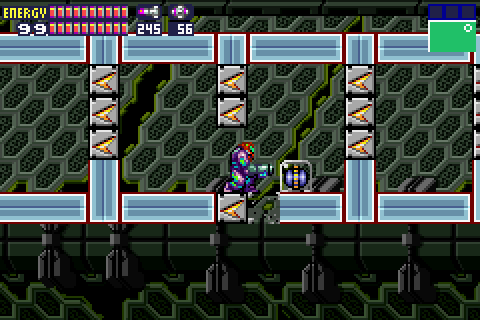
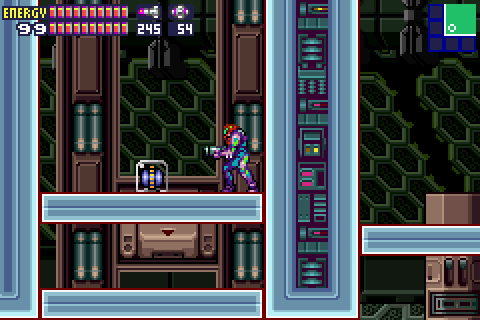
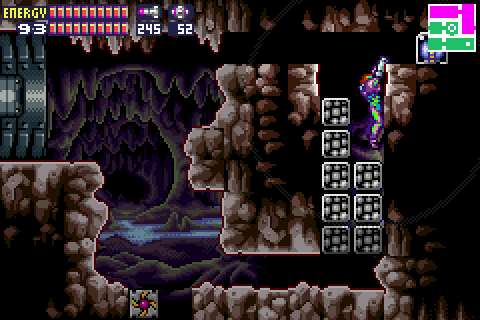
Power Bomb locations
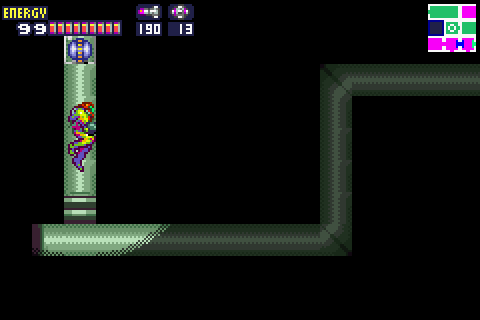
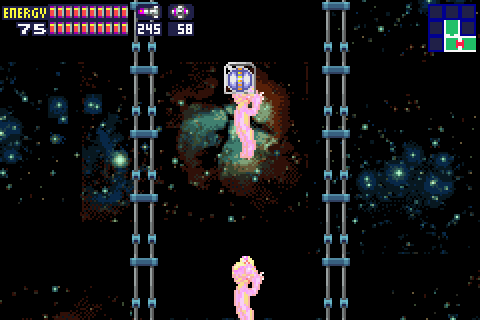
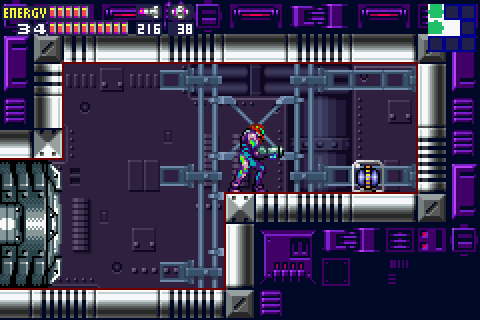
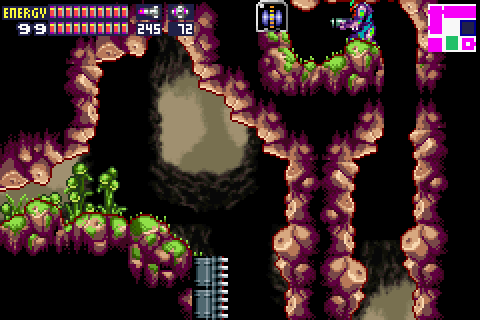
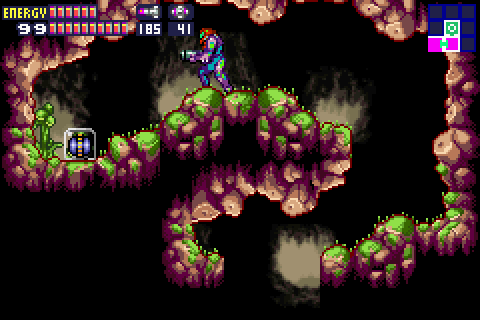
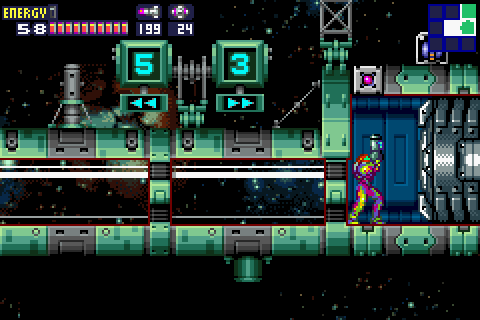
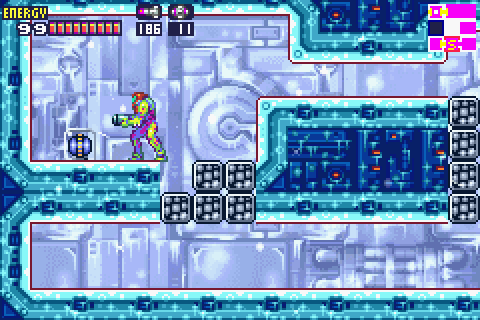
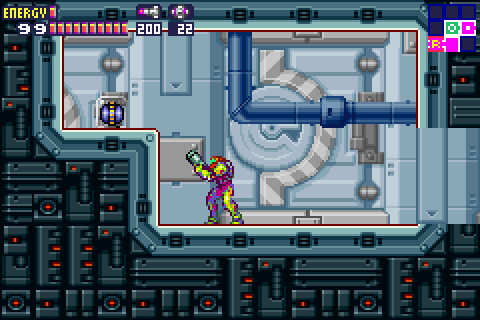
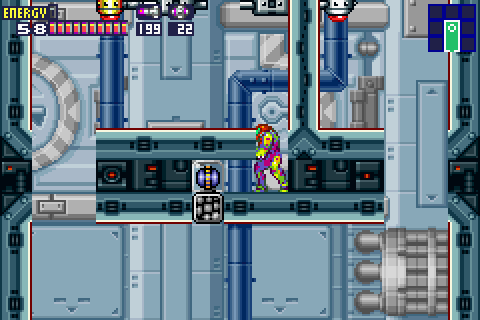
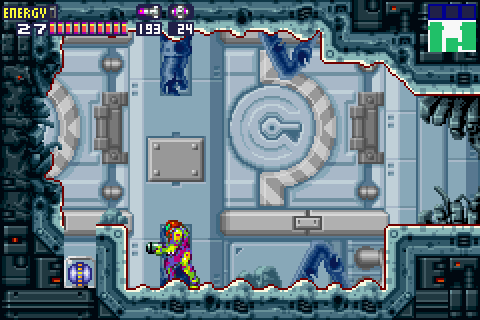
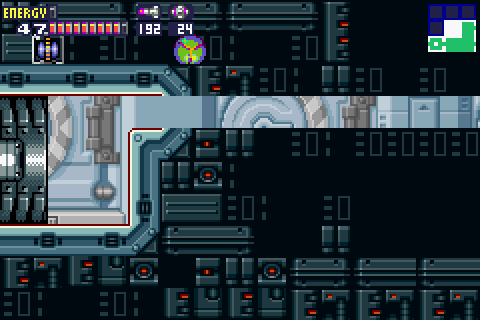
Power Bombs unleash a massive explosion once detonated, clearing the screen of enemies caught in the blast radius. There's quite a number to be found in the game (32 in total - each one gives you an extra 2 bombs), so using them often will give you a higher chance of survival in enemy-infested areas.
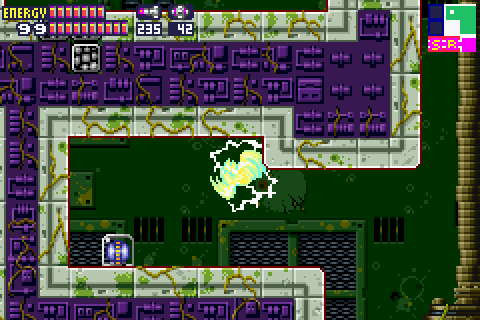
Also note that when enemies caught in the blast explode, the X parasites will be sucked into the core of the explosion so stay where you lay the bomb to absorb all the X caught in the blast instantly!
Samus' upgrades | Missile locations | Power Bomb locations | Energy Tank locations