


Data
Guides and strategies
- Techniques Guide
- Power-up locations
- Bosses Guide
- Mini-bosses Guide
- Search View Guide
- Obstacles Guide
- Walkthrough
- Game endings
- Secrets and tips
- Game maps
Media
Samus' upgrades
Samus' upgrades | Missile locations | Energy Tank locations
Energy Part locations | Accel Charge locations | E-Recovery Tank locations
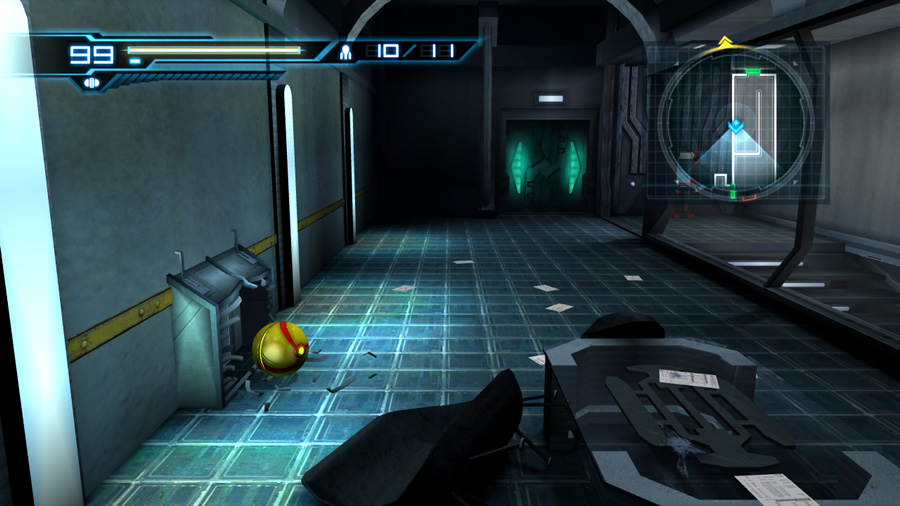
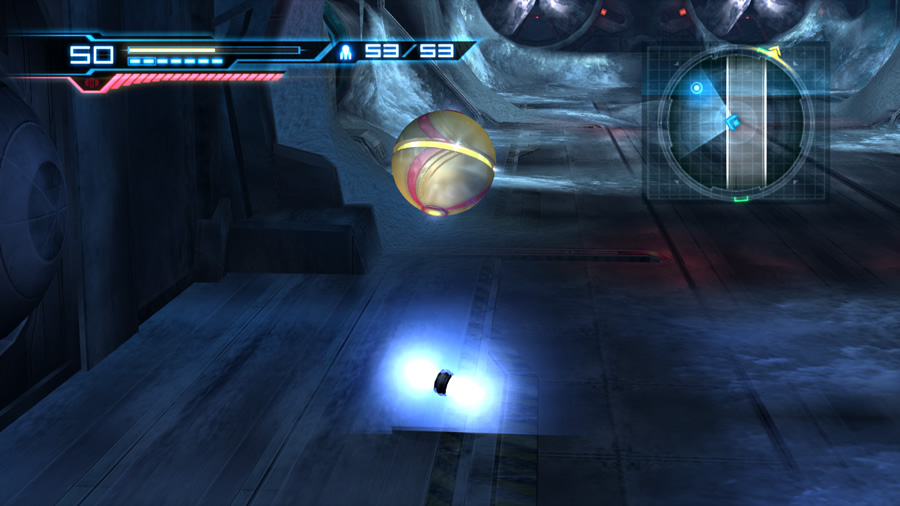
Morph Ball
Press A in normal view to enter Morph Ball mode. With the Morph Ball active, press 1 to lay a bomb. To lay a Power Bomb, hold 1 and wait for the charge gauge to fill; release when charged to deploy the deadly explosive. Press 2 to jump in a Spring Ball-style fashion. Press A again to exit Morph Ball mode.
Authorised in: Always available
Adam never places any restrictions on the Morph Ball - you've got it all the way through the game.
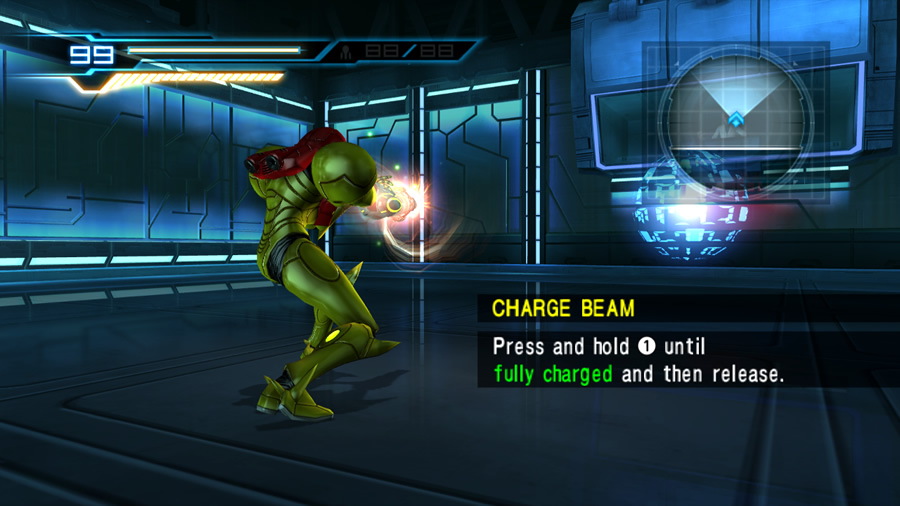
Charge Beam
The trusty Charge Beam allows Samus to build up energy in her arm cannon before releasing a more potent blast. Hold 1 in normal mode (A or 1 in first-person view) and watch as the charge gauge in the top-left corner of the screen begins to fill.
Once it fills completely, release the button to deliver the blast. Locate Accel Charge expansions to reduce the time the charge gauge takes to fill. The charge gauge can also be filled instantly when performing a successful Sensemove while charging. Check the techniques guide for more information.
Authorised in: Always available
The Charge Beam is readily available whenever you need it.
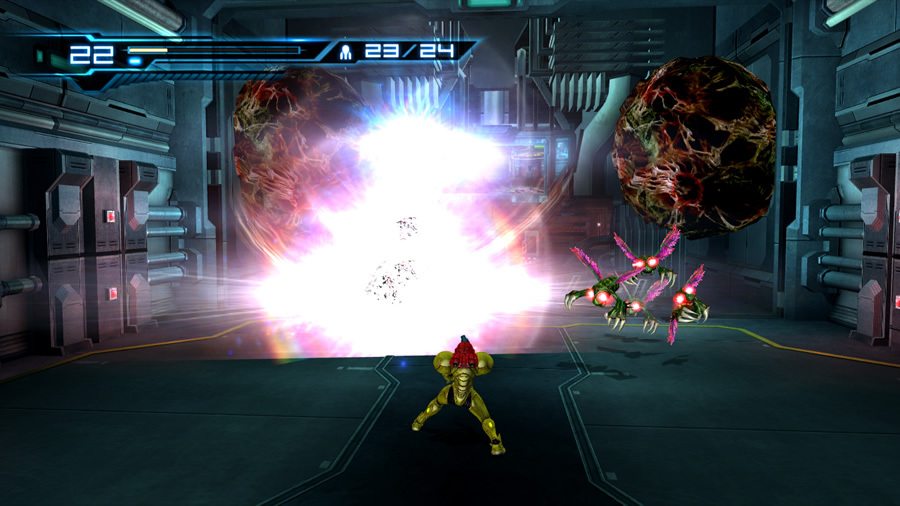
Missile Launcher
Samus' Missile Launcher can only be used in first-person view. An enemy or object must also be locked onto before firing. Once in first-person view, hold B and aim at a viable target. Fire a Missile with A or 1 once the target reticule turns solid yellow, signifying a locked-on target.
Authorised in: Main Sector
Adam grants the use of Missiles during the frantic battle with the Brug Mass. The timing couldn't be better - Missiles are key to finishing the beast.
Morph Ball Bomb
Use Morph Ball bombs to harm enemies and clear certain obstructions in the environment. Press 1 while in Morph Ball mode to lay a bomb - keep pressing 1 to lay further explosives.
If you fully fill up the charge gauge before entering Morph Ball mode and hold the fire button down while pressing A, Samus will deploy five bombs around herself simultaneously.
Authorised in: Main Sector
You'll regain access to lay Morph Ball bombs after the conclusion of the Brug Mass boss encounter.
Diffusion Beam
The Diffusion Beam enhances the Charge Beam with a great feature - a charged shot will spread out over a wide area upon contact with a target or the environment. Works wonders against clusters of multiple targets.
Found in: Sector 1
Soon after locating the Subterranean Control Room (and fending off two Ghalmanians), you'll find yourself trapped in a room and attacked by a trio of FG-1000 units (two at first). Defeat these robotic enforcers to score the Diffusion Beam as your prize.
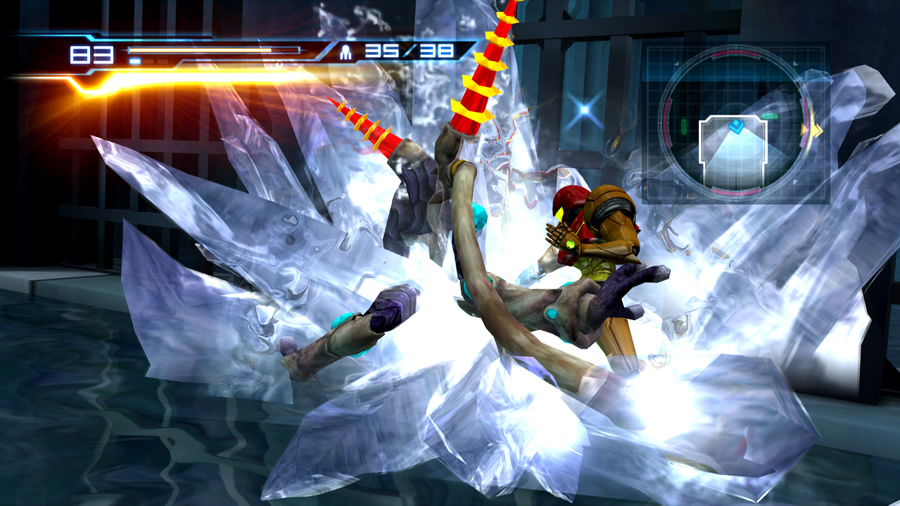
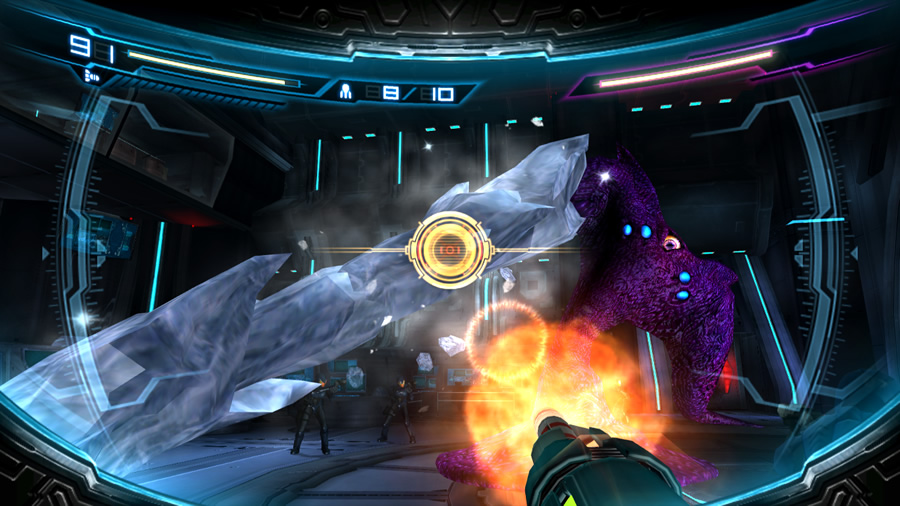
Ice Beam
The Ice Beam increases the damage rate of Samus' arm cannon and allows her to freeze targets solid. Use this in tandem with the Charge Beam to freeze larger enemies faster.
Authorised in: Sector 3
Soon after escaping the maw of Vorash (the giant lava-dwelling monster) out in the magma ocean, you'll face some fiery Mella and a group of Cyborg Zebesians. These foes prove a challenge for regular weaponry, so Adam graciously authorises the Ice Beam to help clear the area.
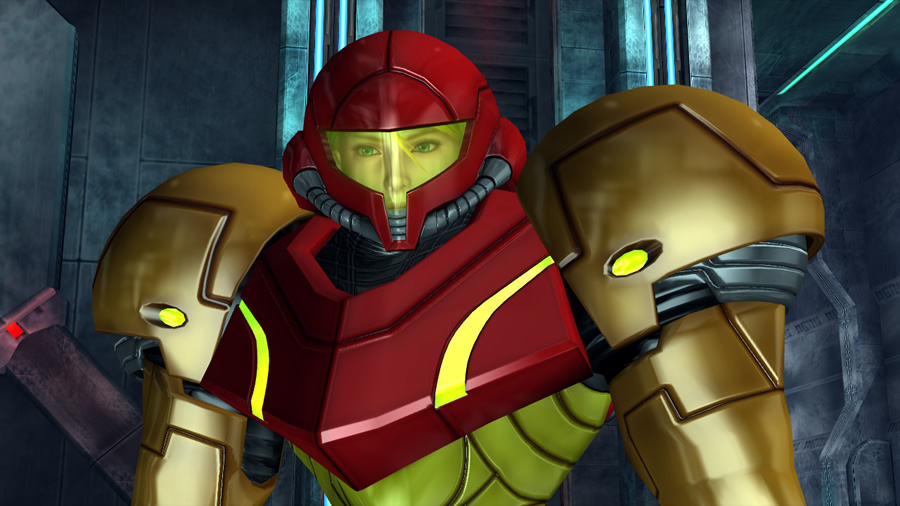
Varia Suit
The legendary Varia Suit grants Samus added protection from enemy attacks and protects her from extreme heat produced in the fires of Sector 3.
Authorised in: Sector 3 - Crater Interior
Why doesn't Adam authorise the Varia Suit as soon as Samus sets foot in Sector 3? That's anyone's guess... Thankfully, upon reaching the top of the volcano's interior, Adam will have no choice but to authorise its use. From then on Samus has permanent protection from the heat (but not from direct contact with lava).
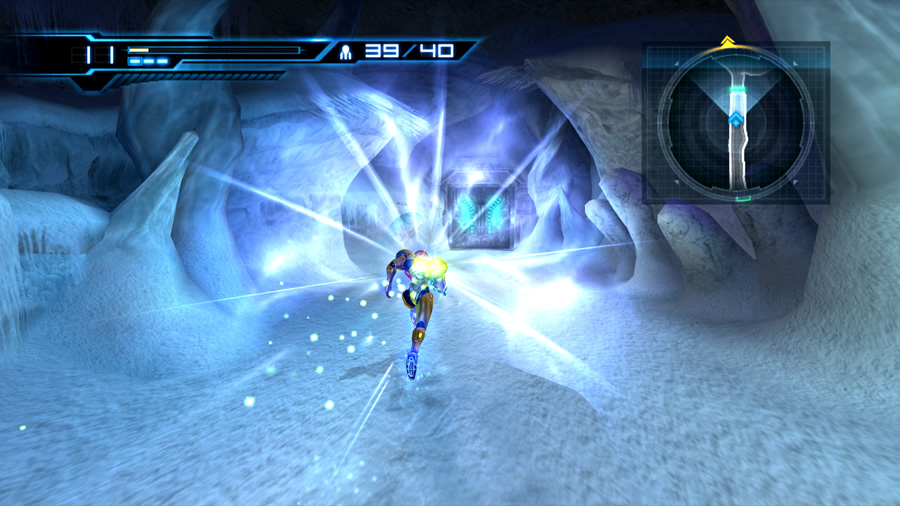
Speed Booster
Let's welcome the debut of the Speed Booster in a 3D Metroid game. To use this ability, run in one unbroken direction long enough. The Speed Booster will eventually engage and allow Samus to break through certain obstacles (and any enemies foolish enough to stand in her way). You can also run up steep slopes and perform massive Shinepsark leaps - check the Techniques guide for more details.
Authorised in: Sector 2
Soon after emptying the Water Tank of its contents and dealing with two pesky Kyratians, you'll discover a long chamber with an ice blockage barring the path forward. Scan the obstacle to learn that only the Speed Booster can break through it. Return to the entrance of the corridor to receive permission from Adam to use the Speed Booster from then on.
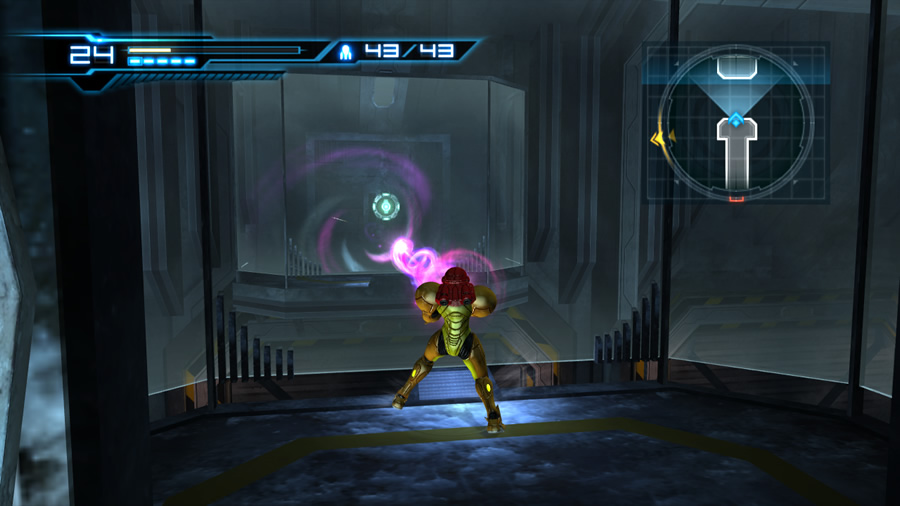
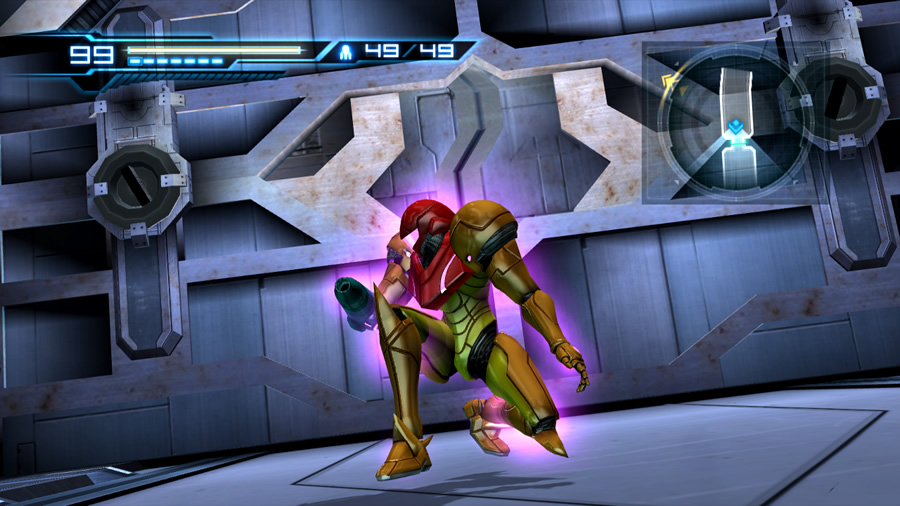
Wave Beam
The Wave Beam further increases Samus' arm cannon attack power and grants her the ability to fire fancy purple energy blasts directly through semi-transparent objects (usually glass).
Authorised in: Sector 2
Shortly after concluding the boss battle in the Materials Storehouse, you'll reach an area which requires the Wave Beam to successfully fire at a switch through two glass walls. Backtrack to the nearest Navigation Room to find yourself ambushed and trapped in a glass enclosure. There's nothing you can do against the resulting attackers, but shortly into the encounter Adam will grant the use of the Wave Beam.

Grapple Beam
Throughout the game you'll often see objects hovering in the air with a pair of prominent red lights protruding from their sides. These are grapple points - with the Grapple Beam equipped, Samus can swing across these objects to easily bridge long distances. To use it, enter first-person view and lock onto the device - press A once locked on to deploy the Grapple Beam and swing across. Press 2 at the right moment to leap off.
Authorised in: Sector 3
At a certain point you'll arrive in Sector 3 via the main elevator and find the door on Samus' left sealed shut. Head in the opposite direction to eventually find the switch to unlock it in the Floor Observation Room (watch out for an Asborean hiding there).
With the door unlocked, backtrack and move through the unsealed door. Beyond the next corridor you'll discover one of Adam's troops in a dire situation against a Rhedogian. Only problem is that a grapple point lies between Samus and the battle, so Adam will chime in and finally authorise the Grapple Beam for use.
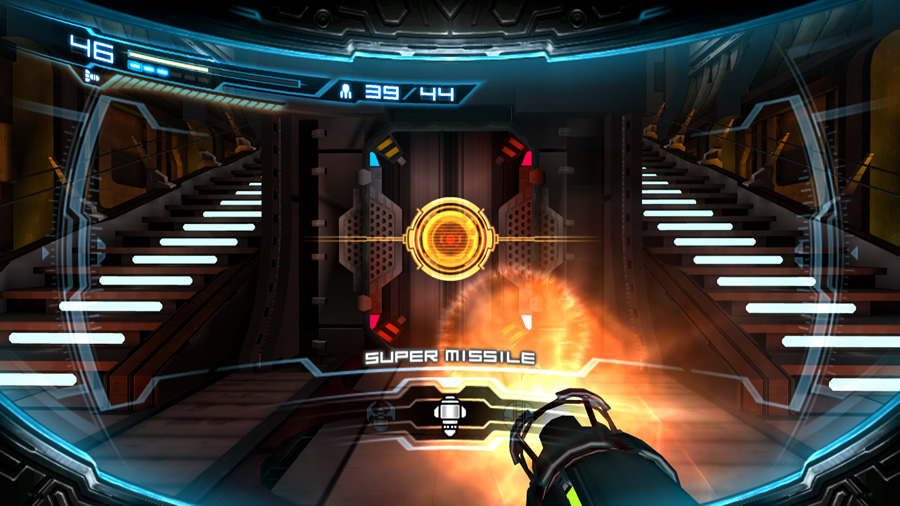
Super Missile
Fire a potent Super Missile to inflict much heavier damage on a target compared to a regular Missile. While in first-person view - hold B, lock onto a target and wait for the lock to establish. Once it has, hold down A or 1 and fill up the charge gauge. Release the button to discharge a Super Missile. Note that each shot drains 5 Missiles.
Authorised in: Sector 3 - Geothermal Power Plant
During the initial stages of the critical encounter in the Geothermal Power Plant, Adam will authorise the Super Missile's use to allow Samus to breach a magma-flow eruption port.
Plasma Beam
The peak of Samus' arm cannon upgrades, this piercing weapon will allow her shots to pass through enemy targets as it strikes them and continue forward. Needless to say, it increases Samus' attacking power to maximum.
Authorised in: Sector 3 - Geothermal Power Plant
You'll be given the Plasma Beam just as the infamous boss battle in the Geothermal Power Plant begins.
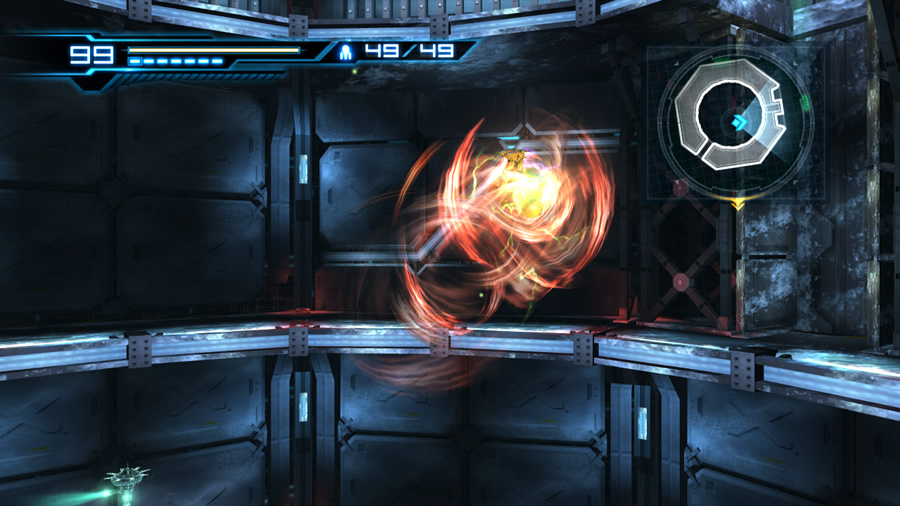
Space Jump / Screw Attack
The Space Jump works almost exactly as it always has in the past. By timing continuous jumps, Samus is able to effectively fly through the air. This time she won't be able to climb high vertically, but can travel horizontally for as long as you need.
The Screw Attack on the other hand hasn't changed at all. While Samus uses the Space Jump she'll generate deadly energy over her body which instantly fries most enemy targets on contact.
Activated in: Sector 1
No spoilers here... Rest assured you'll be given access to both the Space Jump and Screw Attack when the time is right and Samus needs them to proceed.
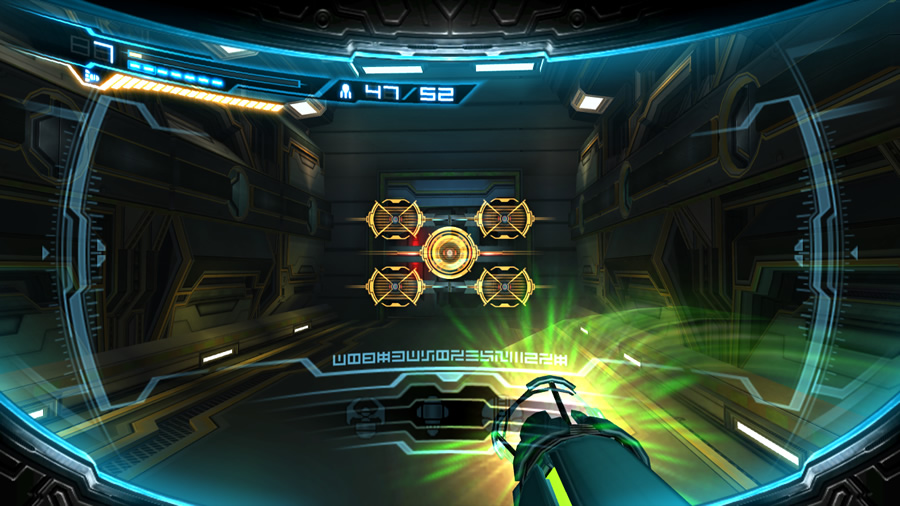
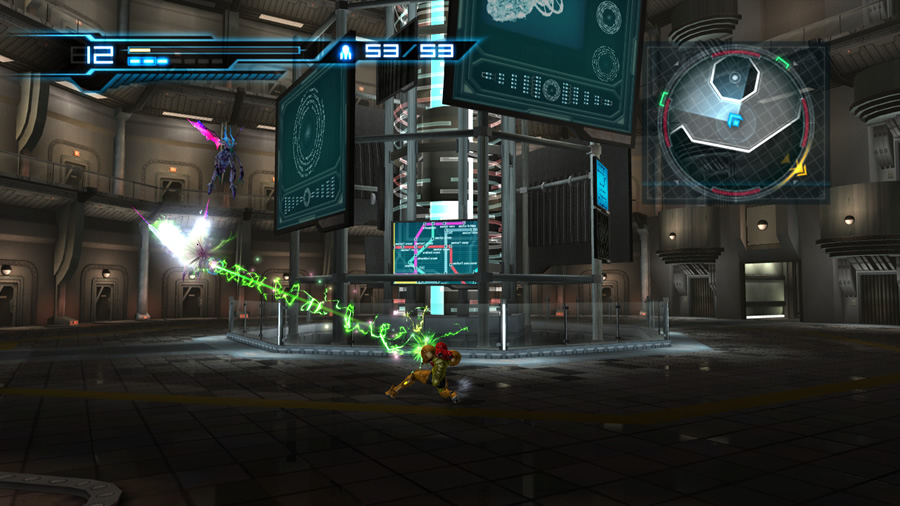
Seeker Missile
The Seeker Missile works quite similarly to its Metroid Prime cousin. As before, this weapon allows Samus to fire Missiles at up to five separate targets all at once. Usually used to dismantle Seeker Missile blast shields, set the Seeker Missile in motion by entering first-person view and locking onto a target. Hold A or 1 to fill the charge gauge and nearby targets will be automatically targeted - release the button to fire at all targeted objects. Note that the first Missile released is actually a Super Missile; all others will be regular Missiles.
Found in: Sector 1
Eventually you'll find yourself attacked by that annoying Rhedogian in the memorable circular chamber near the entrance of Sector 1 (remember to Sensemove out of the way when it lunges at Samus). Defeat the pest once and for all to receive the Seeker Missile.
Gravity Suit
Further enhancing Samus' defensive protection, the Gravity Suit will also allow her to move freely underwater and in low or zero-gravity environments.
Activated in: Sector 2
Again, no spoilers to report here. Just like the Space Jump and Screw Attack above, the Gravity Suit will become available when Samus needs it most - in a life-threatening situation of course.
Power Bomb
Power Bombs are incredibly potent incendiary explosives, and are strictly off-limits when other humans are around (according to Adam). While in Morph Ball mode, lay a Power Bomb by holding 1 and wait for the charge gauge to fill. Once the impressive-sounding crescendo ends, release 1 to deploy the bomb and watch as it incinerates any nearby enemy targets. You'll need to wait for the charge gauge to cool down before releasing another Power Bomb.
Activated in: Late in the game
You will only receive access to Power Bombs very late in the game. I'll try to keep spoilers to a minimum - it'll be at a time when Samus' very life depends on the deployment of a Power Bomb.
Go to walkthrough (major spoilers!)