


Data
Guides and strategies
- Techniques Guide
- Power-up locations
- Bosses Guide
- Mini-bosses Guide
- Search View Guide
- Obstacles Guide
- Walkthrough
- Game endings
- Secrets and tips
- Game maps
Media
Chapter 2: The Disordered Facility

Come back later to find a hidden item past this grate.
Exit through the door where the blast shield once stood and travel through the following long corridor. Beyond here lies your first enemy encounter. A pesky Reo emerges and grapples with Samus, sending her falling down to the base of a cavernous chamber. A whole swarm of Reo inhabit this region, so open up on them and use the Sensemove to counter any lunging Reos. Otherwise, simply run around and keep your distance from the attackers.
Give yourself time to master charging up the Charge Beam while concurrently using a Sensemove to fill the gauge immediately. This will help immensely against swarms of foes.
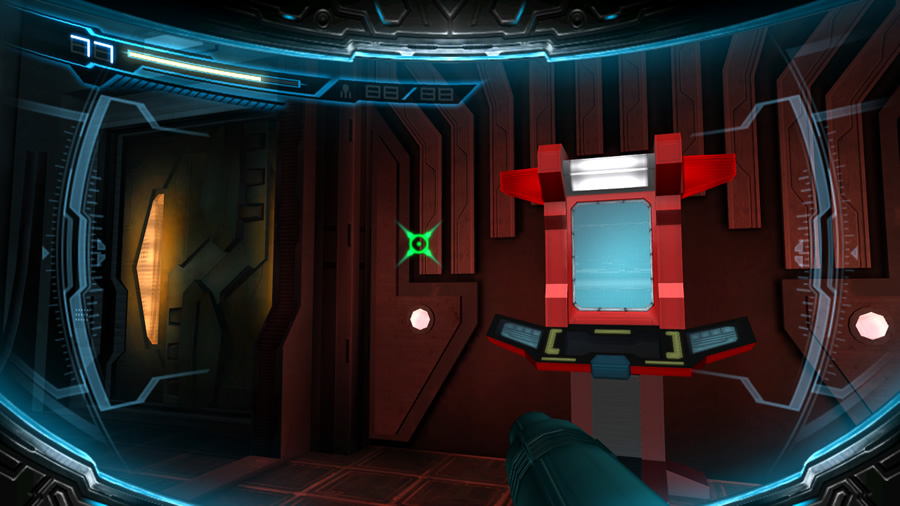
With all targets cleared out, take a look at your surroundings. There's a grate in the floor near the south wall, but without bombs or Missiles you can't break through. Instead, look for a round red control switch on a tall fenced-off shaft.
Step towards it (the switch turns green), then enter first-person view and target the switch. Normally, whenever you target an obstruction, the game tells you what weapon to use against it. However, these green switches don't produce any on-screen advice. That means it's a Sensor switch.
Use several blasts of Samus' beam weapon to energise the switch, or use a single Charge Beam shot to energise it immediately. The fence it adorns will promptly rise, giving the Morph Ball just enough room to squeeze through. Activate the Morph Ball and roll inside. Climb up the shaft to return to the entrance where the initial Reo so rudely knocked Samus down.
Ascend the chamber further and watch out for roaming Geemers and more ambushing Reos. Exit the chamber high above (via the green glowing door, don't worry about the nearby inanimate elevator door) and proceed onward through the next dimly-lit corridor.
Listen closely as you move forward - hear the faint clicking sounds? Enter first-person view to spot a group of familiar faces - four green Skree hang from the ceiling, clicking their pincers and waiting for unwary prey. Either take them out from afar, or if you're feeling lucky, move through the corridor and Sensemove through the barrage as they dive down (release the D-Pad at the right time and keep pressing it without holding it down to keep the sequence up).
These terminals are always linked to a locked door or powered device.
Don't let the Skree grab Samus or they'll tear a chunk of her health. Remember that Samus' health can only be restored via her gunship, a save station, or by using the Concentration technique when her health is critically low. So on this adventure we'll try to avoid damage as much as possible.
Step through to the next darkened cavernous chamber and keep an eye out for a few tiny vividly-purple bugs scurrying around. They won't harm you, but the trio of Reo bursting in through the western door certainly can.
Clear the flying bugs out and step through the door they emerged from. Inside the following chamber, the game will switch to a close-up over-the-shoulder view behind Samus. This usually happens when you enter a region where combat won't occur and exploration is key.
Don't be surprised what you find here. Right before Samus is two doors - the left door bears a glowing red symbol above it, and the right one a blue glowing symbol. The blue door is sealed, while the red one is open.
Step inside the red-marked chamber to witness more of the purple bugs scurrying about. The far wall is lined with what look like cubicles. You might have guessed it by now, but you're now standing in the ladies' rest room... Naturally, Samus can't enter the men's rest room next door. So let's finish this unexpected diversion and step back outside to the outer chamber. Climb up the far stairs and watch as the exit above promptly seals itself tight.
The brightly-lit control terminal beside the door comes to life, beckoning Samus forward. Step up to the console and watch as Samus automatically activates the device, releasing the lock on the door. Always keep an eye out for these terminals, as many more await Samus throughout the ship.
Beyond this chamber lies another cavernous room (this ship is big). Step forward and move towards the shaft directly ahead. The game tells you to use a wall jump (or "kick climb") to ascend the shaft. So let's do just that (notice the broken glass and ruined elevator platform? You'll find out what happened here later). Climb up the shaft and move onward.
Don't hesitate to save your game and restore Samus' health at a Navigation Booth.
The next chamber seals you inside, so no backtracking for now. Some local Geemers live here, and they enjoy scurrying towards Samus if you travel too close. Clear them out if you wish or make a break for the door at the far end of the corridor (watch out for any pesky critters falling from the ceiling).
You might also notice a wrecked pipe section of the ceiling collapsed to the floor. There's an item up inside the pipe section but without Morph Ball Bombs you can't reach it. Move on instead and exit via the northern door (don't worry about the sealed orange door).
Beyond here is a huge chasm complete with a bridge. Step across the bridge and watch out for invading Geemers. Can you hear the distant rocking explosions? Sounds like the 07th Platoon are still busy blowing things up. Step off the bridge and climb up the stairs. Exit via the door on the left (the door on the right is permanently sealed).
Move through to discover a tall chamber housing a large elevator transport. Without power the elevator is useless, for now you'll need to jump up the platforms on either side of the chamber to ascend. Watch out for more pesky Geemers as you climb.
You can learn an interesting piece of trivia about the game in here. If you try to walk and fall off a ledge, Samus won't budge at the edge - you'll need to jump to leap off. She can only very rarely walk off the edge of specific platforms in the game, and usually when there's a safe landing below. Keep this in mind for later.
Up top you'll discover a powered-down terminal beside the elevator, and a yellow item hiding within a sealed alcove on the right side of the chamber. Leave them alone for now and move to the left side of the room.

So many bugs on the wall... Who will clean up this mess?
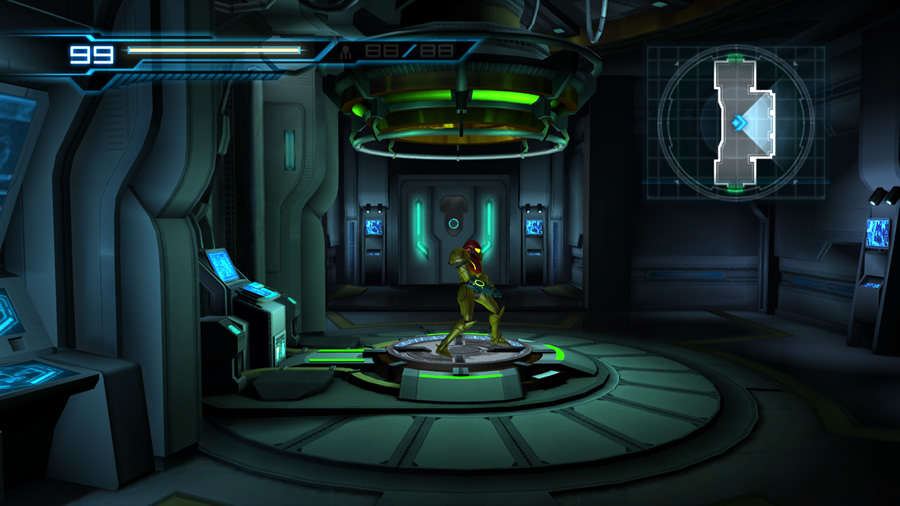
Step through the exit up in the corner to locate one of (very) many save stations. These Navigation Booths are vital to restore Samus' health and find out where to go next. Normally the distant exit of a Navigation Booth is locked, forcing you to save your game first. So step on the platform to automatically save the game, restore Samus' health and unlock the exit.
Leave the Navigation Booth and proceed down the following airy corridor. More of the little bugs scurry around here - their significance is about to be revealed.
Move towards the far northern exit and the game will automatically take control of Samus. Beyond here is the Bottle Ship's main control room (but not the ship's bridge). The 07th Platoon have already arrived and discovered an unfortunate sight. One of the ship's scientists lies dead on the floor, covered in sickly green wounds. Watch as the team are shocked when a purple bug scurries out from under the corpse, only to be joined by a million more insects!
The creatures all coalesce to form the first boss encounter of the game - the Brug Mass! Samus and the 07th Platoon will tackle this slimy purple monster together, so at least Samus won't be alone for now. The boss can still be quite tricky for beginners, so check the bosses guide if you need any further assistance. At the battle's outset you'll be given access to use the Missile Launcher again.