


Data
Guides and strategies
- Techniques Guide
- Power-up locations
- Bosses Guide
- Mini-bosses Guide
- Search View Guide
- Obstacles Guide
- Walkthrough
- Game endings
- Secrets and tips
- Game maps
Media
Bosses Guide

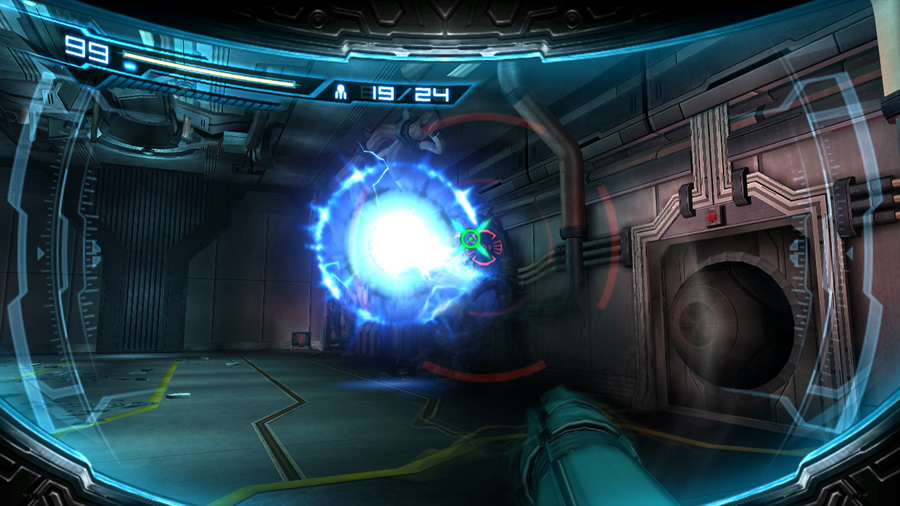
In true Team Ninja style, the boss monsters faced in Metroid: Other M are epic, fierce and hard. Here you'll find hints and tricks to help plow through the opposition and keep Samus healthy. Please note that most of the bosses listed here can have their health bars revealed by entering first-person view and locking onto their weak point. Hold your position and wait for the bar to materialize fully in the top-right corner of Samus' visor.
SPOILER WARNING: There are some fantastic surprise boss appearances in the game - fans of the series DO NOT want to have the details divulged and spoiled before playing the game. Please exercise extreme caution and do not view these guides unless you are already aware of their identities.
Without a doubt, the biggest spoilers lie in the last few boss encounters. Therefore the final bosses have been split off into their own pages - without their names revealed - in the menu below. If you're having trouble and need help with one of them, start at Boss 8 and work your way forward until you find the right one.
Note: If you're struggling with a boss encounter, check the mini-bosses guide first. The creature you're looking for might be there, and that page contains less spoilerish material compared to this section.
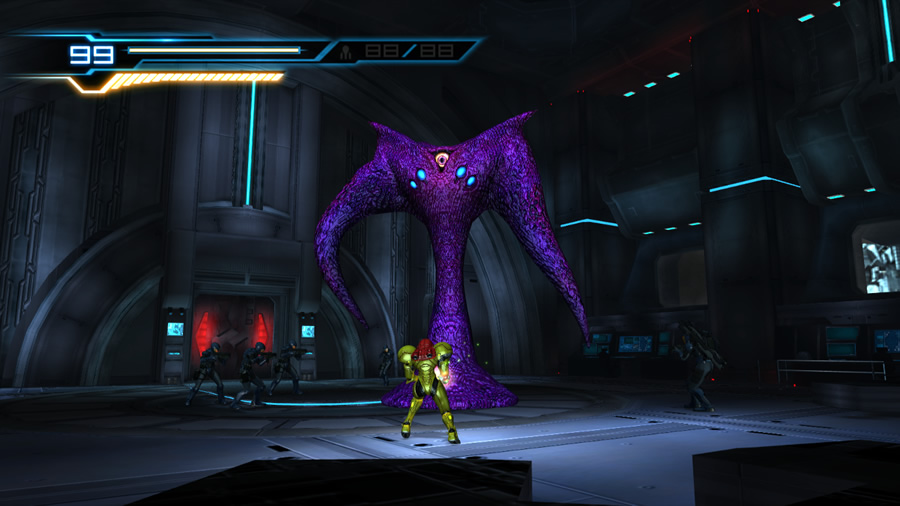
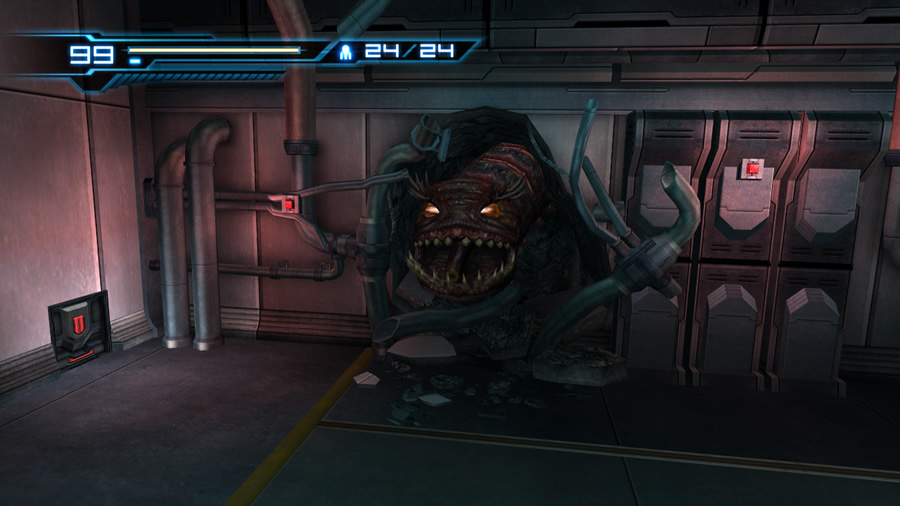
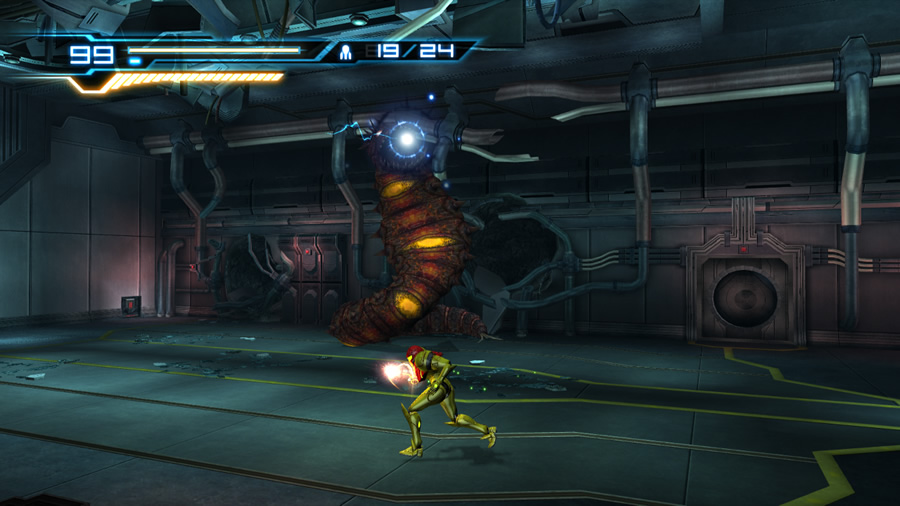
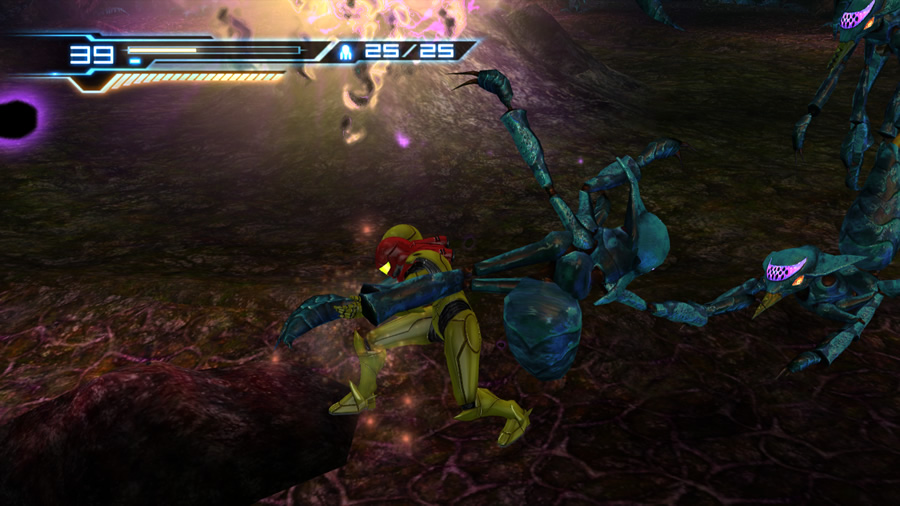
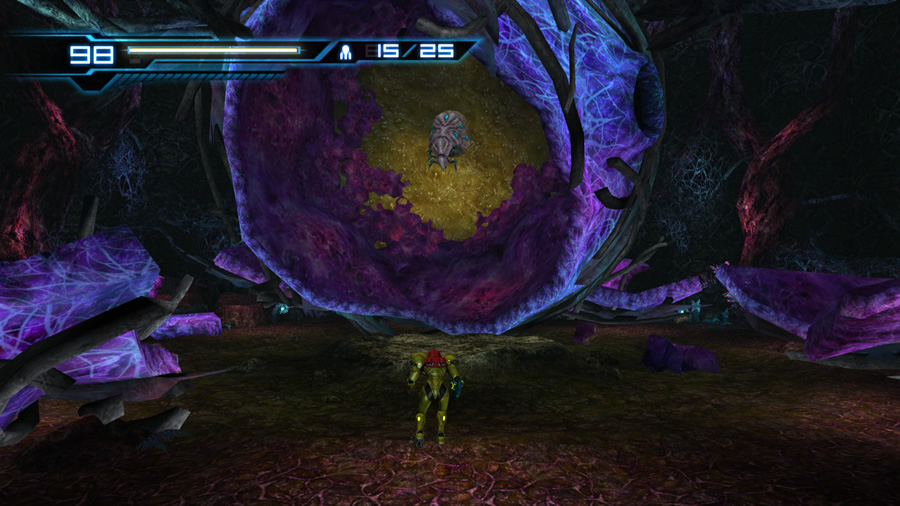
Brug Mass / Emperor Brug
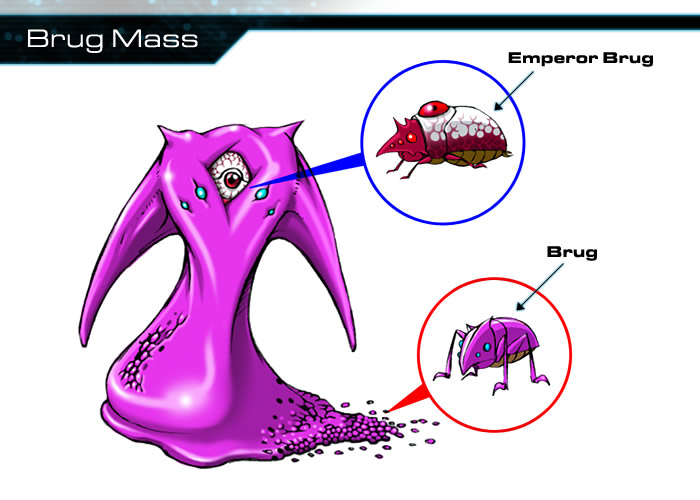
- Location:
Main Sector - Attacks:
Arm lash, Head whip, Body slam - Weakness:
Missiles
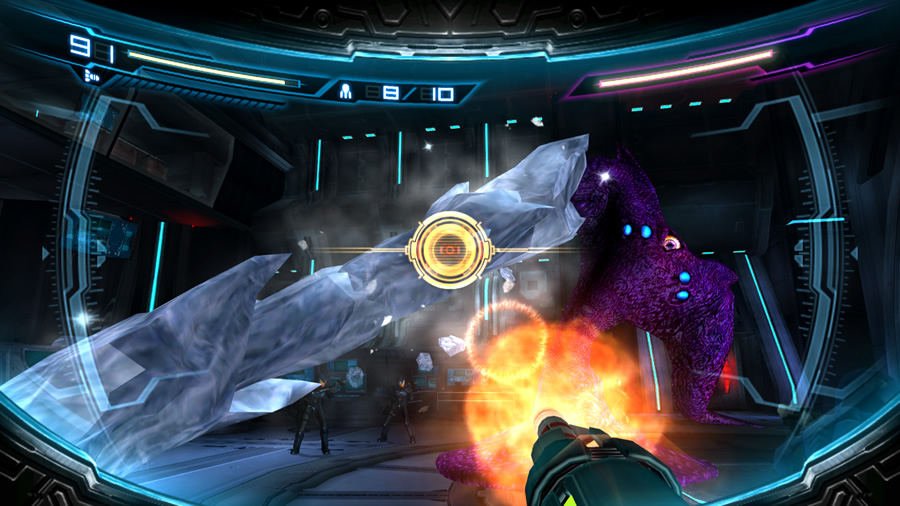
This enormous slimeball ambushes Samus and the 07th Platoon in the Bottle Ship's command room. Despite having such a variety of targets to choose from, naturally the creature favours Samus. The Brug Mass will use both its pointy arms to lash at you - simply time your movements and Sensemove at the right moment to leap clear. Keep circling around the beast to make yourself harder to hit - amazingly the Federation troopers generally don't move at all while frantically firing at the target.
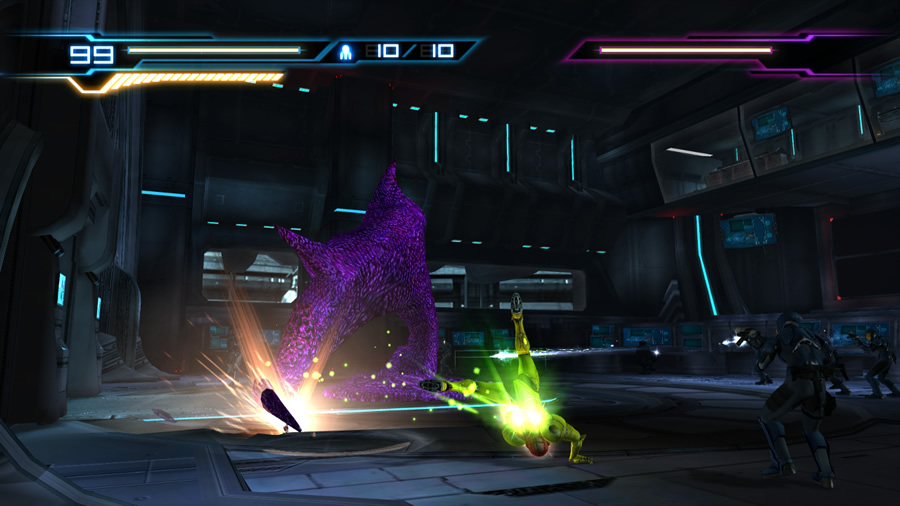
Firing at the monster yourself won't do any good, as Samus' shots don't aim at any particular location. Instead, let's put that first-person view to good use. Enter first-person view and aim at the Brug Mass. One of its arms will lash at you - simply flick the Wii Pointer to either side of the screen to Sensemove the attack.
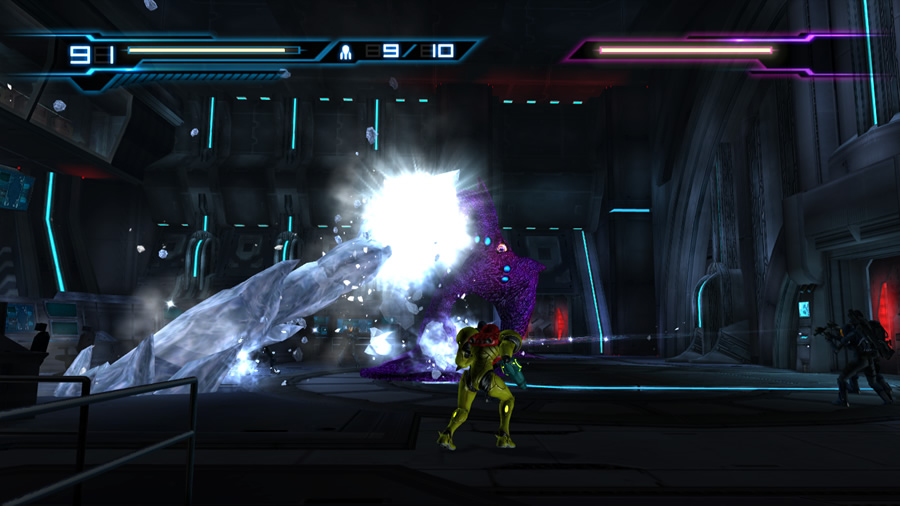
Once the attack concludes, Adam will step in and authorise the use of Missiles. The other troopers will deploy their Freeze Guns. Now to deal with this threat. Listen for a weird moan the creature emits - this precedes a nasty whipping from both its arms; be ready to Sensemove. Once the monster eases off (or glares at everyone), quickly enter first-person view and target the eye. Its health bar will begin to appear - wait for this before popping a Missile right into its eye.
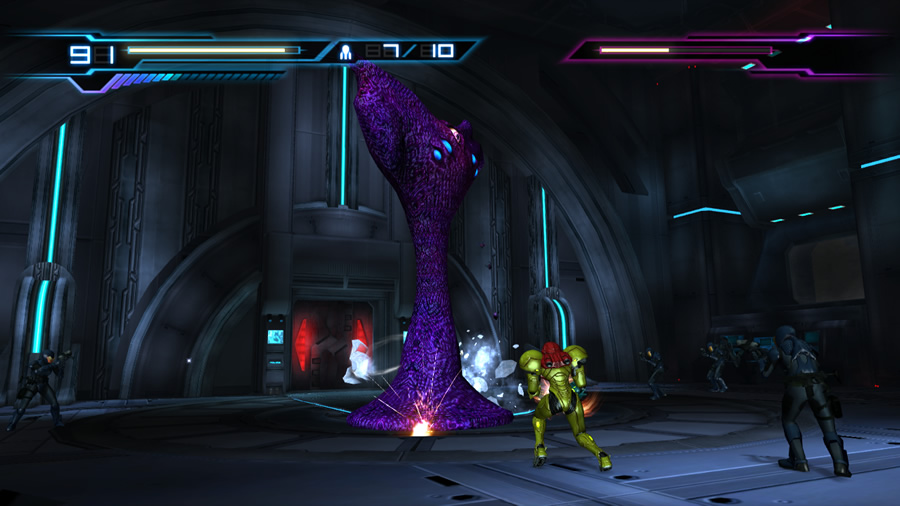
After reeling back, the beast will eventually whip its arm down and hold it there. Adam and the others will concentrate their fire on the immobile arm, freezing it solid in the process. Quickly target the arm and blow it off with a single Missile.
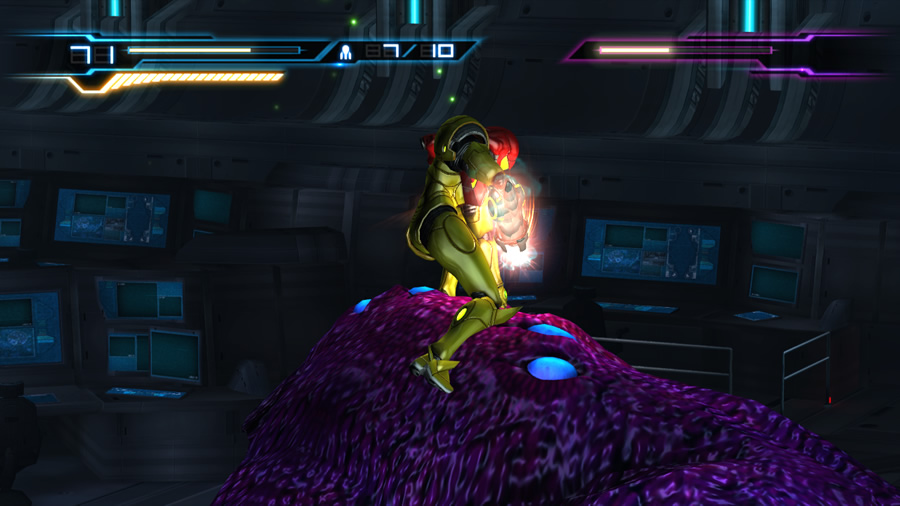
The Brug Mass is still a threat with only one arm - watch out if it swirls the remaining arm around the floor of the chamber. Leap above the arm to avoid damage (and don't worry if one of your buddies takes a hit, they'll pick themselves up). You might even spot one daring trooper trying to board the creature to shoot its eye - Samus can do the same with an Overblast; just try your luck and jump towards the target to eventually leap atop the beast.
Continue to hassle the Brug Mass by entering first-person view and popping another Missile into the beast's eye. If you ever need to use Concentration for ammo or health, wait just after the creature finishes an attack and run behind it to give yourself more recharge time. Eventually the troopers will freeze its remaining arm - don't waste any time in removing it with a Missile.
With both arms gone and its health cut in half, the Brug Mass won't let up. It'll use its head as a whip and often leaps into the air to body-slam the ground. Keep your distance and perform a Sensemove when in doubt of an incoming attack. Try to score further Missile hits on the eye to slow it down.
The Troopers will now focus their fire on the base of the creature, freezing it solid and knocking the head to the floor. Fire a Missile at the base and watch as the eye literally dislodges from the body and falls to the floor. The eye itself is the Emperor Brug - an actual bug with the eye as its back. Dawdle now and the Emperor Brug will leap back into the purple mass and reconstitute itself (minus the arms), so let's finish this off - do Lyle a favour and hit the bug with a single Missile to blow it apart.
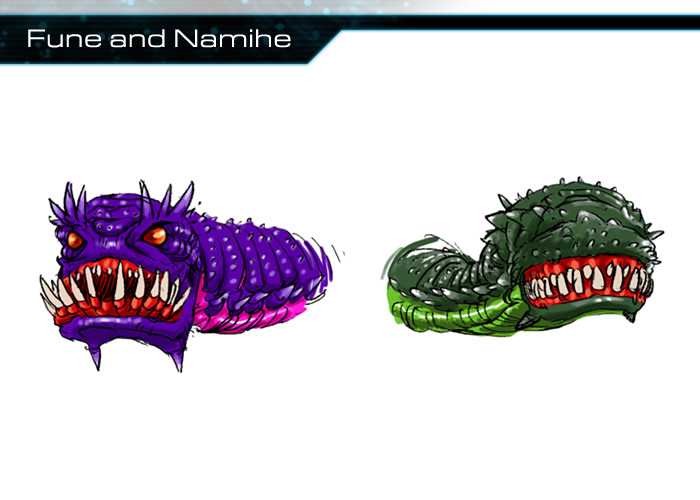
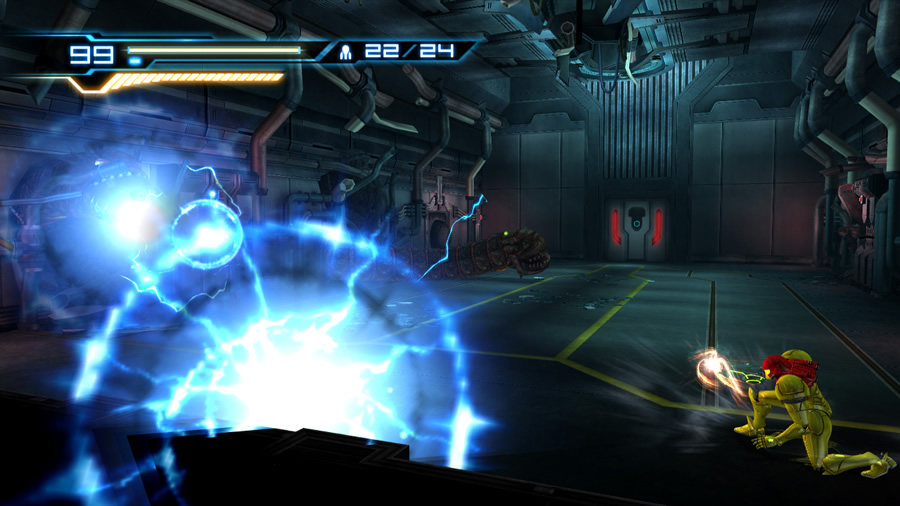
Fune and Namihe
- Location:
Sector 1 - Subterranean Control Room - Attacks:
Energy bolts, Bite - Weakness:
Missiles
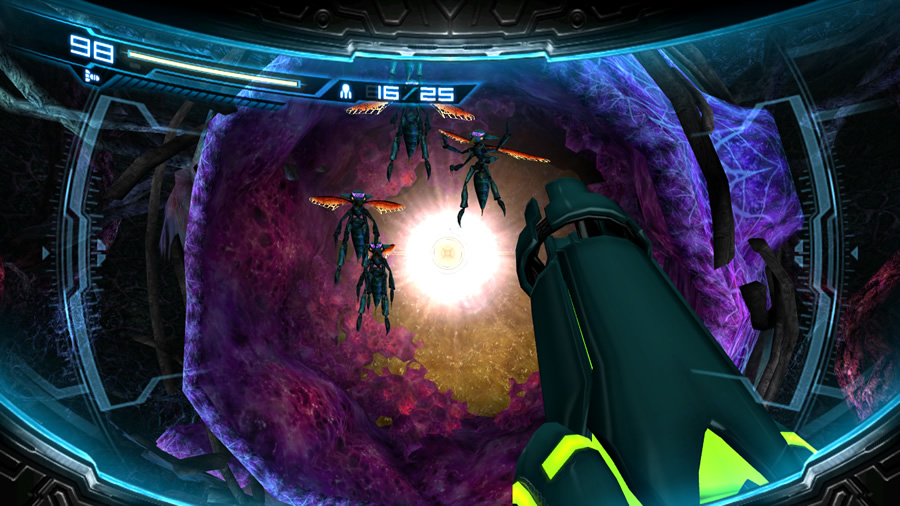
This pair of Botwoon's distant cousins don't care for the wellbeing of the Subterranean Control Room - they'll literally smash and tear up the walls and ceiling to get a clear shot at Samus. Initially they'll both travel outside the boundaries of the room and emerge from a random hole before emitting nasty energy bolts at Samus - keep an eye out for any movement and be ready to Sensemove to easily dodge their projectiles.
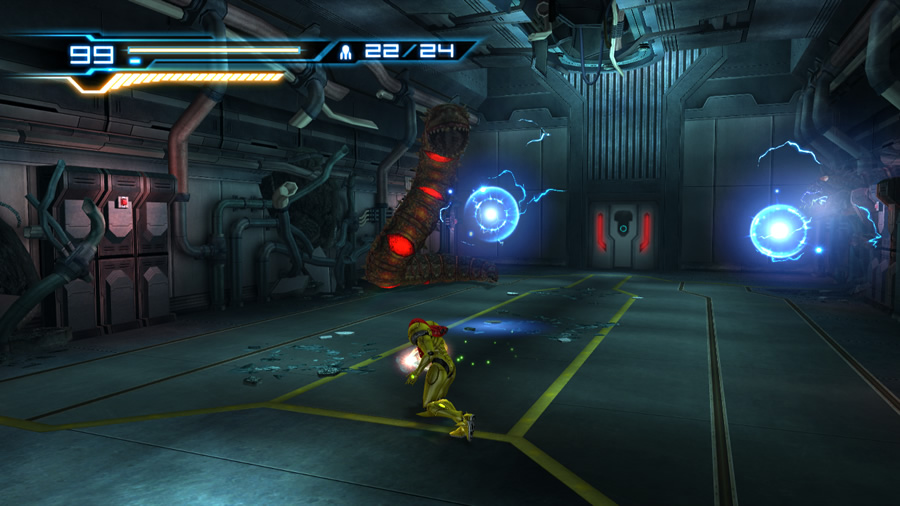
They're both invulnerable while hiding inside the walls and ceiling, so let's even things up a bit. Enter first-person view and be ready to Sensemove from incoming energy bolts. Try to lock onto one of the emerging serpents and release a Missile to knock it down into the room.
With the entire serpent inside the room, watch out for some nasty attacks. The serpent will most likely coil itself up and emit a barrage of energy bolts at Samus, but the bolts' slow movement makes them easy to avoid with well-timed Sensemoves.
Take extreme care if the serpent slithers along the ground towards Samus - madly Sensemove to avoid being swallowed and courteously regurgitated (do not find yourself in its belly on Hard mode - better yet, don't get hit at all...).
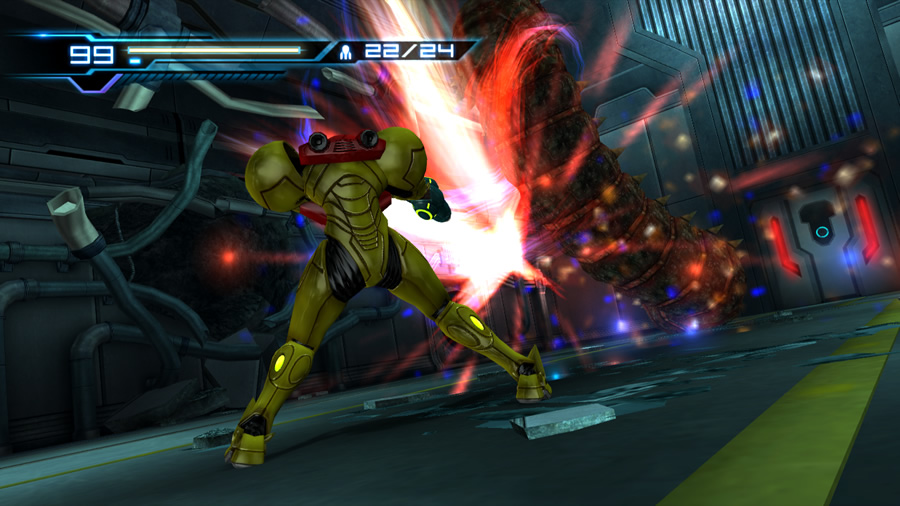
Fire up your Charge Beam and let loose on the serpent now (especially if it's coiled up). If you smack its face about the creature will reel back - score hits on one of the glowing red sections on its underbelly to inflict critical damage. If the serpent coils itself up and appears to be sucking in copious amounts of air, give it a blast to go with all that oxygen.
With enough of a pounding the serpent will fall motionless to the floor. Don't waste any time - run over to its head and perform a Lethal Strike before it recovers and slithers away. Track the second serpent around the room and fire a Missile or two at it to draw it into the room. Finish it off to call it a day.
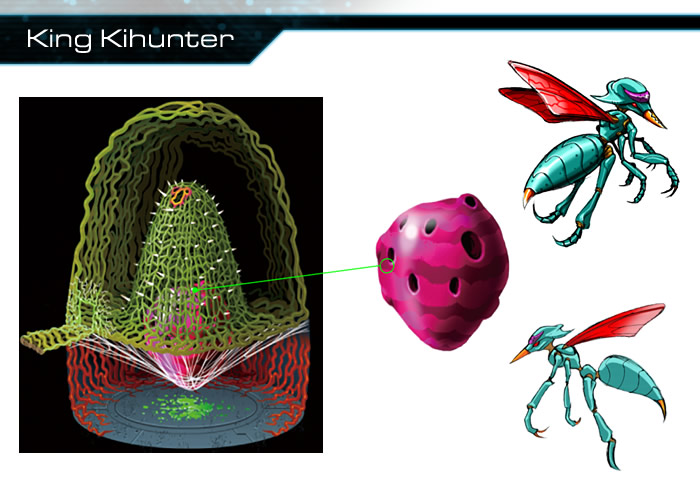
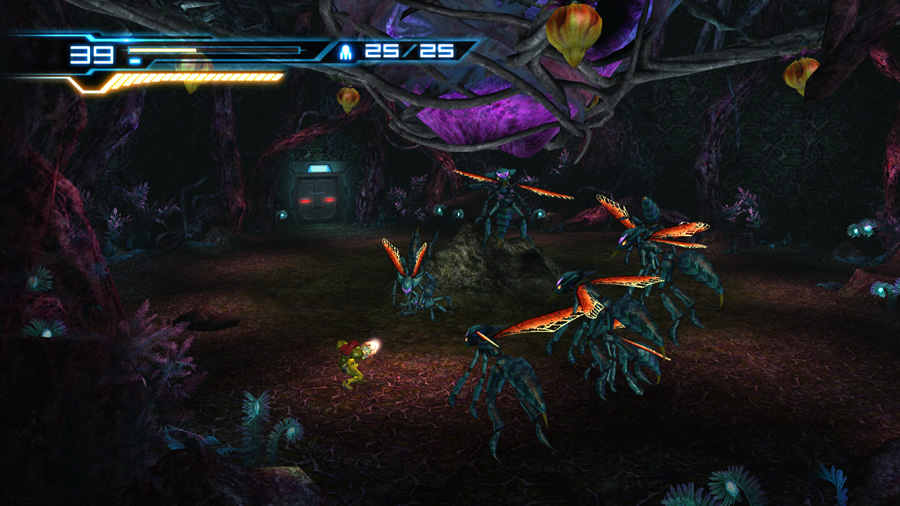
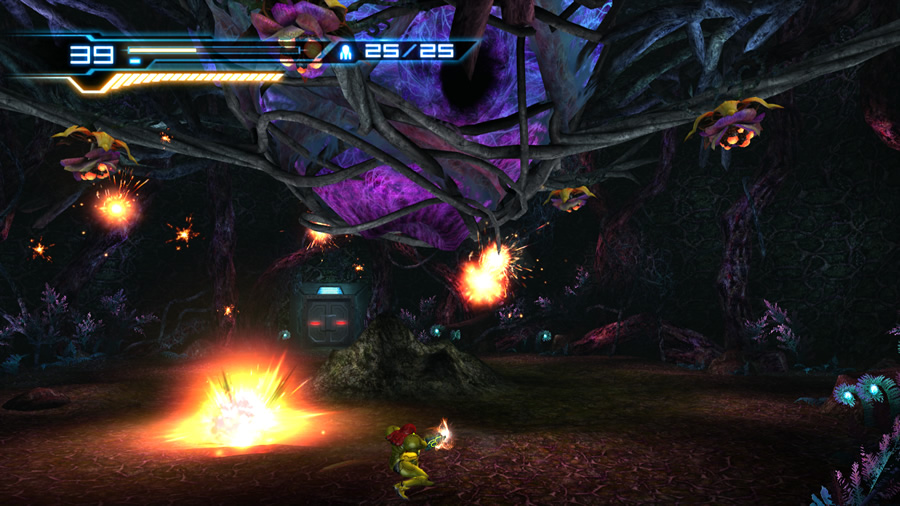
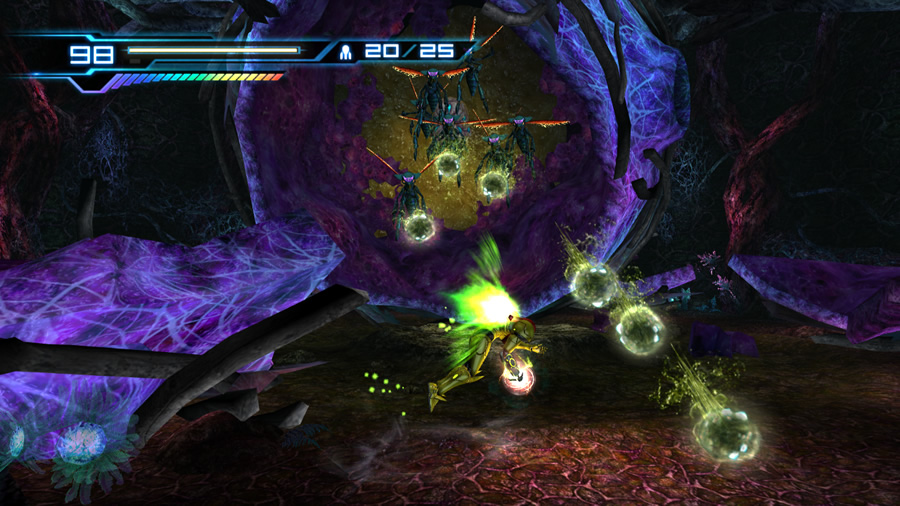
King Kihunter
- Location:
Sector 1 - Biological Experiment Floor - Attacks:
Kihunters, Whipvine spore launchers - Weakness:
Missiles
Samus is stuck in the heart of the Kihunters' hive, where a never-ending swarm of Kihunters keep her company. The shriek of an unseen creature has stirred up the entire hive, summoning the first swarm of Kihunters. Sensemove the Kihunters as soon as the battle begins, overwise tap the fire and jump buttons rapidly if you're caught.
Continue to use the Sensemove to avoid the projectiles and melee attacks of the Kihunters, and open up with the Charge Beam whenever you can - the Diffusion Beam will make short work of clusters of Kihunters.
If any out-of-range insects survive the blast, their wings may fall off. This won't stop them from crawling along the ground towards Samus - keep your distance and deal with them from afar.
Don't be surprised if you accidentally Lethal Strike one of the grounded bugs, but make sure they don't touch Samus as they'll grab hold and self-destruct. Eventually with enough bugs cleared out, the five Whipvine spore pods surrounding the hive will open and discharge fiery energy balls at Samus.
No messing around here; Sensemove out of the way to avoid damage. You'll now need to dismantle these spore pods, but only Missiles will work. Move to a good position away from the hive and enter first-person view. Be ready to Sensemove at any time and try to lock onto a spore pod. Fire away and watch as the support structure of the hive begins to weaken with each spore pod destroyed.
Eventually the pods will close and another swarm of Kihunters arrives - hold out against them until the pods open again. Once all five pods have been destroyed, the entire hive will collapse and crash to the floor, revealing its vulnerable interior. The King Kihunter itself becomes visible in the heart of the hive; naturally it's guarded by more Kihunters.
Open up on the Kihunters and Sensemove to avoid their green slime projectiles. Once the air is clear, deliver some Missiles into the King Kihunter itself. Don't relent; keep firing Missiles and only stop to clear out the reinforcing Kihunters. Pummel the King Kihunter with more Missiles to finally shut the hive down permanently.
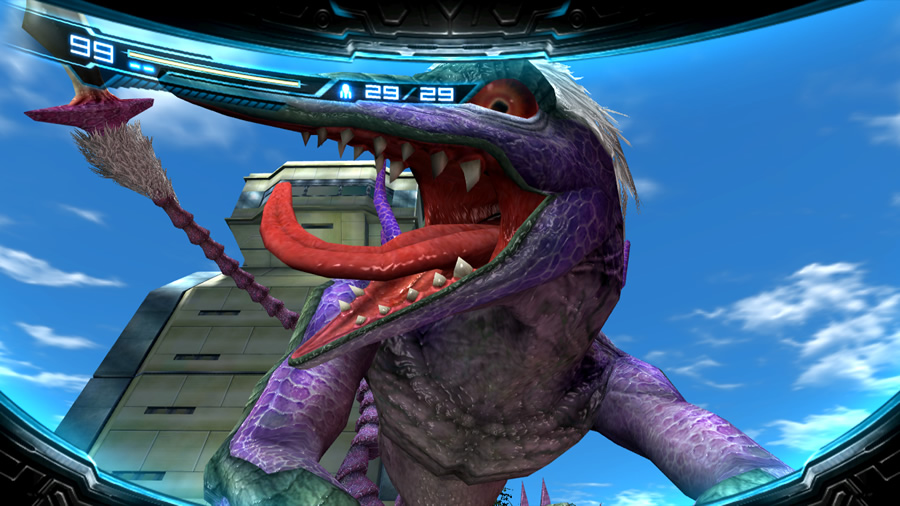
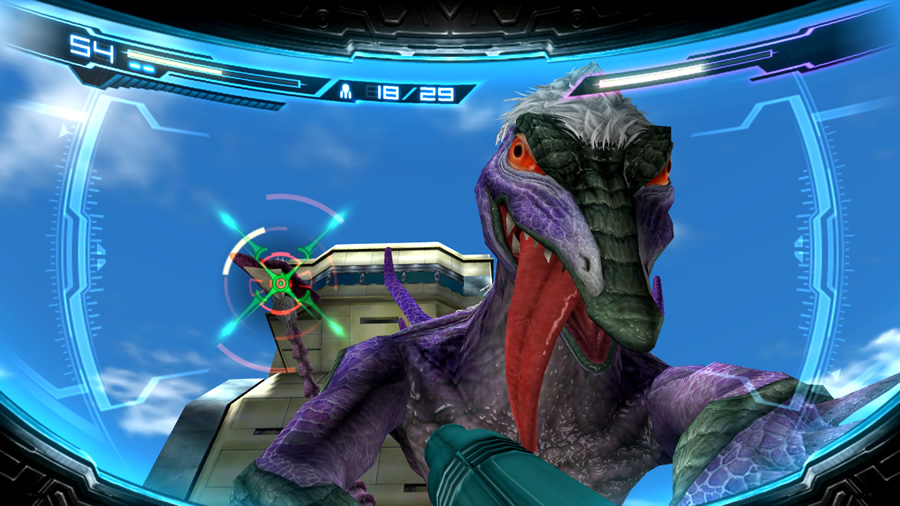
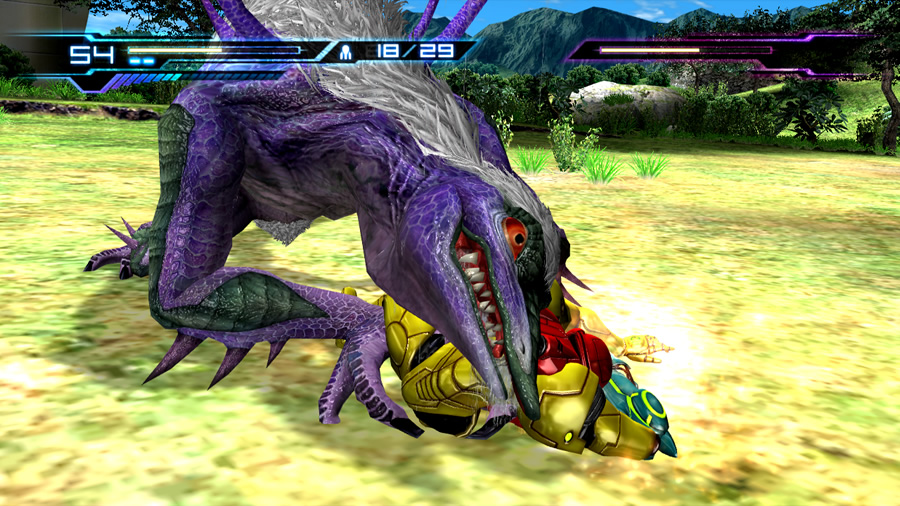
Mystery Creature

- Location:
Sector 1 - Biosphere Test Area - Attacks:
Tail stab, Bite - Weakness:
Missiles, Charge Beam
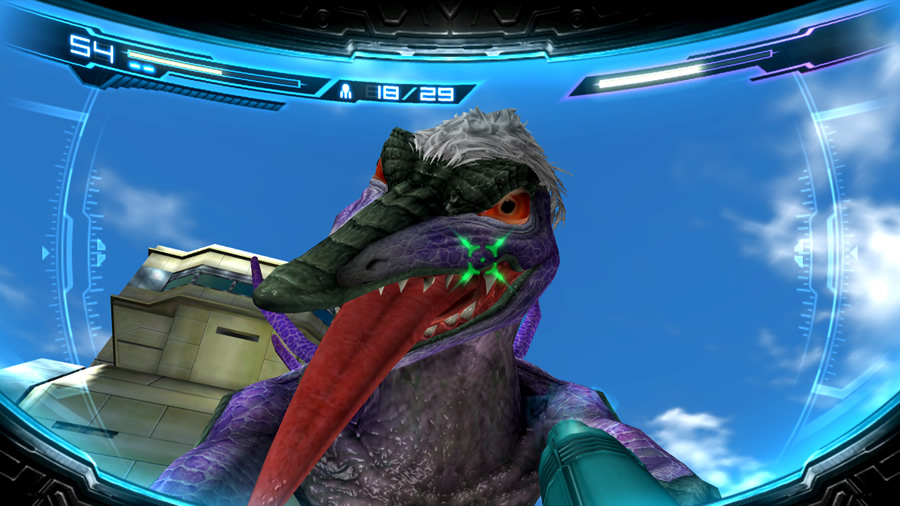
The sheer ferociousness and incredible advantage this creature has over Samus is frighteningly apparent. With Samus pinned to the ground, you can't move or use Concentration - the entire battle will be seen in first-person view only. There's absolutely no time to waste in this fight. The beast will primarily use its razor-sharp tail to try and stab Samus in her visor - a well-timed Sensemove will expertly avoid it.
Timing your Sensemove will be difficult, as the tail skirts back and forth extremely erratically. Just flail the Wii Remote around and aim at either side of the screen to hopefully time your Sensemove correctly.
While trying to lock onto the tail, always hold down the fire button and keep the Charge Beam warmed up. Not only does this help avoid wearing your hand out, it can help against the monster's toothy mouth. If the creature tilts its head back and lets out a roar, it'll try to bite Samus' head and munch on her violently. Before it lunges, release a Charge Beam blast into its face to drain its health partially and stop the bite attack (no need to lock on). If your Charge Beam isn't ready, use a Sensemove to barely avoid its razor-sharp teeth.
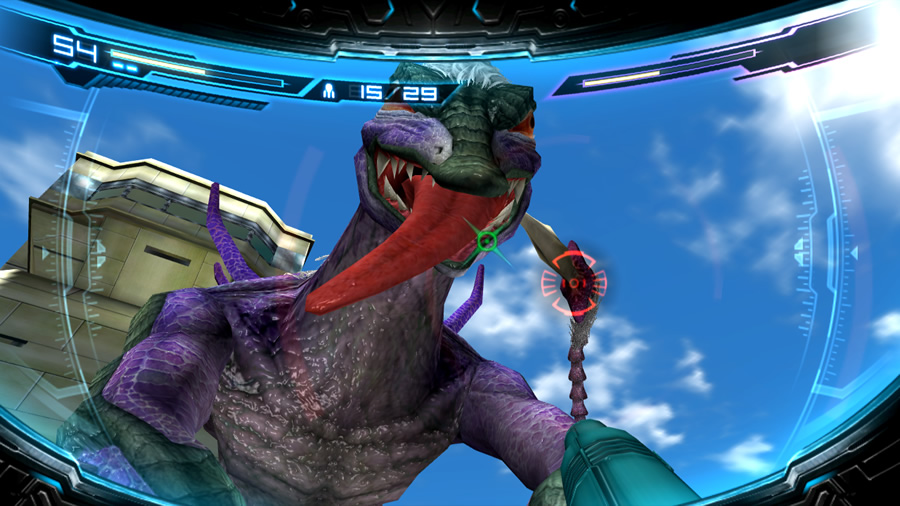
By now you might realise that the tail's sharp tip is one of the creature's weak points. Target it and remain locked-on enough to summon the creature's health bar in the top-right corner of the screen. To ensure that you have enough time to summon the health bar, dodge an attack, then aim at one side of the creature's head. If the tail appears and remains on the side you're aiming at, you should have enough time to lock on. Otherwise, dodge another attack and try again - don't bother trying to flick the pointer to target the tail on the other side.
Always remember to hold the B button to ensure Samus is ready for a Missile lock-on. Scoring a successful lock-on will prove difficult however, thanks to the random and erratic movements of the tail. Keep the Charge Beam ready and try your luck - release A whenever you see the target reticule begin to lock on - sometimes you might end up striking the tail as it stabs at Samus' face. Another good trick is to aim at the left side of the creature's face (when the tail is not visible). If the tail appears under the cross-hair, you should have a split-second chance to fire an instantly locked-on Missile.
Be patient as you try to score a Missile lock, and don't be afraid to Sensemove the tail. This is going to be a very hard boss encounter (especially on Hard mode) as you won't be able to take much damage. Luckily, there's two ways to survive this battle. Normally you'll end up draining the creature's health completely (either with Missiles or the Charge Beam to its tail, or repeated punishment to its face when it roars and tries to bite Samus). But on Hard mode, your Missiles might run dry and you can't reload them with Concentration.
If you happen to find yourself with zero Missiles left, keep trying to hit the tail with the Charge Beam. Also use the Charge Beam on its head whenever a lunging bite attack is imminent (so always keep the Charge Beam warmed up and ready). Watch the monster's health bar - once it dips below 50%, you've got a chance to end the battle immediately. If Samus takes another hit from here on out, Anthony steps in and saves the day with his trusty plasma cannon.
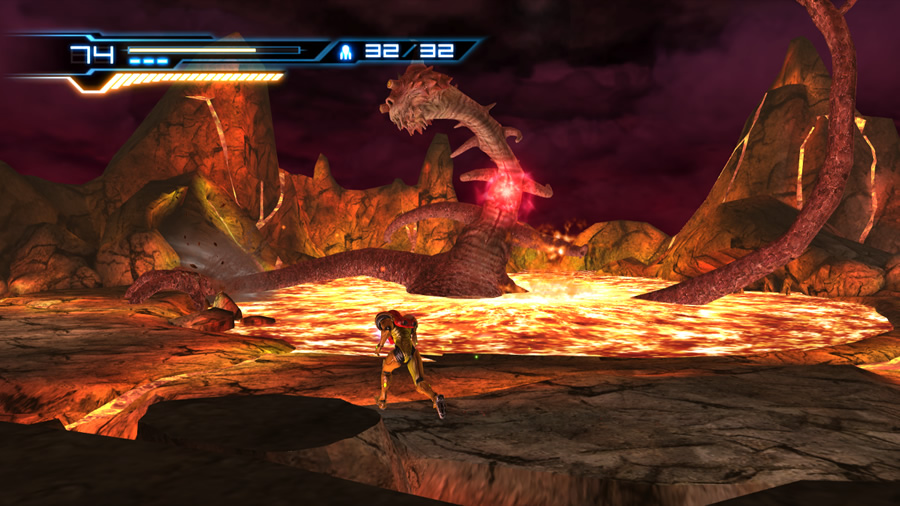
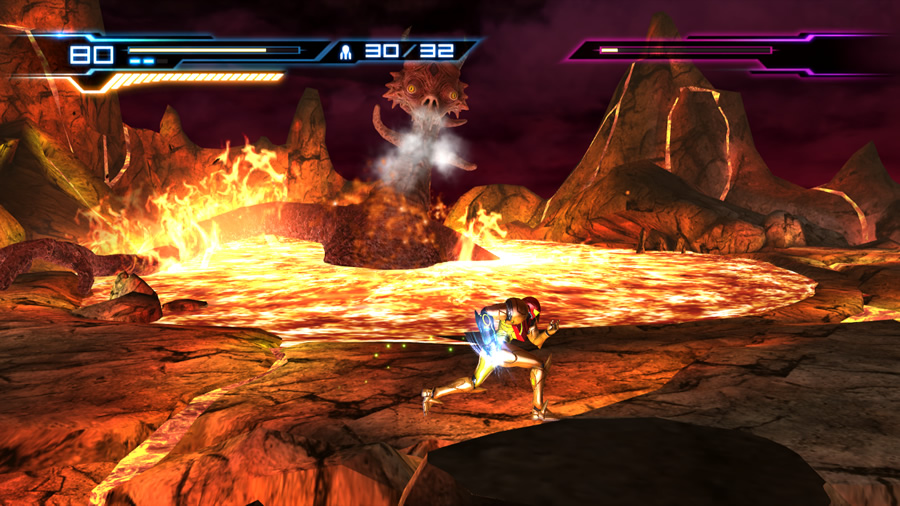
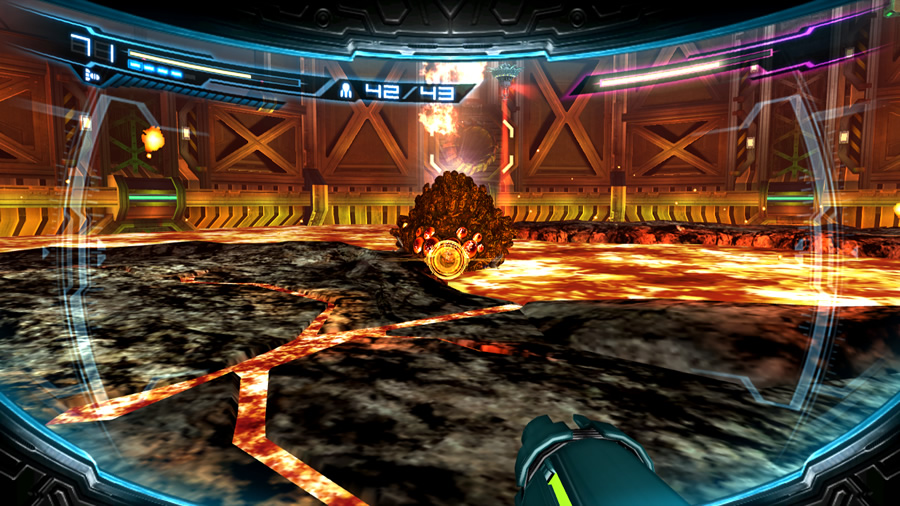
Goyagma
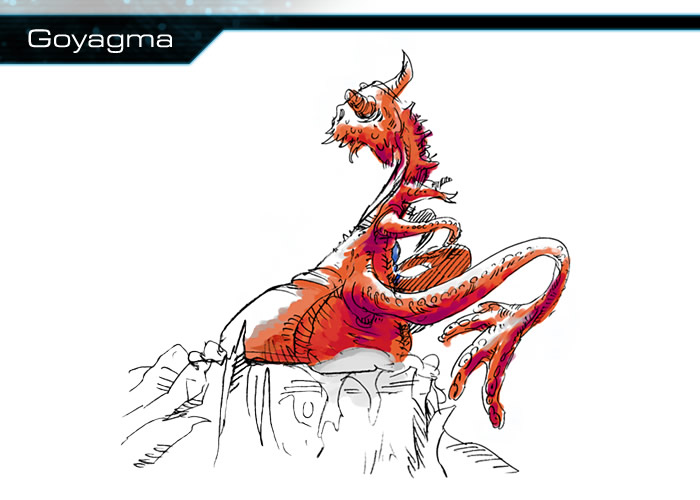
- Location:
Sector 3 - Crater Interior - Attacks:
Fireball volley, Hand swipe, Hand stomp, Fireball storm - Weakness:
Ice Beam, Missiles
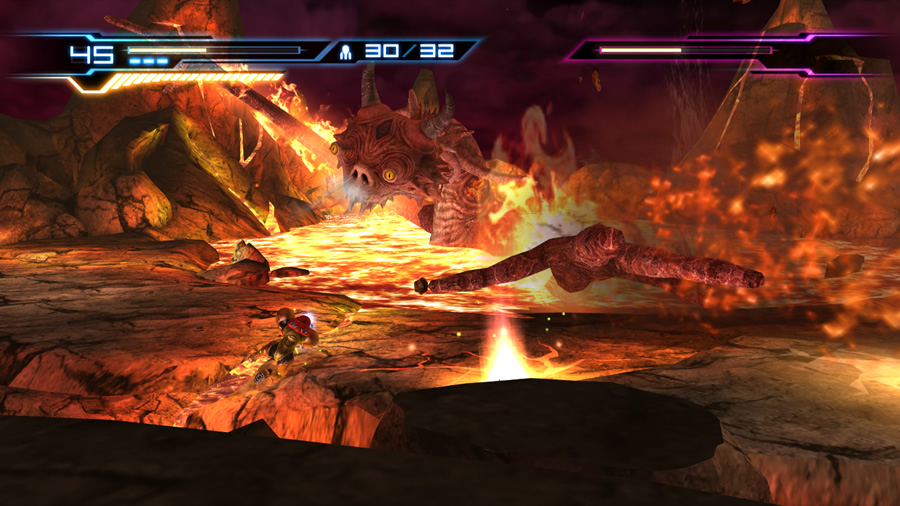
This monstrous specimen inhabits the very heart of the volcano's crater. The weird tentacled beast enjoys flailing its arms about - watch for it reaching out and ground-slamming an arm/tentacle down on either side of the arena.
It'll then sweep the arm around the crater, swatting Samus if you're not careful. Wait for the arm to begin its sweep before timing your jump to clear it safely. Anticipate a follow-up sweep from the creature's other arm. You can try to Sensemove the arm sweeps, but jumping over them often proves easier.
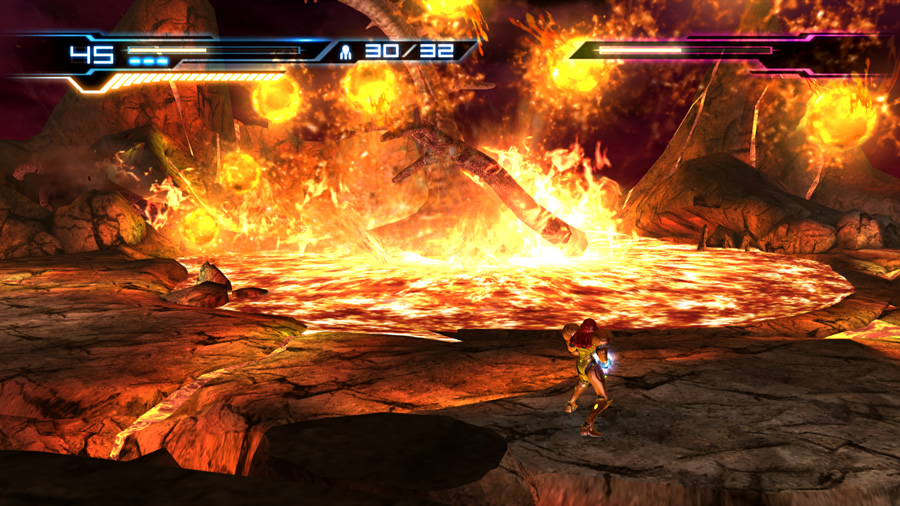
Surprisingly, timing your jump can be tricky due to the slower initial movements of the arms (I guess we're all used to lightning-fast enemy attacks by now) - run in the same direction of the arm's sweep to give yourself more time to jump at the right moment. If Goyagma lurches back and dips its arms into the lava, be ready to Sensemove an incoming volley of huge fireballs.
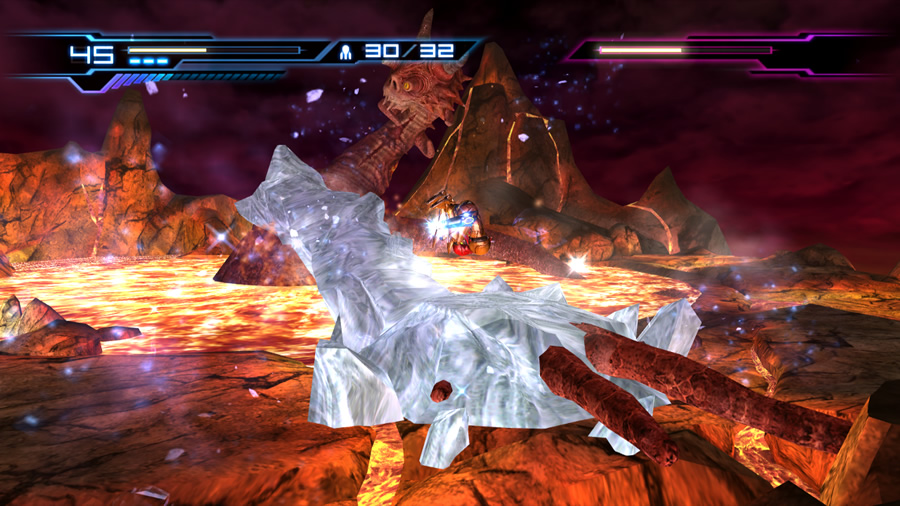
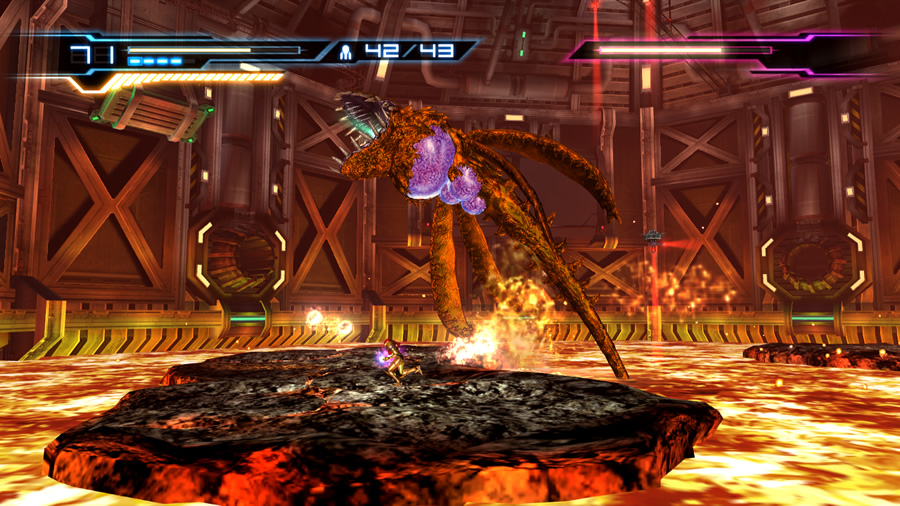
By now you should have noticed the obvious red glowing section on the creature's neck - open up with charged blasts of the Ice Beam. Each shot stuns the beast, but keep firing to eventually freeze that portion of the neck. Time for the same routine as the Brug Mass - quickly enter first-person view and lock onto the frozen section. Don't wait for Goyagma's health bar to appear; launch a Missile to break the ice and inflict minor damage.
With the ice broken, quickly resume firing at the red glowing section of the neck. Keep avoiding the arm swipes and fireballs the beast lobs at you; eventually the neck will become frozen again. This time Goyagma finally realises that it's sitting in a pool of lava and submerses itself to unfreeze its neck. You can actually sneak in a Missile before it sinks into the lava with a quick trigger finger.
Keep active and be ready to Sensemove when Goyagma re-emerges - a hail of fireballs rains down on unsuspecting victims. Attack the neck again and freeze it solid - open up on the frozen neck with another Missile before Goyagma can react.
With another bite taken out of its health, Goyagma will energize its arms with fire. It's Sensemove time again - immediately Goyagma will pound the ground with its arms, trying to smite Samus where she stands. Keep using the Sensemove to leap clear of the impact zones and resulting fire plumes.
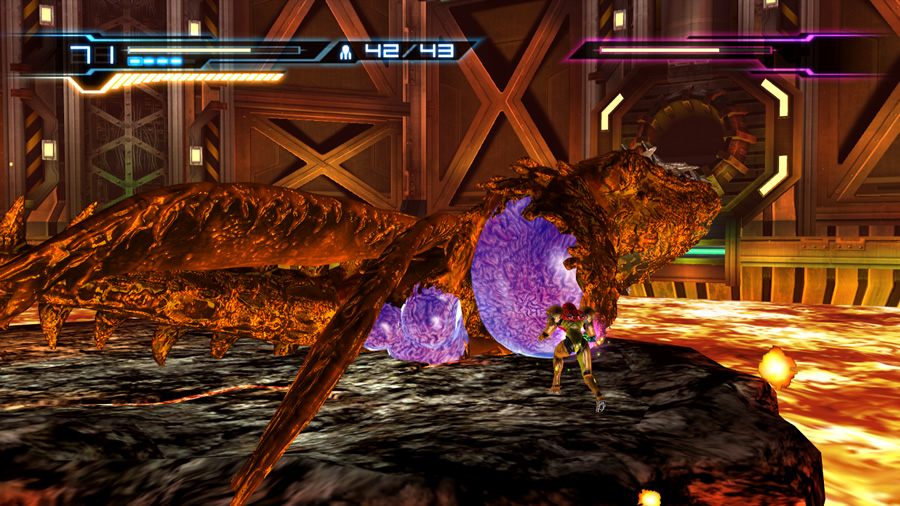
After pummeling the ground several times, Goyagma will curiously pause and rest one of its arms on the ground. The hand will glow red; here's your chance to react. Quickly freeze the hand with a charge of the Ice Beam to slow Goyagma down. You've now got two options of attack - either strike the frozen arm with a Missile to reveal a weak point on Goyagma's head (strike the head with charged Ice Beam blasts to inflict critical damage), or attempt an insane stunt only Samus would dare to try.
Jump atop the hand and watch as Samus automatically scales the beast, right up to its head to perform an Overblast. She sometimes seems to fire automatically into the creature's head once the charge gauge fills, but it's usually best not to take any chances - press fire yourself to ensure the attack works.
Once Samus leaps off however it's back to business. Goyagma will continue pounding the ground - dodge with the Sensemove and wait for one of the hands to pause. Charge up your beam and hit the hand to freeze it solid. Leap atop the frozen arm again, but this time you might need to release the Overblast charge yourself. Samus should be atop the creature's head by the time the charge gauge fills. Don't take any chances again, press fire rapidly before Goyagma grabs and hurls her to the ground.
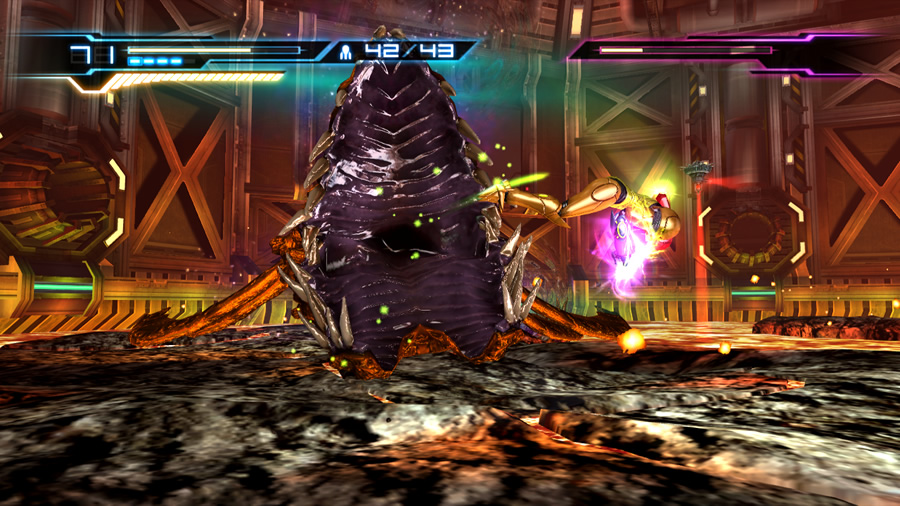
With Goyagma's health almost empty it'll try one final trick. Among its fireball attacks, Goyagma will slam one hand into the ground, but will follow up with a circular swipe from the other. This is tricky to avoid, as by now you'll be used to its repeated ground-slams. Just use the Sensemove to avoid the slam and time your follow-up jump well - don't instinctively jump straight away, give it a split-second moment to ensure you don't jump too soon.
After a barrage of sweeps, one of the hands will eventually remain motionless on the ground and glow red - quickly freeze it yet again. Blast it with a Missile and finish off Goyagma with a few more charged shots to its head, or jump atop the frozen arm and gear up for another Overblast. Except this time you definitely need to release the Overblast or Goyagma might try to stop you as soon as Samus reaches its head. She should automatically avoid a first attempt Goyagma makes to snatch her, then watch as she expertly launches into the air and down on Goyagma's head - press fire once the charge gauge is full to deliver the final blow (or just tap it rapidly to score the proper timing easily).
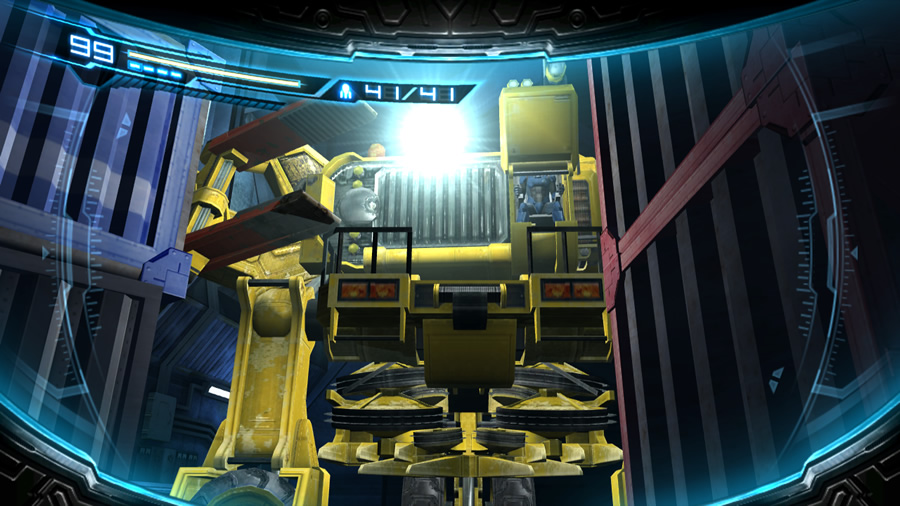
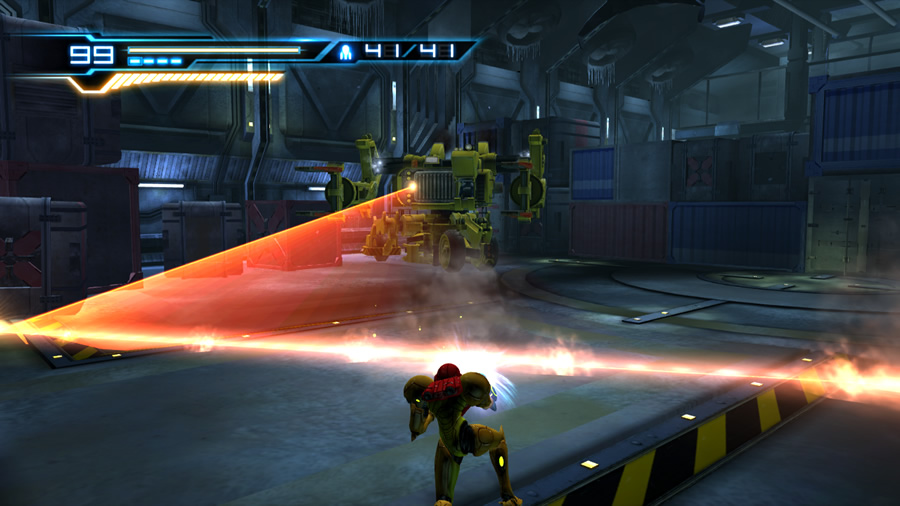
RB176 Ferrocrusher
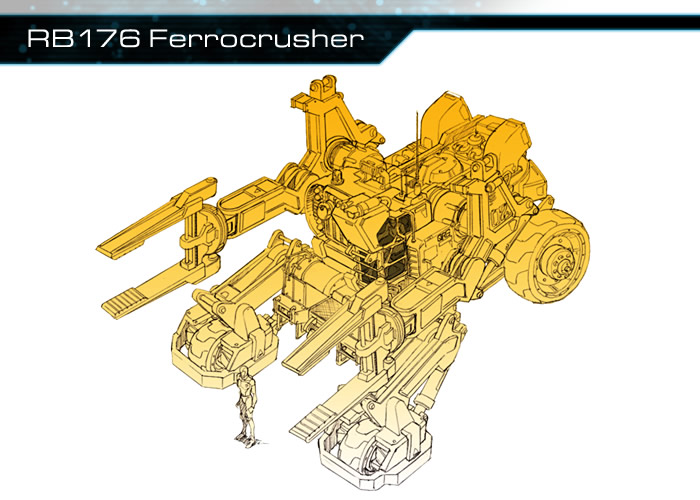
- Location:
Sector 2 - Materials Storehouse - Attacks:
Ramming charge, Industrial laser, Claw swipes, Claw vortex, Thresher - Weakness:
Ice Beam, Missiles
Now this is just wrong - Samus up against an overgrown crop duster? This massive piece of machinery is frighteningly agile despite its apparent size and weight - this thing can charge towards Samus at lightning speed. The Sensemove will be essential in keeping Samus safe. Keep your distance from the hulking beast as best you can, but rest assured it'll close in on Samus eventually.
Unfortunately there's just about no cover to be found in the warehouse, and the nearby crates won't be of much help - the game won't let you climb atop any of them for better protection. If the machine lunges towards Samus and winds up facing away from her, don't ease up your guard. Despite having a terrible view of Samus' position from there, the driver can reverse the machine straight into her - have your Sensemove at the ready. The machine only seems to reverse a short distance however, so if the machine drives into a corner and winds up facing away from Samus, hold off on your Sensemove and run as far away from the machine as possible.
Soon enough, the Ferrocrusher will deploy an industrial-grade laser, cutting a swath of air as it sweeps towards Samus. Don't be caught by this beam (especially on Hard mode - it's a one-hit kill), and Sensemove to avoid harm. Watch out though, as explosions will rock the area along the path the laser traces; just keep Sensemoving to avoid further harm.
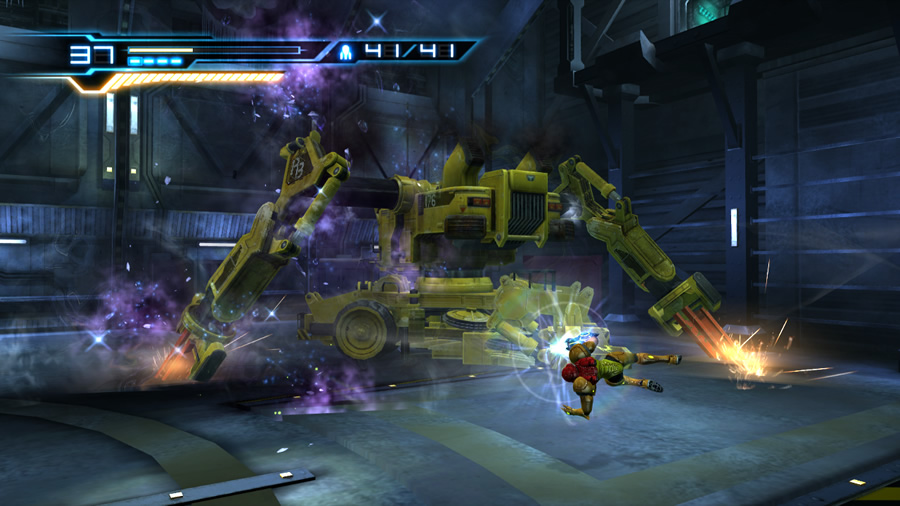
The machine may also swing its claws around along the ground in a circular motion, or it may wind up a single claw and take a swipe at Samus - don't waste any time running away from the target and Sensemoving at the right time if it ends up too close for comfort. These initial attacks are surprisingly fast and are strung together without giving you much chance of a rest, so let's get the battle moving faster. Charge up your Ice Beam and release the blast whenever you've just finished a Sensemove, or put some major distance between Samus and the target before firing to avoid being caught out at the wrong time.
Eventually your charged shots will freeze the shoulder joints of each claw's arm. You know what to do now - except that the Ferrocrusher won't give you an easy chance to do it. Wait for an opportune moment to enter first-person view, then quickly lock onto a frozen arm and let fly a Missile - a direct hit will sap some of the machine's health and dismantle the arm for good measure. Freezing both arm joints before entering first-person view works well, this way you can fire a Missile at the other arm straight away.
Don't think that the machine is weakened with both arms detached, as it'll instantly deploy a very nasty-looking thresher on its rear side. Those sharp appendages are extremely hazardous to your health; even with the Sensemove you might have difficulty avoiding them. So let's keep things moving quickly. Keep dodging everything the Ferrocrusher throws at you, and send those charged Ice Beam blasts back at it after performing a Sensemove.
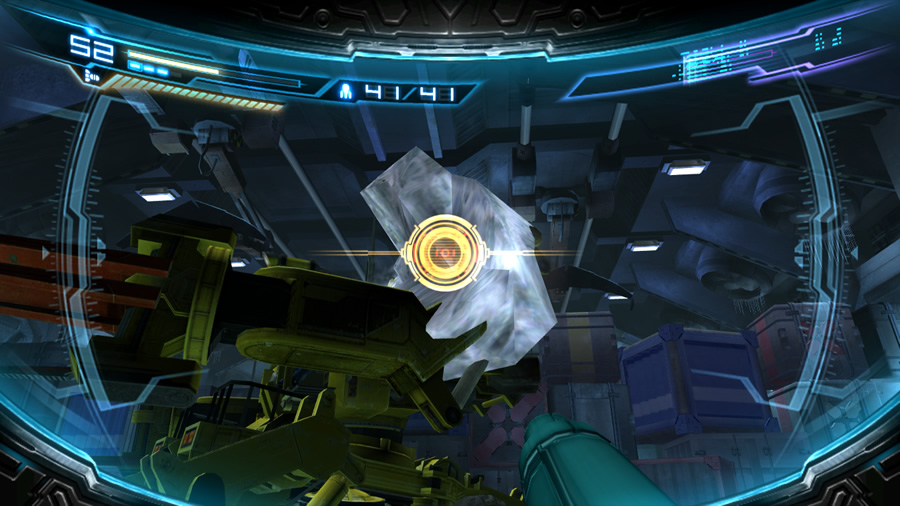
This time Samus is targeting its two front wheels. Eventually one of the wheels will become frozen, stopping the Ferrocrusher in its tracks. The driver will attempt to break free, overheating the machine in the process. A small exhaust port will open up on the top hatch - you now have two choices for attack. One is to enter first-person view and send a Missile straight into the exhaust port. You may need to move to a better vantage point first to score a successful hit - just make it quick. Fire as many Missiles as you can to inflict heavy damage before the hatch closes again.
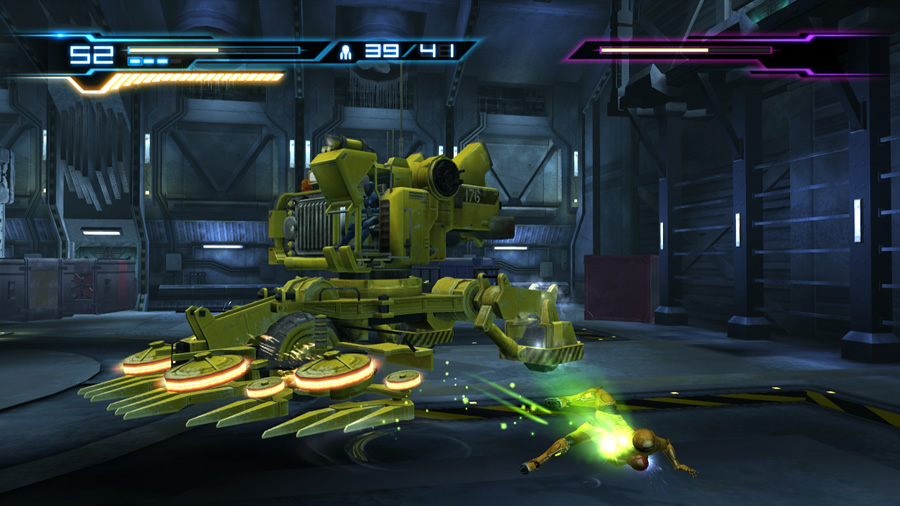
Once the machine recovers, be ready for an increase in its ferociousness. The laser attack may return, but this time the machine might sweep the laser around 360 degrees - be ready to Sensemove the resulting explosions across the laser's path. Don't stop trying to freeze the wheels again to eventually render the vehicle overheated.
However, if you want to end this encounter quickly (or are playing on Hard mode), close in and leap at the disabled machine as soon as you freeze a wheel. If aimed correctly, Samus will climb aboard and perform an Overblast, sending a Lethal Strike into the machine's cooling unit. This drains all the Ferrocrusher's remaining health immediately.
This is going to be a ridiculously tough challenge on Hard mode. Heavy use of the Sensemove and keeping your distance from the target should even the odds. A lot of luck is still going to take part on Hard mode. Try hiding in the corner where the Ferrocrusher begins the battle (the top-left corner according to the pause menu's map), and stay there for the remainder of the battle.
Hold your ground and keep between the red and blue crates. Sensemove everything the Ferrocrusher throws at you. So long as Samus remains in the corner, the vehicle can't run her over, so this should help remove the luck factor. Try to avoid the need for health restoration via Concentration. But if you can't avoid it, use the technique as soon as you freeze the machine's wheels to give yourself enough time to recover, as there's pretty much zero chance of using it any other time.
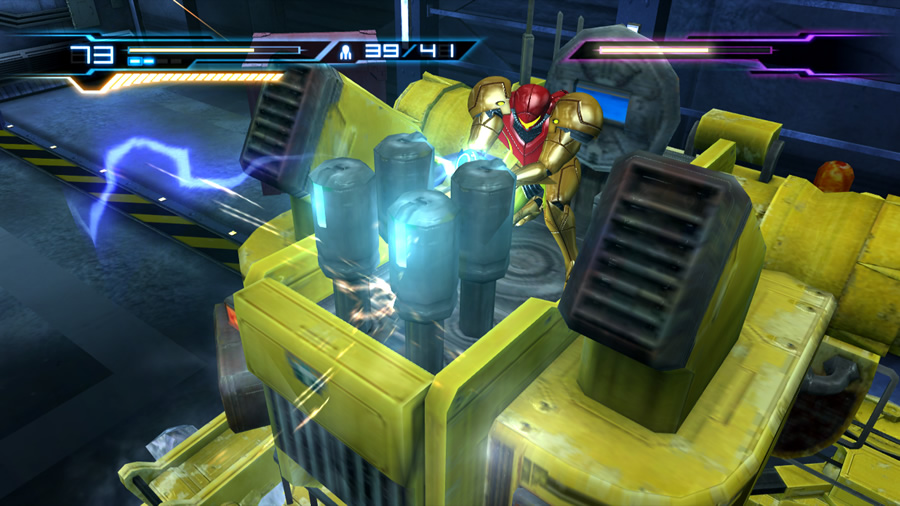
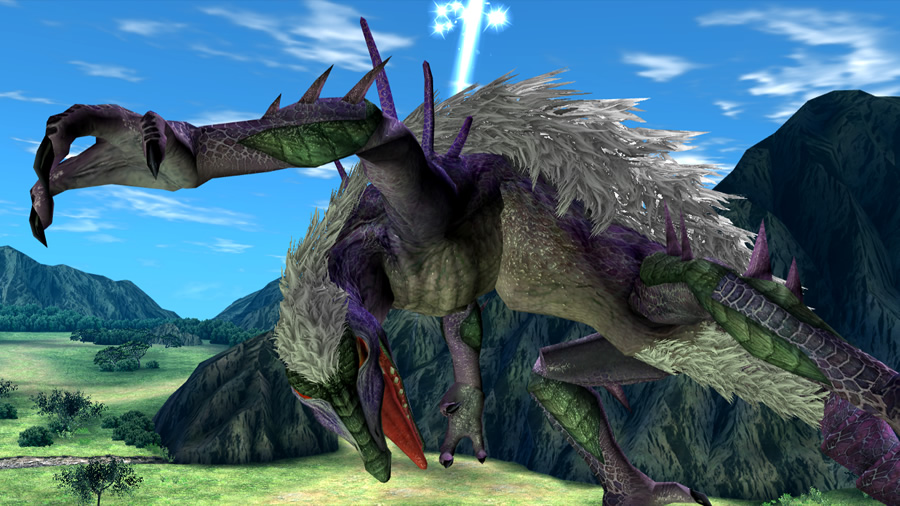
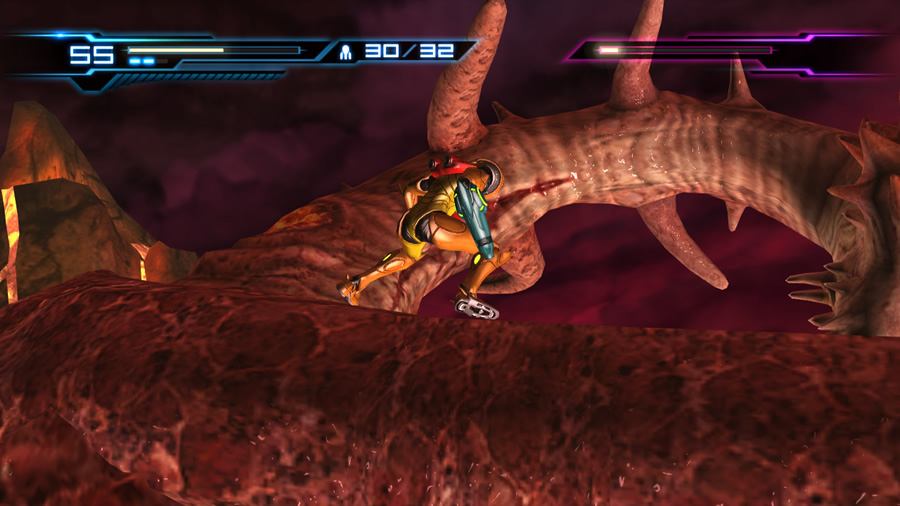
Vorash
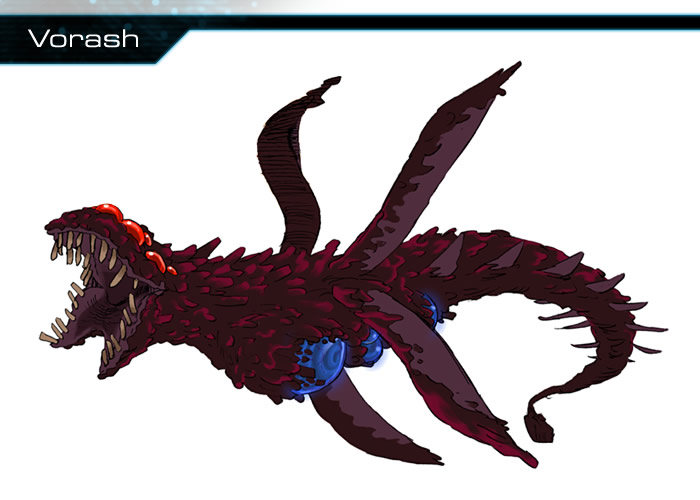
- Location:
Sector 3 - Blast Furnace Observation - Attacks:
Fireballs, Fireball storm, Bite rush - Weakness:
Charge Beam, Missiles, Grapple Beam
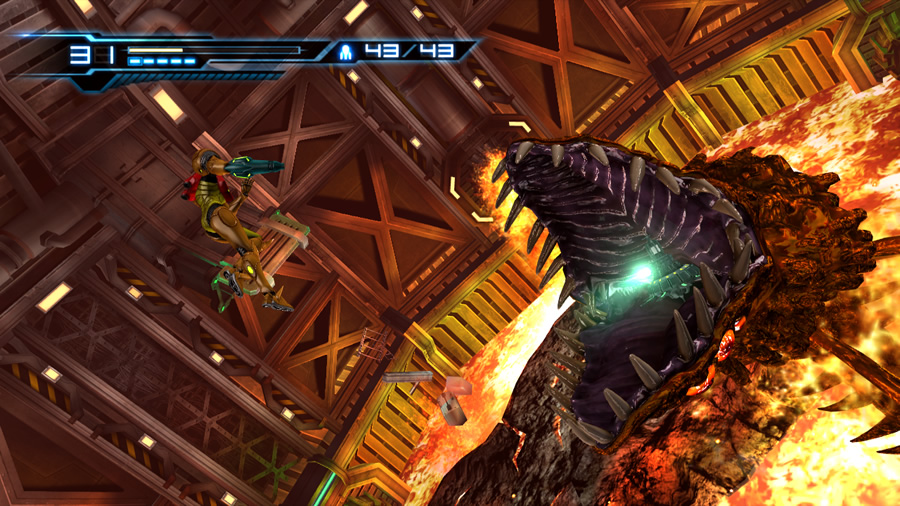
Cornering Samus in the heart of a lava-filled furnace, the massive magma fish finally attacks her head-on. Vorash begins by leaping out of the lava and expelling chunks of fireballs at her. As always, Sensemove to keep her safe. There's two generously-sized rocky islands here to keep Samus' feet firmly on solid ground, but if you find yourself slipping into the lava quickly leap back out again.
Vorash continues its volley of fireballs - watch out if it pops out of the lava and launches numerous smaller variants. Eventually Vorash will show you its ugly gums - but notice that green glow at the bottom of its throat? Remember how it earlier gobbled up one of the Grapple Points you released from the ceiling? It turns out those things aren't too tasty, as that glowing object is the Grapple Point lodged in its throat.
That's the best kind of bait and tackle anyone could ask for. While Vorash swims and leaps about the lava, you might eventually spot a large pinkish section on its underside - that's where you want to strike it. Fire rapidly to try and score a hit whenever it leaps into the air (this brings back memories of the Chykka larva...).
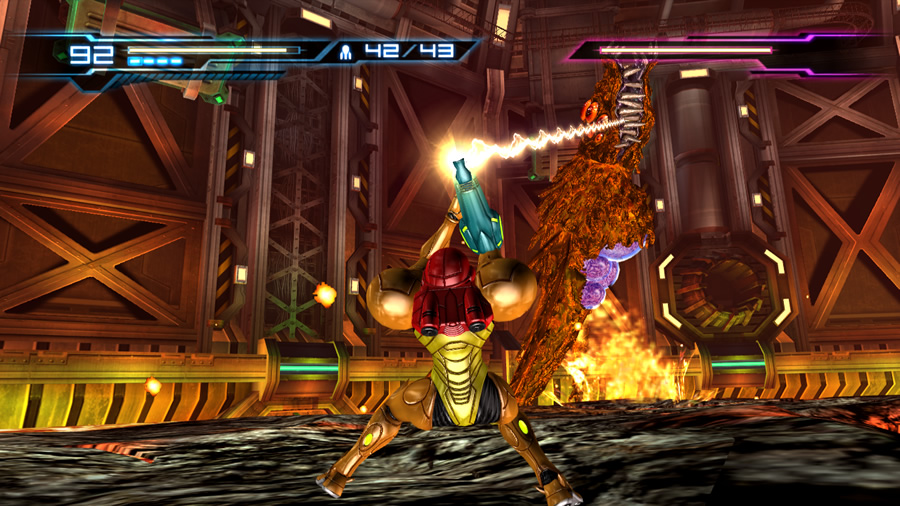
Eventually the head will pop out of the lava and a mighty roar from the beast will reveal the green glow of the Grapple Point. Don't waste any time - enter first-person view and lock onto the target. Quickly deploy the Grapple Beam for a spot of fishing - watch as Samus amazingly holds her ground and pulls the catch-of-the-day up onto the rocky island.
Vorash will crash to the ground and squirm its huge mass to try and wriggle back into the lava. Before it succeeds, quickly open up on the vulnerable pink underside with everything you've got. Missiles work well against it but charged shots take a sizeable chunk of its health with each hit.
Once back in its warm habitat, Vorash's fireball attacks will resume. Keep opening up on the pink underside whenever Vorash leaps high into the air to catch a lucky hit. Eventually it'll reveal the Grapple Point again, but watch out for fireballs spat directly at Samus. Dodge the incoming objects and quickly deploy the Grapple Beam to yank the creature out of the lava again. Deal more damage before Vorash slides back in.
Repeat the process and eventually Vorash will swallow the Grapple Point - so much for that trick. It'll resume the fireball bombardment but will also try one final stunt. Vorash will leap atop the island and hop across the entire length of it in an attempt to gobble Samus up in its open maw. Don't let this happen with a well-timed Sensemove.
Try to avoid the beast as it hops across the island. Once it passes, unload charged shots into the exposed pink underbelly before it returns to the lava. Curiously, you might still be able to hit Vorash with a Charge Beam blast to the front.
Adam must be enjoying this spectacle from his cosy command room. Keep the cycle up, don't stop firing and have a Sensemove ready at all times (where would Samus be without it?) to eventually finish this one up nicely.
Final bosses
Once again, please be wary of spoilers in the final boss pages below. If you find yourself stuck on any particular boss, go to the Boss 8 page and slowly work your way forward until you find the right one. It's an odd way of presenting this data, but it's an unfortunate trade-off as I do not want to accidentally ruin the surprises for anyone. I hope it works!