


Data
Guides and strategies
- Techniques Guide
- Power-up locations
- Bosses Guide
- Mini-bosses Guide
- Search View Guide
- Obstacles Guide
- Walkthrough
- Game endings
- Secrets and tips
- Game maps
Media
Chapter 7: Welcome to the Zoo
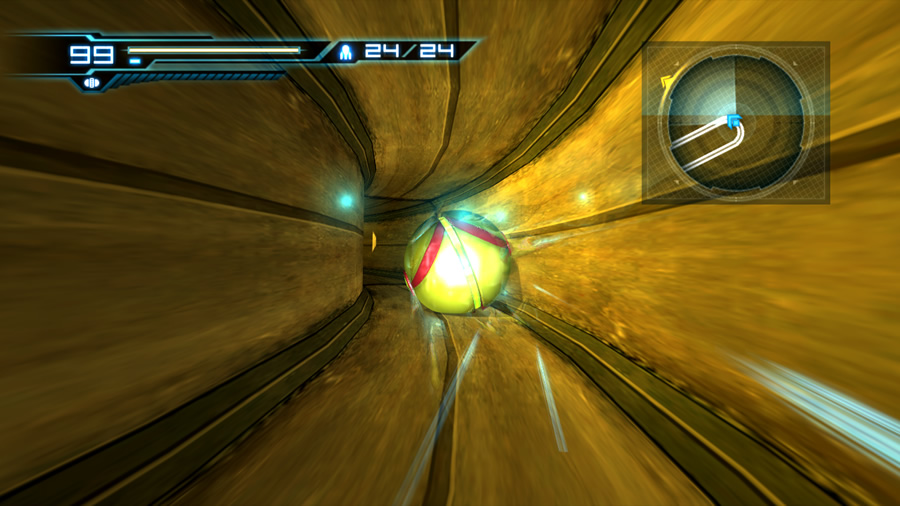
Morph Ball Launchers provide useful shortcuts.
Once both worms are down (and leaving the walls of the chamber a tangled mess), you can finally depart. The game will pan over to reveal the small round device in the nearby ventilation tunnel powering up. Feel free to save your game first, then roll through the exit and hop inside the glowing device. Drop a bomb to discover that this device is a Morph Ball Launcher. The launcher will send Samus hurtling through a narrow tunnel network, popping her out of a small water pool in the desert environment.
It's a great shortcut, but the Dragotix is no doubt ready to welcome Samus back. Quickly gain some distance from it, and feel free to leave the beast alone again if you want to be a member of the Dragotix Preservation Society. Run for the waterfall and roll through the hidden tunnel behind it to reach the upper rocky cliff. Climb up to the exit in the northern wall and move through to eventually find yourself back at the damaged Navigation Booth. It's now back to full power. Save your game before moving east, through the well-deserved unlocked door.
Beyond here lies a long grassy rectangular region. Home to swarms of Geemers and Wavers, this area also houses an inactive hologram generator atop a platform in the centre of the room. Before entering this chamber, take note that at this point on Hard mode you don't want to risk suffering any damage at all (you'll need it for the next boss encounter).
If you travel over to the far eastern wall you'll only find a solid wall (and a Super Missile blast shield high up on the left corner. With no apparent way forward, backtrack to the entrance of the chamber and look for a small tunnel opening in the left wall. Crawl inside and roll up the pipe - use a bomb to dismantle the rocky obstruction on the way and jump over the hole. Exit the tunnel above to arrive at the hologram generator's platform.
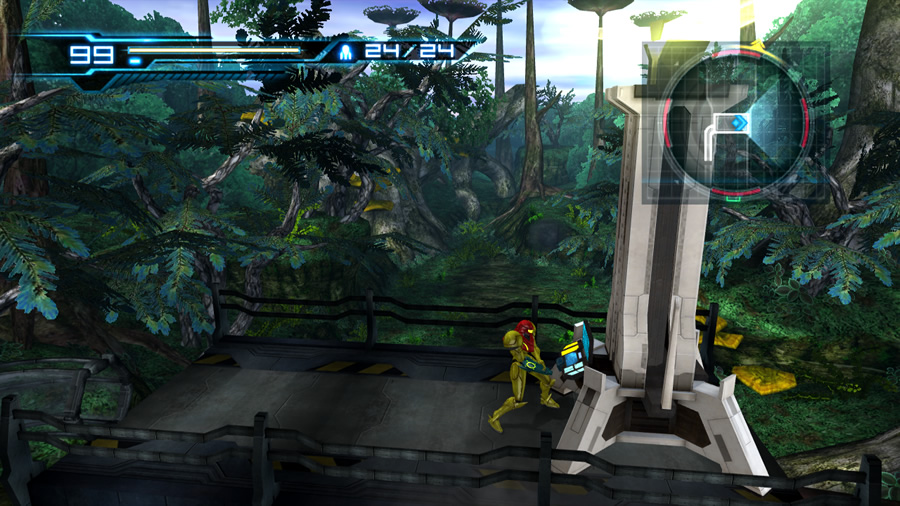
Look closely, the exit is down there somewhere.
Activate the device to produce an idyllic scene of strange tall plants filling the illusory blue sky. If you now look down at the eastern wall, there's a small metal section of the real wall still visible among the illusory environment.
Jump down and look closely at the wall - there's a small crack there. Activate the Morph Ball and lay a bomb over the crack (you might need to jump) to expose a hole in the wall, just big enough for the Morph Ball to fit. Feel free to leave the hologram generator running, as we can't yet reach the item hidden up behind the Super Missile blast shield (also note that you can still bomb the crack in the wall and proceed without powering up the hologram generator - the generator's purpose is to show you where the weakened crack is located).
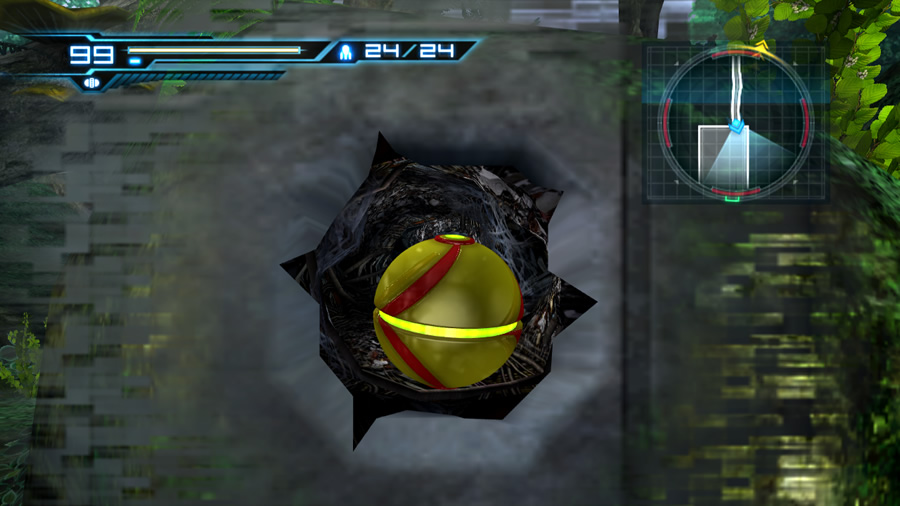
Roll through the exposed tunnel and follow the twisting passage to find yourself deposited inside a quiet earthy tunnel. Uhoh, the last time we saw this kind of scene, a giant worm tried to eat Samus...
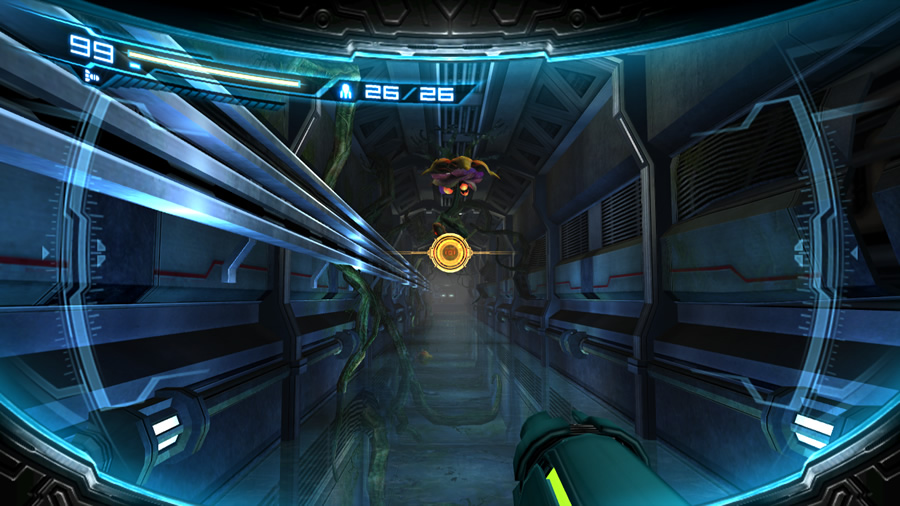
Step through the tunnel and clear out the obstructing cobwebs and the unfortunate Reos caught in the silky material (use a Missile or the Charge Beam). As the tunnel begins to steadily climb upward, and as you reach some roots that almost look like they've had a dose of Phazon exposure, a Gripper bursts out of the ground further on. The sneaky foe will then burrow underground and try to re-emerge directly underneath Samus, so backtrack and take note of any disturbed patches of ground where the Gripper will likely appear. Quickly enter first-person view and deliver a Missile before the Gripper burrows underground again. You can also keep the Charge Beam warmed up - simply blast the Gripper as soon as it leaps out of the ground.
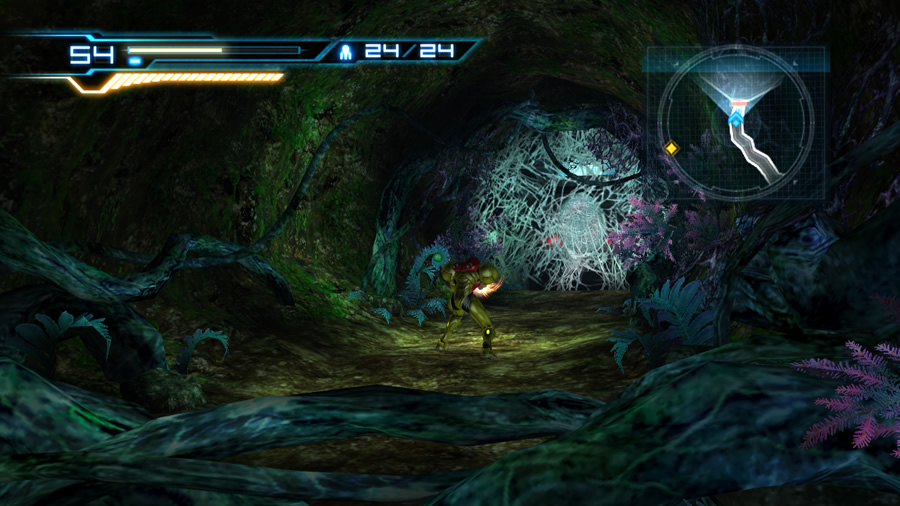
A dirt tunnel not unlike those found on planet Aether.
Keep moving up the sloping tunnel and clear the next Reo-straddled cobwebs. A second Gripper will emerge beyond this position; try to quickly dispose of it before it burrows underground. Otherwise retreat down the tunnel and deal with it before moving onward. Eventually you'll see the red glow of a locked door behind a smaller cobweb. Clear this cobweb to reveal the door, but be ready to Sensemove when a sneaky Griptian emerges from underground.
There's not much room to fight it in here, just try to strike it with a Charge Beam shot then follow up with a quick Overblast and Lethal Strike (or lay a bomb to stun it and follow up with a Lethal Strike). Once again on Hard mode you don't want to risk taking any damage.
The Griptian's departure will unlock the door, so let's leave this dirt tunnel behind. Through the door lies the Biological Experiment Floor - a gargantuan airy chamber filled to the top with what appears to be a giant organic hive structure.
If you circle the base of the structure, you might be able to catch a glimpse of a large purple blob somewhere beneath the honeycombed ground - what is that? Look for a sloping ramp near the entrance to begin your ascent up the hive. Along the way you'll encounter Poison Grippers (small Grippers that sound almost like birds) - deal with these pests from afar. If you're playing on Hard mode and are below 50 units of health, you might want to consider taking a hit or two from these small foes to bring your health under 25 units. Then use Concentration and restore it back to 99.
The path is also lined with Whipvines - small plants set in the wall that either launch glowing orange orbs at Samus or lash at her with whip-like appendages. Keep an eye out for them as you ascend and clear them from a generous distance with a Missile (remember that the spore needs to be open to be vulnerable).
There's a door behind that cobweb.
Look closely at the environment as you climb - near the top you might spot Missile Tank S1.08 on a ledge below. Hop down and grab the Missile Tank before climbing to the top of the hive. Once at the very apex of the hive, a large gaping hole allows entrance into the structure.
There's nothing else for it, so climb in and watch as Samus falls through the centre of the hive, right through the large purple blob and down to the rocky ground below.
As you land in the quiet chamber you'll be sent into Search View for the game's next search segment.
Search View segment #4 - At the bottom of the Biological Experiment Floor
Samus is sharing the chamber with something nearby. Sweep your view around and look for any moving objects in close proximity.
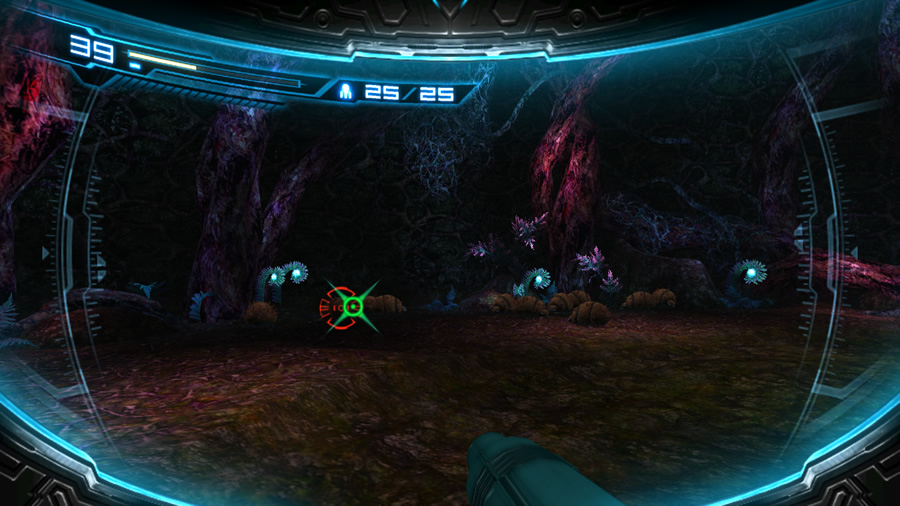 Look around to eventually discover a cluster of small brown creatures milling about. Target any one of them to complete this segment.
Before Samus can interact with the colony of little brown bugs (Zeros), the incessantly annoying shriek pierces the air again. The sound is enough to rile up the little ones, and reveals that they're not alone in this cave. Several flying insects - Kihunters - emerge from the ceiling and surround Samus, heralding the start of an encounter with an entire hive of the insects and the King Kihunter. Upon regaining control of Samus, immediately perform a Sensemove to avoid an opening attack from the Kihunter swarm (if you're caught, tap the fire and jump buttons rapidly). Refer to the bosses guide if you need help surviving this challenge.
The defeat of the King Kihunter precedes the reappearance of the furry bird-chicken. Except this time it's ravenously feeding off the hive's remains and is clearly unaffectionate. So it's not a distant relative of the Etecoons and Dachoras then... Samus leaves the creature alone as Adam chimes in. You're now tasked to head for the Biosphere Test Area and the Exam Center, which the map reveals as some distance away to the east.
You'll regain control outside the hive's chamber and can't go back in there for now (was it really a good idea to leave the furry white chicken thing alone again?). Right before you lies an Energy Part within a glass enclosure, but there's no obvious entry point. Instead, walk up the sloping ramp on the right and watch out for any pesky Zeros darting at Samus (these little bugs are the larval stage of the Kihunters).
Always attack Whipvines from a safe distance.
At the top of the ramp you should find a small grate set in the wall - bomb it open and roll inside. Follow the slope all the way down to locate Energy Part S1.01. Once the item's secure, roll back up to the grate and exit the tunnel. The room ahead contains more little Zeros and a single Sidehopper, but don't let them stop your progress (all the doors here are unlocked).
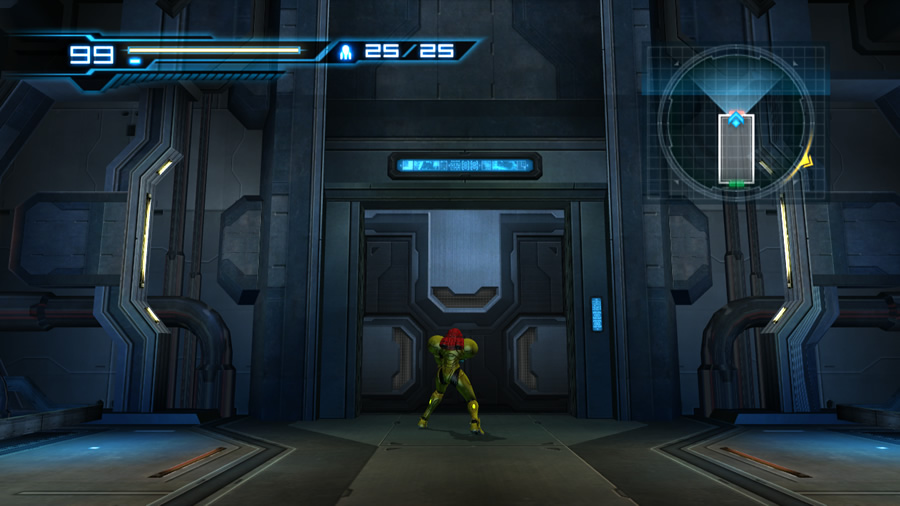
The door on the southern end of the chamber leads back to a large jungle-themed region that you might have explored earlier (it contains a tall obstructing cliff that can't be scaled over without the Grapple Beam). Instead, take the exit on the northern end of the chamber to find the warm glow of a Navigation Booth.
Save your game to reveal the road ahead on the map. Exit the chamber and cross the partially-overgrown corridor beyond. Watch out for an approaching Reo swarm, and take care when stepping among the rowdy Zeros. You'll find a door at the far end, in the corner of the L-shaped hallway. Our path to the Exam Center lies down the hallway on the right, but let's take a peek through this door first.
Through this door is an extremely long narrow corridor pointing north. A large mechanical bridge spans a deeper chamber below. If you cross the bridge and exit the chamber through the northern door, all that lies beyond is a curious dead-end with a locked door. We'll be finding out more about this place later on in the game.
Why is this door locked, and where does it lead?
Step back to the southern end of the long adjacent corridor. Before we leave and get back on track, there's an item hidden below here. Activate the terminal near the door to retract the bridge and expose the chamber below. Leap down there to locate Missile Tank S1.09 after some short exploration.
With your latest Missile tucked away safely, climb back up to the southern door and exit the chamber (reactivate the bridge if you want). Move down the right hallway in the L-shaped corridor and work your way past the ruined specimen cages. More Reos and Zeros inhabit this region, so take care along the way.
The exit down the far eastern end of the hallway looks like it was once covered in vines. It's been recently cleared open, so let's thank our unseen arborist and move onward. Beyond here lies another long narrow corridor facing east. This one is partially filled with clear water.
If you stand at the western shore and enter first-person view, you should be able to clearly see several Whipvines attached to the ceiling further down the corridor. Try to target the nearest one and use a Missile to knock it down. Firing at the second one might not work, as Missiles bounce off Whipvines if they're concealed inside their spore pods.
Once you've had enough target practice it's time to get your feet wet. Leap down underwater and (slowly) travel right. Without the Gravity Suit, Samus' movement is understandably slow. Watch out for invading Skulteras, these little fish can snag Samus and take a small chunk of health. Keep firing as you travel right to hit them as they appear, and tap the D-Pad to Sensemove as they swim closer (thankfully the Sensemove still works underwater).
Missiles in first-person view and the Charge Beam can help clear them faster as well. If a Skultera catches you, keep pressing fire and jump to break free quickly. Curiously, if Samus performs a somersault jump, any biting Skulteras will bounce off.
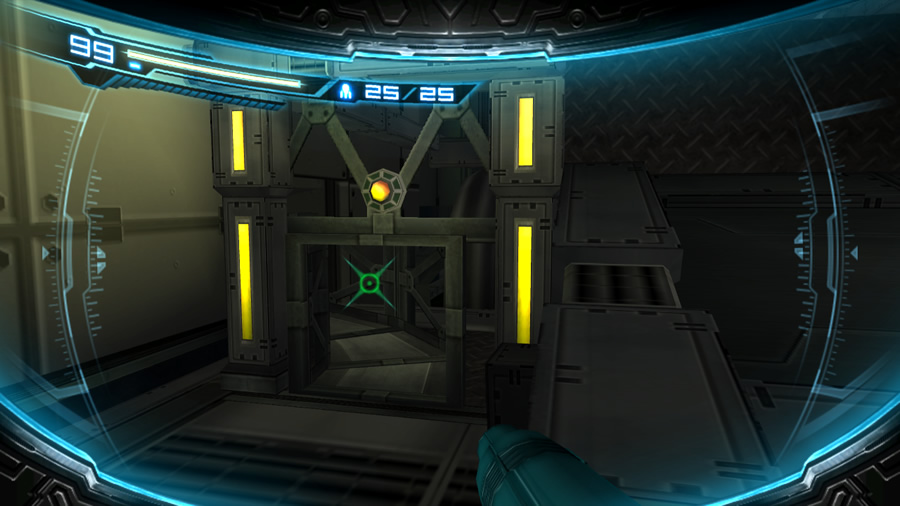
Follow this vent to find another Missile Tank.
Eventually you'll locate an underwater Whipvine covering an open hatch in the wall. Keep your distance and use a Missile to knock it down. Don't forget to grab Missile Tank S1.10 on your way through. More Skulteras might hassle you further down the corridor, so keep up the rapid fire and Sensemove combo to keep Samus safe.
You might also want to take a moment to look up high above at the ceiling along the way - eventually you'll pass beneath the two remaining Whipvines. Each one opens up even though Samus is clearly out of range, so feel free to blast them from below.
Eventually your underwater journey will conclude at the far end of the corridor, where two objects of interest await. A solid grate on the wall can be targeted, but it asks for the Speed Booster so we can't do anything with it yet.
Instead, look for a Sensor switch hidden within a small alcove. Energize the switch to activate a device above the water level. The device will move along a railing down to the far western end of the corridor, so you need to backtrack and return there. Slowly move back through the water and climb out at the far end. The device will be waiting for you there. We'll call this machine a cargo wall runner - see the small glowing red bar among the yellow-and-black patterns on its side? If you jump and grab onto that bar, Samus will hang from the device as it travels along the mounted wall railing.
Hang from the device and it'll transport Samus over the water and up to the exit at the far end of the corridor. If you hadn't cleared those three Whipvines from the ceiling earlier, they'll now be in range of Samus as she zips along the wall. If any remain, quickly enter first-person view (which you can still do while hanging from a ledge) and knock them down with Missiles.
Exit the corridor at the climax of this short trip to find yourself in an airy cavernous chamber. This wider region is also partially filled with water. The ambient sound of insects and the swampy decor gives this cave another otherworldly theme. Only metallic staircases and wall panels remind us where we really are. The chamber is split into two watery regions - enter first-person view from high atop your current position to have a clear look at the first region.
These Whipvines can interfere with your journey - knock them down beforehand.
The water below is interrupted by two small islands and three Bull floating in the air. Feel free to clear out the Bull from here as they'll otherwise hassle Samus down below. Climb down the big staircase on the edge of the cliff and leap across the islands (if you take a dip, watch out for any Skultera inhabiting the watery depths, then simply travel back to the big staircase to reach dry ground).
Look closely at the cavern's northern wall on the second island, see the lone Sensor switch there? Energize it to raise the water level in the entire region. The two islands aren't anchored to anything, so they'll rise along with the water, giving you enough height to reach the tall cliff in the centre of the area. Jump across to reach the cliff (you'll wind up underwater again).
Now we need to lower the water level again to reach the floating islands in the second region. While underwater, hop down the next big staircase and watch out for more hostile Skulteras (try to pick them off from atop the cliff if you wish). Once safely down in the second region, be sure to find Missile Tank S1.11 before moving on.
Now to find our way forward. Move back to the centre of the area and enter first-person view. Look straight up to observe the underside of the three floating islands above. A Sensor switch hides on the underside of one of the islands - energize it from here to lower the water level down (don't worry if Samus is directly under one of the islands, they'll stop lowering right before crushing her).
This beautiful swamp is another elaborate illusion.
Move back to the now-uncovered staircase beside the cliff and climb back up to the top. Enter first-person view and take a look at the second region from here. Clear the three Bull first, then walk towards the southern wall to line up your jump with the first tiny island. Leap down and cross the islands to the far right. From there you'll clearly see another Sensor switch adorning a large metal wall high above.
Energize this switch to set the water level on a constant rising-and-lowering cycle. Stay where you are and wait for the water level to lower down below the metal wall. There's a green rocky wall just beyond the metal one - once you have enough room, leap towards the green wall and wall-jump up the narrow shaft there to reach the top of the cliff. At last, we've arrived at the end of this adventurous cavern.
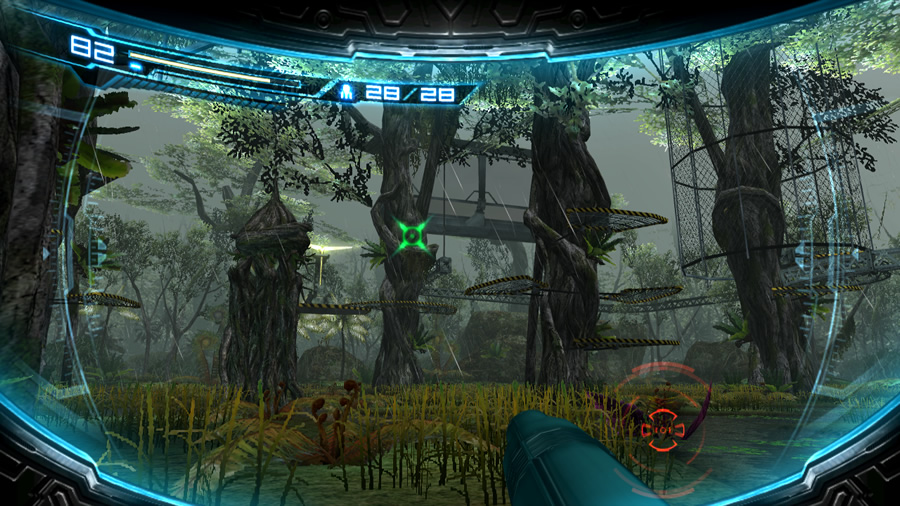
Step through the exit for another unexpected sight. It looks like you've just arrived on a swampy jungle planet in the middle of light rainy weather (with a touch of a westerly wind too). The area is quite serene in its own Metroid-way, and the tall trees, watery puddles and grey sky all harken back to good old Crateria on planet Zebes. Raindrops dot Samus' visor too in first-person view, just like during her arrival on Tallon IV in Metroid Prime... ahh good memories.

Climb up these platforms to reach the tree-tops.
Anyway, we'd better get moving as there's a number of Poison Grippers no doubt hopping toward Samus by now. If you travel around the swamp and look closely at the tall trees, you might notice a number of metallic platforms attached to each tree. Shooting or walking into each tree produces the familiar illusion-burst whenever you strike a holographic object (except for the tree in the centre of the area - all your shots simply bounce off, hmm).
You might also spot a number of metal pipes winding among the trees high above. This place is clearly another illusion environment, so there must be a hologram generator nearby. Those metal pipes likely lead to its position. Sure enough, the yellow rotating pylon of the generator should become visible after searching around for it. To reach the generator, you'll first need to find a way up into the trees.
To find the right tree to climb, travel to the tree in the south-western corner of the area. The tree to climb is the neighbouring one north of this one. Climb up the metal platforms to eventually find an entrance to the metal pipe network. Activate the Morph Ball and roll through the piping. Watch out for two sneaky Geemers inhabiting a pipe further on - roll through slowly to avoid barreling right into one. Drop a bomb or two and retreat to catch the Geemers as they charge towards Samus.
With the first two Geemers gone, keep moving through the network. Don't worry about falling down off the platforms between each pipe by accident - Samus won't automatically walk off the edge of a platform unless there's another one further down that she can land on. Eventually the pipe network will take you toward the hologram generator's platform, but watch out for three more Geemers hiding in the pipes. Take it slow to avoid ramming them.

The last tree standing is not an ordinary one.
Eventually the pipe network will end, depositing Samus onto a platform in the northern region of the area. Walk around the platform to locate the humming hologram generator. Power it down to finally reveal the actual chamber's dimensions and a potential exit. But the tree in the centre of the room has a few words to say first.
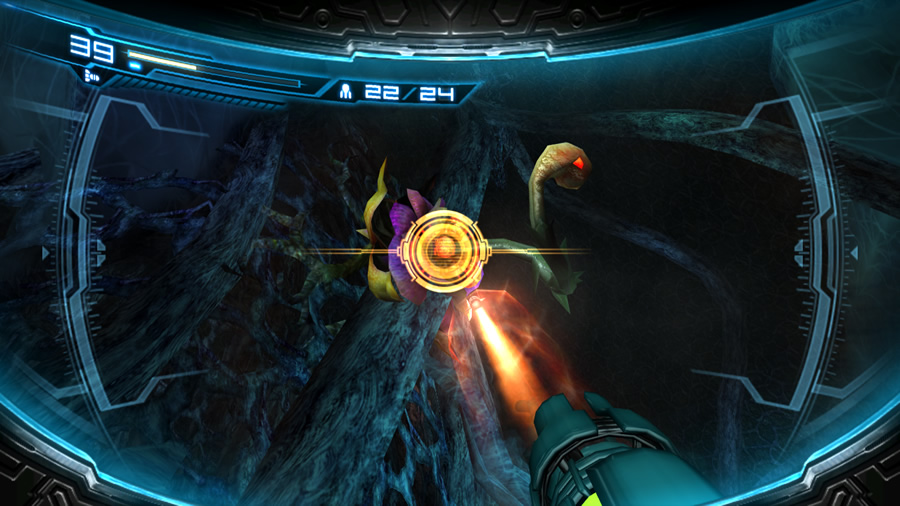
The huge specimen unravels itself to reveal a living tree-like six-legged monster. This creature is known as a Groganch - remember the two you saw earlier in Sector 1? This time you'll need to deal with the Groganch to proceed.
The Groganch almost seems docile if you keep your distance. Well, until you realise that those purple orbs it launches are generally aimed at Samus. Check the mini-bosses guide if you need help taking it down (remember to climb up the pillars that once looked like trees to use them for cover).