Missile locations

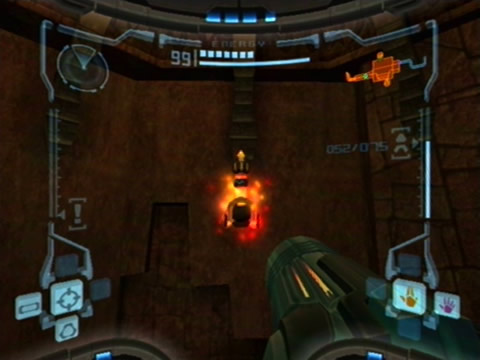
Before gathering Missile Expansions you'll need to find the Missile Launcher listed in Samus' Upgrades (it looks exactly the same as any other Missile Expansion). There's 50 missiles all up (including the first one), so it'll be just like an easter egg hunt to find them all. Each missile grants you an extra five, giving you a maximum total of 250.

Samus' upgrades | Missile locations | Power Bomb locations
Energy Tank locations | Artifact locations

Tallon Overworld

Click for larger view

1.

(Landing Site)
You'll need the Morph Ball to reach this one. Check under a small alcove filled with Tangle Weeds right behind Samus' ship for this missile.

Click for larger view

2.

(Transport Tunnel B)
This one's easy, just check under the rocky bridge and you'll find the missile hidden in the dust and dirt.

Click for larger view

3.

(Overgrown Cavern)
You'll spot this one hidden among a swarm of Venom Weed in the cavern. Reach this area by taking the elevator down from the Chozo Ruins near the Reflecting Pool room (specifically the Tallon Overworld East elevator).

Click for larger view

4.

(Frigate Crash Site)
This one's hidden up high in a small underwater cave near the large tangled tree roots. You'll need the Gravity Suit to reach it successfully.

Click for larger view

5.

(Biohazard Containment)
Use the Scan Visor down below in the underwater region of this room to find a Cordite door along the wall. Use a Super Missile to break the door open, revealing this missile waiting inside.

Click for larger view

6.

(Arbor Chamber)
Use the Grapple Beam in the giant Root Cave room to reach the upper part of the chamber. Once above use the X-Ray Visor to reveal invisible platforms, then simply use them to climb up to the red door above. Head inside to find this missile.

Click for larger view

7.

(Root Cave)
On the way up to the Arbor Chamber room (the Grapple Beam's required), use the X-Ray Visor to reveal a hidden alcove in the wall concealed by vines. Jump inside to find this missile.

Click for larger view

8.

(Great Tree Chamber)
In the upper area of the Great Tree Hall, there's an invisible platform suspended in mid-air leading up to a door. Use the X-Ray Visor to see it, or watch for an area in the air where the rain drops are falling on the platform. Use it to reach the door on the far wall, then head inside to find this missile.

Click for larger view

9.

(Life Grove Tunnel)
Accessed via the Great Tree Hall, once inside use the Morph Ball to reach an underground "O" shaped tunnel. Use the Boost Ball to reach the top of the "O", then bomb the middle of the ground to fall through and find this hidden missile.

Chozo Ruins

Click for larger view

1.

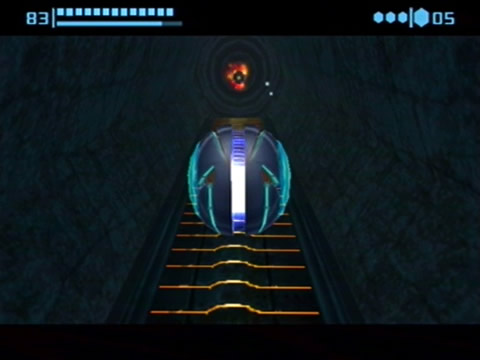
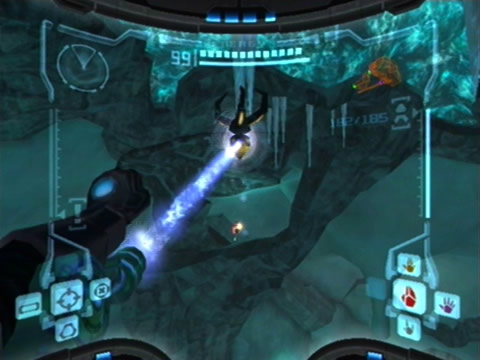
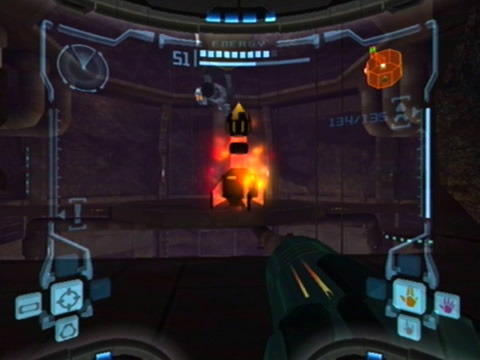
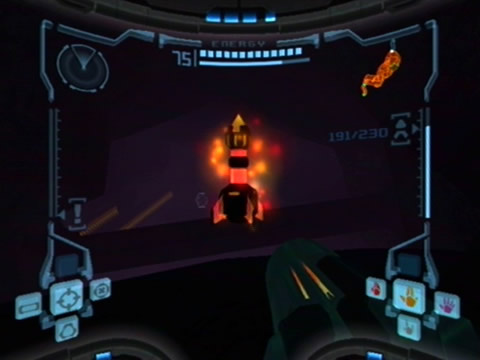
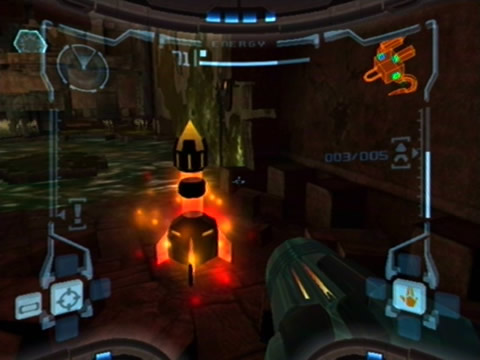
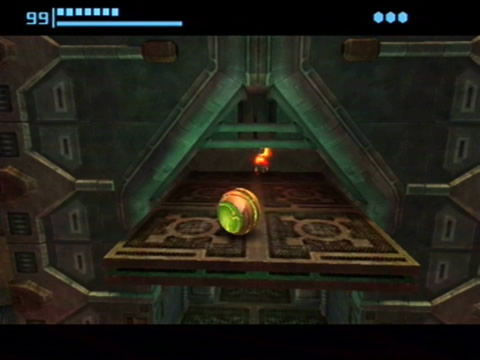
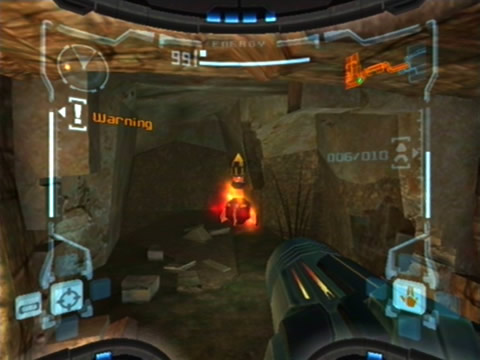
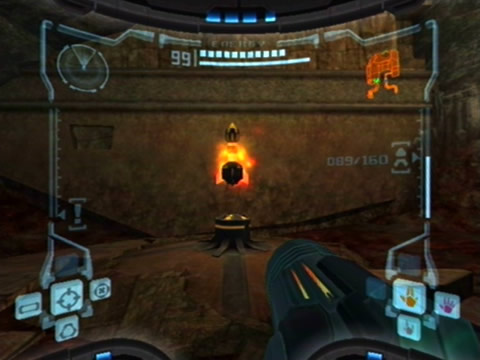
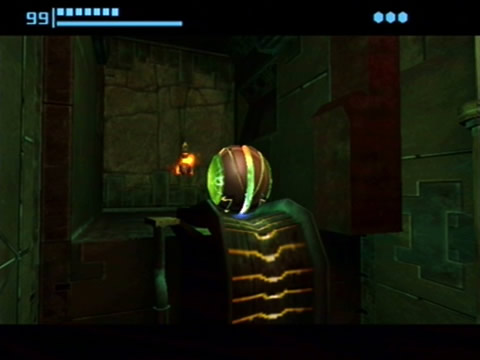
(Hive Totem)
This will be your first missile - the Missile Launcher. Check the walkthrough for more details and while you're at it check the bosses guide for tips on defeating the Hive Mecha.

Click for larger view

2.

(Main Plaza)
This missile's hidden in a small alcove above the large half-pipe. Use the Boost Ball to reach it easily.

Click for larger view

3.

(Main Plaza)
Accessed from the Training Chamber room, use the Grapple Beam to reach this missile on the opposite side as you enter the region.

Click for larger view

4.

(Main Plaza)
On the large tree here you'll spot a huge knot which can be scanned. Blast it open with a Super Missile to reveal the hidden missile inside.

Click for larger view

5.

(Ruined Nursery)
This missile's waiting beyond narrow tunnels carved in the walls of this room. Use the Morph Ball and bombs to blow apart the metal blocks to open up a path leading to the missile.

Click for larger view

6.

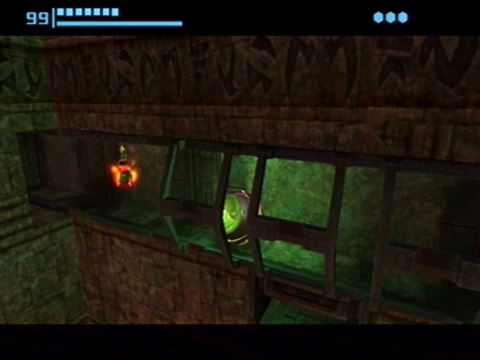
(Ruined Gallery)
On the right wall of this room (as you enter) you'll spot two small openings. Use the Morph Ball to enter the narrow tunnel to find this missile hiding inside.

Click for larger view

7.

(Ruined Gallery)
Use a single missile to break through a weakened wall across the shallow Blastcap-infested pond (below the door) to reveal this missile.

Click for larger view

8.

(Ruined Shrine)
Use the Boost Ball to reach a small opening high up on the left wall (facing the alcove where the Morph Ball was), head inside to find the missile in a small chamber.

Click for larger view

9.

(Ruined Shrine)
On the right wall of this room (when facing the small alcove where the Morph Ball was), use a bomb to break through into a small tunnel leading to this missile.

Click for larger view

10.

(Vault)
In this large room you'll need to lay a bomb in each of the three locks on the large metal gate to open up the cage surrounding this missile. Use a double-bomb jump (check the hints section for more info) to reach the highest lock.

Click for larger view

11.

(Ruined Fountain)
In this room you should spot a Spider Ball track running across the roof and walls. Use the fountain to propel Samus up to the track while in Morph Ball mode, then follow it to the missile hidden within the wall.

Click for larger view

12.

(Gathering Hall)
At the very top of this room you'll need the Space Jump Boots to reach the top of the roof where all the Shriekbats are hanging. Blow open the metal grate above with a bomb to reach the concealed missile. You'll also be able to use the double-bomb jump trick to get up there, but it's tricky.

Click for larger view

13.

(Watery Hall Access)
Use a missile at the foot of the stairs in this room to break through the crumbling wall to find this missile.

Click for larger view

14.

(Watery Hall)
Once you've defeated Flaahgra, use the Gravity Suit to find an underwater tunnel in this room. Go through to find a hidden room containing this missile.

Click for larger view

15.

(Burn Dome)
Once you've whacked the Incinerator Drone, use a bomb to break through the small sandstone wall to find this missile hidden in a small chamber beyond.

Click for larger view

16.

(Furnace)
Use a Power Bomb at one side of this room below the Spider Ball tracks to reveal a half-pipe hidden below. Use the Boost Ball to reach the Spider track above, then carefully make your way up to the highest point of the room where the missile waits. Use regular bombs on the Plated Parasites to avoid being knocked off.

Click for larger view

17.

(Dynamo)
In this room, blast open the grating on the wall opposite the door to reach the missile concealed in a small alcove.

Click for larger view

18.

(Dynamo)
Climb up the Spider Ball track (watch out for the Plazmite) to reach this missile hiding above in a tiny alcove.

Click for larger view

19.

(Crossway)
Blow open the small Cordite casing covering a console beyond the half-pipe in this room. Scan the console, then use the Boost Ball to reach both Morph Ball Slots via the half-pipe and Spider Ball tracks. Once both slots are active, drop down and ride up the automatic elevator to reach this missile.

Click for larger view

20.

(Training Chamber Access)
Near the door of this room you'll spot a large tree covering most of the wall behind it. Activate Morph Ball mode and roll through the tree, revealing a concealed tunnel leading to this missile.

Magmoor Caverns

Click for larger view

1.

(Storage Cavern)
In the Triclops Pit, use the Morph Ball to reach the area under the floor grating where all the Triclops are wandering around. Maneuver around them to reach a small opening on the far side of the room (the opposite side from the lava), then head through the door you'll find to locate this missile.

Click for larger view

2.

(Triclops Pit)
This time you'll need the Space Jump Boots and X-Ray Visor. In the Triclops Pit, use the X-Ray Visor to locate several invisible platforms hanging in mid air. Jump across them to reach a large blank rocky pillar. Shoot open the pillar with a missile to reveal this missile hiding inside.

Click for larger view

3.

(Fiery Shores)
All you'll need here is the Morph Ball and bomb to reach this one. In one corner of the lava lake you'll spot a series of raised catwalks, with the missile waiting at the end of one. Get up to the catwalk with bombs then carefully roll along them to reach the missile.

Phendrana Drifts

Click for larger view

1.

(Phendrana Shorelines)
You'll find this missile hidden in a corner of the Phendrana Shorelines, encased in ice within a pillar. Use the Plasma Beam to break through the ice to reach it.

Click for larger view

2.

(Phendrana Shorelines)
Up on the ledge where the temple structure resides, use the Scan Visor to reveal a weakened statue cover. Blow it open with a Super Missile and scan the console underneath to open up a Spider Ball track on the tower to the left. Use the Spider Ball to reach the missile at the top of the small tower.

Click for larger view

3.

(Ice Ruins East)
Up in one of the corners of this area among the ruined buildings you should spot a hidden Spider Ball track. Follow the track to find this missile hiding in a narrow tunnel above.

Click for larger view

4.

(Ice Ruins East)
Just around the corner from the entrance of this region you should find a small cave with an ice sheet blocking the entrance (follow the humming sound to find it). Blast open the ice with the Plasma Beam to find the missile waiting inside.

Click for larger view

5.

(Research Lab Hydra)
Up on the top floor of this research lab you'll find a large cylindrical container which once scanned reveals fractures present in its casing. Break it open with a Super Missile to find this missile hiding inside.

Click for larger view

6.

(Research Lab Aether)
Around halfway up this lab you should spot the missile tucked away beyond a series of narrow catwalks. Use the Morph Ball and carefully roll along the catwalks to reach the missile.

Click for larger view

7.

(Frost Cave)
In this large cave you'll need the Grapple Beam to reach the highest point of the cavern (it's hidden within a stalactite). Once at the top shoot out the highest stalactite in the room, which once dislodged will plummet down and break open the ice lake below. Jump down into the water to reach this submerged missile.

Click for larger view

8.

(Gravity Chamber)
You'll need the Grapple Beam and Plasma Beam for this one. Up above the area where you find the Gravity Suit you'll spot a giant ice stalactite in the roof above. Blast it with the Plasma Beam to reveal a Grapple Point hidden within. Use the Grapple Beam to reach the missile up in the small alcove.

Click for larger view

9.

(Quarantine Monitor)
You'll need the Grapple Beam for this one. In the Quarantine Cave where you fought Thardus, use the Spider Ball to reach the door leading off to the elevator beyond. From here, use the Grapple Points leading over to an entrance on the far side of the room. Head through to find this missile waiting inside.

Phazon Mines

Click for larger view

1.

(Main Quarry)
In the giant Main Quarry area, clear off all the Pirates in the area, then head up to the top of the large structure where the crane is. Use the Thermal Visor to find an electrical conduit and charge it with the Wave Beam. Scan the console inside the command room to activate the crane. The crane swings around and breaks open a wall, revealing the missile, so head up there via the Spider Ball tracks along the crane to reach it.

Click for larger view

2.

(Security Access A)
You'll need to break open a weakened metal wall with a Power Bomb to find this missile. Use your Scan Visor to find the damaged wall section.

Click for larger view

3.

(Elite Research)
At the top of this room, use the Spinner to aim the industrial laser at the final wall it faces while rotating in a clockwise direction. Activate the beam to blast open the wall and reveal this missile.

Click for larger view

4.

(Elite Control Access)
Not far from the door of this corridor you'll spot a crate up on a ledge above. Shoot the crate and it'll blow out a wall section behind, revealing this missile (and taking down two Pirates hidden in ceiling sections further along).

Click for larger view

5.

(Phazon Processing Center)
In this massive chamber you should spot a platform with a few crates resting up against the far wall (the wall opposite the one with the red door at the bottom). Head over there, then if you use the X-Ray Visor you'll spot this missile hidden behind a wall section. Rip it open with a Power Bomb to find this missile.

Click for larger view

6.

(Metroid Quarantine A)
This missile's waiting high up at the top of the dark cavernous part of this room. Once you reach the Spider Ball tracks leading up to the door at the far side, scan around to find a weakened rock wall. Use a Power Bomb on this wall and the next one to reach a Spider Ball track leading to the other side of the room over the Phazon pool below. Go across, then use the X-Ray Visor to see the invisible platform. Ride it up to reach this missile.

Click for larger view

7.

(Fungal Hall Access)
At the very bottom of this room the missile is hiding below a large fungal mushroom. Although you'll need the Phazon Suit to avoid taking serious damage from walking all over the Phazon coating the floor.

Click for larger view

8.

(Fungal Hall B)
Near the door leading out of this room, use a bomb on the ground in front of the small cliff below to reveal this missile hiding beneath (use the Thermal or X-Ray Visor to see it in the dark).

Click for larger view

9.

(Metroid Quarantine B)
Rip open one of the cylindrical containers just past the large force field in this room with a Super Missile to reveal this final missile.