


Chapter 9: Back to the Drifts
Don't forget to take in the sights at the temple.
With your first artifact in hand and the Space Jump Boots, we can now return to Phendrana for more ice expeditions. For now head back to the Magmoor Caverns by way of the Tallon Canyon (the same way you came through earlier). Go back to the Monitor Station in Magmoor to reach the Phendrana elevator, but on the way in the Fiery Shores room you'll be able to find Missile MC.03.
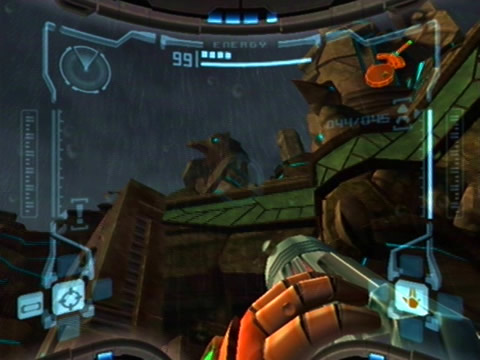
Once you reach the Monitor Station get ready for some fancy footwork to avoid the three Turrets firing away at you. Once all the Turrets are down, head up to the door leading off to the tunnel heading towards the elevator, but before going in use the Space Jump to jump up to the elevated platform on the left on the bridge. From here you can reach the top of the building where you'll find a Spinner device.
Scan it and scan the console above it to discover that a collapsible suspension bridge is currently retracted into the wall on the left. Activate the Morph Ball and roll into the Spinner. Keep charging the Boost Ball and releasing it rapidly, as you release it each time the bridge will slowly rise. Once the bridge fully rises use it to double-jump across to the rocky ledge on the other side.
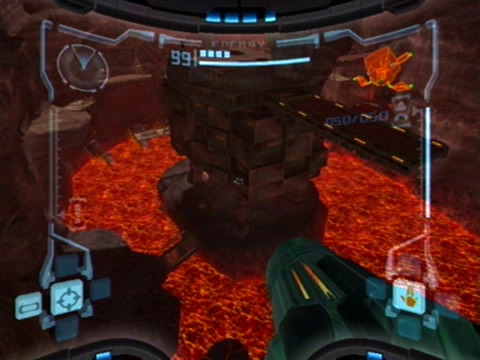
A bird's-eye view of the Monitor Station.
Follow the ledges around to a door and head inside. In here you'll find a large Chozo Statue atop a large podium carrying the Artifact of Strength. Claim it then head back out to the Monitor Station. Now you can go back up to Phendrana. Once there save your game before proceeding.
We'll now be exploring a new part of this ice land. Out in the Phendrana Shorelines, use the Space Jump to reach the floating platform high above near the door leading to the Ice Ruins West. From here, look over to the large Chozo structure ahead and you'll spot another floating platform further down. Use the space Jump to reach the platform, you'll then be able to reach the structure.
Go over to the door you'll find there and head inside. Watch out for the Pulse Bombu in the next tunnel while firing a missile at the ice blockage ahead. Use the Boost Ball around the corner to avoid the Scatter Bombu and go through the door at the end of the tunnel. You'll now have reached the massive Chozo Ice Temple. You'll start out at the base of a tall shaft where a huge statue stands.
Deal with the Baby Sheegoth before ascending the shaft. Watch out for the Crystallites crawling around the walls, and don't forget to scan one of the Ice Parasites crawling around. At the top you'll see a frozen waterfall cascading down out of a large room, jump over to it. At the end of this room is another huge winged statue, but the item it's concealing won't be accessible yet.
There's a grating covering a door in the corner of the room, scanning it reveals that the grating has a statue depicting a Chozo shaman, you'll need to find the corresponding statue somewhere in this room. Further back near the edge of the frozen waterfall are four statue heads adorning the walls. Find the statue that represents a Chozo shaman and shoot it with a missile.
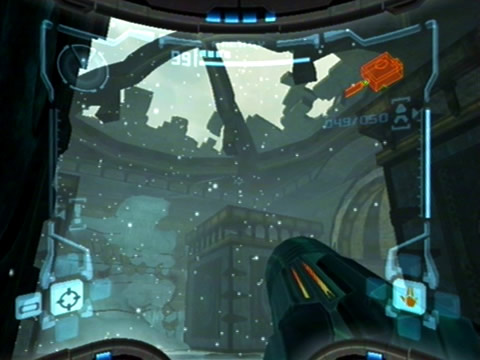
Samus isn't alone in this ruined chamber.
The statue will explode revealing a Morph Ball Slot hidden behind. Activate the slot to open the grating, then head on through the door. In the next narrow tunnel you'll need to break a few rocks below a pillar blocking your path, use bombs to break your way through. After breaking through two pillars head through the door at the far end of the tunnel. You're now in the Chapel of the Elders, where another special item awaits.
If you turn around and look at the door behind you you'll notice that it's purple and you won't be able to open it, but the answer to that lies on the opposite side of the room. Walk forward and you'll see the Wave Beam waiting for you, but as you walk closer the room begins to rumble. Walk up to the Wave Beam and sure enough, it'll lower down into the ground and cover itself up.
Two of the large structures in the corners of the room open up revealing two Baby Sheegoths inside. As you defeat each one another corner structure opens up revealing another Baby Sheegoth. After defeating all four Baby Sheegoths, the wall behind the Wave Beam explodes revealing a massive full-grown Sheegoth. This is the first of many encounters you'll have with these creatures, refer to the bosses guide on defeating them, as they won't go down as easy as the baby versions.
Keep in mind that there's crates in the corners of the room so if you need energy or missile reloads they've got you covered. Once the Sheegoth's down, the Wave Beam will return awaiting your arrival, so hop over to it to claim your second Beam Weapon. Play around with the Wave Beam for a while to see what it can do before heading back through the purple door.
When you get back to the Chozo Ice Temple, three Pulse Bombus will have appeared. Now it's time to try out the Wave Beam properly. Lock onto a Bombu, charge it up then fire. The blast will completely destroy the Pulse Bombu, but watch out as they'll fly straight at you when you use the Charge Beam. You'll also be able to destroy Scatter Bombus this way too.
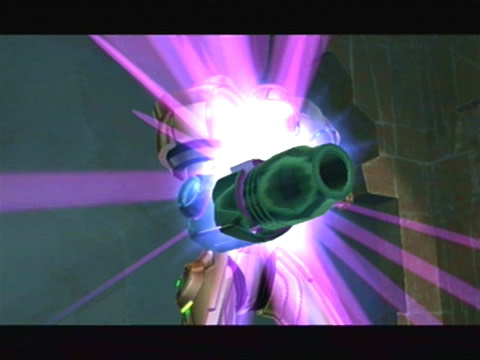
The Wave Beam - your prize for toppling the mightly Sheegoth.
Now that you've got the Wave Beam and can access purple doors it's about time we explored more of this area of Tallon IV. Head back out to the Shorelines room and save your game (watch out for the Baby Sheegoths that have magically appeared here) before going up to the Ice Ruins West room.
Once there, deal with the two Baby Sheegoths, then go over to the opening on the right of the door (as you enter the room) and climb through the interior of the building. At the top of the building you'll find an opening with a large stalactite ahead. Scan the object for your logbook before shooting it with a missile. The stalactite will fall, creating a stepping stone to reach the top of the wall behind it.
Drop down and climb up to the top of the ruined building. Turn left and jump through the hole in the rocky wall where two Crystallites are crawling around. While standing on the next building, scan the Ice Shriekbats hanging from the roof of a small alcove on the far side of the room. Be sure to scan them now as this might be your only chance.
Jump across to the alcove after dealing with the Shriekbats, then turn right to see a purple door ahead. Jump across and head inside. Watch out for the two Scarab swarms and the Pulse Bombu in the next tunnel.

Solve the puzzle here to ascend the canyon.
Through this tunnel you'll reach the Ruined Courtyard, a massive room with a few surprises waiting. Firstly, jump over to the Spinner device on the right and activate it. Once the cover rotates down over the device two large pipes will open up way up at the top of the room. Jump across the snowy rocks in the lake to reach the other side of the room.
Here you'll find another Spinner, activate it to open up two more pipes above, a Morph Ball Slot above you will also power up. Climb up to the slot but shoot the Flickerbats flying around the central structure before activating it. Once the slot's active, water will pour from the four pipes and cause the snowy rocks to rise up along with the water level.
Use the rocks to reach the central structure, from here you can reach Energy Tank PD.01. After grabbing the Energy Tank, go and activate the slot again to climb up to the top of the structure. Three doors up here lead off in different directions, one is powered down so you won't be able to access it, for now blow off the Blast Shield on one of the doors and go inside to save your game. Once that's done, go back outside and head through the purple door to the south.