


Chapter 16: The Underwater Temple
Unsurprisingly, Dark Samus has somehow recovered from the initial battle.
Re-enter the temple and transit down below to the depths of Torvus by way of the Underground Transport. Back in the Brinstar-inspired sub-levels, save your game at the nearby Save Station before moving onwards. Descend into the depths of the Hydrodynamo Station and watch out for Blogglings (scan one for your Logbook). Don't bother with them unless they attack. Look for the purple blast shielded-door, jump across and use your Seeker Launcher to blow it off the door.
Enter the following narrow tunnel and move onwards. As you see the tiny schools of fish swimming about, listen closely to the music playing. Sound familiar? That can only mean one thing... Dark Samus is nearby. Travel through the underwater tunnel and up out of the water. As you surface a blue light will emerge and travel through the tunnel, leaving tiny blue particles in its wake. Exit the tunnel ahead to enter the huge Training Chamber.
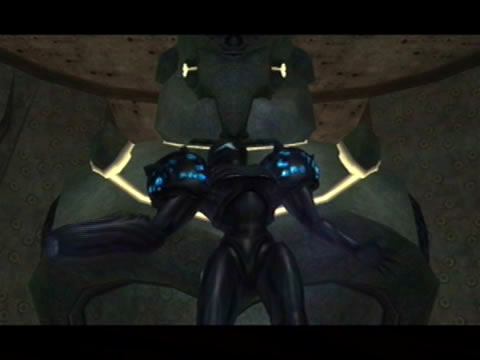
The blue light will stop before the large Luminoth statue ahead of you before coalescing into the form of Dark Samus. The weirdo will laugh before disappearing. That little performance was just to demonstrate to you that Dark Samus still lives, no battles for now.
Take a look around the chamber. Down below in the water lurks two Bloggs, while ahead of you rests a large Luminoth statue. Two doors lead off the left and right sides of the room, but for now are blocked. Drop down into the water and prepare to engage the Bloggs. Stay back and wait for them to charge, then lob a missile into the open maw. Keep up the missile attack to down them both.
With the area clear, that lone Spinner over at the foot of the statue will come to life. Use it to rotate a tunnel section in the floor, giving you access to one of the two doors leading out of here. Let's take the black door for now. Line up the tunnel with the red section and roll through it to reach the black door. Scan the Luminoth Lore Projector nearby before moving on.
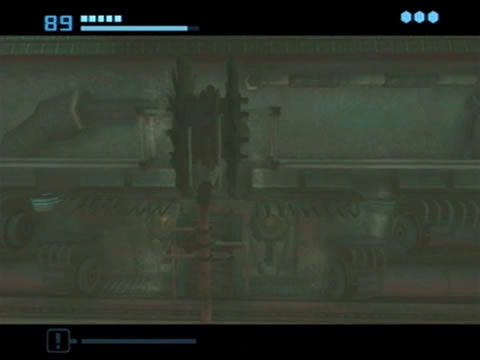
The Morph Ball will get you through the myriad of puzzles deep underwater.
Beyond the black door you'll discover a Kinetic Orb Cannon mounted to the wall of a small chamber. Enter Morph Ball mode and roll over to it, a water current will lift you into the hologram. The cannon will then promptly send you shooting through a long underwater tunnel. Inside the main section of Transit Tunnel East you'll discover a network of transparent tubes. There's an Energy Tank hiding in here, but you'll need the Gravity Boost to reach it.
Exit the tunnel via the right end. Beyond here you'll discover the Catacombs, a large room complete with an inactive Dark Portal. Descend into the water and make your way to the other side of the room (watch out for the two Bloggs). There's a Bomb Slot underwater directly below the inactive portal, but for now you can't reach it. But feel free to scan the Luminoth Lore Projector above the portal already.
You'll find a gray door on the south side of the Catacombs, so no luck going through there. Instead, head through the door on the western side (don't forget to scan the fallen Luminoth warrior near the door for your Logbook). Travel through the following winding tunnel, just watch out for a trio of Brizgee along the way. Beyond this tunnel you'll find yourself back in the Hydrodynamo Station, and conveniently right in front of one of the three security locks.
Scan it to leave only one lock remaining. We now need to get around to the final lock, by way of the Training Chamber again. As you travel through the Training Access tunnel, watch out for a swarm of Seedbursters (scan one for your Logbook). Once at the Training Chamber, use the Spinner at the foot of the statue to rotate the tunnel into the blue position.
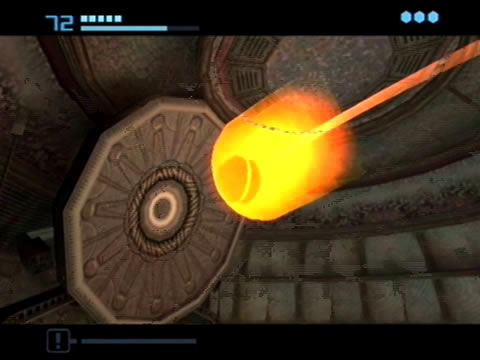
Kinetic Orb Cannons will help Samus cross the underground lakes.
Once through the white door you'll find another Kinetic Orb Cannon set in the wall. Use it to shoot yourself along another long underwater tunnel. This transit tunnel is a little trickier to get through. In the main section, you'll find a large rotating wheel is stopping you from proceeding. Instead, blow open the small blue coverplate along the floor with a bomb and fall through. See the Bomb Slot nearby? Energize it to reverse the direction of the wheel above. Travel up there and squeeze through it. Move onwards to the next Kinetic Orb Cannon and travel to the exit.
Beyond here you'll be in the Gathering Hall - another large room similar to the Catacombs. The door you want is the white door up on the ledge on the eastern side, so let's get to work in reaching it. Start by scanning that big ugly spiny thing floating in the water nearby. It won't hurt you unless you step on the spikes. Shooting the light crystal on its underside will flip it over so you can safely use it as a platform.
Drop into the water and quickly take care of the roving Blogg. Scan the large transparent glass on the floor to reveal it's composed of Denzium, but without a Power Bomb you can't breach it. At the head of the glass floor you'll find a small chamber housing an inactive Dark Portal, but for now you can't reach it.
For now, shoot the underside of the two spike-platforms with the Dark Beam to flip them over. Scan the Luminoth Lore Projector near the second spike-platform before emerging from the water. Use the spike-platform to reach the ledge ahead where a large laser emitter rests. The laser is currently active, and to reach that white door above you'll need to use the Spinner below the laser to sweep it around to a control node.
But the Spinner is naturally in a state of dimensional flux, so we'll need to travel to Dark Aether to do it. Use the second spike-platform to reach the far side of the room (mind your head on the laser) and energize the Bomb Slot there to lower the gate underwater blocking the inactive portal. Drop below and energize the portal, using it to transit to Dark Aether.
Uhoh, what's that large beast swimming about in the tank?
Once inside you'll be greeted by two Dark Pirate Commandos. Quickly break out the Light Beam and energize any Light Beacons you see to try and catch them off guard. With the area secure we can now get to work. Head over to the Light Beacon below the platform covered in an energy shield. Jump atop the small platform, spin around and quickly jump across to the ledge housing the laser. Jump in the Spinner and rotate the laser to point directly at the wall.
With that done our work here is done, so return to Aether. Once there, shoot the two spike-platforms on the underside with the Dark Beam again to flip them over, then make your way up to the platform where the Bomb Slot resides. You'll now notice that a platform nearby has extended from the wall, use this one to reach the Kinetic Orb Cannon over directly below the laser's beam.
Jump in the cannon to be launched up to the white door (the laser auto-shuts off to avoid giving you a nasty ride). Proceed through the winding tunnel beyond, taking out any Preed along the way. Beyond this tunnel you'll finally make it back to the Hydrodynamo Station. Scan the final lock to release the lockdown and uncover a door down at the very base of the shaft. Descend the shaft and enter the now-unsealed door.
Continue descending in the following shaft, you'll find yourself going down around the edge of a massive caged chamber. Look inside the chamber to see an equally gigantic Blogg creature swimming about inside. Scan it to reveal the creature as the Alpha Blogg - the biggest and baddest aquatic monster you'll encounter.
Keep travelling down the shaft, at the base you'll find a swarm of Hydlings. There's an inactive Dark Portal near here, but for now you can't reach it. Keep going down at the base of the shaft to find a door tucked away in a corner. Beyond here is the Main Hydrochamber, the deepest region of the planet you'll be exploring. Dive to the bottom of this massive chamber (don't worry, you won't be stuck here for long).
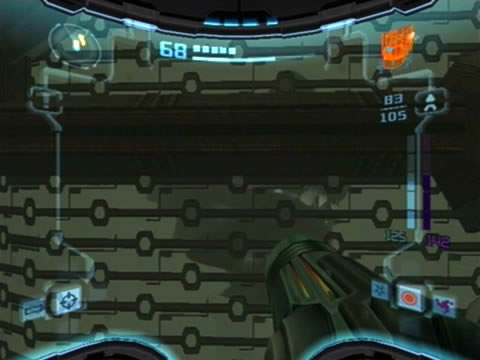
The Gravity Boost grants Samus Gravity Suit-esque abilities.
On the north side of the chamber lies a Spider Ball track leading up to an inactive portal, instead go down to the southern end and open the door you find there. Inside an otherwise empty chamber lies a curious item. Scan it to reveal it as the Gravity Boost - the next best thing to having a fully functional Gravity Suit.
This new toy will eliminate the hindering effects of water. You'll now be able to move swiftly through water and can also see properly. Also, by pressing and holding B after performing a Space Jump Samus will slowly rise in the water, allowing you to reach high platforms underwater. Now to travel back topside. Exit this chamber to find a nasty welcoming in the Main Hydrochamber - the massive hatch on the ceiling will open, allowing the Alpha Blogg to swiftly enter from above. No choice now, you must fight this thing to escape. Refer back to the bosses guide for tips to send it on its way.
Chapters:
- Planetfall
- The World Divided
- Fate of the Federation Troopers
- The Plight of the Luminoth
- The Sands of Agon
- Dark Aether
- The Space Pirate's Lair
- Samus vs Dark Samus
- Unlocking the Dark Agon Temple
- Restoring the Energy Controller
- The Journey to Torvus
- The Everlasting Deluge
- Restoring the Flooded Temple
- Taking the Fight to the Ing
- Expanding Samus' Arsenal
- The Underwater Temple
- Securing the Dark Torvus Temple
- The Path to Sanctuary
- The Mechanical Marvels of Aether
- The Sub Guardian Nightmare
- Subterranean Conquest
- Searching the Fortress
- Retrieving the Charge Combos
- Following the Echoes
- The Screw Attack Returns
- The King of all Mechanoids
- Gearing up for the Finale
- Unlocking the Sky Temple
- The Final Treasure Hunt
- Ending the War