


Chapter 18: The Path to Sanctuary
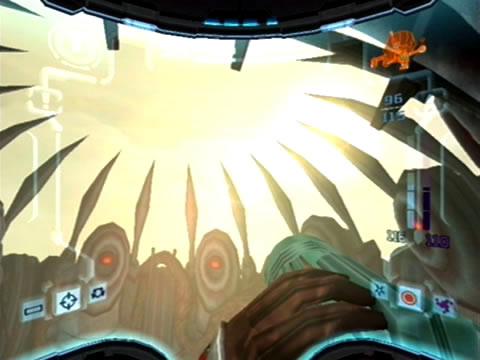
Sunlight streams into the Torvus temple.
With that, we're done with the Torvus Bog. Time to go pay U-Mos a visit at the Great Temple to learn of the third a final region of Aether yet to be explored. Return to the Temple Transport Access and travel back to the Temple Grounds (pass through the Path of Roots room on your way to pick up Missile TB.08). Just expect to face two Dark Pirate Troopers on your way at the Great Bridge. Say goodbye to the bog for now and return to the Temple Grounds.
Once there, head back to the twisting canyon of the Path of Eyes area and look for a green door on the northern side of the area. Blow the blast shield off and go inside to find yourself looking down a gigantic cliff. Use the Kinetic Orb Cannon to reach the other side, then grapple over to Energy Tank TG.02 waiting for you on a separate platform overlooking the cliff. With this item in hand, return to the Path of Eyes and proceed to the Meeting Grounds.
Make sure you've got plenty of Light ammo, as once you reach there you'll notice that those War Wasp Hives have mysteriously vanished. You'll find out why soon enough as three Dark Pirate Commandos teleport in to attack. Switch on the Dark Visor and deal with all three before moving on.
With the trio down, take the lift up to the Great Temple. Inside the Temple Sanctuary room you'll find a translator gate with an emerald hologram you can now scan, but the door beyond is blocked, so we'll need to visit U-Mos first. Head topside and pay him a visit. He'll explain that the final temple lies in the fortress of the Sanctuary region. Take note of the small hologram of a robot he also displays, you'll be meeting it soon enough.
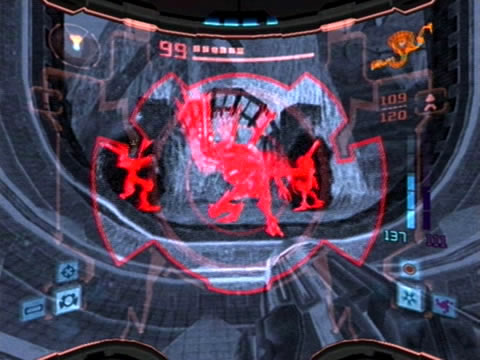
Use the Dark Visor to track dimension-hopping foes easily.
Return to the Temple Sanctuary and proceed through the door on the northern side of the room. The last time you visited the following corridor was on your first visit to the Great Temple. Sneak through the narrow opening on the right wall to find that hidden save station, then lay a bomb beside the cracked wall next to it to uncover a secret passage. Walk down underneath the save station to find Missile GT.02 hiding there.
With your latest missile tucked away, save you game here before returning to the Temple Grounds by way of Temple Transport A. Back down in the Temple Grounds, proceed through the Sacred Path to the Sacred Bridge (there's an inactive Dark Portal here but there's not much we can do in that region of Dark Aether for now). In the Sacred Bridge you'll find your path blocked by a large circular panel overlooking a small pit.
Scanning the panel reveals that its controls are not present in the current dimension. So it's time to put the Dark Visor to use again. Switching it on will reveal five small red pods surrounding the panel. Use the Seeker Launcher to lock on, then fire at all five to lower the panel easily.
Move through to find yourself back at the GFMC Compound where the troopers parked their ship. Except this time there's a pesky Space Pirate Trooper snooping around the control station near the ship. Deal with this one and his two buddies before moving on. Use the Space Jump to jump atop the GFS Tyr and grab Missile TG.07 at the rear of the ship. Over on the port side of the ship you'll spot a translator gate adorned with an emerald hologram, scan it to open the passage beyond.
Inside the following tunnel you'll be greeted by a Luminoth Turret - quickly scan it for your Logbook before dismantling it. Further through this area you'll discover a thick yellow beam which only blinds you momentarily if you step in it (we'll figure this one out later). Turn right and deal with the second Luminoth Turret there.
Near the exit ahead scan the Luminoth Lore Projector there before moving on. From this projector you'll learn what your final objective is after securing the Sanctuary region - that massive structure in the sky of the Sky Temple Grounds is the home of the Ing ruler. But you'll need ten Sky Temple Keys to access it. Don't worry about them for now and press on. The next chamber contains the lift to Sanctuary, so power it up and step on.
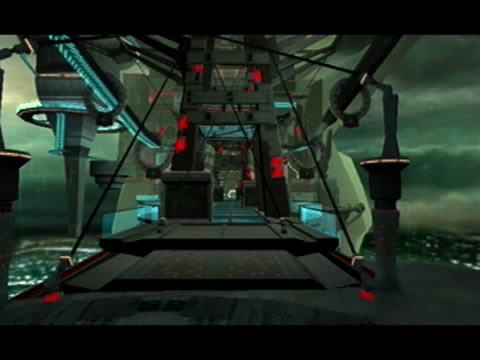
Welcome to the Sanctuary Fortress, home of the Luminoth's advanced technology.
Once there, the architecture of this first chamber will already give you an idea that this is one hi-tech place. Scan the remains of the two Luminoth warriors beside the door to learn that they taken down by rogue machines rather than Ing - so there's going to be some not-so-friendly mechanoids here. Turn around and scan the large assembly behind the lift to learn that this Luminoth security sensor has been compromised by the Ing, so you're definitely going to see some hostiles here.
Exit the lift chamber and cross through the following corridor. Watch out for two Luminoth Turrets guarding the door ahead, stay back and take them out from afar. Walk forward to find the doorway blocked by a large object. Scan this "security ring" to learn that its control terminal is nearby. Sweep around till you find the terminal and scan it to rotate the ring out of the way. Beyond here you'll discover two massive turbines as part of a huge power generator.
Look up on the wall on the right, see those tiny little objects moving about? Scan one for your Logbook, these Serenity Class Drones won't do you any harm, so just leave the cute little things alone. Up ahead lies another blocked passage, use the Spinner nearby to rotate the security ring to the open position. Exit via the door ahead for an awesome sight.
The camera will pan out, introducing the Sanctuary Fortress. You'll be standing before a massive elaborate structure perched high atop a mountain peak overlooking what looks like a massive technological city below. Now this place certainly doesn't fit in along with everything you've seen so far. Cross the huge bridge connecting your cliff with the structure ahead, but before the end you'll be ambushed by a number of Pirate Commandos. So these creatures have taken a liking to this city.
Retreat down the bridge and try to destroy the Phazon containers along the way if any of the Commandos run after you. One Commando will have teleported in behind you, wait for him to wander too close to a Phazon container and teach him why he shouldn't stand there.

Rezbits are annoying - they can literally send a temporary virus into Samus' Power Suit.
Clear off the remaining foes to unlock the entrance to the fortress. Go inside to find a narrow tunnel. Work your way through it, then scan one of the small electrified creatures you find along the way to reveal them as Octopedes. Send a few shots at them to disconnect the units from each other, then stand back and wait for them all to pop. Scan one of the two large globes halfway through the tunnel to learn that they process light energy for other parts of the fortress - this place is definitely high on the technological scale.
Beyond this tunnel you'll discover a large circular chamber where two tall humanoid robots stand against the walls, both with what appear to be huge bowling balls for hands. Scan one to reveal that they're completely inactive, so no need to worry about them for now. Look up and scan the panel up on the north side of the wall, once again this is controlled by pods not present in the current dimension. So switch on the Dark Visor to spot them.
Use the Seeker Launcher to plug all five pods to lower the panel. As soon as the panel lowers a really weird object will hover down from behind the panel. Scan this odd specimen to reveal it as a Rezbit. These things are tough to deal with, and can easily mess around with you.
Open up on the Rezbit and it'll become alerted to your presence. It'll then deploy a blue energy shield capable of deflecting your shots. Wait for the shield to lower before opening up again. If the yellow flashing panels disappear and the Rezbit dances about with swirly blue particles it's about to launch a very nasty attack. If you're in its direct line of sight when it emits a yellow spark your visor will go completely ballistic, as the Rezbit has just beamed a virus into Samus' Dark Suit.
Do what your visor tells you and hold L, R and B to "reboot". You'll see a few system messages before you view returns to normal. Find cover if this happens as the Rezbit will follow up with a few energy bursts aimed straight at you. Keep shooting it and send a Super Missile its way to finish the weirdo off.
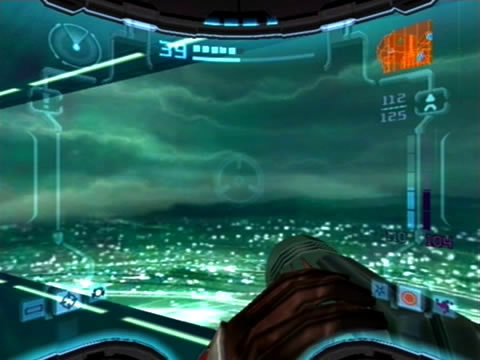
The views around the fortress are quite breathtaking.
With the area secure use the platform near the two inactive robots to reach the door above. Beyond here you'll locate the Reactor Core, a large and intricate room surrounding a power generator. But as you enter you'll be greeted by another mechanical surprise - a large spider-walker drone will spot you with its red security sweeping beam. This crazy walking beast is composed of two units, the legs and the head. Scan each one, the Quad CM and Quad MB respectively. You'll need to deal with both to finish the machine off. Start by targeting the head and open up on it.
Use a Super Missile to easily blow it off, but watch out if the entire unit retracts its legs and spins around the room. Stay back as well to avoid a swipe from one of the legs. With the Quad CM destroyed, the legs are still able to operate. Your shots will bounce harmlessly off its outer hull, so we'll need to take it down another way.
Wait for it to perform the spinning vortex attack, then quickly enter Morph Ball mode. Boost into the robot to send it out of control, it'll then come to a rest and expose a small red object from its underside. Quickly boost into this object to destroy the legs entirely. With that little encounter out of the way you'll be free to explore. Scan some of the objects around the area, just watch out for the Rezbit floating about in the main chamber.
You'll also discover a translator gate adorned with a cobalt hologram - you'll need to visit the Sanctuary Temple before gaining access to cobalt-coded devices. Blow the red blast shield off the door on the north-eastern side of the room to locate a Save Station beyond (and a pretty view outside), so save your game there before moving on.
Chapters:
- Planetfall
- The World Divided
- Fate of the Federation Troopers
- The Plight of the Luminoth
- The Sands of Agon
- Dark Aether
- The Space Pirate's Lair
- Samus vs Dark Samus
- Unlocking the Dark Agon Temple
- Restoring the Energy Controller
- The Journey to Torvus
- The Everlasting Deluge
- Restoring the Flooded Temple
- Taking the Fight to the Ing
- Expanding Samus' Arsenal
- The Underwater Temple
- Securing the Dark Torvus Temple
- The Path to Sanctuary
- The Mechanical Marvels of Aether
- The Sub Guardian Nightmare
- Subterranean Conquest
- Searching the Fortress
- Retrieving the Charge Combos
- Following the Echoes
- The Screw Attack Returns
- The King of all Mechanoids
- Gearing up for the Finale
- Unlocking the Sky Temple
- The Final Treasure Hunt
- Ending the War