


Chapter 23: Retrieving the Charge Combos
The size of the Sandcanyon is amazing.
With your four latest Missile Expansions neatly tucked away, let's return to Ventilation Area A. Once there, travel through the main tunnel conduit and exit via the door down the western end. Beyond you'll discover the Sandcanyon - a gigantically enormous chasm with a huge ornate statue in the center. Use the Kinetic Orb Cannon ahead to traverse to the other side (taking out a few Sandbats along the way). The white door on the western side of the canyon will lead you straight back to the Agon Temple. There's one more special item we'll be picking up here before moving on.
Work your way around the temple to the opposite side and pass through the black door there. Descend the Mine Shaft beyond, then use the Seeker Launcher to blow the purple blast shield off the door at the base. Beyond here is Mining Station B - an intricate region of caves, a small Luminoth mining facility and an outdoor area. Work your way through the cave and drop off the short cliff you find (power up the Kinetic Orb Cannon on the ground to get back up there), then step outside to discover a large drill platform suspended from a towering crane above.
Scan it to learn more, you'll also spot a large section of the rock wall behind it is scannable. Scan the wall to learn that it's laced with Denzium, so let's use a Power Bomb to break it down. Beyond the uncovered white door move through a cosy narrow chamber to locate Missile AW.12 inside.
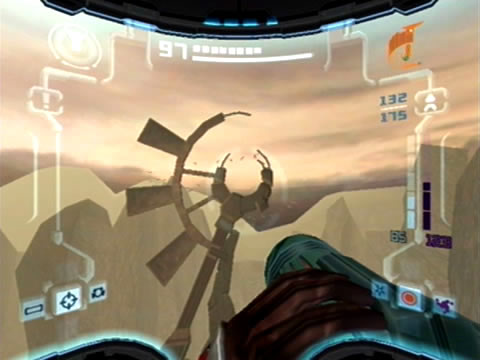
Return to Mining Station B. You may spot a number of small creatures randomly appearing and disappearing here, scan one to reveal it as a regular Kralee, these little fellas can spontaneously travel between pockets of dimensions, don't worry about them attacking you. Let's now solve the riddle of this huge mining drill. Standing near the drill, you may hear the familiar sound of an inactive portal nearby.
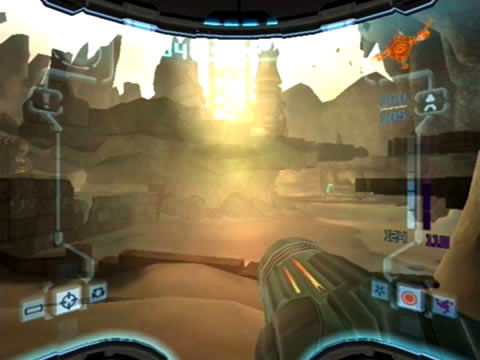
Nice to see the sunlight here once again.
See a drop of purple light coming from a crack in the wall nearby? We need to utilize this drill to crack through there to reveal the portal inside. If you energize the Bomb Slot on the ground nearby you'll see that it causes the drill to spin around rapidly. An audible countdown timer will warn you that the spinning is only temporary, now we need to quickly raise the drill to strike the wall.
Quickly go inside the opening below the crane to discover a tall half-pipe inside the small facility. Behind the half-pipe lies an inactive Kinetic Orb Cannon, scan the terminal nearby to restore power. Jump in to be launched up to a ledge where a Bomb Slot resides inside a blue bubble window. Quickly energize the Bomb Slot to raise the drill, effectively cutting through the rock wall to uncover the inactive Dark Portal.
Scan the Luminoth Lore Projector nearby for your Logbook, then drop below and boost up the half-pipe to reach a tunnel running up to the top of the crane. Drop through the hole at the top to land on the drill platform below, with clear access to the portal ahead. Energize the portal and transit to Dark Aether.
You'll land in the Trial Grounds area, which is mostly the same as the area on Aether, just filled up with more sand. Blow open the Bladepods to recover health and ammo, then proceed over to the body of the Luminoth in the corner ahead. Scanning the body reveals that the Ing use this area as a means for combat training, so let's not wait around any longer.
Watch out for a stream of Nightbarb emerging from the crack in the wall beside the Luminoth's body and zip through there with the Morph Ball. Climb atop the ledge inside and make your way over to the only exit on the western side of the area. Travel through the narrow tunnel beyond, watching out for streams of Nightbarb as you pass through.
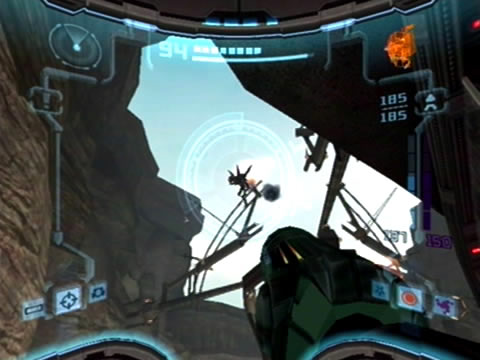
These Aerotroopers are guarding something up there.
Beyond this tunnel you'll find yourself inside the caged region of the Duelling Range containing the inactive Light Portal (you would've seen this from the outside what seems like ages ago). Energize the portal and return to Aether. Exit the room upon landing and make your way through the Transit Station tunnel. Beyond here, back in the Mining Station B area, you'll come face-to-face with your target - the Darkburst. This Dark Beam Charge Combo delivers a nasty vortex of dark energy sucking in any of your opponents around it, so this will surely come in handy.
Two Pirate Aerotroopers will then promptly enter the area and engage you, so let's give that Darkburst a try. With both targets instantly taken care of, let's return to the Agon Temple. From there, move onto the Mining Station A area. Deal with the two Aerotroopers waiting there, then take a look skyward. See those Spider Ball tracks way up above the sandfalls?
There must be something worthwhile up there, we just need to find a way to reach them. Drop to the base of the area, then look for a weakened wall section. Blow it open with a Power Bomb to discover a hidden Kinetic Orb Cannon. Jump in to be launched straight up to the Spider Ball tracks, then follow them across to locate Missile AW.13 hovering in the air.
With all these items secure, we'll head back to the Temple Grounds to pick up another special piece. Save your game at Save Station A along the way if you wish. Once back in the Temple Grounds, we'll move back towards the Sanctuary lift, but can pick up a few items along the way. Head over to the Temple Assembly Site and proceed to the Dynamo Chamber beside it.
You'll see a Mk VII Defense Gate blocking your path through the lower section of the tunnel, so let's clear it out with a Power Bomb. Further through the cobweb-filled tunnel you'll notice a weakened wall section on the right. Blow this open with another Power Bomb to reveal Power Bomb TG.01 waiting inside a snug alcove.
Move on to the Communication Area and head through to the Trooper Security Station. Destroy the security gate blocking your path there with a Power Bomb and head through to the GFMC Compound. Once there, bust open a few crates scattered about to recover Power Bombs. We'll now be going to the area beyond that yellow blast shielded-door, but from this end you won't be able to do much. You'll need to enter the area via the other side at the Windchamber Gateway (check your map).

Travel to Dark Aether to unlock this mechanism.
So for now head up to the Great Temple from here, then use the lift to return to the area of the Temple Grounds just outside Torvus. Make your way to the Path of Eyes, go through to the Windchamber Gateway and blow open the yellow blast shielded-door on the far side. Step inside to discover the Grand Windchamber - a huge open area where a large hovering structure resides in the center.
Welcoming you from atop the structure are two Aerotroopers, take them out before exploring the area. With your position clear, take in the region around you. There's a number of Spinners scattered around a few platforms surrounding the central structure. If you Space Jump and look up at the structure, atop it lies an item. Scan it from here to reveal it as the Sunburst - the Light Beam's Charge Combo.
Now all you need to do is find a way up there. Scan the lower section of the structure to learn that the complex components of it are System Control Rings, and those Spinners in a state of dimensional flux are the only thing controlling them. So let's get to work. Walk over to the inactive Dark Portal visible in the corner on your right and power it up. Step inside to reappear in the Ing Windchamber.
You'll now see the solid Spinners around the central structure. Scan the System Control Rings again to learn that if you use the Spinners to align them into sync with one another, a control interface will appear. Don't worry if that's all jargon, you'll see what it does and what that means for you soon. Jump in the first Spinner and rotate the lowest ring until the interface unit faces you and the entire object glows yellow.
Use the Kinetic Orb Cannons to travel to the other three Spinners and rotate their corresponding control rings so that all of them face the inactive Light Portal and are glowing yellow. With all four in position, return to the first platform and look towards the purple nodes on each ring. Notice that you can lock onto each one? Time to break out the Seeker Launcher. Lock onto all four and hit them all at once to see two long arms open up at the rear side of the structure.
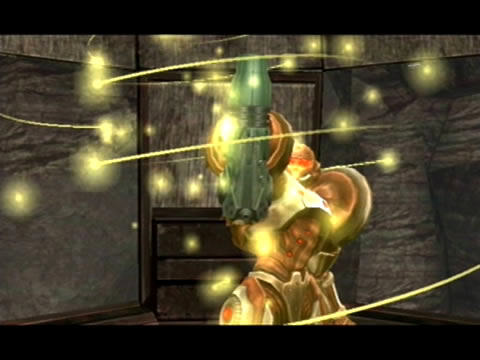
While it does drain a chunk of ammo, the Sunburst might come in handy sometime.
Now we need to rotate all the rings again to the other side, where they glow blue. Use the Seeker Launcher to hit all four control units at once to raise another two arms from the structure. At once all four control rings will jettison from the structure. At the same time, an impenetrable force shield will lower back on the Aether version of the structure.
So let's transit back to the light world, upon returning you'll see that each raised arm bears a Grapple Point allowing you to easily travel around it. Swing over to the isolated platform on the north side of the area and jump in the Kinetic Orb Cannon there to be swiftly sent up to the top of the structure where the Sunburst awaits.
Phew, that was tough. But the fun's not over yet, as once you've secured your new toy, four Dark Pirate Commandos enter the area below to challenge you. Stay where you are and look down at the isolated platform below, taking shots at anything down there. Use the Sunburst if they all jump across to the platform, hopefully the blast will affect them all.
Clear them all out and head over to the door on the north-eastern side of the region. Proceed through and follow the narrow tunnel to find yourself back at the GFMC Compound. Now we can end this little side-trip and return to Sanctuary with your new toys.
Chapters:
- Planetfall
- The World Divided
- Fate of the Federation Troopers
- The Plight of the Luminoth
- The Sands of Agon
- Dark Aether
- The Space Pirate's Lair
- Samus vs Dark Samus
- Unlocking the Dark Agon Temple
- Restoring the Energy Controller
- The Journey to Torvus
- The Everlasting Deluge
- Restoring the Flooded Temple
- Taking the Fight to the Ing
- Expanding Samus' Arsenal
- The Underwater Temple
- Securing the Dark Torvus Temple
- The Path to Sanctuary
- The Mechanical Marvels of Aether
- The Sub Guardian Nightmare
- Subterranean Conquest
- Searching the Fortress
- Retrieving the Charge Combos
- Following the Echoes
- The Screw Attack Returns
- The King of all Mechanoids
- Gearing up for the Finale
- Unlocking the Sky Temple
- The Final Treasure Hunt
- Ending the War