


Chapter 7: The Space Pirate's Lair
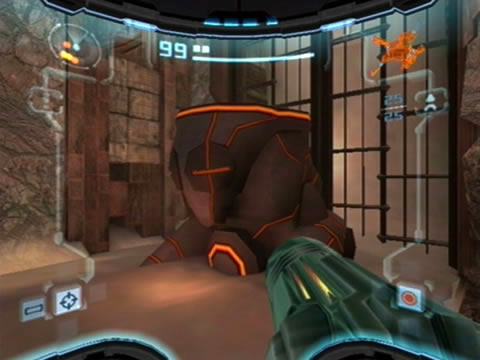
This statue honours the bravery of a fallen Luminoth warrior.
Return to the temple's entrance and head back to the Judgement Pit. Right now you can't explore much more of Dark Agon from here, so we'll return to the Portal Site and get back to fresh air. From the Judgement Pit you can either backtrack the long way or take a risk through the Portal Access. If you go via the unprotected shortcut you'll need to very quickly destroy the Lightflyer hovering above the structure inside as once dispatched it'll drop to the ground and create a temporary light sphere.
Either way you go (save your game if you take the long road), return to the portal and scan the console to power it up. Jump in the swirling vortex to see the last of this dark realm for a while (but scan the Light Portal first for your Logbook). Upon returning to the light world you'll notice the gate blocking access way over in the corner of the Portal Terminal has now been raised, so we'll head over there.
Step forward for a Space Pirate ambush - three Pirate Troopers beam in to wreck your day. These ones won't be taken by pesky Ing so you shouldn't have trouble dealing with them. With your foes down exit the room via the door in the unsealed corner. Inside you'll find a half-pipe before a sealed security gate. Within the gate you'll see an obvious Missile Expansion AW.03 waiting patiently to be released. Don't disappoint it and use the Bomb Slot nearby to raise to gate.
Claim your prize and head through the door beyond. Inside you'll find yourself at the front of a sand river leading down towards a Save Station. Look around at the huge blue roots twisting along the walls, scan the small collection of plants nearby to reveal them as Blueroot Trees - apparently poisonous plants the Space Pirates enjoy devouring (stand among them for another trippy visual effect). Walk over to the sand river and roll through the narrow tunnel to reach the Save Station downriver (for another visual treat stand beside the sandfall and release a Charge Beam shot at the rock wall for a clear look at Samus' face reflected in the visor). Save your game before heading off.
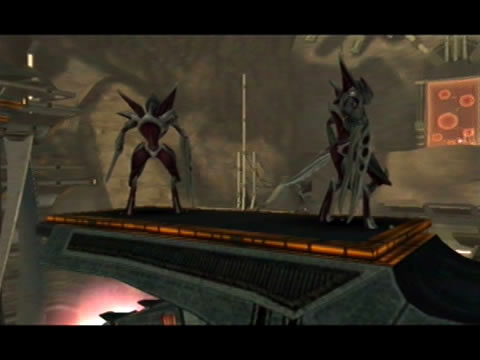
Space Pirates now utilise troop transport craft to attack from above.
For now we need to head back to the Mining Station A as it's the only area with a new open path to explore. Head out via the Mining Plaza first so you can locate the Agon Wastes Map Station hidden behind the amber translator gate (which you can now access). With the map revealed you'll see around half of Agon's area left to explore, so there's plenty to see yet. Climb up back outside in the Mining Plaza and head towards Mining Station A (don't forget to scan the Luminoth Lore Projector hidden in the Plaza on your way through).
As you pass through the Mining Station Access you'll find an Orb Cannon blocked below (you should remember passing through here earlier before recovering the Morph Ball Bomb). Destroy the covering block with a bomb to launch yourself up to a hidden chamber where Energy Tank AW.01 awaits. Secure it before moving on.
Upon reaching Mining Station A, climb up around the cliff edge and head towards the Luminoth statue of D-Chr at the head of the sand river. Climb atop and go up into the opening on the wall (now accessible thanks to the Space Jump Boots). Follow the tunnel around to discover a small caged command station. Scan the Luminoth Lore Projector for your Logbook, then scan the control terminal nearby to cause the sandfall below to disperse and open the mechanical gate barring your path.
Beyond the uncovered door you'll discover a slightly winding corridor. Listen to the sounds coming from within, even the music hints that you're about to meet up with some old buddies again. Proceed through the corridor to spot two Pirate Troopers working beside large luminescent containers (yes, that's Phazon no doubt). Scan a crate from afar to reveal more, then show these two why it's dangerous to stand nearby those things. A few shots into a crate should create a blast strong enough to clear your path. With the room clear blow off the red blast shield on the door with a missile and head inside.
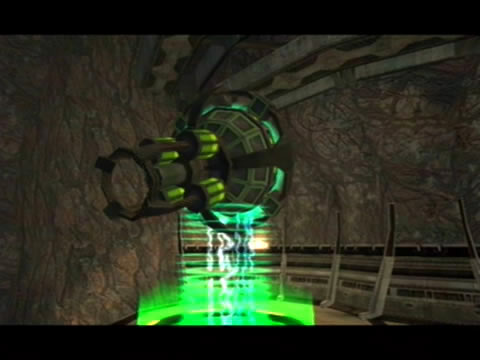
Heavy turret emplacements protect the Pirate facility.
Beyond you'll reach the open-air Central Mining Station. All the gear setup here is definitely of Space Pirate design, so you'll have company soon. Scan a few of the objects littered around to get a better understanding of their operations here. As you move further in you'll be spotted by a patrol up on an overlooking ledge. A large hovering trooper platform then disposes two more Pirate Troopers to mess with you. Stay where you are and pick off any visible targets (don't worry about scanning the trooper platform for now, as it leaves the area too quickly).
With this first trio taken care of, walk beyond the burning wall to be greeted by two more troopers. Take them out and yet another pair will emerge, these two taking up positions in two large gun turret emplacements up above. Scan one of the Vigilance Class Turrets for your Logbook before opening up on them. Strafe plenty to avoid some serious damage from their green plasma balls of death. With both turrets taken care of you'll clear the area and deactivate the force field blocking the exit ahead. Bust open any of the crates lying about if you need health before moving on.
Beyond here in the next tight corridor you'll discover two doors at the far end. You can only access the lower one for now, and it's covered by a black blast shield so no chance of going through it now. Head back to the entrance and break out your Scan Visor. See the metal grating floor you're standing on? There's two weakened sections in opposite corners - use Morph Ball Bombs to break them open and drop down below. Below you'll discover two crates blocking access to a hidden tunnel (and a few friendly moths). Blow open the crates and roll on through the tunnel.
Through the tunnel you'll locate the Space Pirate's main Command Center. They won't spot you under the floor, so roll through the tunnels quietly, taking care when passing through the fluctuating electric fields. As you reach the back end of the room you'll discover an integral part of the Pirate's operations - they have a stable portal housed here, you'll watch as a number of them head through to Dark Aether in search of their precious Phazon.
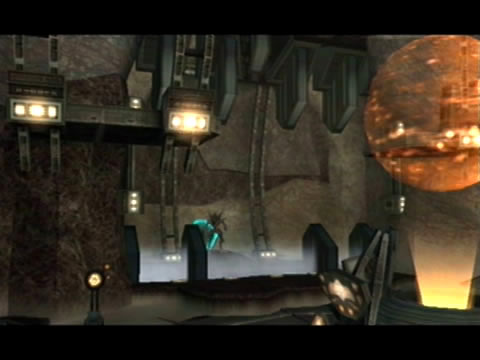
Aether's plentiful supply of Phazon has driven the Pirates to set up shop here.
From here you have two tunnels to choose from - go down the right tunnel to eventually discover Missile Expansion AW.04. Move through the other tunnel to eventually reach an opening to access the rest of the room.
Quickly stand up, there's a number of troopers still in the Command Center you need to deal with. A weird alarm will sound and a trooper will seal off an exit leading out of here, for now you'll need to deal with the others. Deal with the two troopers occupying this floor, then go to town scanning all the various terminals and displays around the room for a wealth of info on Pirate activities. Eventually you'll learn that the Pirates have discovered the Dark Beam weapon - time to go find it.
When you've scanned everything, scan the control terminal beside the elevator in the corner and ride it up to the next floor above. Make your way around the catwalks to be greeted by one final trooper. Deal with him to finally secure the area - the sealed door ahead will unlock, allowing you passage. Scan the two final terminals nearby before leaving via the unlocked door - one reveals that your buddies now know you're here, while the other mentions Dark Samus.
See the lone trooper standing inside the glassed enclosure over beside the door? As you head for the door he'll promptly open fire, breaking through the glass to get at you. Either deal with him now or leave him there (he won't do much else). You can try to scan the terminals inside the enclosure already from here.
When you're ready exit the room and head towards the cage you see ahead in the next corridor. As you move close by a door will seal off the cage and you'll be greeted by none other than Dark Samus - this thing just won't leave you alone. It'll exhume its Phazon effluence before hovering away, tempting you to follow.
Chapters:
- Planetfall
- The World Divided
- Fate of the Federation Troopers
- The Plight of the Luminoth
- The Sands of Agon
- Dark Aether
- The Space Pirate's Lair
- Samus vs Dark Samus
- Unlocking the Dark Agon Temple
- Restoring the Energy Controller
- The Journey to Torvus
- The Everlasting Deluge
- Restoring the Flooded Temple
- Taking the Fight to the Ing
- Expanding Samus' Arsenal
- The Underwater Temple
- Securing the Dark Torvus Temple
- The Path to Sanctuary
- The Mechanical Marvels of Aether
- The Sub Guardian Nightmare
- Subterranean Conquest
- Searching the Fortress
- Retrieving the Charge Combos
- Following the Echoes
- The Screw Attack Returns
- The King of all Mechanoids
- Gearing up for the Finale
- Unlocking the Sky Temple
- The Final Treasure Hunt
- Ending the War