


Chapter 15: Ghost Ship
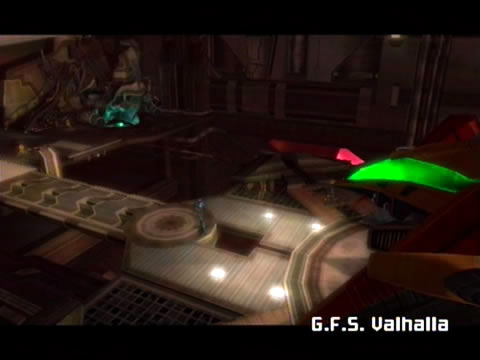
Samus investigates the Valhalla's lifeless remains.
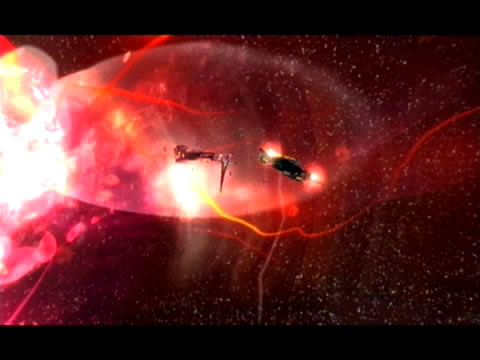
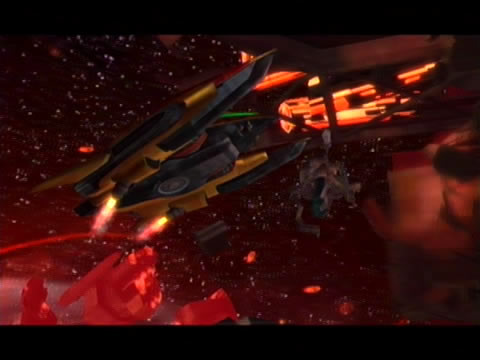
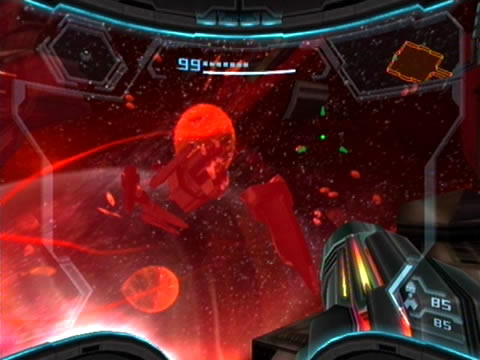
The Valhalla is a complete mess. Lifelessly hanging within a bright glowing nebula cluster, it's amazing Samus manages to land safely aboard a docking station quite similar to the Olympus' docking bay. Except the Valhalla has certainly seen better days. Twisted metal lies in every corner, malfunctioning Stiletto fighters drift aimlessly in the void, and an entire port section is missing - what looks like debris streaking away from the bulk of the ship is actually the remains of a lost frigate.
The music sets the grim tone perfectly - not a chance you'll be finding any survivors. Now we really know what the Pirates are truly capable of, having never seen their destructive activities against spacefaring vessels before. After managing to tear your eyes away from the silent carnage (aside from the flicker of lights and constant screeching from the hull), take a look at the looming docking bay door. Notice the red (and empty) Energy Cell station beside the door?
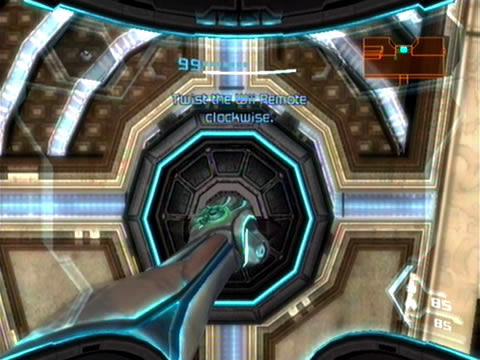
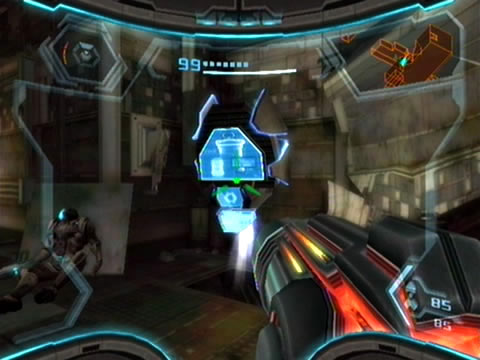
Scan the Energy Cell station to learn that without a local power source, the door won't budge. So now you know what purpose Energy Cells serve; for each one you find out on the main worlds, an empty Energy Cell station awaits somewhere aboard the Valhalla. What happens when you locate all the Energy Cells and unlock every corridor of the Valhalla? You'll have to wait and find out.
Not a sign of life remains among the wreck.
From our earlier travels we already have one Energy Cell on hand, but if you don't have one yet never fear. Look for the mangled remains of a downed Stiletto fighter nearby, see the odd green glow illuminating its engines? Step towards the ambient glow to discover the source - Energy Cell #1 lies on the floor under the craft's lifeless engines.
With two Energy Cells now tucked away, we'll delve deeper into the vessel's belly before heading back to SkyTown. Insert an Energy Cell into the inactive station beside the door to restore power, then simply activate the hand scanner on the other side to open the door wide. Step inside the Hangar A Access tunnel to witness further destruction - not an inch of this vessel went untouched.
Take in the scene around you - a crashed cargo truck lies to your right, along with a glowing blue data terminal station. Scan this seemingly untouched object to receive a hint on the whereabouts of one of the Energy Cells needed aboard the Valhalla. Be sure to scan these stations whenever you spot them for further hints. A lifeless GF Marine rests further along the tunnel, step forward toward the chasm to witness a swarm of small purple beings streak by - quickly scan one to reveal them as Miniroids.
Now we know what the Pirates are capable of.
So the Pirates used Metroids in their assault on the Valhalla... no doubt you'll be facing some of the leftovers. Look down the gaping chasm, see the destroyed bridge hanging from the far side? Luckily a handy Grapple Point hangs above the gap, so use your Grapple Swing to easily cross over. But be ready for another incredibly unnerving sight as you land.
Two GF Marines are positioned near the hangar door - except they're both standing motionless and don't have a drop of colour on them. Scan each to realise the worst - these poor soldiers fell victim to a Metroid's life-sucking attack. There's nothing you can do for them now, so put each to rest with a single blast to clear the remains.
With the door clear simply use the hand scanner nearby to open it wide and enter the vast Repair Bay. Remember the Repair Bay back on the Olympus? This one couldn't look more different. A lone Stiletto fighter rests in a mangled heap on the ground level, while numerous exposed electrical conduits shoot dangerous electricity around the wreckage.
The electrical energy must attract hostiles, as another swarm of Miniroids swarm all over the chamber. You'll also spot small strange purple beings wandering about the walls and ceilings, scan one to reveal them as Jelsacs. These pulsating Phazon sacs don't like company, so be sure to keep your distance. Tear into them from afar - stay back once the bloated sac expands right before exploding in an oily mess.
Energy Cells are key to unlocking the secrets aboard the Valhalla.
Step around the wrecked fighter carefully and look for a group of crates stacked in a corner. Shoot them open for a nasty surprise - what looks like blue puddles of Phazon emerge from within. Scan the Liquid Phazon for your Logbook, and be sure to scan one of the many Phazon Grubs popping out of the gooey mess. Keep your distance from the grubs, these ugly little pests enjoy latching onto your helmet to suck your life energy.
Blast any appearing grubs and concentrate on firing at the liquid puddle to eliminate the odd foe. Step through the door once hidden behind the crates to locate another large chamber known as the Stairwell. Yet another wreck of a Stiletto fighter lies mangled through the left-hand wall, with the ship's conveyer belts and an ominous yellow ambient glow visible through the observation window.
Be sure to scan the blue data station for another hint of an Energy Cell's whereabouts, then take a look at the opposite wall. Remember back on the Olympus when you fired at two locks to raise ramps to access the upper floor of a similar chamber? This time two Energy Cell stations await power. Both are blocked by damaged metal debris, but these won't be a match for your Plasma Beam.
The Pirates gave no mercy to this ruined frigate.
We've only got one Energy Cell left in reserve so we'll head back to the Repair Bay for now. Once outside, look for footholds to allow climbing access up the chamber, just be very wary of sneaky Jelsacs (backtrack quickly if they expand in close proximity) and take it slow around the arcing electricity to avoid falling to the floor.
Exit the Repair Bay up in the south-western corner to discover the remains of the Security Station chamber. More GF Marine's bodies inhabit this area, see the massive cracked glass covering the central enclosure? Use a single Missile to break through and jump inside. Here you'll discover small slimy bugs crawling about - scan one to reveal them as Phazon Leeches (ew). Interestingly, the body of a Pirate Trooper lies in a corner here, so the Marines certainly didn't go down without a fight.
Clear out the Phazon Leech population and look for a section of cracked glass in the security chamber's hatch. Use a Morph Ball Bomb to break through and exit the chamber beyond. The Security Access corridor lies ahead, and with it a blood-red view of the exterior of the ship. You might spot a sighting of a large purple beast clambering up the outer hull of the ship - you'll be seeing plenty more of those things soon. Take a look around the area, you'll find the remains of a Pirate Trooper halfway inside a tunnel network running along a wall (check out the claw marks on the walls).
Can't find Energy Cells? Scan these data stations for clues.
Watch out for another Liquid Phazon hiding within a crate, quickly dissipate the creature before it spawns too many Phazon Leeches. For now we'll head down the western end of the corridor. Around the corner you'll find another data station, be sure to scan it before taking the exit nearby. Inside is MedLab Alpha - be sure to scan the data station here before looking around (notice the tunnel network running around the ceiling?).
See the large wall panel debris covering the alcove on the far side of the chamber? Step towards it and keep your ears open. Hear the humming sound? Look down below the floor near the wall to spot a Missile Expansion hiding just below the surface. Use a Missile to clear the debris blocking the alcove, and keep up your ballistics to clear out further debris hidden beneath.
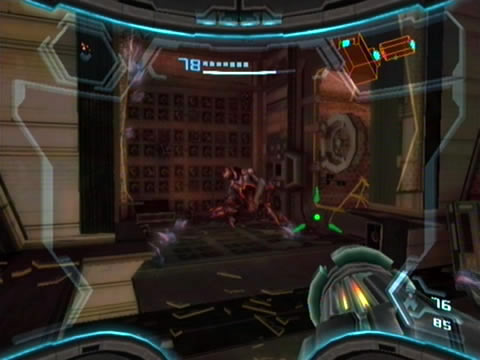
With all the rubble cleared you're in for a nasty surprise. A small section of the ceiling gives way as three of the large quad-legged purple beasts emerge and take up positions. Scan one to reveal them as Phazon Hoppers. These corrupted beings spit globs of Phazon from a distance, and become very hazardous if they enter Hypermode. Don't waste any time - use your own Hypermode to easily conquer the trio.
Space Pirates certainly suffered losses during the assault.
With all hostiles gone, step over to the now-uncovered alcove to find a small shimmering panel. Scan it then use your Grapple Lasso to rip it free. Simply roll into the tunnel to reach Missile Expansion VH.01. Climb back out and return to the Security Access corridor. Travel to the far end and exit via the eastern door - clear out the new trio of slightly smaller Phazon Hoppers blocking your path along the way.
Beyond here lies the Auxiliary Lift - or what's left of it. Another poor lifeless GF Marine rests beside the thoroughly cracked and damaged lift. Use your Scan Visor to learn that the hand scanner controlling the lift is inactive - look for a damaged wall panel nearby. Use your Grapple Lasso to pry it loose, revealing a handy Energy Cell station behind it.
Slot your remaining Energy Cell into the slot to restore power to the ruined-but-barely operational lift. Ride it topside, but don't leave the chamber just yet. See the small glowing tunnel entrance up on the eastern side of the shaft? Climb inside and down into the innards of the lift. Travel left as you land to discover Missile Expansion VH.02 tucked away in a maintenance vent. Follow the tunnels around to find yourself back up beside the lift, then exit the chamber.
More Metroids than you can count.
The next tightly-packed corridor is a complete mess thanks to the hapless Pirate Trooper squashed under the debris. Use the Morph Ball to sneak through a narrow opening and exit the chamber beyond. As you do so a rushing gust of air sucks you into the following compartment. This means you've just entered a zero-gee environment lacking any atmosphere or pressure, completely exposed to the vacuum of space. Thanks to Samus' Power Suit however, movement and life support systems keep her operating normally (notice the fog from her breath on the visor?).
Take care in this Port Observation Deck, a group of Jelsacs have taken up residence and don't want to be disturbed. Clear them all out and take a look around. The western side of the corridor contains a huge metal door bearing four lock pods - you won't be able to pass through here till retrieving a special upgrade later on. The northern section of the chamber also houses a sealed door, this one bears an Energy Cell station beside it, but without any more batteries in reserve you won't be able to proceed.
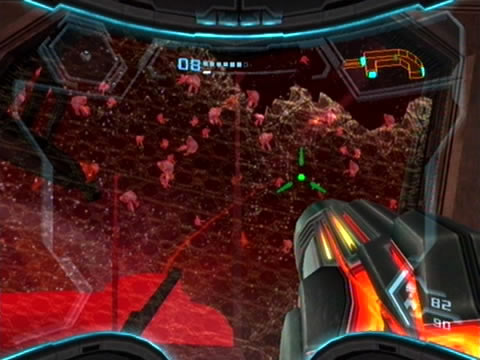
So that's the end of our first tour of the Valhalla, all we can do now is return to Samus' gunship and head for happier locations. Return to the Auxiliary Lift (be sure to take a peek out the Port Observation Deck's window first - see all the Metroids loitering out in the cold vacuum of space? Looks like Metroids can indeed survive in outer space.
Take the lift back down and head into the Security Access corridor beforing taking the right exit up ahead (watch out for another trio of Phazon Hoppers). Pass through the Security Station and return to the vast Repair Bay. As you enter you'll spot another Phazon puddle form crawling over the walls ahead, except that ain't no Liquid Phazon. Watch as a small being emerges from the puddle to spit Phazon venom at you - does it look somewhat familiar? You might remember the gross Inglets from Dark Aether, scan the creature to reveal it appropriately named a Phaz-Ing.
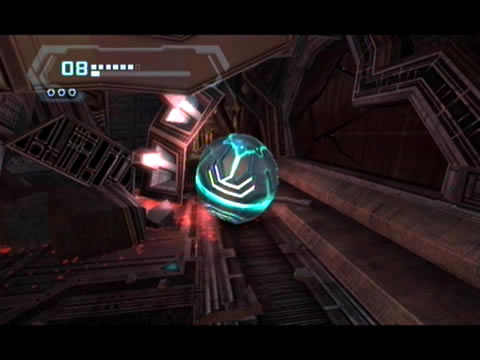
Use the Morph Ball to bypass mangled debris.
Don't worry, this is the only creature remotely related to the Ing you'll encounter. Lock onto the ugly thing's head and rip it back with the Grapple Lasso to easily make quick work of the target. Climb down to the hangar bay door and watch out for another pair of Phazon Hoppers taking up residence here. Clear the area and exit the Repair Bay.
The far wall beyond the chasm ahead is covered in Phazon Leeches, use them for target practice if you wish (remember to keep mounting up your kills score for Friend Vouchers). Swing across the gap and watch out for another swarm of the little critters. Take care and avoid blowing open the crates here if you want to avoid another encounter with a Liquid Phazon (although if it spawns Phazon Grubs, one of them may actually leech energy from the fallen GF Marine and render his body a brittle husk).
Clear the corridor and use the hand scanner beside the hangar bay door to finally see the welcoming sight of your ship. Climb aboard and say goodbye to the horrid sights aboard the Valhalla. For now we'll head for Landing Site A on Elysia's SkyTown.
Chapters:
- GFS Olympus
- Meet the Hunters
- The Liberation of Norion
- Heroes Corrupted
- A Broken World Ravaged by War
- The Deadly Phazon Threat
- A Fallen ally
- Samus' Gunship on the Frontlines
- Disabling a Leviathan's shield
- Heart of the Phazon Corrupter
- Chozo Paradise Among the Clouds
- Restoring Aurora Unit 217
- Hunting the Rogue Machine
- Uncovering Bryyo's Secrets
- Ghost Ship
- The tip of the SkyTown Iceberg
- Piecing together the Leviathan's Bane
- The Metroids Arrive
- Save the Second Chozo World
- The Pirate's Homeworld Unveiled
- Rescue operations in Enemy Territory
- The Final Chozo Gift
- Repositories of Chozo and Pirate Worlds
- Phazon Mines Part 2
- Breaking out the Heavy Weaponry
- Storming Pirate Command
- Join the Federation's Leviathan Strike
- Return to Norion
- Excavation of the Bryyo Ruins
- Bryyo's Final Bow
- Charting out the Ruined Valhalla
- Aurora 313's Final Message
- Ridley's Final Phazon Fight
- Opening the Wormhole
- The Source of the Poison
- The Masters of Phaaze