


Chapter 9: Disabling a Leviathan's Shield
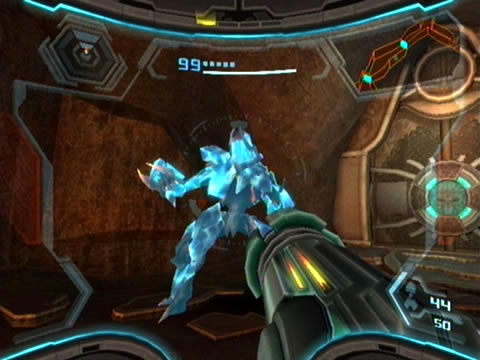
Ice Missiles work flawlessly to freeze hostiles.
Touch down and head through to the Imperial Hall. Watch out for a Jolly Roger drone near the far side - looks like the Pirates are starting to snoop around. Sure enough, as you step into the Gel Refinery Site, a Pirate Militia and Shield Pirate Trooper emerge. Scan the Shield Pirate Trooper for your Logbook before engaging both targets. With both hostiles cleared out, use the shortcut provided by the Gel Purification Site and move through to the Gel Hall (if you haven't knocked the pipe down yet you'll need to take the long way via the Main Lift and Corrupted Pool).
Once at the Gel Hall, use Ice Missiles to cross the volatile Fuel Gel pool (watch out for a pair of marauding Jolly Roger drones) and make your way to the Temple of Bryyo where you faced Rundas earlier (save along the way if you wish). Watch out for a lone Pirate Trooper loitering in the Cavern Entry chamber, and take care to avoid the Crawltanks moving about in the Gel Cavern.
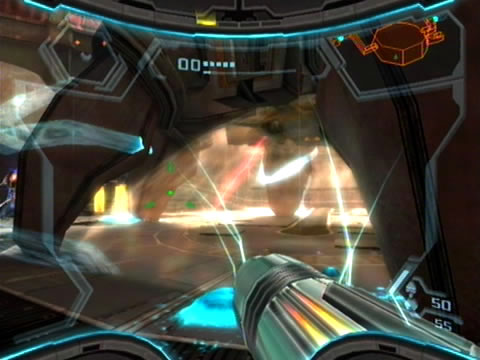
Take extreme care in the Temple Access corridor - a single Pirate Trooper at the top of the tunnel once inhabited by Gelbugs gives you a nasty present in the form of an energy grenade. If the blast hits home you'll find yourself sent straight into Corrupt Hypermode - don't waste any time in delivering all your Phazon energy back at the thoughtful Pirate.
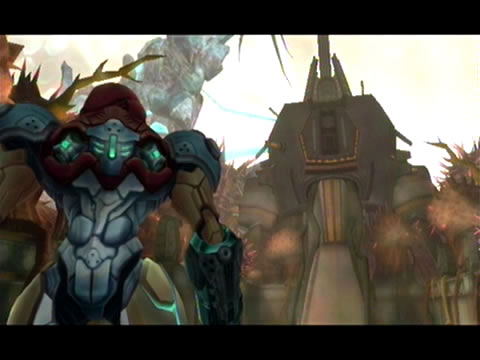
The Pirates are hoping to fortify this deserted temple.
Climb up the tunnel and enter the Temple of Bryyo. With all this Pirate activity you may be wondering what they have in store out in the expansive arena. Step outside to discover the massive superstructure of a partially-built anti-aircraft turret. A huge clamp attached to the turret's base is built right over the elevator leading down to the shield generator, so it's gotta go.
Your fresh new Ship Missiles should do the trick, only problem are the trio of Armored Aerotroopers guarding the region and a pair of radio jammers flanking the turret. Quickly scan one of the fliers for your Logbook and try to scan the huge objects populating the arena to learn more about the Pirate's equipment.
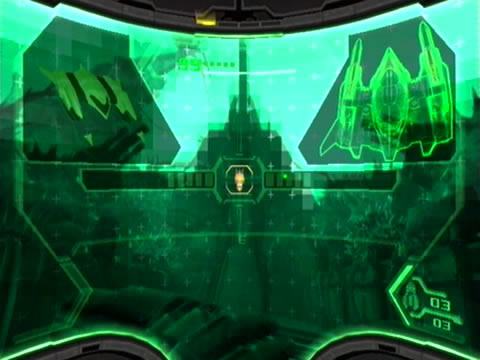
To be quite frank, those Aerotroopers will simply return in never-ending waves if you engage them (and require a nasty beating to break their armour), so concentrate on clearing out their turret construction works. Run to each radio jammer and grapple the locking mechanism to clear the airwaves. As you do try to avoid any ballistic fire from persistent Aerotroopers. With both radio jammers disabled don't waste any time in firing up the Command Visor and lock onto the icon hovering above the clamp beside the turret's base.
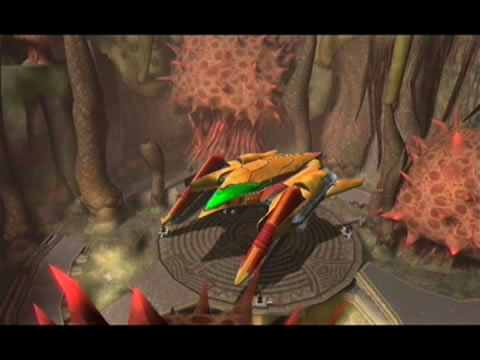
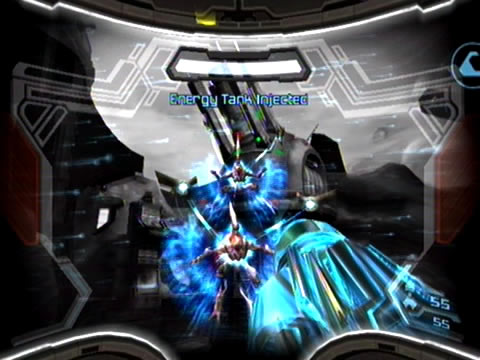
Watch as Samus gunship swoops down, completely obliterating all the Pirate's gear with a barrage of missiles (although strangely any remaining Space Pirate crates survive). Once the dust settles, break open any Space Pirate crates nearby for health and missile refills - you may also spot a Ship Missile refill as well (at the moment your maximum payload is three). Step into the newly-activated elevator's hologram and move through to the Temple Reservoir. Watch out for a swarm of Aeromines catching you off-guard as you cross the Fuel Gel river, quickly dispatch them or leap back to safe ground before engaging.
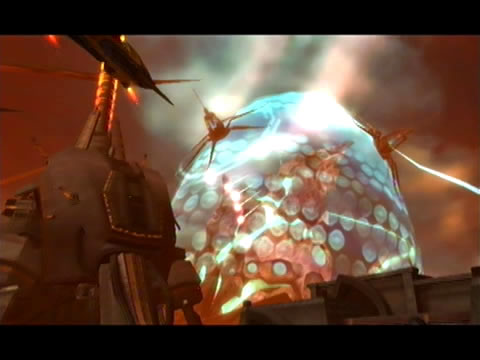
Watch as Samus' gunship effortlessly dismantles the shield generator.
Cross the Temple Hall chasm beyond to finally make it back to the first shield generator. The Pirates have stationed two hapless guards here - one Pirate Militia and Trooper. Watch out for the Pirate Trooper entering Hypermode, use your own to easily conquer both. With your position clear, simply step around the central wall and face the massive shield generator beyond the viewport. Switch on the Command Visor, lock onto the generator, and watch as your gunship swoops down for the kill - explosively retiring this generator to a mangled mess (and granting you a bonus gold credit).
The visible Leviathan's shield will promptly spark and shudder but remains online. One generator to go. Return to the Temple of Bryyo and deal with any hostiles along the way. As you ride up the lift into the main arena, you'll discover the Pirates have abandoned their ruined turret. A single ATC takes flight, leaving behind a Pirate Militia and a new face - an Advanced Shield Trooper. Scan the latter for your Logbook, then proceed to grapple its shield off. Conquer the green armour-clad foe with a few Missiles to breach the armour first, then finish off both targets to clear the area (or you could just use Hypermode...).
Exit the temple and head back towards the Gel Cavern. Take the shortcut there back to the Imperial Hall, then return to your ship from there. We'll now head for the Thorn Jungle Airdock where the second shield generator awaits. Remember that huge sealed gate you couldn't pass in the Ancient Courtyard? It won't be there much longer...
Ice Missiles can easily freeze liquid-state Fuel Gel.
Touch down at the Thorn Jungle Airdock and move through to the Overgrown Ruins. Remember the first pair of Armored Pirate Troopers greeting you here? Both are back and won't hesitate to enter Hypermode, so use your own to quickly finish them. Strangely they haven't attempted to reinitialise the force field blocking access to the Ancient Courtyard, so step on through.
A pair of Pirate Militia watch over the massive compound gate outside, clear them both but watch out for either one throwing a nasty energy grenade to send you straight into Corrupt Hypermode. With your position clear, simply disable the radio jammer with your Grapple Lasso before summoning your ship to level the gate.
With the huge obstruction clear you'll have an odd welcoming committee greeting you on from the other side. An Advanced Pirate Trooper (equipped with funky green armour) and an Assault Pirate Trooper (wearing odd orange armour plates) emerge from the ruined gate, accompanied by a huge Berserker Knight in tow. Try to scan all three quickly for your Logbook - especially the Assault Pirate Trooper (believe it or not, but the Berserker Knight isn't too fond of its cronies in close proximity).
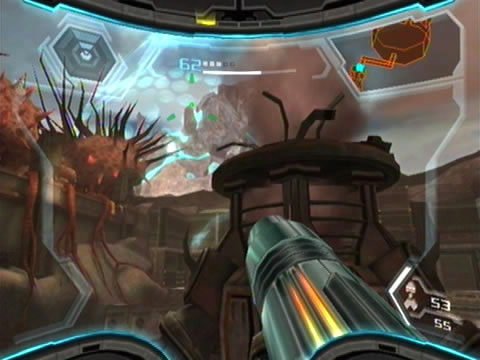
Thorny foliage surrounds this landing site.
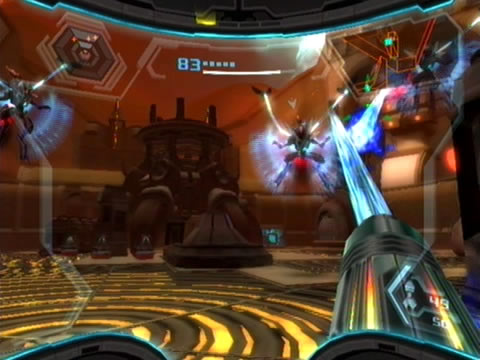
There's either two ways you can deal with this tight situation. Either fire up Hypermode and deal with the Pirate troopers quickly, saving the Berserker Knight till last (wait for it to launch purple spheres and fire at them to weaken and eventually destroy its protective armour, just like your first battle with a Berserker Lord) - or simply summon your ship again for a handy bombing run on all the hostiles (but this time you'll remain in control, so stand well away from the fireworks).
With all hostiles down watch out for a remaining pair of Pirate Militia, and be sure to pop open nearby Kashh plants for health refills. Move beyond this region and through the Enlightened Walkway chamber (watch out for annoying Crawltanks entering Hypermode). Step through the chamber to discover another outdoor area beyond - the Jousting Field. You can bet you'll be facing some heavy opposition in this ideal arena.
Step through the thin arching gate ahead to find yourself sealed in by a pair of energy force fields. Two Aerotroopers take flight and challenge you to a brawl. Take note of the scattered Space Pirate crates and Kashh plants in the region, and be sure to keep clear of the Fuel Gel pond nearby. Deal with both hostiles to find yourself on the attacking end of a nasty beast complete with a Pirate rider.
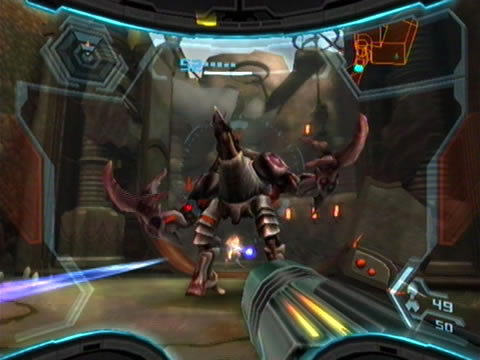
A Berserker Knight keeps this Pirate camp under solid guard.
This Korakk beast and its Pirate Hussar rider are all that stand between you and your exit, so refer back to the bosses guide for tips to survive the once-off encounter (don't forget to grab health refills from the Kashh plants and Space Pirate crates if you run low).
Immediately upon conquering the Korakk beast a pair of Shield Pirate Militia emerge from one of the now-accessible gates. Deal with both and pick up any health refills before moving on. The Field Access corridor lies ahead, just watch out for a squadron of Jolly Roger drones patrolling the region. Before moving on to the second shield generator's home, you'd do well to save your game at the nearby save station hidden behind the white blast-shielded door.
With your game saved head through the exit on the eastern side of the Field Access corridor. As you enter the shield generator's observation chamber you'll no doubt spot the Bryyo lore security panel dead ahead. Shoot the locks in the correct order to reveal the The Hunted lore entry along with Missile BR.09. This lore entry reveals that all the entries found on Bryyo were written by the last Lord of Science - and those huge Mogenar Golem statues are just a few of his creations. With your latest Missile Expansion sealed away walk around the wall section and take a look out the observation window.
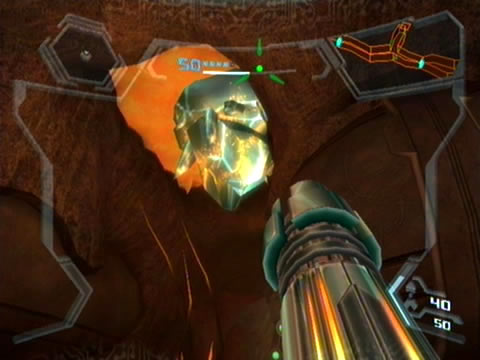
Try to air strike the second generator.
Surrounded by thorny foliage above a Fuel Gel pool, this shield generator isn't as lonely as the first. Two massive anti-aircraft turrets flank either side, relentlessly watching the skies for intruders. There's not much else you can do - summon your ship to attempt an attack run on the shield generator. Your ship begins evasive maneuvers after receiving a glancing hit from a turret, so you'll need to take both turrets offline before it can get a clear shot in (notice you can still see your ship flying about when you regain control).
There's nowhere else to go in this dead-end, so head back towards the exit. But before long a blast shield seals you inside, while two security shutters retract on the north and south of the chamber. A pair of Armored Pirate Troopers ambush your position, quickly use Hypermode to deal with them as they'll both likely try to do the same.
With two exits to choose from, you've now got initial access points to locate the turret's encampments. If you take the northern exit you'll find yourself in a dead-end rocky canyon (watch out for a pair of Jumpmines hiding behind small Space Pirate crates - and take note of the Missile Expansion up in the opposite wall), so we'll take the southern exit for now.
A pair of anti-aircraft turrets keep this generator well-protected.
Beyond here lies Generator Hall South - home to another small rocky canyon. Except this one possesses a metal bridge spanning the gap. See the pair of Fuel Gel tanks attached underneath? Send a Missile into them (stand back) to clear the bridge away. Simply leap up to the visible Grab Ledge to climb up. Turn around and face the opening on the other side - from it storm an Armored Pirate Trooper and a regular Pirate Trooper. Quickly deal with them using Hypermode.
Now be sure to break open any Space Pirate crates, you're going to need plenty of health reserves in the upcoming battles. Turn the corner around the winding path to locate the entrance of an unmistakable Pirate facility. The entrance is well-guarded, watch out for a pair of automated Remorse-Class Turrets covering the area. Quickly scan one for your Logbook, then wait for a few Fuel Gel tanks to pass by the turrets. Blow the tanks as they move through to easily dismantle both turrets.
Scan the blue Space Pirate door before entering, then take the narrow corridor dotted with Phazon growths beyond carefully as there's a third turret hiding around the corner. Clear it away and move on through, discovering the expansive South Jungle Court's main inhabitant - one of the pair of massive anti-aircraft turrets. This beast is crawling with Pirate guards, so you'll be tasked with destroying the turret as quickly as possible to secure the area. But it's certainly not going to be easy (especially on Hypermode difficulty).
Wait for the electrical storm to pass before stepping under the turret.
Quickly scan the turret itself to learn than releasing an underside control valve will reveal all the Fuel Gel tanks powering the turret - destroying these fuel sources should bring the turret offline. You'll be attacked by a number of Pirates scattered around the region, while more continuously arrive from a ledge in the north-eastern corner.
Watch out for unused Fuel Gel tanks scattered around the complex, shoot them from afar to hopefully catch any hapless Pirates standing nearby. Pirate Troopers will also employ their own Hypermode, so get ready for risky use of your Hypermode. Fire up Hypermode and leap down underneath the turret's six-pronged base, eliminating any present Pirate Troopers as you go (ignore the Pirate Militia). Don't waste any time, run below the control value to see a C-icon appear above it.
Quickly grapple the control unit down, doing so will open up the turret's ammunition chambers and reveal Fuel Gel tanks. Quickly run back away from the turret while still in Hypermode and circle around it, looking for visible Fuel Gel tanks. When you spot one, open up and destroy the tank. Switch off Hypermode now if you've managed to avoid entering Corrupt Hypermode. A massive ensuing electrical storm covers the air under the turret, preventing you from reaching the control unit.
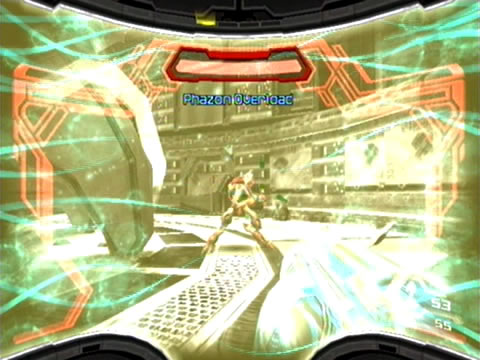
Make these Pirates pay for trying to corrupt you.
Hold out against any visible hostiles till the electrical disturbance subsides, then run underneath the turret and grapple the control unit down again. Enter Hypermode again before you run underneath to avoid damage as you grapple the control unit down (but watch out for pesky Pirate Militia chucking grenades at you trying to force you into Corrupt Hypermode).
With the second Fuel Gel tank destroyed wait for the electrical storm to pass again, then don't waste any time in grappling the control unit down a third time and blowing apart the third and final Fuel Gel tank. Doing so will send the turret's firing sequence haywire, right before the cannon itself blows apart into a mangled mess.
With the the destruction of the first turret, energy fields blocking both exits will promptly release - but you may find one or two Pirate stragglers still here. Deal with any and be sure to gather as much health as possible from crates scattered about. Travel east from here and watch out for a Remorse turret keeping watch in the following South Jungle Hall region. Move ahead and deal with the Jolly Roger drone appearing, then take a look at the sky - see the giant shield generator?
There's some other interesting sights in this region. See the nearby remains of a Warp Hound? Looks like the Pirates don't like invaders in their territory. You'll also find numerous glowing red pipe sections here - you can't scan them but shooting them will cause them to slowly shrink before exploding - remember those similar pipe sections in Mother Brain's lair?
Move ahead and watch out for another pair of patrolling Jolly Rogers. Don't forget to crack open Space Pirate crates for health, but also be on the lookout high up on the walls for small blue Phazon growths near high concentrations of Phazon corruption. Scan one for your Logbook to reveal them as Phazon Fungus (yummy). Shoot them to hopefully reveal health refills. Proceed onward through this region to the Auxiliary Dynamo - hear the humming sound as you enter? Turn left and hop over the thick cable on the floor.
Reduce both turrets to piles of rubble.
Face the wall section in the center of the chamber, see the tall piston blocking the narrow tunnel within the wall? Use your Grapple Lasso to pull it down, then climb back over the thick cable and look for a small entrance to the tunnels. Roll inside and rest atop the piston to find yourself shunted up higher. Follow the tunnel around to locate something handy, your first Ship Missile Expansion (BR.01). With an extra Ship Missile now in your arsenal, exit the tunnels and move onward to the North Jungle Hall.
Break open any Space Pirate crates here for health and watch out for two rounds of Aeromines ambushing you throughout the region. Take care right after the first round though, near the body of the Reptilicus Hunter lies a small device. It look like a small cog, but scanning it reveals the object as a land mine. Safely shoot it from a distance before moving through. Clear the second wave of Aeromines and discharge a second land mine further up the corridor.
Take a look back the direction you came, you'll notice the shield generator lies directly above the Auxiliary Chamber where you found the Ship Missile Expansion - pity you couldn't just lay explosives under it. Exit the North Jungle Hall to find yourself at the mouth of the North Jungle Court - home of the second and final anti-aircraft turret.
See the cluster of Phazon Fungus up on the wall ahead? Shoot them to reveal some much-needed health refills. Step around the corner and enter the turret's main complex. This time the turret's guarded by never-ending waves of Aerotroopers. These guys aren't just here to fight you however. The first one will hover over to a large metal level and wrench it back - watch as a small clamp locks into place on a cylinder blocking access to the control unit valve on the underside of the turret.
Use Hypermode to quickly down these Aerotroopers.
Quickly scan the turret and the sealed cylinder to learn that three clamps keep it held in place, so you'll need to unlock all three clamps together to raise the cylinder. Only problem is those pesky Aerotroopers like to pull the levers back into their locked positions while you work. To top it off, if you manage to unlock all three clamps without any Aerotrooper resealing one again you'll be rewarded with a bonus Friend Voucher.
So let's get to work. First things first, climbing up to the initial lever. Ignore the Aerotroopers for now and leap up to the lever. Once you reach it, spin around to face the turret and any active Aerotroopers (they come in pairs). Before grappling the lever, activate Hypermode and blast both targets out of the sky. Immediately pull the lever back and climb over to the second one (deactivate Hypermode now).
As you reach the second lever very quickly face the turret again and use Hypermode to shoot down the fresh pair of Aerotroopers (before either one manages to pull the first lever back). Grapple the second lock and switch off Hypermode. Zip over to the third and final one, very quickly pull the lever before the Aerotroopers manage to react.
You'll receive the voucher now if you managed a perfection execution - either way the fuel clamp will release, exposing all three Fuel Gel tanks. Jump down to ground level and ignore the Aerotroopers - go for the three fuel tanks. Blow them all to send this turret to oblivion. Nice work, with that done you're all clear - time to dismantle the shield generator.
Chapters:
- GFS Olympus
- Meet the Hunters
- The Liberation of Norion
- Heroes Corrupted
- A Broken World Ravaged by War
- The Deadly Phazon Threat
- A Fallen ally
- Samus' Gunship on the Frontlines
- Disabling a Leviathan's shield
- Heart of the Phazon Corrupter
- Chozo Paradise Among the Clouds
- Restoring Aurora Unit 217
- Hunting the Rogue Machine
- Uncovering Bryyo's Secrets
- Ghost Ship
- The tip of the SkyTown Iceberg
- Piecing together the Leviathan's Bane
- The Metroids Arrive
- Save the Second Chozo World
- The Pirate's Homeworld Unveiled
- Rescue operations in Enemy Territory
- The Final Chozo Gift
- Repositories of Chozo and Pirate Worlds
- Phazon Mines Part 2
- Breaking out the Heavy Weaponry
- Storming Pirate Command
- Join the Federation's Leviathan Strike
- Return to Norion
- Excavation of the Bryyo Ruins
- Bryyo's Final Bow
- Charting out the Ruined Valhalla
- Aurora 313's Final Message
- Ridley's Final Phazon Fight
- Opening the Wormhole
- The Source of the Poison
- The Masters of Phaaze