Energy Part locations

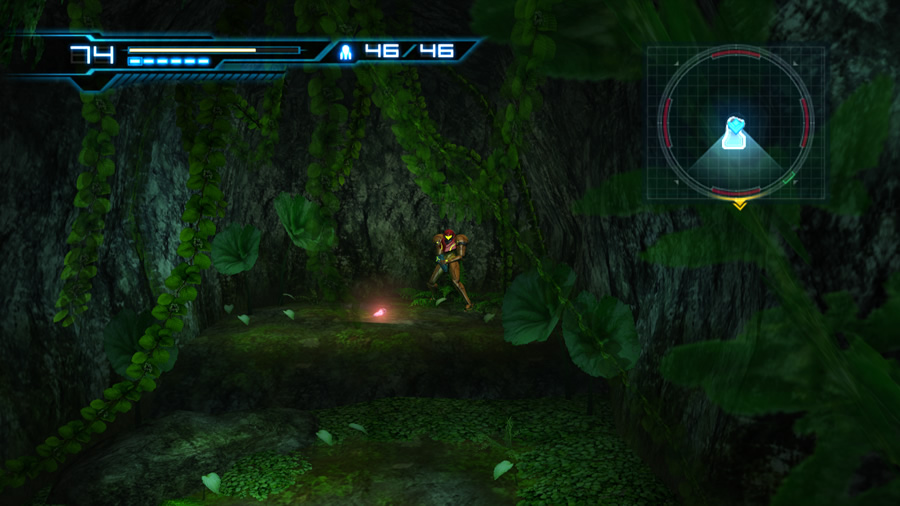
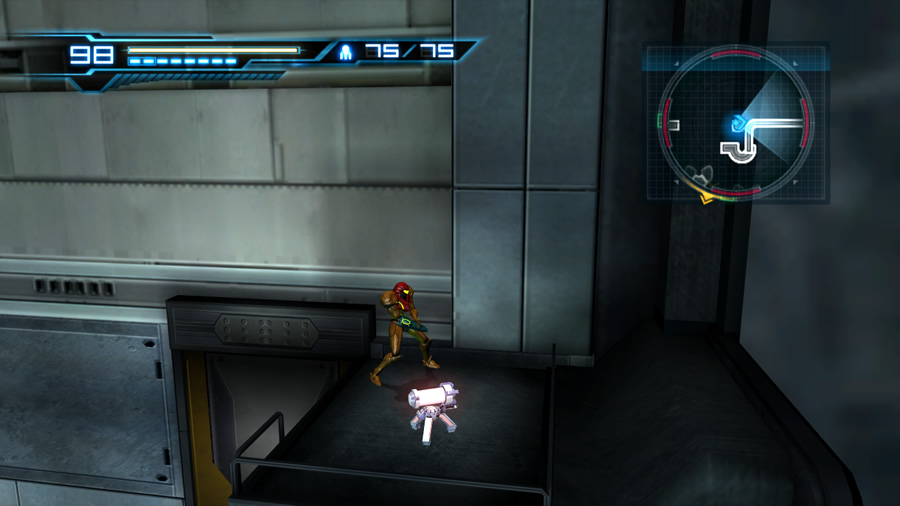
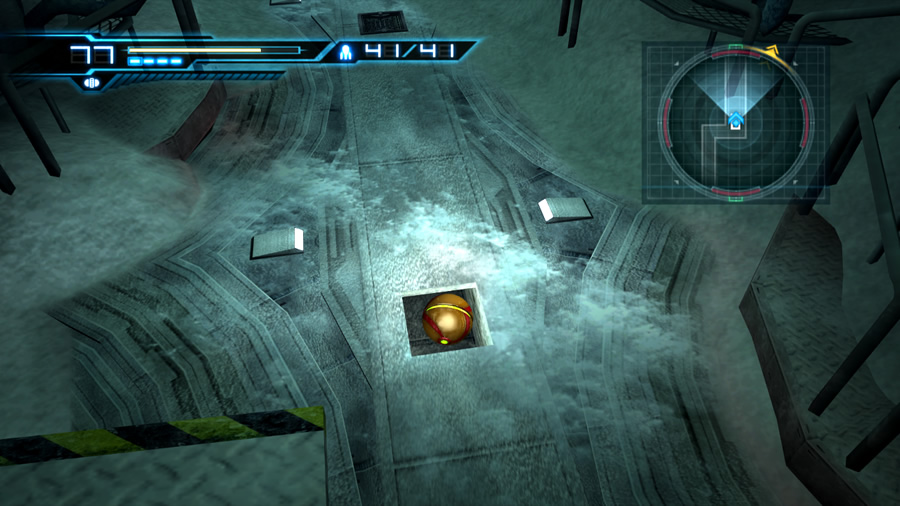
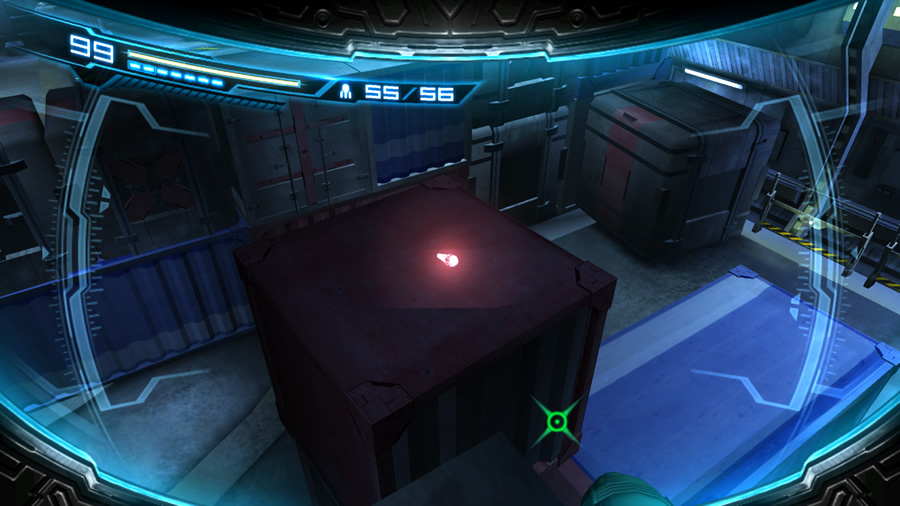
Think Pieces of Heart in space and you've got yourself an Energy Part. Four of these devices will combine to create an Energy Tank, increasing Samus' total health by 100 units. 16 Energy Parts lie hidden in the game, all up producing 4 Energy Tanks.

Samus' upgrades | Missile locations | Energy Tank locations
Energy Part locations | Accel Charge locations | E-Recovery Tank locations

Main Sector

1.

Near the Main Elevator chamber is a tall elevator shaft leading back up to the central region of the Main Sector. Go to the very bottom of this elevator and climb up the chamber via the platforms surrounding it. Watch out for the floating Bull around the chamber as you ascend - you'll find this Energy Part sitting atop a platform at the very top.

2.

You'll need access to Power Bombs to find this one. Soon after defeating your first Desbrachian near the command room you'll discover the Bottle Ship Residential Area. A swarm of Super Kihunters are the new residents of the area - conquer them all before taking a look at the massive spire in the center of the chamber.

This Energy Part is resting high atop the spire above. Begin running around the spire and Samus will automatically circle the object. Wait for the Speed Booster to kick in, then Shinespark directly up. Once Samus strikes the ceiling, quickly begin Space Jumping towards the Energy Part to reach it from there.

Sector 1

1.

Right after defeating the King Kihunter, you'll find yourself in a green-lit corridor with this Energy Part visible dead ahead. Move up the sloping corridor on the right and look for a grate in the wall at the top of the slope. Blow the grate open with a bomb and roll inside - follow the tunnel down the slope to reach the Energy Part.

2.

The Space Jump is needed to reach this one. North of the massive arbor chamber lies a jungle-themed region with a tall cliff obstructing the passage.

Use the Grapple Beam to scale the cliff, then travel to the left side. Leap off the cliff and engage the Space Jump - fly around the corner to spot a crate hidden in an alcove directly above the door ahead. Fly over there and break the crate open to locate this Energy Part inside.

3.

Power Bombs are needed for this item. Travel back to the Subterranean Control Room and look in one of the corners of the chamber for a Power Bomb blast shield. Use a Power Bomb to awaken the Desbrachian covering the hatch, then conquer the beast to locate this Energy Part hiding in a tiny chamber.

4.

Either the Grapple Beam or Space Jump are needed here. This Energy Part hides in the north-western corner of the huge desert-like outdoor area where the Dragotix lives.

The first option is to follow a network of pipes from the observation room which leads down to a rocky plateau, then use the Grapple Beam to reach it. Alternatively, climb up to the northern exit of the area and use the Space Jump to simply fly across to the Energy Part.

5.

The Space Jump is needed for this Energy Part. Return to the large rain-swept jungle region where you first fought a Groganch (a giant tree-like creature). Once there, climb up to the exit in the north-western corner. Space Jump around the fence on the right to reach a formerly-inaccessible platform.

A Charge Beam switch is fixed to the wall there - energize it to deploy three platforms from the wall high up over on the right. Quickly Space Jump and scale across the extended platforms (they'll retract back into the wall after a short time) to reach a ledge beside the observation room's window - this Energy Part awaits you there.

If you have difficulty climbing across the platforms, backtrack to the lower entrance of the chamber to use an alternate method. From the door, run toward the far wall to engage the Speed Booster. Just as you reach the wall, Shinespark directly up. At the peak of the jump, simply Space Jump across to reach the Energy Part (thanks Joe!).

Sector 2

1.

Soon after moving through the Sector Generator Room, you'll discover a large chamber filled with containment tubes housing Geemers and Himellas.

Normally you need to Shinespark off the edge of the short bridge to reach the far side of the chamber. Before you make the leap, descend to the base of the region and have a look at a trio of small grates in the floor. Bomb open the grate nearest the entrance of the chamber and roll inside the tiny drain below to locate this Energy Part.

2.

Down in the southern region of Sector 2 lies a long corridor which houses a Gigafraug, a Himella nest and two Missile Tanks hidden in a long pipe section in the ceiling. Along the wall you'll also discover a Power Bomb blast shield. Deploy a Power Bomb and conquer the resulting Desbrachian to locate this Energy Part hidden within a small chamber.

3.

You can retrieve this Energy Part after completing the boss encounter in the Materials Storehouse. You can't pick this one up directly after finishing the battle, instead you'll need to backtrack around Sector 2 and enter the area from the original entrance.

Alternatively, the Space Jump will help you reach this item from either side of the room. Scattered atop the stack of cargo crates here are a number of smaller destructible crates; this Energy Part lies hidden within one of them.

4.

Power Bombs are needed to locate this item. Soon after the exit of the Materials Transfer Lift (where you had your memorable first encounter with the Rhedogian) lies a chamber where you needed to drain the liquid from coolant tanks, revealing access to a Charge Beam switch. This chamber can also be reached via the narrow tunnel on the left side of the Sector 2 main elevator.

A Power Bomb blast shield rests on the far wall of this chamber - deploy a Power Bomb to awaken the Desbrachian guarding the hatch. Defeat the beast and step inside the following chamber to discover this Energy Part waiting there.

Sector 3

1.

Soon after entering Sector 3, you'll almost be eaten by Vorash (the massive lava-dwelling monster) as it dismantles a section of the tunnel. Leave the area up ahead to find a darkened chamber inhabited by two Heat Bulls.

Clear them out, then take a look at an alcove near the Navigation Room's door. See the trio of small fireflies? Climb up and roll through the narrow tunnel opening beside them to find a network of tunnels leading up to this Energy Part.

2.

Out in the magma ocean, travel to the region where all the initial pesky Magdollites live. It's near the exit leading to the Floor Observation Room, down in the bottom-left corner of the area when viewed from the sub-screen.

Look for a semi-tall rocky cliff - see the small hole in the cliff on the left side? Roll inside to find this Energy Part tucked behind a grate around the bend. Blow the grate open with a bomb to reach your prize.

3.

On the way up to the volcano's crater, you'll reach a chamber housing a glass panel on the floor with lava visible beneath it. Normally you'll try to activate a terminal on the wall and find yourself ambushed by a group of Cyborg Zebesians.

With all hostiles taken care of, the terminal will unlock a pair of hatches on opposing walls. The left hatch leads down into the volcano, while the hatch on the right leads to this Energy Part hidden beneath the floor.

4.

There's a long lava-filled industrial chamber you've no doubt visited but couldn't proceed through due to the lack of the Grapple Beam. Once you've been authorised to use the Grapple Beam, head to this room and swing across two Grapple Points to reach the far side.

Once there, walk towards the screen and over to the corner - see a sneaky tunnel hidden directly below? Jump down into the tunnel (there's a very thin gap along the wall) to find this Energy Part hiding inside.

5.

The Grapple Beam and Super Missiles are needed to locate this item. Go to the chamber on the right of the Sector 3 main elevator where you once fought an Asborean and the Rhedogian on two separate occasions. Ascend to the upper floor and dismantle the Super Missile blast shield opposite the Power Bomb blast shield.

Walk inside the small chamber and activate the uncovered terminal. This will unseal a large hatch high up on the wall beside the entrance of the room and summon a second Grapple Point. Swing across both Grapple Points to reach the open alcove; this Energy Part rests inside.