


Data
Guides and strategies
- Techniques Guide
- Power-up locations
- Bosses Guide
- Mini-bosses Guide
- Search View Guide
- Obstacles Guide
- Walkthrough
- Game endings
- Secrets and tips
- Game maps
Media
Chapter 11: Fire and Ice
The heart of the volcano is not kind to Samus' health.
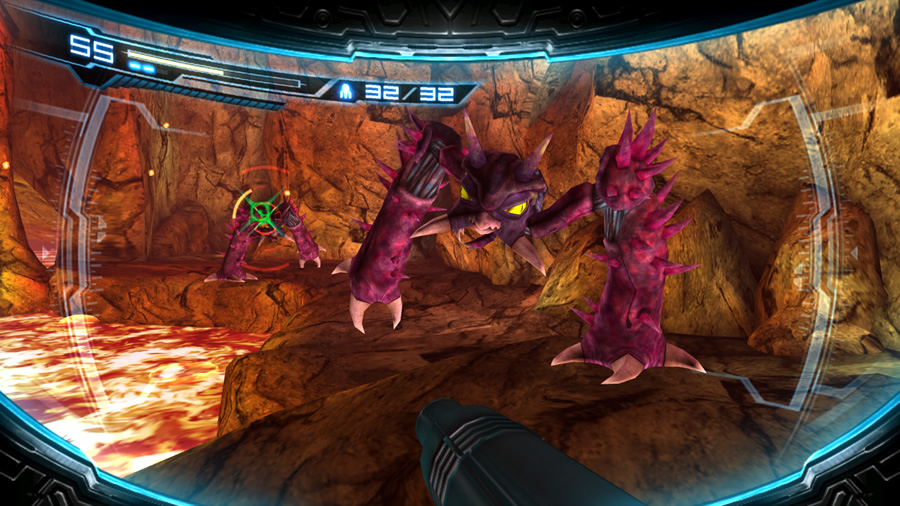
Exit the Navigation Booth and step inside a chamber deep within the volcano. It doesn't look like the insides of a regular volcano, but a large glass window set in the ground reveals visible lava beneath. There's a control terminal up on the wall beyond the glass floor - walk towards it to trigger an ambush by Cyborg Zebesians.
Six enemies in total will test Samus' mettle. Refer back to the mini-bosses guide if you have any trouble combating these hostiles. Remember to use Overblasts against them - the added power of the Ice Beam will fell a Cyborg Zebesian in a single Overblast hit.
Clear them all to reactivate the control terminal. Activate the device to drain the lava-filled shaft beneath the glass floor. Two open vents now present themselves on opposite sides of the chamber - climb through the one on the right to discover Energy Part S3.03. The left-hand vent contains a path into the volcano, but you might want to step back into the Navigation Booth to recover any lost health from the Cyborg Zebesians.
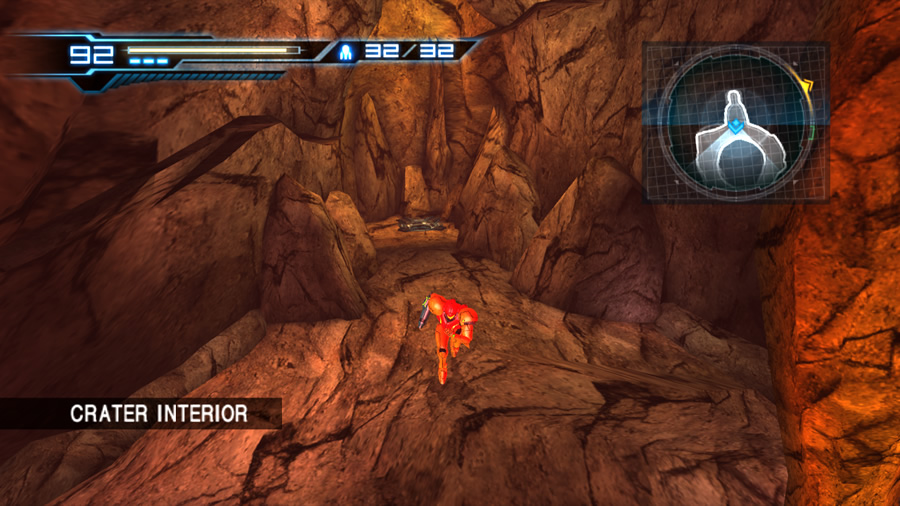
Once you're set, activate the Morph Ball and roll inside the left-hand vent. This passage leads directly into the once lava-filled shaft. Fall down to arrive in the volcano's Crater Interior. Naturally, the area is super-heated and Samus will begin losing health again. Don't waste any time; follow the spiralling path up on the right (the left path ceases at the lava). All the lava in the area will suddenly begin rising up the crater, and it won't stop until reaching the very top of the volcano's caldera.
So you'll need to stay one step ahead of the rising lava flow. Keep moving up the spiral path and don't let any resident Novas slow you down. Unfortunately, the constant burning heat and rising lava in this joyful volcano won't be the end of your troubles. Right after passing the first Nova, a giant red tentacle springs from the lava and swats at Samus' position. Use a Sensemove to avoid any damage (avoidance is key on Hard mode). The game slows down very slightly as the tentacle slams down, giving you a better chance to release the D-Pad and tap it again at the right moment.
More Novas, short cliffs and lava streams cover the spiralling path. Don't bother messing with the Novas, simply leap over them or use rapid-fire without stopping. The tentacle will try its luck again further up, so be ready for another Sensemove. At last you'll reach the top of the spiral path where it ends abruptly at a tall rocky wall. Quickly enter Morph Ball mode and roll through the narrow tunnel at the base of the cliff. Stand up at the exit and either wall-jump up the next small shaft, or use a hard-to-see ledge on the right wall to grab hold and hoist Samus up higher.
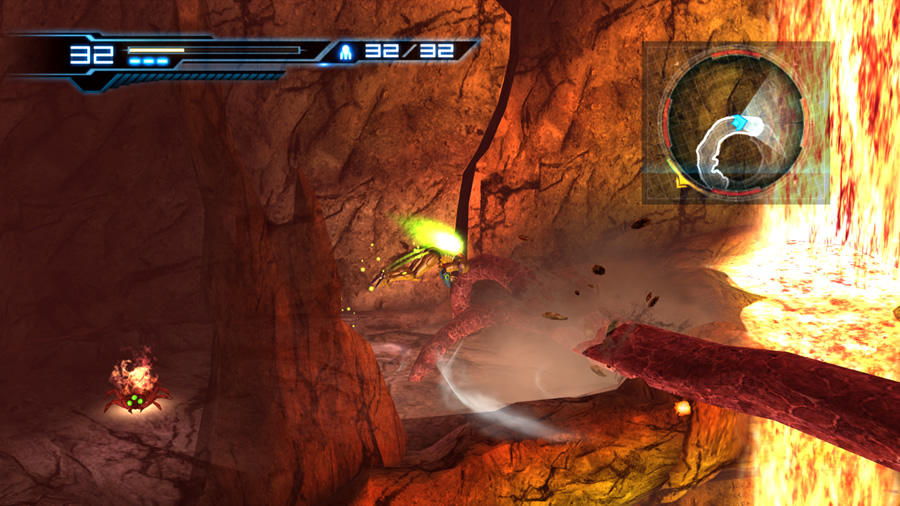
Hot air, rising lava and a long red arm - all in day's work for Samus.
Climb inside the small tunnel higher up on the left side of the shaft. Roll through to mercifully arrive at the top of the volcano. Wall-jump up this last small pit to finally outrun the lava. At last, this is where your torturous marathons through super-heated areas conclude. Adam chimes in and finally authorises the Varia Suit. Phew... Your health will also fully restore automatically - a bonus definitely needed on Hard mode.
Upon returning to the game, the red tentacle tries its luck again and this time scores a hit. Don't worry - Samus will automatically use her Charge Beam to break free, landing safely on solid ground. The tentacle's owner will now reveal itself as a giant red life-form, complete with two long tentacle arms and a tall horned head-stalk.
This beast is known as Goyagma, and I haven't a clue how this potential bioweapon could be utilised and controlled by human scientists. You're now stuck atop the volcano to fight this foe, so refer to the bosses guide if you need help.
Goyagma's demise will settle the volcano and the lava pool will recede, right back down to the base of the crater. Feel free to enjoy the sweeping view from the volcano's summit before leaving (and check out the view inside the crater as well). Now that you finally have the Varia Suit there's no need to worry about heat damage - but continue to avoid direct contact with lava.
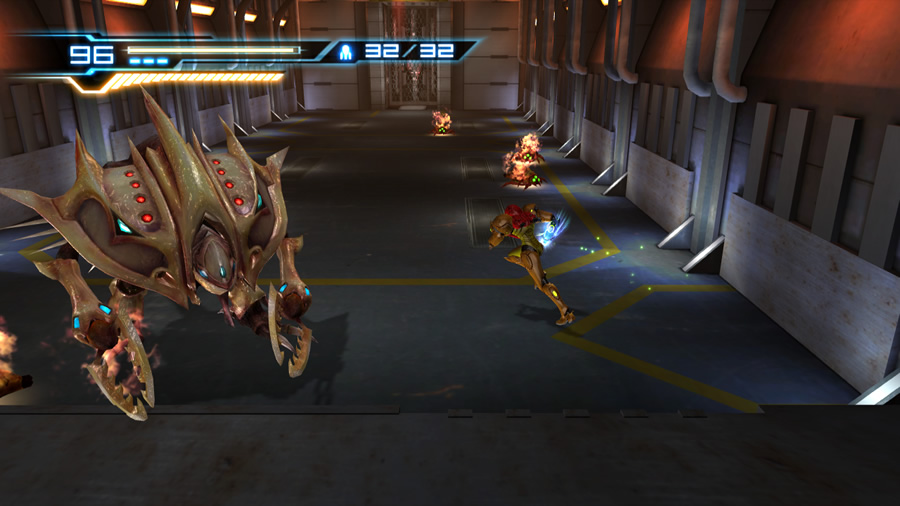
Your exit is far below at the very base of the volcano (which is now uncovered), so begin your descent and backtrack down (you can't leap directly into the open crater itself). Numerous Dessgeegas now inhabit the spiral path, but feel free to bypass the aggressive beasts if you wish - they don't keep any doors locked.
On the way down you might spot a small alcove where a Morph Ball Launcher rests - that's directly below the chamber from where you first entered the volcano crater. If you enter the launcher it'll send Samus crashing through the glass floor of the chamber high above, creating an easy access point between these two areas. There's nothing else for us to do back up there, so keep descending the spiral path down to the very bottom of the crater.
Dessgeegas inhabit the now-docile volcano.
Reach the bottom and enter first-person view to enjoy the view of the lava pool (if you feel like it). But watch out for two invading Dessgeegas. Follow the rocky path to locate a handy exit - step through the door to depart the volcano and return to regular Bottle Ship decor. Step through the corridor and take care near the local Nova inhabitants. There's an inactive Morph Ball Launcher inside a tiny alcove in this corridor, but you won't be using it for some time.
Exit this corridor to arrive in Sector 3's roomy main elevator (listen carefully, can you hear the computer voice echoing in the background?). Attempting to use the elevator will only result in Adam reminding Samus of her duties in this sector, so let's take the exit on the far side of the chamber.
Beyond lies another corridor - stop at the entrance and enter first-person view. Send Missiles at two visible floating Heat Bulls before entering - by now you'll know how annoying they are.
Step through and watch out for any Novas still inhabiting the area. The following region houses a large warehouse-type chamber, home to three Cyborg Zebesians. Feel free to engage them if you wish, but the doors won't lock so this battle is not mandatory.
Wall-jump up the small shaft near the centre of the chamber to reach the upper floor. There's two objects of interest on the walls up here - a Super Missile blast shield and a Power Bomb blast shield pod face each other, perpendicular to a regular door. You can't clear these obstructions, so we'll take the good old regular door for now.
Step through the next wide L-shaped corridor and take care around the swarm of Mellas and a pair of marching Dessgeegas. Beyond here is a welcoming Navigation Booth. Save your game to reveal the next target location on the map. The target lies just north of a large octagonal chamber - is that the site of another impending boss battle?
Depart the Navigation Booth, only to find a tricky situation ahead. A huge industrial chamber stretches into the distance, partially filled with lava. A raised platform rests some distance ahead, and only a hovering Grapple Point gives us a hint as to how we'll cross this. Strangely, Adam won't grant access to the Grapple Beam yet.
Samus Vs. the Asborean - Round 2.
With no other options, go back inside the Navigation Booth and walk toward the save station. Adam will finally pipe up and give Samus a new objective. He'll send her to Sector 2 to search of survivors. Feel free to save your game again before travelling back to Sector 3's main elevator.
Backtrack to the large warehouse chamber where you recently saw three Cyborg Zebesians hanging out. This time a nasty sight awaits near the small shaft - an Asborean clings to the wall, lying in wait for its prey. There's a few Novas meandering about too - clear them out first. Walk towards the exit and sure enough, the Asborean springs to life.
Check the mini-bosses guide again if you need help. Also keep in mind that if you lose enough health to warrant the Concentration technique, climb up the shaft to the upper floor where the Asborean can't follow. Recharge your health there before returning to the battle. Defeat the foe to safely unlock the door. Move through to the main elevator (watch out for Heat Bulls in the connecting corridor!) and ride it back up to the Main Sector.
Upon arrival, the elevators for Sectors 1 and 3 will lock (but you can still explore the Main Sector), so we'll move straight on to Sector 2. The elevator ride once again features a useful message from the ship's computer, warning us of irregularities in the climate control system. Expect to see variations of everything cold and frozen in this sector.
The deep blue lighting in Sector 2's main elevator chamber is quite serene, and is a taste of the atmosphere in this sector. Travelling left will only result in a dead-end (and a small sealed hatch high up on the wall), so take the exit around on the right. The following corridor is already partially frozen - jets of cool air spurt from pipes and the floor is covered in ice. Tiny bugs skitter around the floor too - I hope the scientists didn't keep their food in this freezer.
You might spot a small Super Missile blast shield on the right wall in here, but without Super Missiles you can't break through yet. Step through to the Navigation Booth ahead and save your game to reveal the first chunk of Sector 2's map. Our next destination lies beyond a few large elongated chambers. Let's see if there's any survivors hiding in this sector.
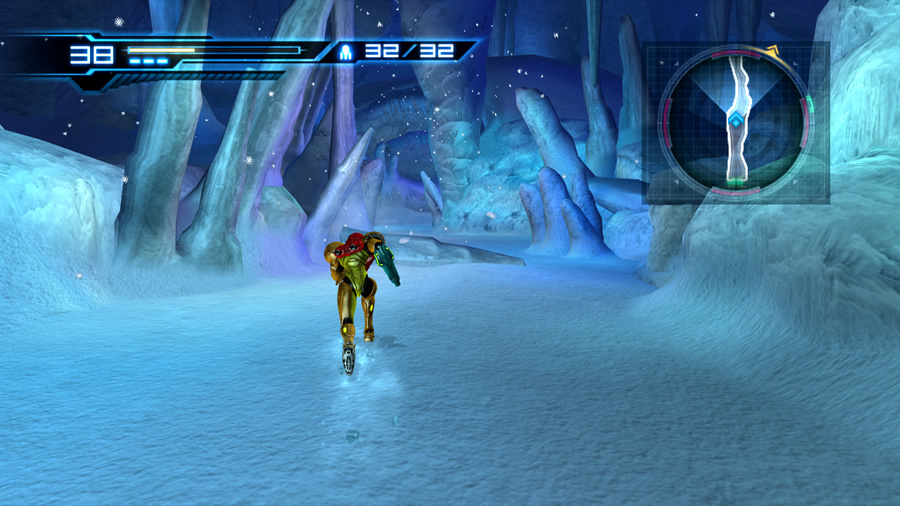
The Cryosphere boasts snow and ice within its frigid walls.
Exit the Navigation Booth to arrive in the Cryosphere proper. This first L-shaped region is a striking contrast to Sector 3. Snow and ice cover everything in sight, icy stalagmites border the path, and snow actively falls from the sky. It's quite a nice view, so feel free to enjoy the sights on the way through.
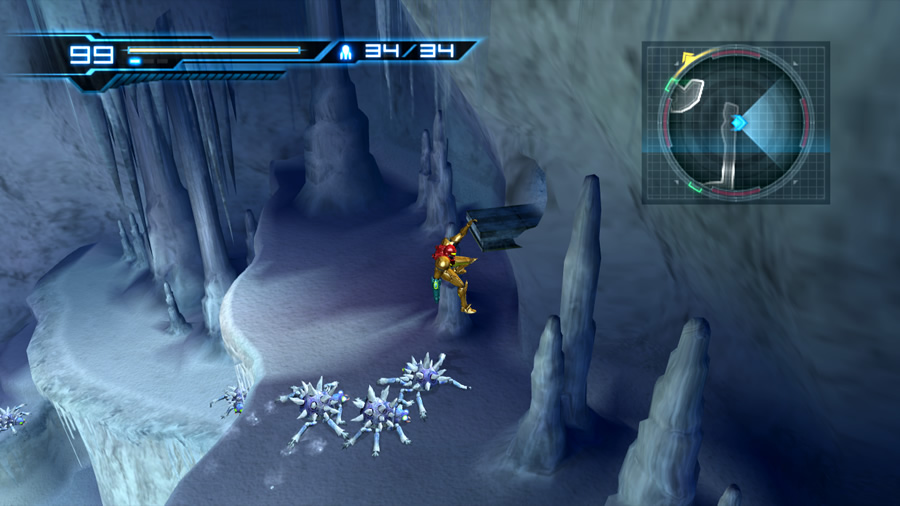
Blue Geemers inhabit the snowy path - these arctic versions are Snomers, and can roll themselves into a ball before hurtling towards Samus. You'll find plenty of Snomers roaming around this sector. You can easily bypass groups of the bugs by simply leaping over them, but if any appear in a tricky area (like a narrow rocky ledge), you're better off dealing with them before risking a fall.
Move down the snowy path and be ready for further Snomers emerging underfoot. Some stalagmites will crumble and crash to the floor, but will only provide simple obstacles to leap over. Turn the corner ahead to greet a swarm of icy insects - these flying bugs are Himellas. They tend to discharge small icy spikes directly at Samus - simply Sensemove the incoming projectiles to stay clear. They can also dive-bomb and grapple Samus; break free by firing rapidly.
Travel forward to find the source of the Himella swarm - an ice-covered Fly Pod. Clear the air first, then use Missiles to dismantle the nest and stop reinforcements from emerging. Before moving onward, backtrack a few steps and look for a fallen stalagmite covering almost the entire width of the path. Missile Tank S2.01 is cleverly hidden beneath it.
Stand up and travel right to discover a tall frigid cliff. Two ledges allow access to the top of the cliff - just watch out for a Snomer emerging atop each ledge. Climb up to find two more Snomers hanging out at the top. Take a look at the walls up here - do they look somewhat suspicious? Enter first-person view and target one to reveal that the Speed Booster can break through them. We'll deal with these obstacles later.
Leap down the cliff and continue travelling right. Further Snomers will emerge and pester Samus (how many are there??). Keep going to finally locate the source of the incessant howling you've no doubt heard all the way through this area. A vaguely wolf-shaped beast stands atop a tall cliff. The creature howls again, summoning two more of its kind.
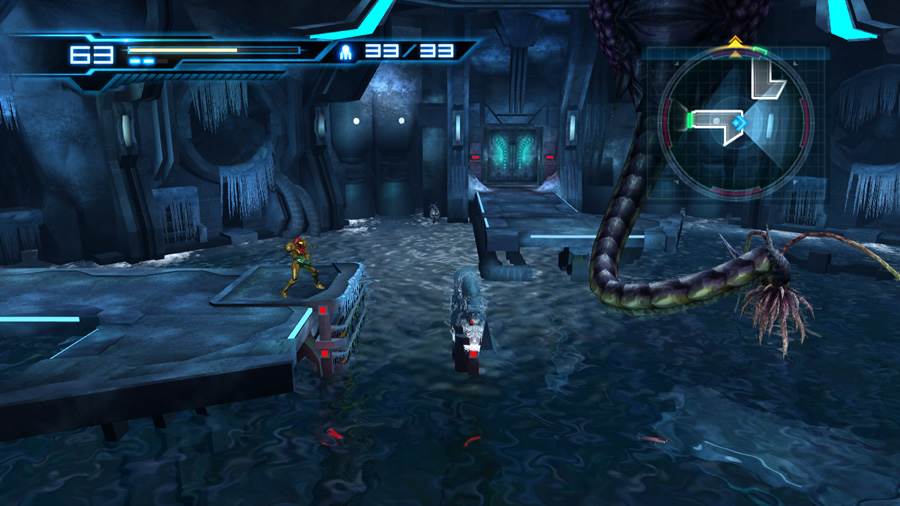
Dip underwater to find the way forward.
These creatures are Volfons, and strangely have only three legs. A pair of scythes on their shoulders give them a convincing predatory look. Many of these predators will be faced here in Sector 2, so refer to the mini-bosses guide if you need help. Incidentally, these first three Volfons aren't mandatory to fight. Climb up the cliff face and step through the exit up ahead - the Volfon presence doesn't lock the door.
Either way, move onward to enter a large water-filled indoor chamber. This watery environment is home to several creatures. Small airborne targets float above the water (called Joulions), while an enormous specimen attached to the ceiling lies dormant (it's called a Fumbleye). The platform you're standing on doesn't extend very far, and is out-of-reach from the exit on the north wall. So let's take a dip underwater.
Jump in the water and shoot any roving Skulteras that swim toward Samus. Don't forget to search for Missile Tank S2.02 hiding in plain view on the other side of the chamber. You might notice a circular sequence of platforms down underwater - look for a Sensor switch on the northern wall. That switch will raise the platforms up to create a walkway above the water.
However, before activating the switch, you might want to stand on the platform segment closest to the switch. Energize the switch from there and Samus will be raised up along with the platform, winding up very close to the northern exit. Otherwise you'll need to climb up a narrow underwater shaft filled with grab ledges to reach the surface, and this will take you back to the entrance of the chamber.
From there, simply walk around the sleeping Fumbleye and take care around each floating Joulion. Each Joulion will emit a charge of electricity towards the ground that can give Samus a nasty jolt - if it strikes her while airborne she'll likely end up thrown underwater. Exit this dicey chamber to arrive in a long snow-filled hallway.
Follow the path and climb up the terrain to the distant north exit. Hordes of Snomers emerge from the ground here - keep Samus safe and deal with them as you go, or simply evade and leap over each target on the way. More Joulions inhabit the second half of this region, so keep your distance (especially if you plan on firing at them, as they discharge a burst of electricity when shot). Two enlarged stalagmites rest near the northern exit - stand at the door and use Missiles to clear both if you wish (both of them need to be cleared out for the Speed Booster later on).
Step through the exit to arrive in a massive ice cavern. At this point you're standing above a deep pit below. A door is visible beyond a long metal snow-covered bridge. Step forward and Samus will automatically begin walking across the bridge. That can't be good... Sure enough - the entire bridge collapses, sending Samus plummeting to the ground far below.
Before you can get any bearings down here, a lumbering beast emerges and challenges Samus. It immediately lunges at Samus - Sensemove to avoid the opening attack. This behemoth is a Gigafraug, and is definitely not one to be underestimated. This brute can easily sap Samus' health, and is never a pleasant sight on Hard mode. Check the mini-bosses guide for more details on its uncanny abilities.
Climb up into this small tunnel to find a way back to the entrance.
If your health dips to critical levels during the battle, try climbing up the cavern to retreat and use Concentration (but watch out for emerging Snomers!). Conquer this first Gigafraug to unlock the area and allow escape.
The view from the ground level is full of eye candy, from the schools of fish swimming in the lake below to the tall walls covered in ice and snow. Look up to see a narrow opening in the ceiling and an illusory sky above.
There's a door straight ahead on the northern wall (you might need to dismantle a stalagmite in front of it if the Gigafraug didn't smash it apart earlier). A short cliff next to the door allows you to climb partway up the chamber, but a tall slippery slope blocks access to the original entrance high above.
However, if you ever want to backtrack and return to the entrance of this cavern, look for a tiny metal platform jutting out from the wall at the base of the slippery slope. Leap up and climb inside. Follow the tunnel's scenic route throughout the cavern to eventually find yourself deposited back up at the entrance, where the now-broken bridge resides.
Once you're ready, step through the exit at the bottom of the cavern to find a cosy Navigation Booth. Save your game to unlock the road ahead and reveal the next part of the journey.