


Data
Guides and strategies
- Techniques Guide
- Power-up locations
- Bosses Guide
- Mini-bosses Guide
- Search View Guide
- Obstacles Guide
- Walkthrough
- Game endings
- Secrets and tips
- Game maps
Media
Chapter 18: Questions and Answers
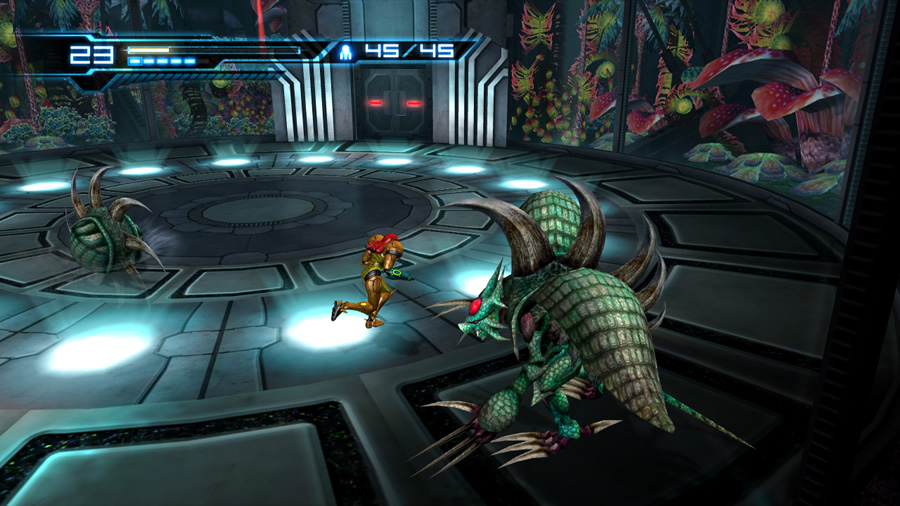
Don't underestimate these upgraded Griptians.
Once down in the Biosphere, feel free to save your game at the first Navigation Booth. Trail The Deleter and travel to the enormous arboretum. Along the way, two new foes await at the round glassed arena where you once fought a pair of Ghalmanians.
The doors will lock and two Griptians emerge, but they're not regular Griptians. These are Mighty Griptians, complete with a set of razor-sharp blades along their backs. Check the mini-bosses guide for more details of what to expect from these evolved foes. If you want to make the battle a quick one, try unleashing a Super Missile at one of the Mighty Griptians (while both are above ground), to destroy one and stun the other, leaving the final target ripe for a Lethal Strike.
The defeat of both Mighty Griptians will unlock the doors and allow progress. You still can't use the Grapple Point hanging outside the glass enclosure here, so move through to the arboretum up north instead. Once inside, step towards the giant twisting tree. The game will focus on The Deleter as he dashes through the northern door and out-of-sight.
Follow him, but take care as another fresh Mighty Griptian rolls down the winding ramp (the door high atop the tree is locked). Geemers clamber onto the path as you go - it's strange that our friend up ahead didn't run into any locals. Follow the corridor north of the arboretum to arrive in a jungle-themed region, where a tall cliff face once blocked access. Somehow The Deleter made it through; you'll be using the floating Grapple Point to scale the cliff.
Watch out for any Grippers emerging from underground (one shot of the Plasma Beam does the trick). Don't forget to find Missile Tank S1.13 hidden inside the cliff. Climb down the opposite side of the cliff and move around to the exit around the corner. Step through to witness The Deleter only a few metres ahead. He sprints inside the Navigation Booth north of the corridor.
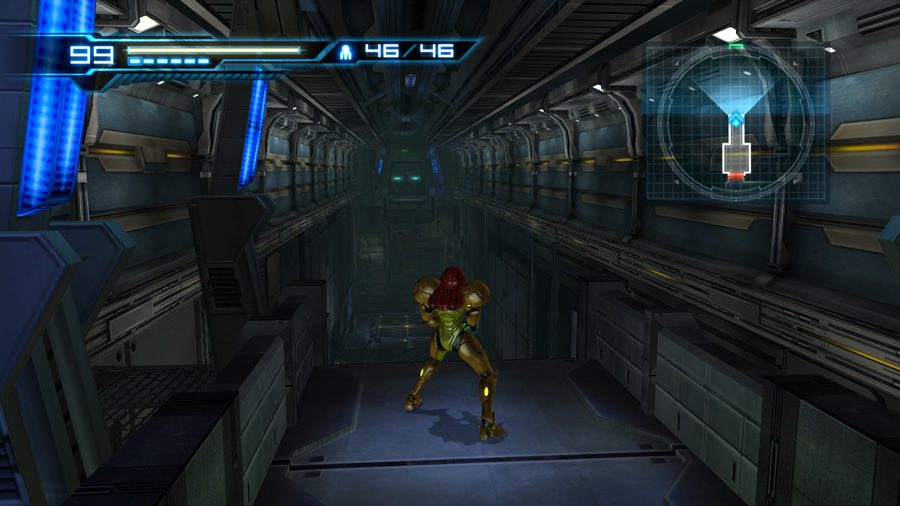
How to cross this bridge...
Run forward and three Sidehoppers will descend from the ceiling (does The Deleter have some sort of bug-repellent on him?). Clear them out if you wish, then step inside the Navigation Booth and optionally save your game. Travel onward and keep your ears open. Take a few steps into the next corridor - the sound of nearby gunfire rings out. What's The Deleter up to now?
Run forward and step through the door to see what happened. You're now in the long corridor where a retractable bridge once lead to a dead-end (a Missile Tank was also hidden down below the bridge). As Samus enters the corridor, the bridge fully retracts. We see The Deleter on the far side, running inside the dead-end chamber. Samus promptly stops and enters first-person view.
Search View segment #12 - Following the Federation Trooper
You need to look around for evidence of what The Deleter has done in here moments ago.
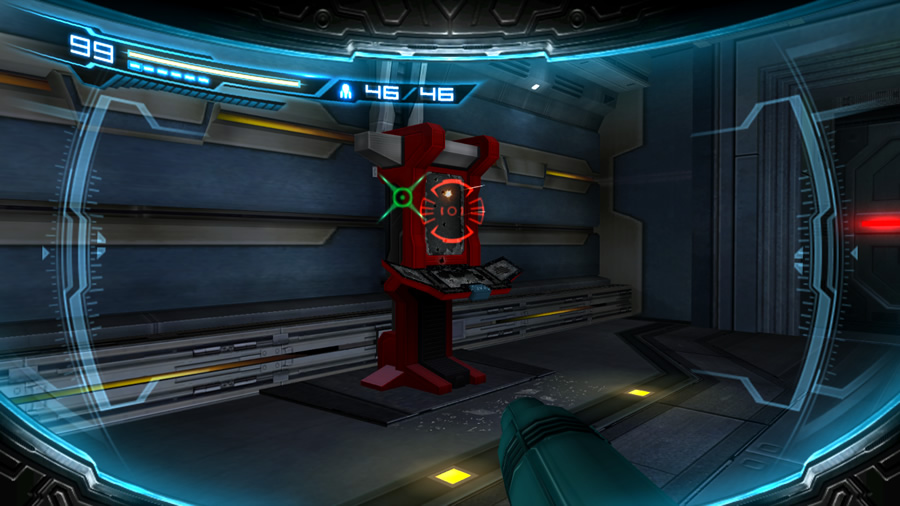 Turn right and target the visibly-sabotaged control terminal to complete this segment.
The Deleter has destroyed the control terminal on Samus' side of the bridge, ruining any chance of extending the bridge from here. The chasm is too long for a Shinespark leap, so what else can you do? Of course, Samus has a perfect classic ability for this kind of obstacle. With communications to Adam lost, Samus takes the initiative and activates her Space Jump and Screw Attack abilities, allowing you to easily cross the chasm.
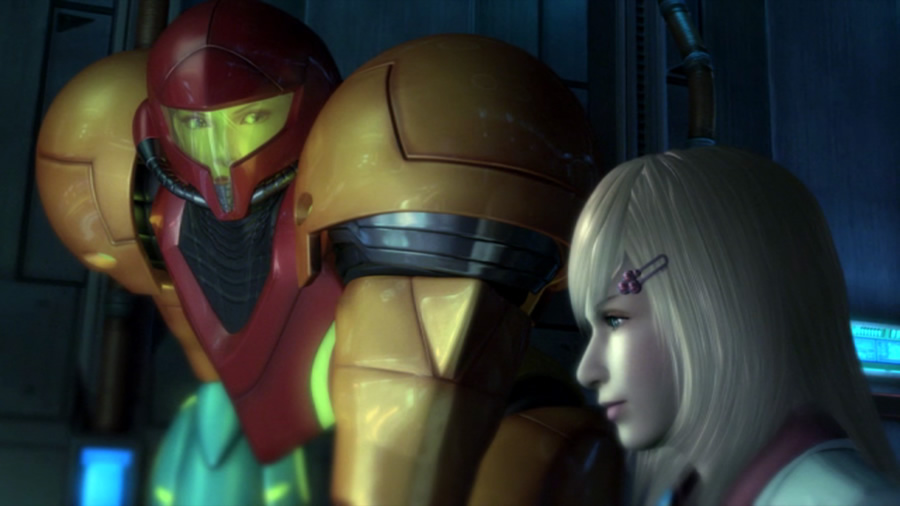
Samus learns about the genesis and motivation of the Bottle Ship's mission.
Break out the Space Jump and simply fly across the chasm to the other side. Upon landing, feel free to extend the bridge via the working control terminal. Step through the door there to arrive at the dead-end. Naturally, The Deleter is nowhere to be found. Move toward the glowing door ahead to discover that this is no-longer a dead-end. The door opens, revealing an elevator transport. Go inside to find out where The Deleter went.
Upon arrival, step outside the elevator to find yourself in a high-tech and pristine environment. Check your map to learn that this is the Bioweapon Research Center - that sounds important. Cross the corridor to find a Navigation Booth. Step inside and save your game to unlock the exit.
Exit the Navigation Booth and travel through the next corridor. You'll pass through several open blast doors throughout the corridor - was this place designed to keep people out, or something in? A single door awaits at the far end of the corridor, step through it to trigger a lengthy cutscene.
The following narrative reveals a good chunk of the Bottle Ship's secrets. You arrive in a sophisticated control room and catch up with the survivor from Sector 2 - so this is where she ran to hide. The girl identifies herself as Dr. Madeline Bergman, director of operations aboard the Bottle Ship. She reveals the driving factor behind the Federation's activities here: they wish to recreate the Space Pirates, Mother Brain, and ultimately an army of Metroids to form the backbone of an elite special forces unit.
Naturally, messing with nature has resulted in chaos aboard the ship. A single rogue intelligence took control of the resurrected Pirates (assumed to be Ridley, or "Little Birdie" as Madeline calls it). To cut a long story short, Madeline informs Samus that all the Metroids and the recreation of Mother Brain's AI are housed in a Tourian-like environment called Sector Zero.

The girl is quite forthcoming with the Bottle Ship's secrets...
Samus gives herself a new mission: find and destroy everything in Sector Zero. She's apparently forgotten about the Federation soldier you've been tracking, and departs the Bioweapon Research Center, leaving Madeline (supposedly) safely behind. Before Samus arrives back in Sector 1, we glimpse The Deleter moving toward Madeline. An ominous gunshot likely announces her doom.
Once you're back in control of Samus, the elevator leading down to the Bioweapon Research Center locks itself. We'll be off to Sector 2 where the entrance to Sector Zero is housed. Backtrack to the main elevator of Sector 1 from here, but watch out for newly-hatched Super Kihunters in a few nearby chambers. Simply introduce them to the Screw Attack to make it through easily. Save your game at the Navigation Booth on the way.
Feel free to pick up Energy Part S1.02 on the way through the jungle cliff chamber. Travel south and take care in the enormous arboretum - two Mighty Griptians now permanently await you on each visit to this chamber. They can withstand several strikes from the Screw Attack, so simply outrun them if you wish.
Return to the circular glassed chamber where Ghalmanians and recent Mighty Griptians once challenged Samus. Release the D-Pad and watch as Samus automatically runs toward the southern door. You know what that means. Tap the D-Pad rapidly as she nears the door - our good friend the Rhedogian ambushes Samus right through the door. Only a well-timed Sensemove will keep her safe.
The doors will remain locked as you confront this repeat offender for the fourth time. Hold your ground - by now you should have plenty of practice against the Rhedogian's regular attacks. However, this time the creep seems content with remaining airborne. The Rhedogian will dive-bomb Samus and unleash salvos of homing missiles. Simply Sensemove to avoid anything the Rhedogian throws at you. Eventually, your nemesis will at long last admit defeat, crashing to the ground and screeching as it explodes to oblivion.
Phew, finally we can experience a Rhedogian-free Bottle Ship... for now.
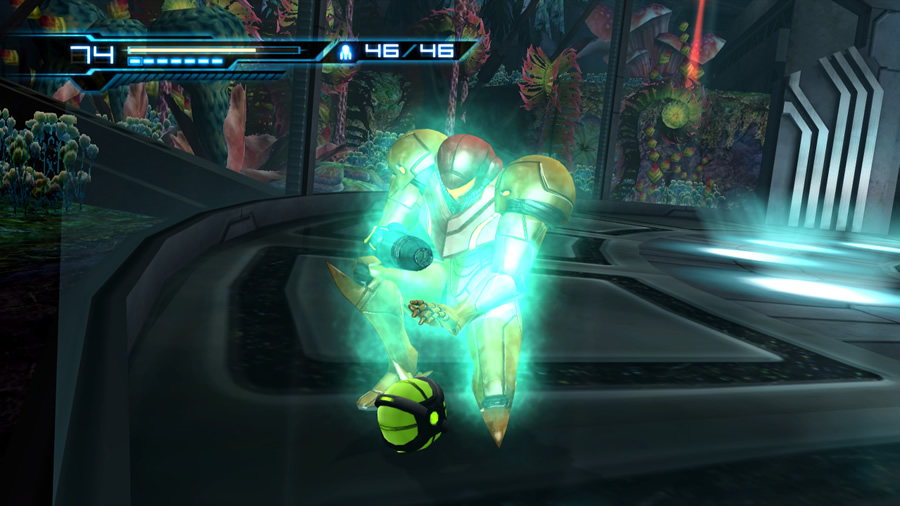
Your reward for outlasting the Rhedogian - the Seeker Missile!
The Rhedogian drops a small glowing orb, which looks very much like the Diffusion Beam upgrade you found deep in Sector 1. Touch the object to receive the Seeker Missile! This classic Metroid Prime upgrade will certainly come in handy later on. The doors in the chamber will now unlock, finally granting you leave from Sector 1. Move south toward the main elevator and feel free to save your game en route.
Ride the elevator back up to the Main Sector. Up in the Main Elevator, every door is now locked, except Sector 2's elevator. With no other option, let's travel down there and find Sector Zero.
Upon arrival in Sector 2, check your map. The target point is somewhere far down in the south-east corner of the sector. If you zoom in and look very closely at the long corridor in the visible south-eastern corner of the map, there's a door on it leading to nothing. That looks like a good bet.