


Data
Guides and strategies
- Techniques Guide
- Power-up locations
- Bosses Guide
- Mini-bosses Guide
- Search View Guide
- Obstacles Guide
- Walkthrough
- Game endings
- Secrets and tips
- Game maps
Media
Chapter 3: Commander's Orders
Conquer the attacking Reos, then deal with the Fly Pods.
With the Brug Mass done and dusted, Adam takes charge. A lengthy cutscene then provides us with a look into Samus' past while under Adam's command. At the flashback's conclusion, Adam addresses each solider and tasks them with individual areas of the ship to explore (is it really a good idea to split them all up?). He then directs Samus to the System Management Room.
Right after the soldiers gear up and deploy (is it just me, or does James Pierce look strikingly similar to a well-known British football player?), you retake control of Samus in the now-empty control room. Adam remains in the relatively safe command room up above while he watches over the mission. He also gives Samus permission to use Morph Ball Bombs once again.
You'll be shown where the System Management Room is located on the map. Head south toward the nearby Navigation Booth. The long corridor outside the control room is now home to a group of Geemers; one even pops up from under the floor. Surprisingly, this is a good sign - you can now begin searching for expansion items.
Clear the Geemers out and activate the Morph Ball. Roll down through the opening the Geemer made and follow the narrow tunnel to discover your first Missile Tank, MS.01. Remember that hidden items will show up as blue dots on the map once all enemies in your current room are cleared. That is, of course, if you're playing the game on Normal mode. Hard mode removes all expansion items from the game, so you'll be stuck with one Energy Tank and 10 Missiles the whole way through (*gulp*).
Exit the corridor and save your game in the Navigation Booth before leaving. Keep backtracking to the chamber housing the inactive elevator. Descend to the ground floor (be careful not to step on any rogue Geemers). Exit the chamber and walk across the long bridge beyond. Watch out for more roving Geemers and move south to eventually arrive in the small chamber housing a sealed orange door. This time there's some resident Skree among the local Geemers, so watch out for dense wildlife.
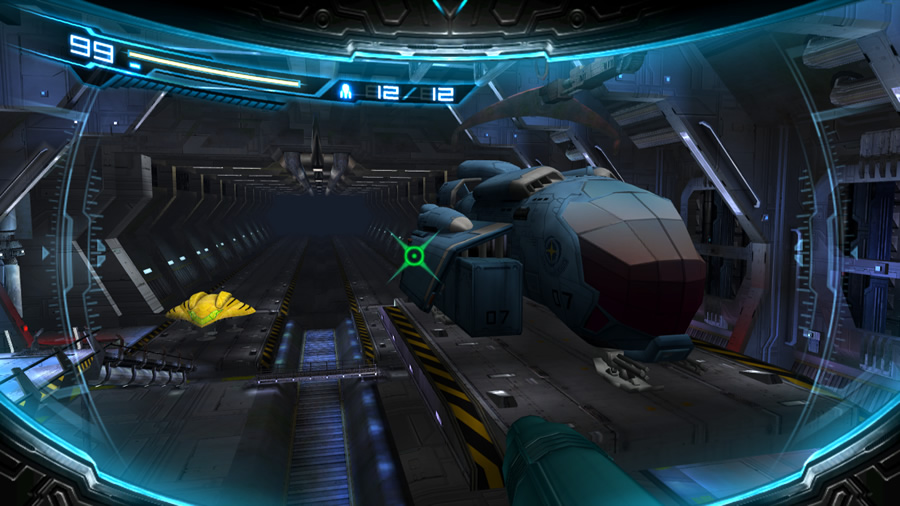
That is one very big dropship.
Travel down towards the south side of the chamber and activate Morph Ball mode. Crawl inside the opening of the damaged pipe and roll up to the ceiling. Lay a bomb to dismantle the obstruction along the way, and roll onward to receive Energy Tank MS.01. Keep rolling onward and dismantle the obstructing grate to find yourself snugly deposited inside the darkened System Management Room.
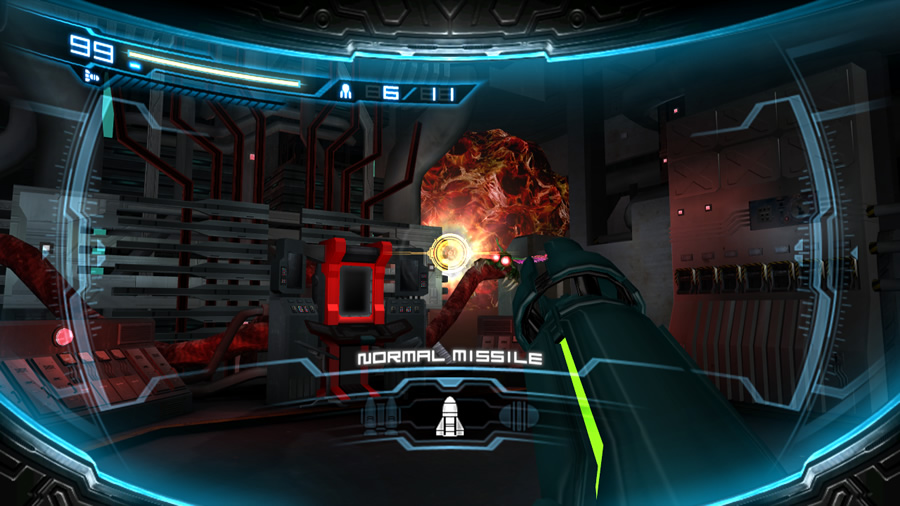
There's a convenient control terminal a few steps away from the door, so simply step up to it to restore power to the Main Sector. Except... that would be too easy. As the turbines grind back to life, two enormous organic blobs obstruct the machinery. These Fly Pods are home to infinite waves of Reo, much like the War Wasp Hives in Metroid Prime. You'll need to play pest control and destroy both hives to restore power, but first concentrate on clearing the emerging Reo swarms.
Once the swarms take a pause, quickly enter first-person view and target a Fly Pod. Unload three Missiles into each pod to destroy them, but disengage if Reo swarms pop out again. Use Concentration to refill your Missiles if need be - before long you'll have both hives taken out. Step up to the control terminal again to finally restore power.
Now that we can finally see around the Main Sector with all the lights back on, let's do some exploring before returning to Adam. Exit the System Management Room and the game will direct you back to the control room. Before reporting back to Adam, take the southern exit and backtrack to the main hangar. Soon enough you'll arrive at the large chamber housing the rest room through the western door. The southern exit here is locked, and doesn't normally unlock until later in the game.
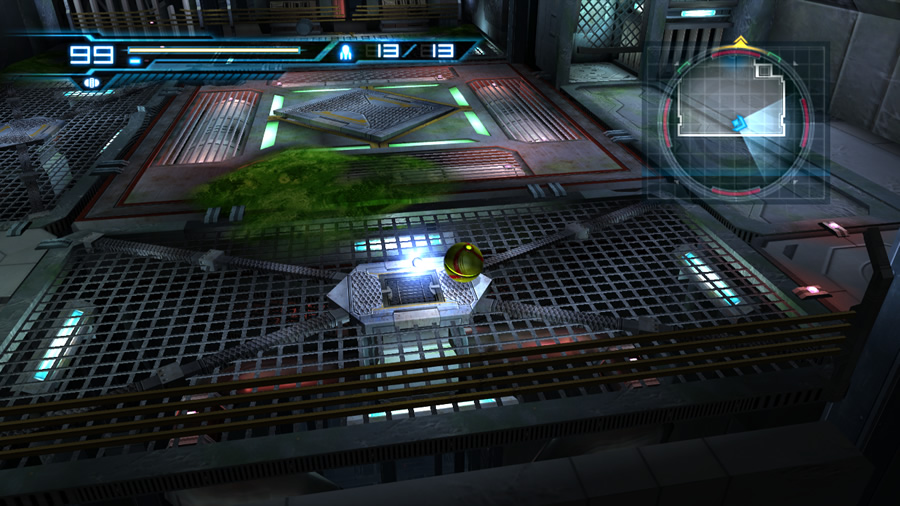
Search the environments closely for small hatches and secret tunnels.
Luckily we can already bypass it. Climb back up the stairs and step around inside the glassed enclosure. Walk forward to the broken furniture and look closely at the wall - see the steam drifting from the vent there? Enter first-person view and dismantle the grate with a Missile, revealing a narrow tunnel in the wall (a Morph Ball bomb will dismantle the grate too). Enter Morph Ball mode and roll inside. Follow the long winding passage to eventually find yourself all the way back in the massive hangar, not far from the 07th Platoon's starship. Step along the catwalk to locate Missile Tank MS.02 waiting there.
Further down the catwalk lies the sealed door you may have seen much earlier, right after meeting Adam and his troops. This time there's a control terminal nearby, so activate it to unlock the door (before leaving, enter first-person view and look down at the hangar - from here you can see just how enormous the Federation ship is compared to Samus' gunship).
Exit the hangar and step through to the warehouse chamber where Samus first met the 07th Platoon. Climb atop the crates and look for a grate in the south-western corner. Dismantle it and roll inside to locate Missile Tank MS.03 in a very cosy alcove. Roll back outside and feel free to backtrack to Samus' gunship for a quick save.
Once you're ready, set a course for the control room to receive Adam's next command. Along the way, don't forget to pick up Missile Tank MS.04 in the tall chamber where the first Reo swarm was encountered. The locked door in the chamber beside the rest room is now mysteriously unlocked, so you won't have any trouble moving through there. Up the stairs and beyond this chamber is a different story however.
In the chamber containing the long bridge over a pit, Samus will step atop the bridge and find it retracting into the walls at just the wrong moment. Losing her footing, she'll tumble down below where a trio of Sidehoppers await. The game automatically advises the use of an Overblast, which involves leaping atop an enemy to deliver a stronger blast. Take the advice and try to Overblast each target to conquer them safely. Check the Sidehopper entry in mini-bosses guide if you need any further help.

This bridge is about to become unstable...
With Samus safe from the hopping critters, travel to the southern end of the chamber to find a cosy alcove. Wall-jump up the grimy crates to conveniently locate Missile Tank MS.05. Now let's find a way out of this pit. Move back towards the northern end of the chamber and look up a narrow shaft set on the left side of the bridge. See the small elevator platform at the top? Enter first-person view and dismantle the covering platform with a Missile. Simply wall-jump up the shaft to reach the bridge, then feel free to activate the nearby terminal to re-extend the bridge itself (take a look at the eastern wall too, you can see outside!).
Climb up the stairs and exit the chamber to arrive back at the large inactive elevator. This time it's fully powered and ready for use. The platforms on either side of the elevator shaft have curiously lowered down, preventing their use as footholds. So take the elevator and ride up the chamber. Step outside and activate the terminal nearby to realign the platforms upright. The point of this exercise is to allow access to Missile Tank MS.06 hiding in a narrow tunnel down the left side of the chamber (climb down and keep an eye out for a green-lit tunnel opening).
Grab the Missile and travel up through to the nearby Navigation Booth. Save your game there to unlock the door (and reveal more of the Main Sector on your map), then exit ahead and move through to visit Adam in the control room (don't forget to check out the view in the long airy corridor).
Without even thanking Samus for her efforts in the System Management Room, Adam guides her to Sector 1 where she'll be picking up recon duties. The game's map will direct you to the nearby sector elevator chamber, so let's head that way. Exit the control room via the eastern door and look around the following chamber. The wall right across from the door bears a large round pod - lock onto it in first-person view to reveal that only a Power Bomb can harm the obstruction. Curious...
Leave the pod for now and take a look at the elevator down the far end of the chamber. A large computer terminal near the elevator presents a handy overall map of the Bottle Ship, revealing all the major regions Samus will explore (check out the seats in front of the terminal, they don't look very comfy). Step inside the elevator to ride up one floor. Up above, the red sealed door leads inside Adam's control room chamber, so it looks like he doesn't want any visitors. Step around the elevator and exit via the only other door nearby.
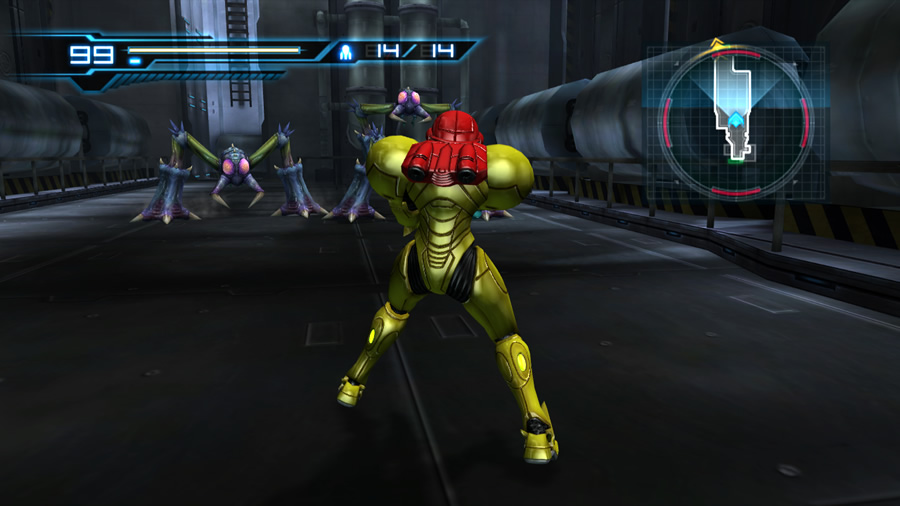
3D Sidehoppers! These incarnations often travel in packs.
Cross the following lengthy corridor and pick up Missile Tank MS.07 along the way. Exit this corridor to locate another handy elevator shaft. Before stepping inside the transport, be sure to look behind the elevator for Missile Tank MS.08. Feel free to enter first-person view and look straight up too; the shaft travels up beyond Samus' field of view, so there must be a floor way up there. Jump in the elevator and watch as it takes Samus deep down to a cavernous chamber below.
Once the elevator touches down, step outside and feel free to climb up the chamber via the array of platforms to reach Energy Part MS.01 high above (watch out for the floating Bull - take them out from afar and don't travel too close or they'll pop in Samus' face).
Energy Parts are essentially the Metroid version of Pieces of Heart - find four of them to construct a new Energy Tank. More Energy Parts means more life energy! With the item in hand, exit the chamber at the base of the elevator (the sealed hatch on the right of the elevator is simply decoration).
Beyond here lies yet another long unassuming corridor. Take out the trio of floating Bull, then step forward to summon a pack of Sidehoppers. The far northern door is sealed so you'll need to clear out the opposition to move onward. Use Overblasts again or keep your distance and use Missiles to clear them. Clear the first two Sidehoppers and move back to the entrance to reveal the second wave. Conquer your foes to unlock the door at the northern exit. Step past the curious Power Bomb pod on the right wall and exit the corridor to finally discover the circular and massive Main Elevator.