


Data
Guides and strategies
- Techniques Guide
- Power-up locations
- Bosses Guide
- Mini-bosses Guide
- Search View Guide
- Obstacles Guide
- Walkthrough
- Game endings
- Secrets and tips
- Game maps
Media
Chapter 13: The Enemy Within
Energize this switch to unwrap the bridge.
The next Navigation Booth isn't particularly far away. Exit the chamber and step through the L-shaped corridor beyond. Snomers will pop out from air vents as you pass through, so be watchful for any of them hurtling themselves at Samus.
Beyond this connecting corridor lies the airy Sector Generator Room. Enter first-person view at the door and take a look around. Two huge rotating turbines inhabit this region, both of which book-end a vertical metal platform. The platform rests directly below a wide-awake Fumbleye attached to the ceiling, so it looks like you'll have another barbed tentacle to avoid.
Green glowing bars wrap around each of the spinning turbines - Samus can hang from these bars (aka Grab Ledges). Firstly, use the wall beside the nearby turbine to scale to the very top (watch out for Snomers clambering along the wall). If you have trouble lining up with the wall, watch Samus closely. As she hangs from a turbine, her stance slightly changes when she's lined up with a viable wall or platform to jump to.
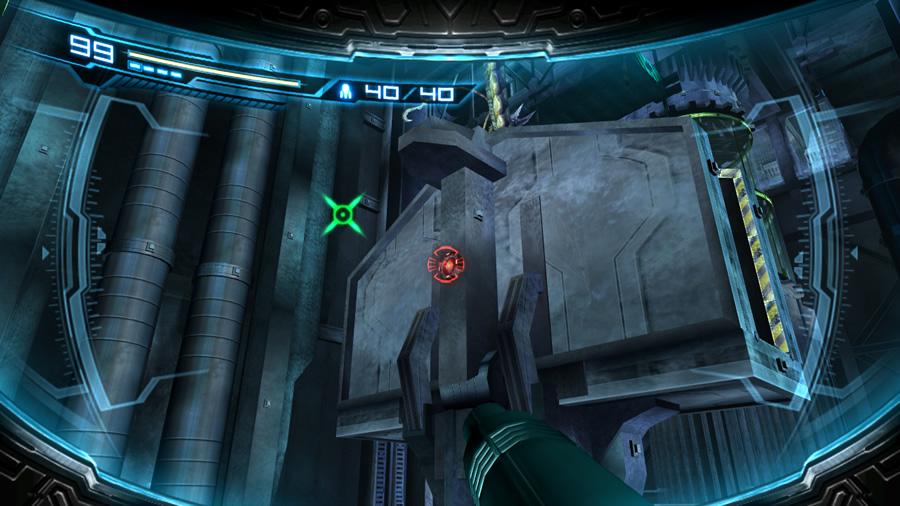
Reach the highest bar (or second-highest) and wait for the turbine to bring Samus around to face the folded-up vertical platform. Enter first-person view and quickly release a Charge Beam shot into the switch on the side of the platform.
The now-rising platform will almost crush the Fumbleye as it moves into position. Use the platform to reach the second turbine - don't dawdle and you should avoid a swipe from the Fumbleye's barbed tentacle. Scale to the top of the second turbine and look for Missile Tank S2.09 hiding in a corner (if you fall down, simply use the wall beside this turbine to wall-jump back up again). Hang from the highest bar on the turbine to be taken around to a catwalk, right beside the Fumbleye. Leap off and step around the corner to find the exit.
Move through the next nondescript hallway to locate another L-shaped corridor. This one is home to pesky Snomers, so clear them out if too many try to fling themselves at Samus. Step past the Snomer pack to find a long corridor stretching east. A few large stalagmites crowd this corridor - walk toward them and use Missiles to clear each one out.

This Groganch appears to be resistant to cold environments.
Move next door to discover why the stalagmites needed to go. Inside is a tall chamber lined with specimen holding tanks. Inanimate Himellas and Snomers float within each tank's green liquid. A large pit opens up below, and the next exit resides atop a high cliff on the far side. With no bridge available, naturally you'll be using the Speed Booster and a Shinespark leap to bridge the gap. Before backtracking for the run-up, hop down into the pit and look for Energy Part S2.01 hiding below a grate.
Look for a hidden shaft back towards the entrance of the chamber to climb back up. Use the previous corridor to build up the Speed Booster's charge. Enter the specimen tank room and run to the edge of the glowing green platform. Simply Shinespark forward to clear the gap. A Kyratian will emerge from the shadows as soon as Samus touches down, so be ready to Sensemove any immediate attacks.
The camera won't help much during this battle, but keep close to the Kyratian whenever you score a charged Ice Beam hit - the creature might fall over straight away and be vulnerable to a Lethal Strike. Conquer the first target and expect a second to appear - these guys like to travel in pairs. Deal with the second Kyratian to clear the area and unlock the door. If you (or a Kyratian) happen to fall down the cliff during the battle, simply backtrack and use a Shinespark again to climb back up.
Once the exit is open, cross the following corridor (clear out the Himellas and their Fly Pod hive if you wish) to locate the next homely Navigation Booth. Step inside and save your game to see the next portion of the map. Quite a large area awaits you right outside this Navigation Booth, so depart the chamber to receive a fantastic and unique sight in Sector 2.
"Outside" is the Experiment Floor - an illusory outdoor environment atop a mountainous cliff. A cloudy sky and foggy horizon block the view beyond the cliff, but towering rocky growths (or are they trees?) can be seen in the distance. A huge and fancy lens flare is also visible in the far distance, but we never find out whether it's meant to be an artificial sun or not.
Listen closely at the entrance. Can you hear minor explosions and a groaning sound? Out in the open snow plain is the source - a Groganch! This live specimen stands out against the white snowy environment and definitely looks out-of-place. If you try to sneak past the beast, only a tall un-climbable cliff side awaits, so you'll need to fight the Groganch to proceed. Check the mini-bosses guide if you need a refresher on what to expect.
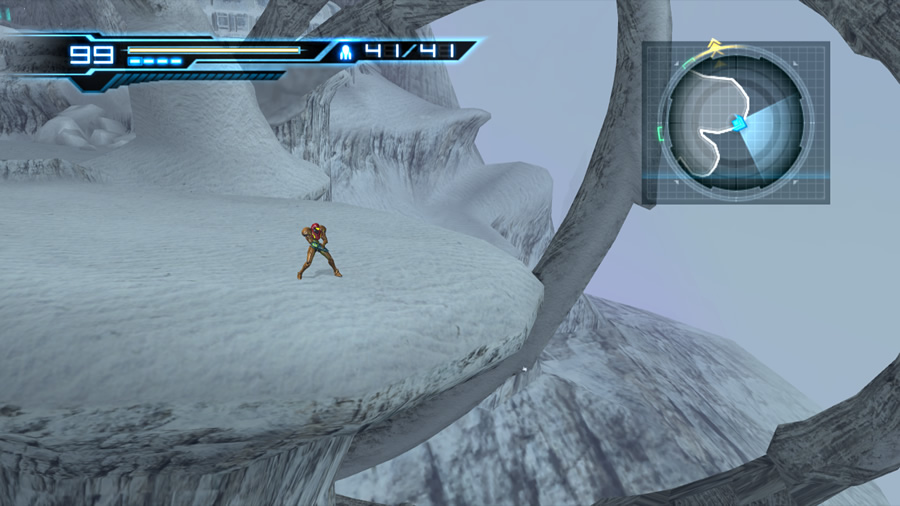
Samus enjoys a view of the sweeping snow plains.
The size of this arena provides generous distance around the Groganch, so you shouldn't have any trouble dealing with this foe. Try climbing up some of the rocky terrain for a clearer shot.
The demise of the Groganch will set off a minor earth tremor. This will thankfully cause a section of the un-climbable cliff side to collapse, creating a makeshift staircase.
Enjoy the view of this area before climbing up, as you've got some unfortunate business to attend to. Climb up the cliff and step around the terrain ahead to trigger a cutscene.
Samus discovers the motionless (and frozen) form of a Federation Trooper lying dead in the snow. As she moves closer, we unfortunately learn his identity - Maurice. He'd apparently frozen to death. As Samus ponders this sad state of affairs (did the Groganch do this?), the camera pans up to a glassed tunnel where an observer is watching. Samus is not alone.
Search View segment #8 - At the Experiment Floor
Samus whirls around, sensing the presence of the observer. You now need to look for them in this search segment. The previous cutscene showed the relative position of the observer, so you should be to work out where they are inside the glass tunnel.
 A girl wearing a white coat is barely visible in the window, directly in front of Samus. Target her to end this segment.
Upon revealing the observer, we see that she is a young woman, clearly human and terrified by Samus' presence. The girl immediately runs away. Well, it looks like we've finally found a survivor, so let's track her down before she runs into a hungry Gigafraug.

Hello there, who might you be?
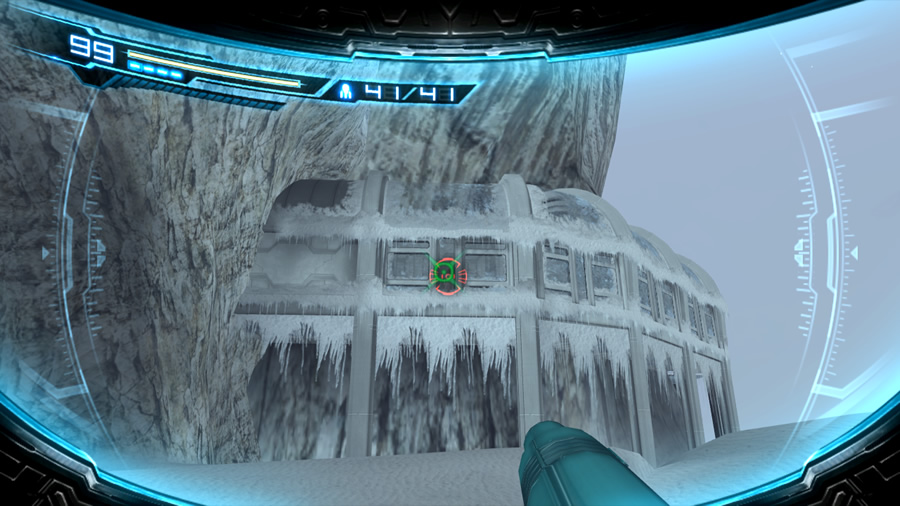
Leave poor Maurice where he rests and continue climbing up the cliff side to a visible door nearby. On the way up, don't forget to uncover Accel Charge S2.01 hiding inside a snow drift.
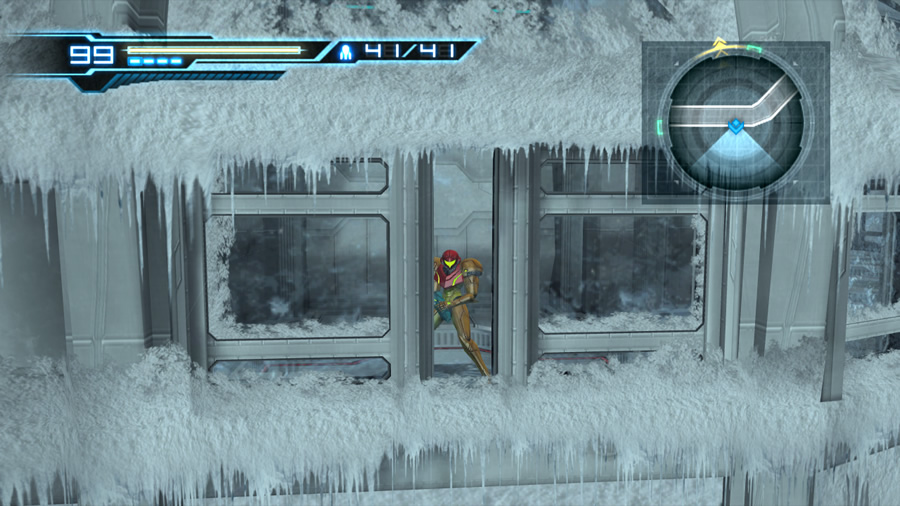
Step inside (out of the cold) and move down the tunnel to where the girl once stood. The music picks up a faster beat here, so maybe it's time for an important plot point. Follow the tunnel around the corner and step through the door at the far end of the corridor. En route, you'll walk over a Super Missile blast shield on the floor - don't worry about it for now.
Through the door is the Materials Storehouse, a vast darkened chamber full of cargo crates and containers. At the moment you're overlooking the entire chamber. There's no sign of the girl, so she's likely trying to hide down among the crates. From this vantage point you might see smaller destructible crates on top of the cargo containers - one of them does house an item but you won't be able to reach it for a while. Walk right and climb down the stairwell.
Follow the line of crates at the base of the stairwell to find an opening further along. Sure enough, the girl is standing within the opening and quickly sprints away as Samus approaches. Follow her into the maze of crates. The camera switches to an over-the-shoulder view, so you can't outrun the girl and must stroll along slowly.
Follow her through the maze and listen as she finally finds her voice. The girl claims that the Federation wants to silence everyone who worked aboard the Bottle Ship. But that's nonsense! Samus tries to reason with the girl and explain that her mission is to rescue survivors, not eliminate them.
Eventually, a proper cutscene begins. The girl counters Samus' argument with a shock - how can she trust Samus when the Federation Troopers are willing to kill each other... What??? Maurice was shot by a fellow Federation Trooper and left for dead in the tundras of the Experiment Floor...
Well, Adam did authorise his troops to use Freeze Guns, but not on each other! Samus finally corners the girl - but before she can make a move, an unseen assailant attacks!
The girl was observing Samus from this exact spot - didn't she find it a bit cold here?
The assailant reveals itself as a lumbering mechanical cargo lifter, piloted by someone wearing a Federation Trooper uniform. So there is a traitor! Well it's definitely not Lyle or Maurice... Samus yells for the girl to retreat and narrowly dodges a flying crate. You'll now have a one-on-one showdown with the traitor and his tool of destruction, known as an RB176 Ferrocrusher. While the vehicle is not meant for combat, it certainly has a fair share of deadly weapons. Check the bosses guide for more details of what to expect from the murderous traitor's favourite toy.
Once the Ferrocrusher loses all its health, the vehicle spins wildly out of control and crashes in a heap. Unbelievably, the driver is nowhere to be found, - he must have bailed out before the crash. The girl has also vanished, leaving Samus alone in the warehouse. A cutscene plays as Samus begins pondering the newly-discovered traitor. Adam chimes in and orders her back to Sector 3 - apparently that purple monster from Sector 1 is driving the other inhabitants of the Bottle Ship crazy. He wants her to locate and destroy it.
Curiously, neither Adam nor Samus mention anything about the survivor she almost rescued, or the apparent assassin among them. The map will point you back to the main elevator in Sector 2, so let's find our way out of here. We can't backtrack through the maze of crates, and the door the girl was trying to escape through has no power. Instead, simply wall-jump up the caged elevator shaft beside the Ferrocrusher's inert form. Walk along the catwalk and step through the door. A cosy and nicely-lit chamber awaits, housing an elevator.
Step inside and be ready for another monologue, Metroid Fusion-style. Samus deduces that the ringleaders of the Bottle Ship had likely deployed the assassin. His mission is to cover their tracks and silence anyone involved in the bioweapons project aboard the ship. The assassin's intended targets include Samus and the other soldiers as well. He is either Adam, James, K.G., or Anthony. Samus labels him as "The Deleter" until she learns his true identity.
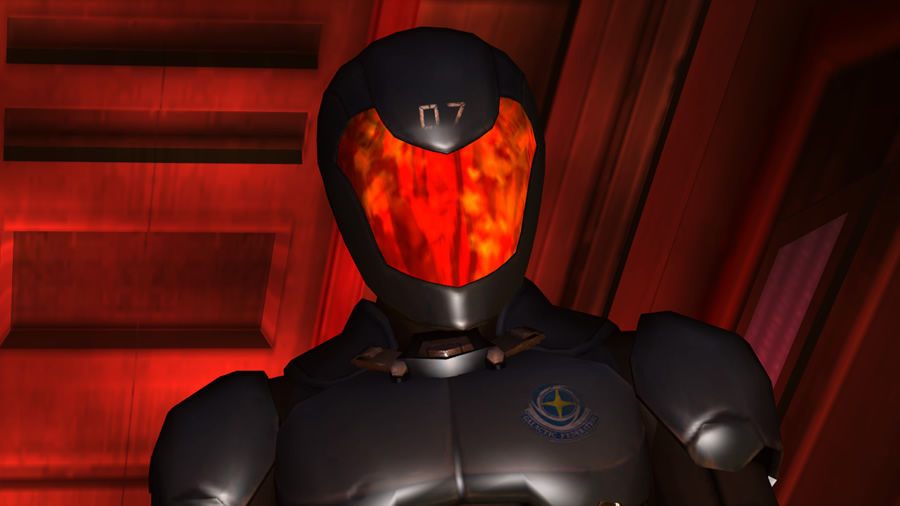
The faceless betrayer.
Samus takes it upon herself to protect the girl you met earlier (whom she now believes may be Dr. Madeline Bergman), but there's not much you can do for her right now. The game then shows us just how merciless this "Deleter" is - do you remember that area in Sector 3 where Vorash (the lava-fish monster) smashed through a glass tunnel to try and eat Samus? Well, we witness the assassin using the lava lake to conveniently dispose of another freshly-frozen trooper.
Now that is just plain wrong. Both troopers in this scene are roughly the same height and both lack Anthony's Plasma Gun, so the perpetrator and victim are a combination of either Adam, James or K.G.
But hang on, Samus personally saw The Deleter moments ago, so how the heck did he travel to Sector 3 so quickly? Perhaps it was a flashback to an earlier point in the game's timeline?
Meanwhile, the cargo container transporting Samus finally lands, presenting a convenient Navigation Booth next door. Step inside and save your game to learn that a good portion of Sector 2 still lies between Samus and the main elevator. Two lengthy regions extend out westward on the map, so let's find out what they house.