


Data
Guides and strategies
- Techniques Guide
- Power-up locations
- Bosses Guide
- Mini-bosses Guide
- Search View Guide
- Obstacles Guide
- Walkthrough
- Game endings
- Secrets and tips
- Game maps
Media
Chapter 23: Expansion Hunt

A multitude of new tunnels and narrow vents can still be found aboard the Bottle Ship.
Upon returning to the Main Sector, we'll look for all the items in Sector 1 and Sector 3 before continuing back to Adam's control room. First we'll tackle Sector 3. Step inside the elevator and check your map upon arrival. Numerous items flicker all over the map, and from here we can travel either clockwise or anti-clockwise through the sector.
For this walkthrough we'll go in the anti-clockwise direction before switching gears and going clockwise. Move through to the chamber where you once fought the Rhedogian alongside Anthony. Look for Missile Tank S3.06 and Energy Part S3.05 before leaving. Once both items are secured, backtrack to the main elevator and travel west. Use the Morph Ball Launcher in the corridor west of the main elevator to return to the Geothermal Power Plant in a flash.
Climb up the maintenance shaft, and up to the entrance of the power plant proper. Exit the chamber and travel north, along the glass tube. This time you can deal with the FG-II Graham units producing the purple force fields - clear them all out to open up the corridor nicely. Missile Tank S3.07 can be found down in the chamber where you discovered Ridley's discarded adolescent shell (the shell is still there too - I guess the Federation didn't want it). Run down the tube and build up the Speed Booster's charge. Sprint into the room and Shinespark straight up, then Space Jump across to reach the Missile Tank.
From here, travel over to the enormous lava lake and save your game along the way if you wish. Once out among the steaming lava, leap down off the high cliff to the lower door nearby. Step inside and clear out any Heat Bulls before looking for Missile Tank S3.08 hidden beneath a Super Missile blast shield. Climb up to the very top of the room and step outside to the long glass tube you once traveled through - Missile Tank S3.09 can be found near the door.
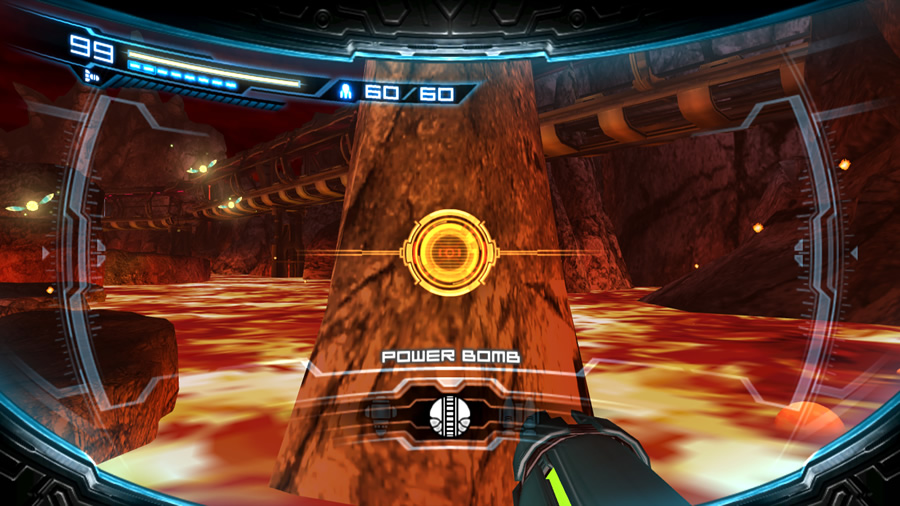
Small fireflies help pinpoint this weakened stalagmite.
Swing across the damaged tunnel section where Vorash once attempted to eat Samus (and where poor K.G. met his end). Travel to the far east - all the way to the chamber where Samus first arrived in Sector 3. Look for Accel Charge S3.03 hiding behind a Power Bomb blast shield pod beside the locked door. This is the final Accel Charge to locate, so your charge gauge will now be filling almost instantly.
Return to the lava lake below and optionally save your game in transit. Cross the lava and travel east - look for Missile Tank S3.10 on the way. Reach the far eastern wall, then either Space Jump south over the lava or use the sequence of Grapple Points to reach the door on the south-western wall. Step inside the Navigation Booth there and save your game if needed.
Move through to the following network of corridors and shafts. Look for Missile Tanks S3.11 and S3.12 hidden within. Once both are found, only one item remains in Sector 3. It's in the long chamber containing the Sector 3 door glitch, where you originally explored after travelling through the Desert Refinery. You can reach this chamber from either end. Seeing as we're nearby, we won't travel the long way through the refinery.
Go to the corridor where you originally met Dessgeegas, and climb up the tall wall at the southern end - the Space Jump will allow you to reach the hand-holds. Step through the door at the top to find yourself at the southern end of the long corridor. Normally, the Grapple Points hovering above the lava pit can't be used from this side. Instead, stand at the door and fly over to the lava pit by way of the Space Jump. Drop down into the lava pit and sneak into the alcove where Missile Tank S3.13 awaits.
That should do it for Sector 3, so we're now ready to search Sector 1. Climb out of the lava pit and backtrack to Sector 3's main elevator from here. Once there, return to the Main Sector and take the lift down to Sector 1. Check your map in Sector 1 - loads of items dot the entire map, so there's plenty to do here. We'll start with the numerous items inhabiting the western side of the sector.
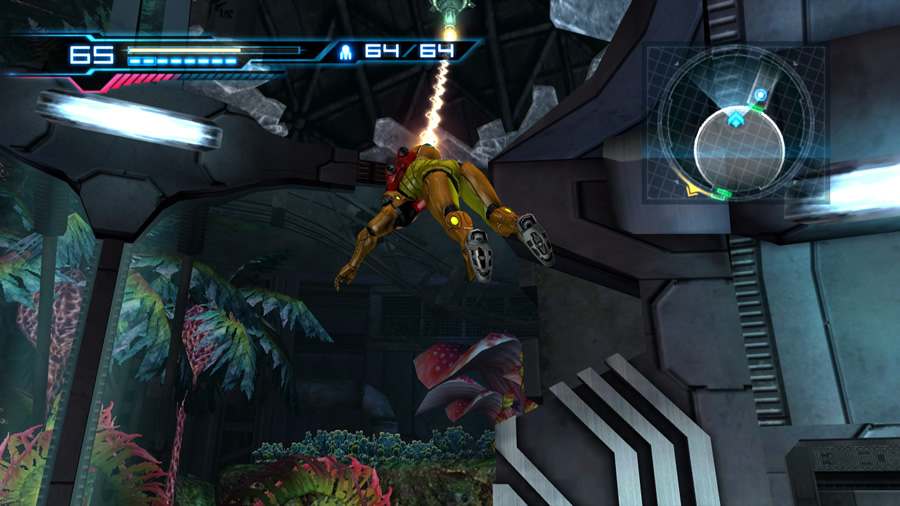
You can finally swing up through the broken window in the Chamber of Duels.
Travel through to the circular chamber where two Mighty Griptians now permanently reside (watch out for Grippers along the path to this chamber). Conquer both targets, then use the visible Grapple Point through the broken window to reach Missile Tank S1.14. From up here, look for an open pipe section on the wall. Crawl inside and follow the pipe all around the border of the chamber. Eventually it diverts into the wall, quickly changing from a metal pipe to a dirt-lined tunnel.
Keep going to find yourself deposited in a tall earthy shaft near the Subterranean Control Room. From here, look for Missile Tank S1.15. Once it's secure, travel toward the Subterranean Control Room. Locate Energy Part S1.03 behind a Desbrachian (in a Power Bomb blast shield pod), in the chamber where you once fought Fune and Namihe (the big twin serpents).
Travel north and use the Morph Ball Launcher in the narrow tunnel to quickly transport Samus to the desert environment. The Dragotix still lives here - leave it be and climb up the cliff. Try turning the hologram generator back on for a bit of fun - the Dragotix should fall asleep again. Exit through the northern door of the region and travel up to the next Navigation Booth.
Go east from the Navigation Booth to look for Missile Tank S1.16. Return to the Navigation Booth and climb through the damaged north wall. Follow the path (curiously the Groganch pair still inhabit the two forest enclosures) and move through the next area to look for Missile Tanks S1.17 and S1.18. With both secured, move onward to the desert environment's observation chamber and look for Energy Part S1.04 from there.
You're doing well! Now you need to find some items in the Breeding Room region. From the Energy Part's rocky ledge, use the Space Jump and fly down to the bottom of the desert region. Travel south and work your way down to the chamber where you first encountered Griptians (and the illustrious Little Birdie). Climb up to the Breeding Room area from there. Look for Missile Tanks S1.19 and S1.20 hidden inside. The corridor outside the Breeding Room still plays an ominous tune - it's quite fitting considering that MB began her rampage right here...

There's plenty more Missile Tanks to collect.
Exit the Breeding Room area and travel back east, using the Speed Booster to climb the steep slope in the jungle-themed chamber (clear the enemies in the region first). Don't forget to find Missile Tank S1.21 hidden above the slope.
Travel east to the arboretum and optionally save your game along the way. Step into the arboretum and look for Missile Tank S1.22 near the very top of the massive tree. Climb down and travel north. Pass through the distant northern Navigation Booth, and turn right at the door leading to the Bioweapon Research Center's elevator (we'll finish clearing Sector 1 first before going back in there).
Move through to the long corridor filled with water, then take a dip. Use the Speed Booster to locate Missile Tank S1.23 at the far end of the corridor. Climb up out of the water (the Space Jump, Gravity Suit and some hand-holds on the eastern wall will help you to avoid backtracking), then proceed east. Travel up through the swampy jungle (the water level continues to rise and fall, just the way you left this room a long time ago).
Climb up to the huge swamp where the first Groganch battle took place. Look for Energy Part S1.05 before leaving. Exit the area and save at the Navigation Booth if you wish. Travel through the next corridor and grab Missile Tank S1.24 around the corner (mind your step around the Zeros and Kihunters). There's still a few items remaining in eastern Sector 1, so we'll keep following the path to the Biosphere Test Area where the Exam Center once stood (lousy James...).
Step through into the derelict elevator and use the Morph Ball Launcher to scale the shaft. Move through to the observation chamber overlooking the big swamp region. Continue onward next door and look for Missile Tank S1.25 hiding in the jungle enclosure.
Keep travelling toward the Biosphere Test Area from here. Two items remain in Sector 1 - both of them reside in the large chamber right beside the now-locked Biosphere Test Area. One sneaky item rests high up on an unreachable platform - however, you can find the path leading to Missile Tank S1.26 in the large curving jungle region next door.
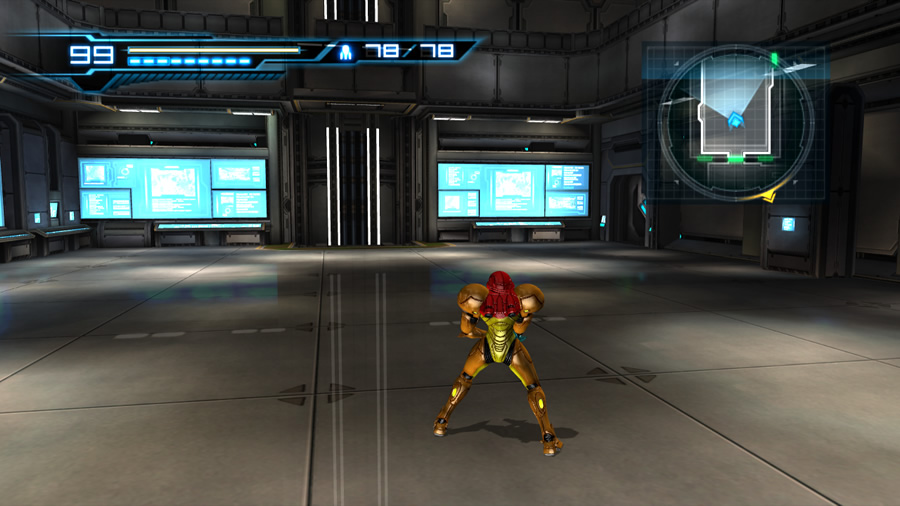
Despite the recent MB confrontation in this very room, you'd likely think that nothing happened here.
Once you've picked up the elusive Missile Tank, climb back down to the chamber beside the Biosphere Test Area. Look for a Power Bomb blast shield pod to the right of the locked door. Use a Power Bomb to awaken the Desbrachian - conquer it to locate E-Recovery Tank S1.01.
That's it for Sector 1, so let's now backtrack and go to the Bioweapon Research Center to finish our treasure hunt there.
Upon arrival, check your map. There's only two items left to find here, in the very bowels of the Bioweapon Research Center. Step through to the first computer room where you met MB (curiously, automated drone units still inhabit a few corridors). In the computer room, James' body has been taken by the Federation (and they've even polished the floor where he fell), so let's keep moving deeper inside.
Right after taking the next elevator further down, three FG-1000 units now inhabit the lobby around the corner. Climb up the staircase on the left - the door at the top is now unlocked. Step inside and follow the empty corridor. This corridor passes between the Queen Metroid's nesting chamber and the room where you discovered Ridley's body.
Look down through the glass window to see that Ridley's body is now missing! It's likely been claimed by the Federation and sent to the same place Nightmare's remains were taken (wink wink, BSL research station).
Follow the corridor to arrive in a two-storey, central lab environment. Both floors have doors connecting to the chamber where the MB confrontation took place (you'd never guess what happened in there thanks to the pristine look of the room). This once-inaccessible lab was the refuge where Madeline was trying to hide, right before Samus caught up with her after the Queen Metroid debacle. Have a look around the rooms - Missile Tanks BR.02 and BR.03 are both hidden in this area. Locate both of them to finally score 100% of all items in the game!