


Data
Guides and strategies
- Techniques Guide
- Power-up locations
- Bosses Guide
- Mini-bosses Guide
- Search View Guide
- Obstacles Guide
- Walkthrough
- Game endings
- Secrets and tips
- Game maps
Media
Chapter 21: Revelations
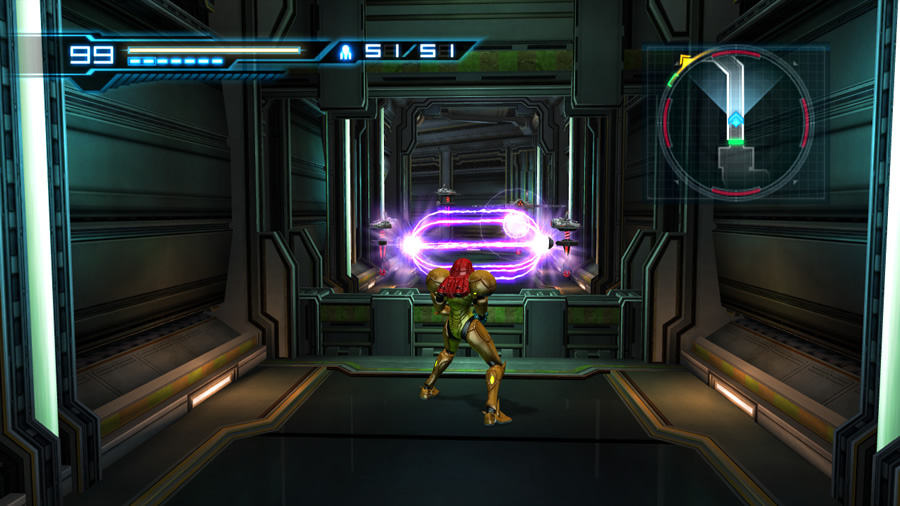
Someone's been busy filling this corridor with auto-defenses.
Enter the eerily-quiet Bioweapon Research Center and save your game at the entrance Navigation Booth if you wish. Move deeper into the region to find a once-empty corridor now teeming with automated sentry drones. FG-1000 and FG-II Graham units hover about the area, some of them producing purple force fields to bar your path.
These units are no match for the Plasma Beam, so clear the corridor to safely proceed through. Step through the corridor's northern exit to arrive in the chamber where you caught up with Madeline earlier. Remember the cutscene you saw just after Samus departed the area, where it seemed that Madeline had fallen prey to The Deleter? Let's see what happened.
Samus automatically rushes into the room and enters first-person view.
Search View segment #14 - Travelling to Room MW
Two differences can be found in the computer room since the last time you were here. One is the missing Power Bomb blast shield pod on the door in the left corner, and the other is what you need to target to complete this segment.
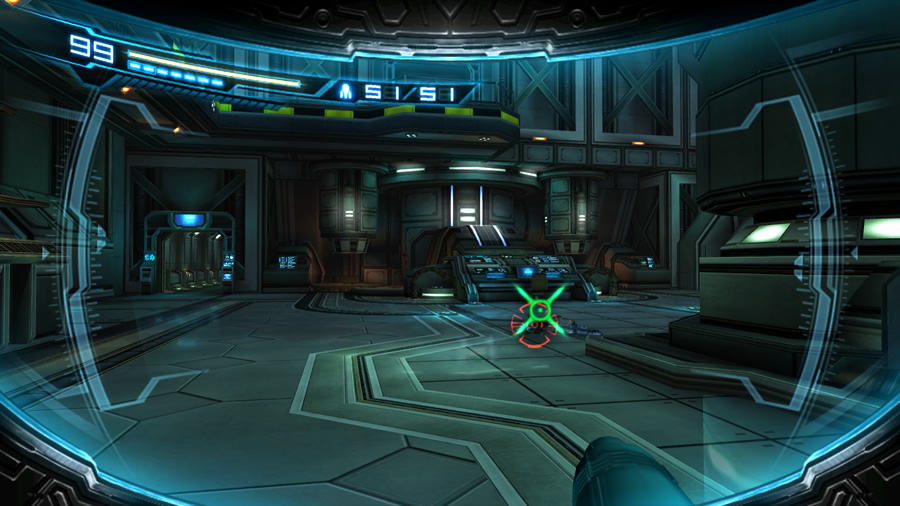 There's a fallen Federation Trooper lying near the computer terminal. Target him to complete the segment.
Instead of finding a murdered Madeline, Samus steps forward and discovers a dead Federation Trooper...
It's James. So he was The Deleter all along. Lousy traitor... But what happened to him? Madeline seemed utterly defenseless, so how did she survive, and where is she now?
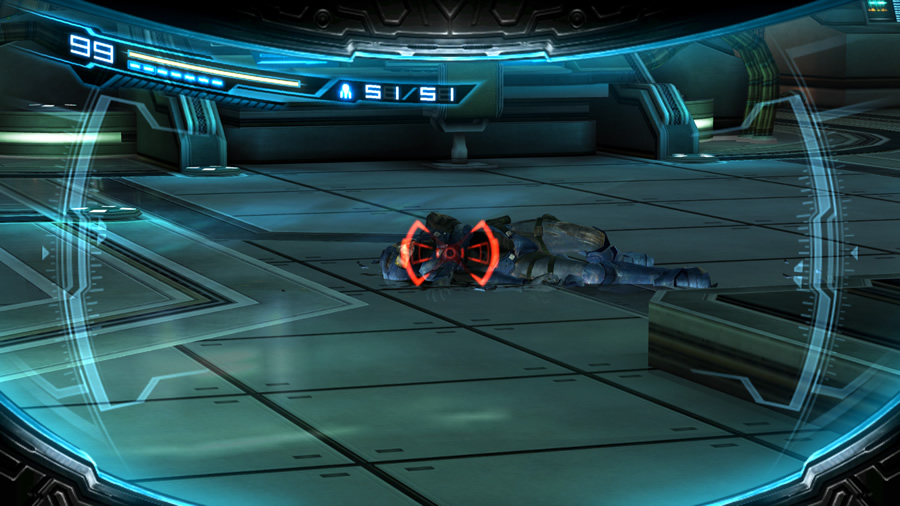
Man down! Is it K.G. or James?
The missing Power Bomb blast shield pod in the corner has revealed a corridor leading north. But before proceeding onward, feel free to explore the spiffy computer room. Walk up the ramp to find an almost-empty chamber next door, where Missile Tank BR.01 is hiding in plain sight. Just be ready to fight 14 (!) Super Zebesians on your way out.
Step back to the computer room and move through the northern corridor, past the door where the Power Bomb blast shield pod once stood. Beyond here lies another elevator - ride it down to the very bowels of the Bioweapon Research Center.
Step off the elevator at its destination and turn the corner. Move forward into a lobby-like chamber that looks like it was plucked straight from the GFS Olympus. A staircase on the left ascends to a locked door. With no luck there, simply cross the lobby to the visible unlocked door on the far side.
Move through to find a long wide corridor stretching out before Samus. Bright light pours in from a gaping hole in the ceiling, and spatters of green blood cover the floor. The game takes control of Samus as she cautiously steps forward. No doubt this is where Ridley retreated to after his battle with Samus. Sure enough, Samus finds him in a cavernous chamber. But Ridley is now lifeless - a grey husk covered in curious red gashes - a silent, motionless shell.
Before Adam met his end, he tasked Samus to defeat Ridley. Whatever did you the favour is long gone from the scene of the crime. Large quantities of teal-coloured slime intermix with Ridley's green blood here, giving us a clue as to the identity of Ridley's devourer - no doubt you'll be meeting them very soon.
The enormous hangar-like blast door on the western wall is sealed shut (can you see a windowed enclosure overlooking the chamber above the hangar door?), and two doors are fixed on the northern wall. One door is locked, so we'll take the unlocked door to move onward.
Step through the unassuming corridor to find another locked door down at the far end. A single Sensor switch is set above the door - this looks easy. Enter first-person view and send a Charge Beam shot into the switch to unlock the door.

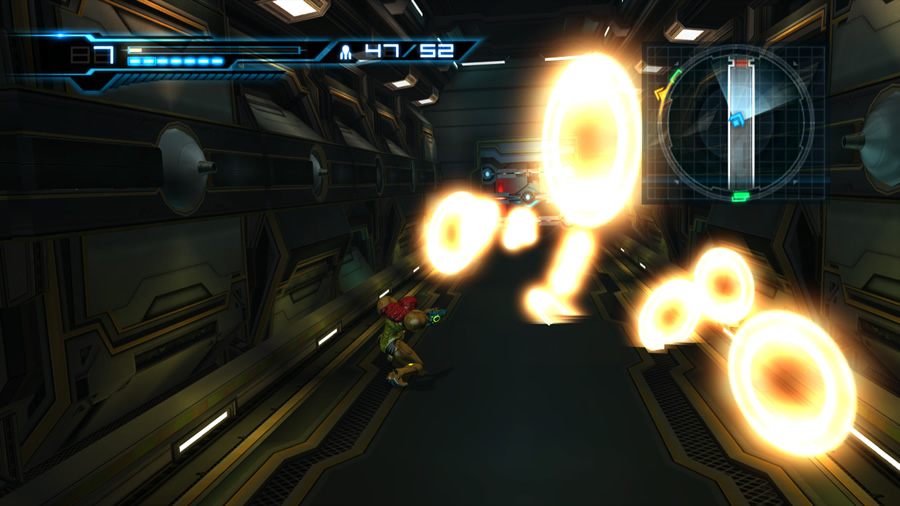
Energize the switch and be ready to run - Rinkas inbound!
However, the switch won't just unlock the door for you. A row of small turret emplacements along each wall promptly springs to life and discharges orange energy rings. These turrets are Ring Beam Units, and their projectiles - known as Rinkas - will prove troublesome.
The Rinkas will continue to discharge from the turrets and bounce around the chamber, just like back on Zebes in Mother Brain's chamber. Shoot at the Rinkas or use the Screw Attack to destroy them, but don't ever let them touch you.
On Normal mode, one hit from a Rinka drains almost an entire Energy Tank. But touch one on Hard mode and you'll be handed an instant Game Over. Ouch.
Quickly slip through the door and move through the next curving hallway. Ignore the salvo of slow-moving Rinkas and dash through the next door ahead. The following corridor presents more Ring Beam Units all along the walls, together with a door sealed by a three-pod Seeker Missile blast shield. This is going to be tricky, as you need to enter first-person view when the Rinkas pause between each wave.
Run up to the blast shield (but give yourself enough room to see all three pods) and wait for Rinkas to discharge from the turrets closest to you. Once they appear, clear them all out briskly. Fill up the charge gauge while still in normal view. Hold down 1 as you enter first-person view (to enable a quick charge), then target the three pods and quickly release 1 to fire Missiles immediately.
Don't worry if your projectiles miss, just pull back to normal view and ensure that Samus is safe from any roving Rinkas before trying again. Once the door is unlocked, clear the air of any active Rinkas, then duck through to find another longer corridor. A five-pod Seeker Missile blast shield covers the distant exit. Bummer, here we go again. Quickly use Concentration to refill your Missiles (only if you have less than 5), then run to the door and shoot any Rinkas on the way.
Thankfully, you can vaporize a Rinka with one Plasma Beam shot.
Stand a few paces back from the door, then wait for the turrets nearest Samus to discharge Rinkas (make certain that no Rinkas are following her from behind). Shoot them all down, then charge up your beam before entering first-person view (for another quick charge). Hastily lock onto the blast shield and release your Seeker Missiles. Pull out of first-person view regardless of the outcome, and shoot down any attacking Rinkas.
Successfully dismantle the Seeker Missile blast shield and take your leave of the turret corridors (but shoot down any remaining Rinkas before running for the door).
Beyond the door lies the safety of an empty corridor; simply follow this one to find a welcoming Navigation Booth. Step inside and save your game to unlock the exit ahead. Move onward to the next chamber; a tall curiously-empty room. Climb up the stairs and step through the door at the top to finally arrive at your destination - Room MW.
Room MW looks like a generously-sized hangar bay, with six specimen tanks positioned around the chamber. Bubbly liquid swirls within each tank, but nothing of any further interest is housed in them. A huge cargo door adorns the eastern wall further down, just like the large door seen in Ridley's chamber. In fact, if you check your map now, there's a blank empty space between Room MW and Ridley's chamber.
The entrance to Room MW locks itself upon arrival, so there's no way out for now. Adam said that he had pin-pointed a survivor in here - we need to find them. If you look closely at the western and southern walls of the chamber, you'll see small holding cells lining the walls. Stand at a cell's door and enter first-person view; you can see right into each holding cell via a small window on the door (you can even fire your weapon through the window thanks to the Wave Beam).
Search View segment #15 - Inside Room MW
Samus is free to move around in this search segment, but first-person view is still required to find the survivor. Locate and target the survivor to complete this segment.
 On the far southern wall (according to the map on the pause menu), look inside the holding cell beside the corner of the southern and western walls. The survivor is inside, huddled in a corner. Target them to end this segment.
Room MW must be freaking-out the survivor. Despite Samus gently knocking on the glass window, the survivor clambers upright in abject fear. Why is she so scared? Samus can't seem to calm her down, and unfortunately for us there's a computer terminal inside the holding cell. In her state of extreme fear, the woman activates the terminal. This triggers the huge cargo bay door in Room MW to slowly grind open, leaving a gap wide enough for Samus to enter.
Samus prepares for her second-ever encounter with a Queen Metroid.
The window of the survivor's cell seals shut, so you can't interact with her anymore. Instead, there's nothing else for it - walk through the cargo bay door and into the pitch-black chamber beyond.
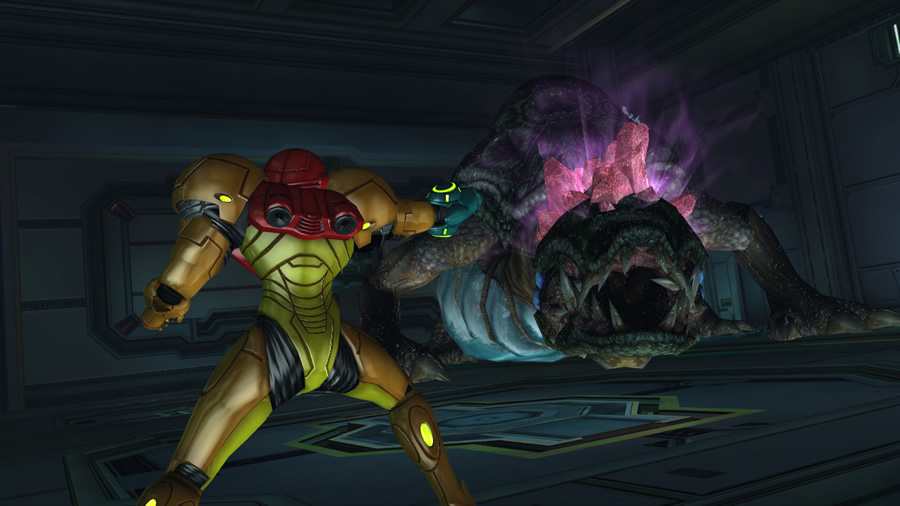
A short cutscene plays as Samus tentatively enters the darkened chamber. The floor inside is covered with biological material - upon closer inspection, Samus discovers empty Metroid egg shells everywhere! We don't have to wait long to find out if any Metroids still inhabit the area. Thundering footsteps suddenly announce the arrival of a full-grown Queen Metroid!
The Federation has actually managed to grow a Queen! This epic creature recently devoured Ridley, and now it wants dessert. Samus retreats into Room MW and barely avoids the Queen's enormous maw.
Once you regain control of Samus, immediately tap the D-Pad a few times to Sensemove clear of the Queen's opening attack. You'll now face the might of the Queen Metroid in Room MW, and luckily the chamber is large enough to allow movement around the hulky behemoth. Refer to the bosses guide for tips to survive the Queen and its horde of spawning Metroids (along with the ambiguous final sequence in its belly).
By utterly destroying the Queen from within, Samus amazingly survives the battle. The Power Bomb has done a number on Room MW, covering the floor with the Queen's guts and damaging several wall and ceiling panels.

Madeline reveals the Metroid-cultivation plot.
During the battle, someone pulled the Bottle Ship's emergency brakes and stopped the ship's advance to Galactic Federation HQ (albeit a bit roughly). That's another of Adam's requested missions taken care of. All that Samus needs to worry about right now is the safety of the survivor (even though she just tried to feed Samus to the Queen Metroid).
Amazingly, our new survivor friend rode out the storm and emerges from her holding cell. She sprints through a small door before Samus can react, so let's depart the wrecked Room MW. Follow her through the small door into the Queen's former nesting chamber. We see the survivor sneak through another door on the opposite side of the room.
Empty Metroids eggs literally cover the floor in here - this is likely what a lot of SR388's caves once looked like. Step across the squelchy floor and follow the survivor through the exit.
You're now back in the chamber where Ridley's mummified remains still reside. All the doors are now locked save for one (which was originally locked when you first explored this area). Step through the unlocked door and down the next empty corridor. Beyond here lies a roomy chamber housing an enclosed lab station in one corner. No sign of the survivor here, so let's move through the single door on the western wall.
The following huge chamber is where your journey ends. You finally catch up with the retreating survivor and Samus manages to calm her down. Sit back for a lengthy cutscene as we are given the final answers to the mystery of the Bottle Ship. As it turns out, this survivor is the real Dr. Madeline Bergman - the other girl we met earlier is MB - an android imbued with the resurrected artificial intelligence of Mother Brain.
How will Samus resolve this battle and survive the ambush?
Madeline explains how MB - or Melissa Bergman - ultimately turned against the scientists and took control of the artificial Space Pirates, wiping out every last human save for Madeline. Madeline had sent out the "Baby's Cry" distress signal and had rendered the Bottle Ship derelict in space, ultimately allowing Samus and the 07th Platoon to arrive. The Deleter (James) tried to silence MB, along with anyone else possessing knowledge of the bioweapons project. He obviously failed.
But why did Melissa put on the act for Samus and pretend to be Madeline? Did she think that Samus could easily defeat her, and instead thought to send Samus to her doom at the hands of Sector Zero's un-freezable Metroids?
As Madeline wonders what Melissa's next move will be, the Big Bad reveals herself, standing only a few metres away from Samus. Wielding James' Freeze Gun, a standoff occurs. Madeline tries to comfort the now-rogue android, but there isn't enough time. An entire squad of Federation Troopers suddenly burst into the room, incapacitating Melissa with another Freeze Gun, and proceeding to surround Samus and Madeline.
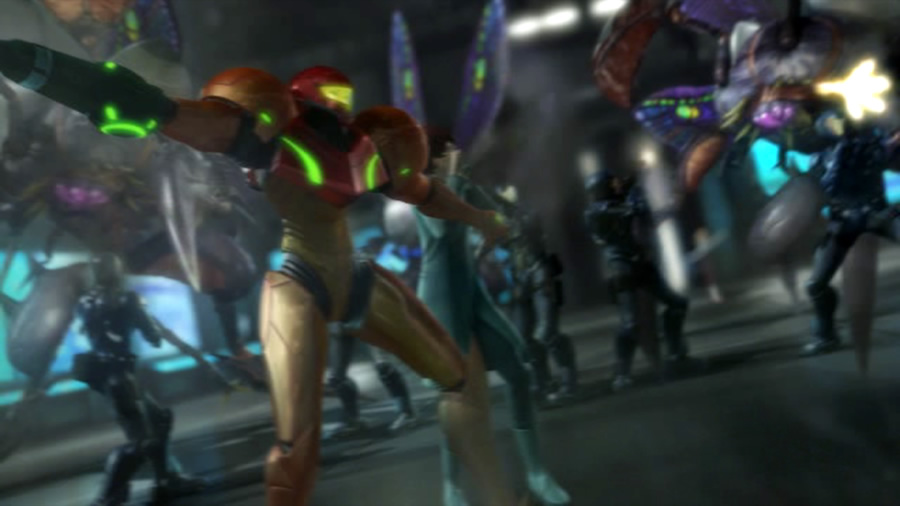
Big mistake though - Melissa simply thaws herself out and begins summoning cronies. Worse yet, she activates a group of round pods set up on the walls of the chamber - curiously they look very much like the Power Bomb blast shield pods you've seen throughout the ship. Enormous insect-like beasts emerge from each pod and immediately attack the Federation Troopers.
Heading home... For now.
Unfortunately, they're also out to get Samus and Madeline. Samus uses herself as a human shield to protect Madeline, and is now unfortunately rooted to the spot, stuck in first-person view. You now need to deal with Melissa and these insects - known as Desbrachians. This quasi-boss battle is quite unorthodox, so refer to the bosses guide for tips to survive and end it safely.
Upon completing the battle, it turns out that this confrontation is the final one in the game... Sit back and enjoy the bittersweet finale! Madeline suffers a crushing loss, but Samus is given a warming (and very welcoming) surprise reunion before departing the Bottle Ship. After Samus farewells Adam back at Galactic Federation HQ, the credits roll to an absolutely beautiful orchestrated score.
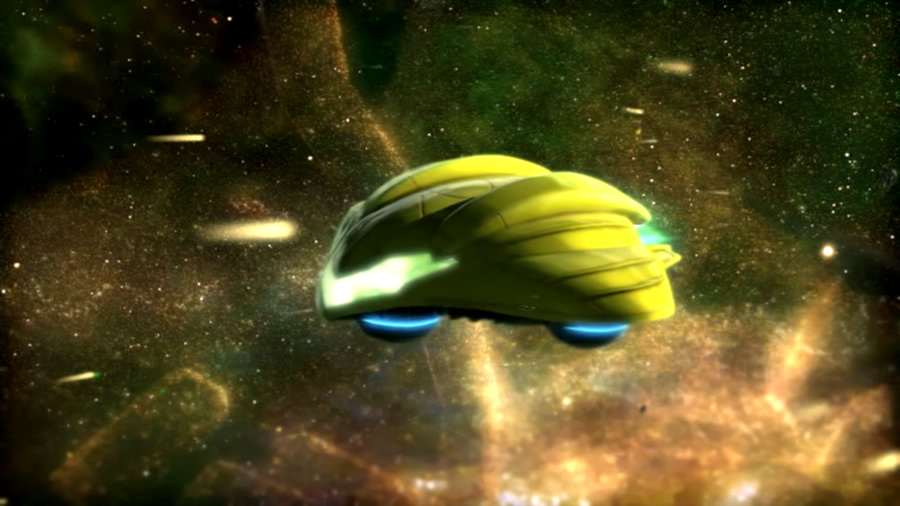
But hang on, that ending was a bit premature - we didn't even find all the remaining items in the game, and only used the Power Bomb once. If you're playing on Hard mode, unfortunately the game ends here. However, if you're playing the game on Normal mode, the ultimate post-credits surprise awaits. The Federation has resolved to utterly destroy the Bottle Ship, but Samus decides to travel there one last time. She seeks an irreplaceable memento of Adam, left behind before his death.