Data
Guides and strategies
- Techniques Guide
- Power-up locations
- Bosses Guide
- Mini-bosses Guide
- Search View Guide
- Obstacles Guide
- Walkthrough
- Game endings
- Secrets and tips
- Game maps
Media
Chapter 24: Irreplaceable
Good luck in this corridor - an enemy army awaits.
Job very well done! Feel free to further explore the area before departing. We'll now return to the Main Sector and finally look for the item Samus wants most. Depart the Bioweapon Research Center and travel back to Sector 1's main elevator (feel free to save your game on the way). Take the elevator back up to the Main Sector and travel south.
The adjacent corridor south of the Main Elevator possesses the very last Power Bomb blast shield pod. If you continue south to the tall elevator chamber, you'll find that the lift itself is now locked, so the blast shield pod is our only way forward. Deploy a Power Bomb beside it to awaken the final Desbrachian in the game. Conquer the foe to conclude your campaign against the mighty insectoids.
The Desbrachian's defeat will unlock the small hatch it once guarded. But check your health before moving through. If you've taken any significant damage from the battle, I highly recommend returning to a Navigation Booth in one of the sectors to recover your health. You'll find out why soon enough.
Once you're ready, step through the hatch and follow the next corridor passage. A deep-set chamber housing a working elevator awaits. Jump in the lift to be transported up one floor, high above the rest of the Main Sector. Step off the elevator and look for a single exit on the right.
Through this door is the longest continuous room you'll find in the game (seriously, check your map). The seemingly never-ending corridor curves to the left, and produces half a complete circle at its boundaries. Angled glass windows adorn part of the ceiling along the corridor, providing a nice view of outside space.
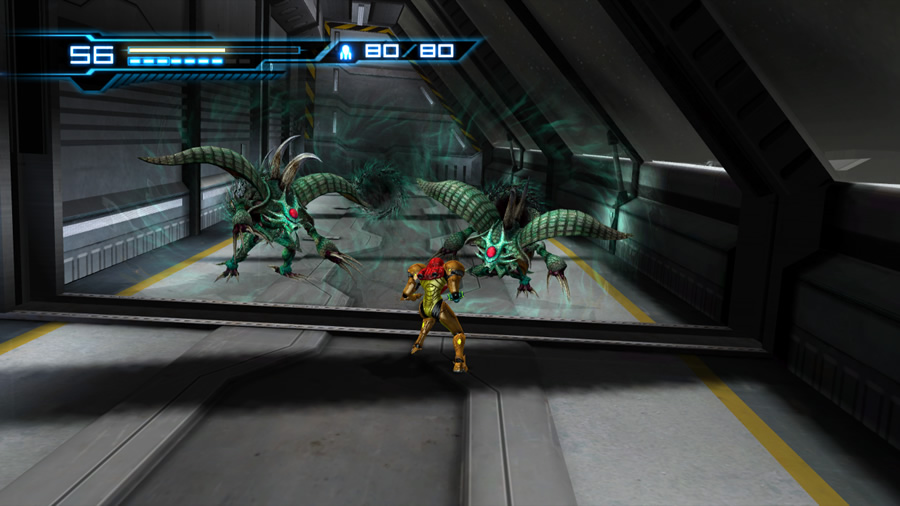
So let's start our marathon through the longest corridor in the world. Not far down the track, your progress is abruptly barred by a tall wall. Approach the wall and it'll promptly retract into the ground. Just as it does so, two swirling vortices appear behind it. A Mighty Griptian emerges from each rift - where did these guys come from?

You again! This time there's two of them (luckily, not simultaneously).
Use everything you've got to conquer both foes. Strangely, a Ghalmanian suddenly attacks after the Mighty Griptians are history. No matter, deal with it as you have before. Enter first-person view and target the invisible creature. Send a Missile at it to reveal the Ghalmanian, then quickly move in for a Lethal Strike.
However, the Ghalmanian's demise doesn't signal the end of your troubles. Two more Mighty Griptians along with a second Ghalmanian now emerge from further vortices. I thought MB was defeated - where are all these guys coming from? Defeat these three foes to finally break free. Walk up to the sealed blast door and it'll retract into the ground, granting you further passage.
Admittedly, there's another blast shield covering the corridor further up ahead. Walk up to it and it'll retract - this time two Asboreans will emerge from vortices and attack! Now you know why it was a good idea to enter this place with full health - this entire half-circle corridor is filled with multiple enemy encounters. You must endure all of them to make it through.
So the first wave consisted of four Mighty Griptians and two Ghalmanians. The second wave consists of two Asboreans and four Cyborg Zebesians. The third section delivers eight Kyratians (in two waves of four). The fourth segment possesses eight Super Kihunters and four Super Zebesians.
The Screw Attack makes quick work of most of these enemies, but try to avoid using it if you want more of a challenge. Power Bombs will also decimate your foes effortlessly.
At last, the fifth and final segment delivers a rematch against our good friend, the dreaded Rhedogian. I don't know how this creep came back from the dead, but you need to face two of them here (thankfully, only one at a time). Refer back to the mini-bosses guide if you need help surviving the duo. If you can manage, try using a Power Bomb - amazingly the Rhedogian can't withstand a single one.
This entire battle sequence can be quite tough, so don't be discouraged if you have to try it a few times (remember that the Screw Attack easily conquers most of the earlier foes in this corridor of doom). The defeat of the second and final Rhedogian will secure the area and unlock the exit at the end of the corridor. You might have noticed that this corridor has been gradually sloping upward, so we must be near the top of the ship.
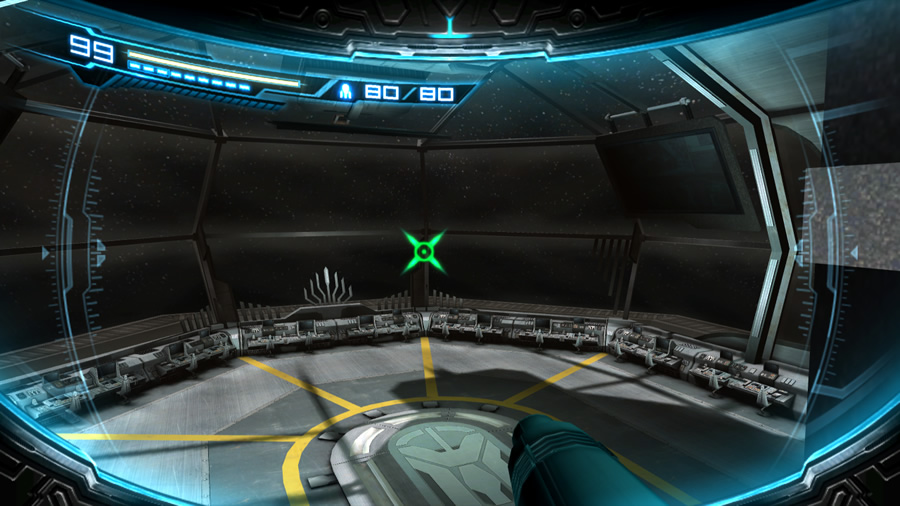
The calm and quiet Control Bridge.
Step through the door to find a very welcoming Navigation Booth; save your game to unlock the door and prepare for what comes next.
Move onward to discover the final place of interest aboard the ship - the Control Bridge. Step through the short corridor to locate the main bridge itself, a huge open chamber possessing an enormous viewport on the northern wall. Command stations line the viewport, and naturally the area is devoid of any activity. But not for long.
Leap down into the chamber - your exit is up on the southern wall further down. But step toward it and Samus will be interrupted by a disturbance outside the viewport. Gurgling sounds precede a colossal tentacle suddenly pounding the glass. What in the name of Crateria is that? A gargantuan object begins rising into view, literally filling the entire viewport. As the creature moves completely into view (amid moans and groans), a single blazing eye glares at Samus. It's Phantoon!
Boy has it grown! This is the true final boss of the game, even though Phantoon's sudden appearance doesn't make much sense (is there more than one Phantoon out there? We know that Phantoon enjoys inhabiting abandoned starships, so maybe the now-derelict Bottle Ship piqued its interest. Or maybe Phantoon simply wants revenge, who knows?). Phantoon proceeds to tear the Control Bridge apart - this will be one epic battle. Refer to the bosses guide for tips to survive this encounter and send Phantoon back to oblivion.
Phew, Samus must be exhausted after that ordeal. Phantoon's defeat will summon a handy Grapple Point to help you escape from the atmosphere-venting Control Bridge. Swing up into the makeshift airlock to leave the Control Bridge behind.
Follow the next passage of corridors to eventually discover an elevator housed in a rounded chamber (look up from here, the elevator shaft still stretches high above - how high up does this ship go?). Step inside the working elevator and enjoy the ride as it descends downward.
Further down the shaft, the elevator suddenly comes to an abrupt halt. A small crack appears on the glass in front of Samus - if you enter first-person view and target it, naturally the Power Bomb is identified as a viable weakness. So let's make a mess and deploy a Power Bomb inside the lift. The blast incinerates the entire lift unit save for the floor, busting a hole in the elevator tube itself.
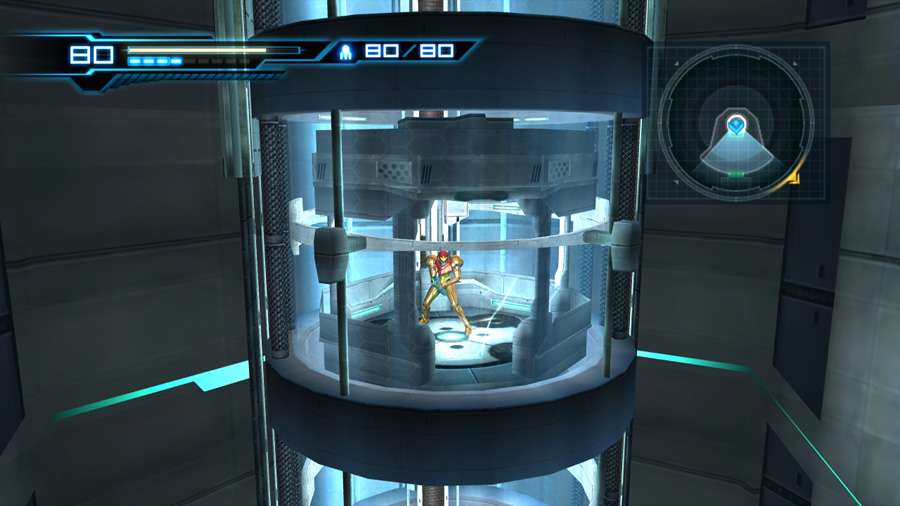
Stuck in a lift? Try a Power Bomb!
Now you can finish your descent. Fall off the edge and land at the base of the shaft far below. You might now recognise this location as the elevator shaft leading down to the Main Elevator chamber, where all the sector access lifts reside. This looks promising - exit the chamber and travel south. At last you'll arrive right outside Adam's control room station.
The small elevator connecting the two floors is still powered down, but no matter. Slowly (thanks to the over-the-shoulder viewpoint here) walk around to the unlocked door. Approach the door and a cutscene takes command of the scene. Samus enters the control room and surprisingly deactivates her suit. The item Samus returned to the Bottle Ship to retrieve - Adam's memento - turns out to be his blue helmet, still resting on the desk.
Samus retrieves the helmet and experiences a tender moment, fully grasping the finality of Adam's loss.
The touching moment and grand crescendo are both rudely interrupted by a blaring alarm. The Federation have started the auto-destruct sequence, so the Bottle Ship will be destroyed in moments! But you're still inside! You'll regain control of Samus as the familiar Ridley battle theme joins the incessant alarm. Red lights flash throughout the chamber - time for us to go.
Strangely, Samus is now stuck in her Zero Suit form, clutching Adam's helmet. All she has is her trusty Paralyzer sidearm for protection. She can only run, jump and shoot now (you can't even enter first-person view anymore). Lastly, only one Energy Tank remains in her inventory - gah!
You need to return to the hangar and reach Samus' gunship before the entire Bottle Ship goes up in flames. Exit Adam's control station and Samus will automatically run toward the glass window overlooking the adjacent chamber. The auto-destruct sequence has already started wrecking the ship - the glass window promptly shatters, granting Samus access to the room below. A 5-minute timer appears on-screen at this point - it's a classic escape sequence!
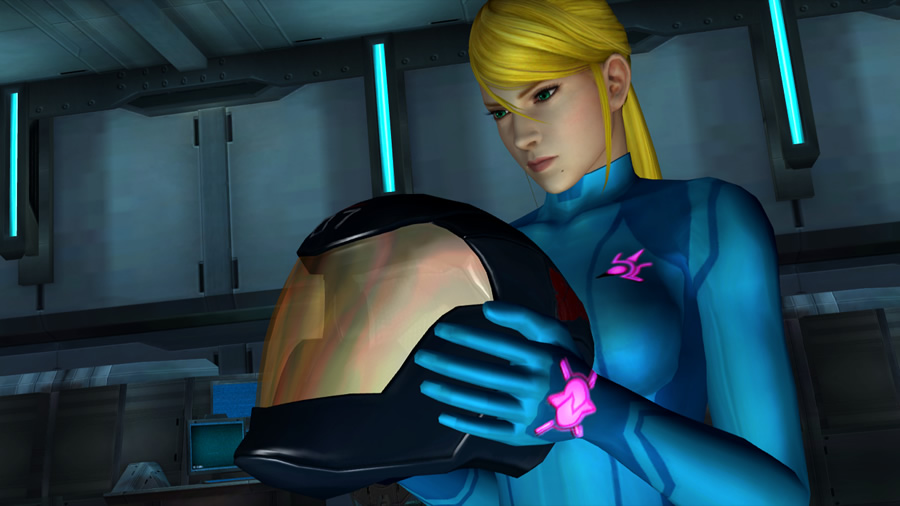
At last, Samus retrieves her memento of Adam.
Leap down into the chamber and make a break for the door leading into the control room's main chamber. Explosions rock the control room while the calm computer voice requests your immediate evacuation - let's not let it down. Head south and watch out for flaming debris in the Navigation Booth (it conveniently prevents utilising the save station).
Move south to the large elevator chamber and watch out for rogue Cyborg Zebesians. These fellas don't want you to leave without a fight. Just like in Metroid: Zero Mission, use your Paralyzer and simply stun them to get by safely.
Stun the first one hanging on the elevator's door, then simply leap off the side of the platform and fall down below (the fall won't harm Samus). But if you want to save a few seconds, there's a broken guard railing right at the foot of the first small stairwell. Feel free to ignore the Zebesian and simply fall down through the guard railing's hole instead.
Continue your escape southward and zap any Cyborg Zebesians blocking your path. Keep in mind that you can still use the Sensemove to avoid their projectiles - you definitely don't want to risk damage at this point. Two Cyborg Zebesians wait for you in the chamber housing the ruined elevator shaft, both hanging on the wall. Stun them both if you wish, but don't waste much time. Explosions will take out any Cyborg Zebesians you leave behind.
The corridors south of the rest room area house further debris. Small metal gates try to halt your progress - stop moving and press A to slide under any closing gates or low-lying debris (no need to stop running if you can hold the D-Pad to run, and press A with your right-hand thumb). If a gate shuts you in, use a charged shot from the Paralyzer to snap it up temporarily.
Return to the deep chamber where you faced a swarm of Reos at the very beginning of the game. Take care to avoid falling all the way to the bottom of the chamber, otherwise you'll waste time climbing back up again (remember to press A at small gaps to slide underneath). Instead, as you enter the chamber, run left as far as you can. Simply hop down off the ledge there to reach the exit safely below.
Move through the next corridor and hit any sealed gates with a charged shot to open them. Beyond this corridor is the cargo chamber where you first met the 07th Platoon. It looks very different now in red lighting, with flaming debris collapsing everywhere. Two Cyborg Zebesians will try to stop you here - just run around their projectiles and don't touch any flaming debris.
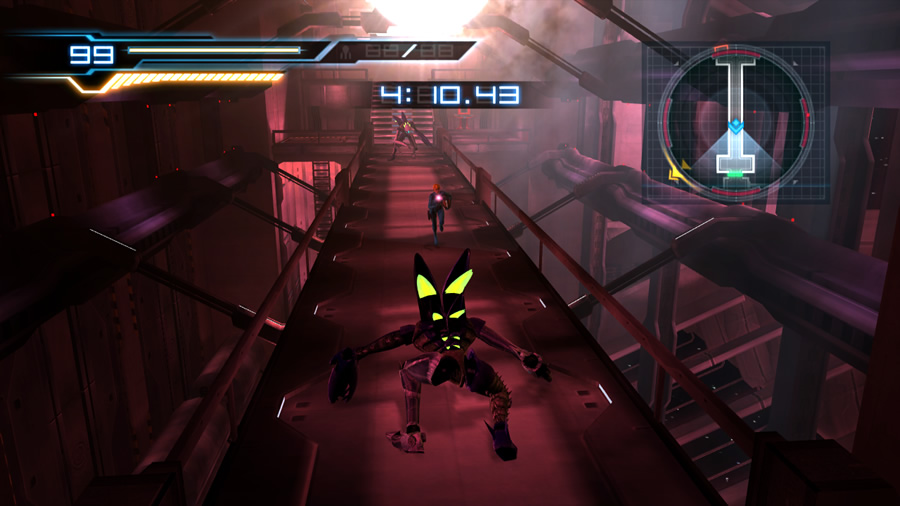
Stun any opposing Zebesians and make your escape!
Clear this chamber and sprint down the final corridor. Keep Samus safe and don't touch any flames. At last, the hangar bay awaits. Run into the hangar amid rocking explosions and dash for Samus' gunship. A few steps down the sloping ramp and the game will take over, sending Samus automatically sprinting for her gunship's underside hatch. The timer keeps ticking down so you'll need to have at least ten seconds left to make it safely.
But once she's safely inside, our journey comes to an end. Samus' gunship rockets out of the hangar, moments before the Bottle Ship is utterly consumed in a fiery explosion. Her ship streaks away into the unknown, and you now receive your total item collection percentage (and a nice comment from Samus herself for your efforts). Congratulations, you've finished the game!
A few words before we wrap up this adventure. If this is your first time completing the game on Normal mode, the ultra-difficult Hard mode will now be available when starting a new game. Theater Mode and Gallery Mode will also now await your perusal. Check the Secrets and Tips page for more details about the unlockable items.
Project M... Mission complete. See you next mission!