


Data
Guides and strategies
- Techniques Guide
- Power-up locations
- Bosses Guide
- Mini-bosses Guide
- Search View Guide
- Obstacles Guide
- Walkthrough
- Game endings
- Secrets and tips
- Game maps
Media
Chapter 8: Sector 1 Reconnaissance

These observation chambers overlook the simulated planetary environments.
The defeat of the Groganch will unlock the doors and open a ruined elevator shaft in the north-eastern corner of the chamber. If you want to enjoy the view of the rainy swamp again, feel free to reactivate the hologram generator, but unfortunately it'll need to remain powered down for us to continue onward. Wall-jump up the ruined elevator shaft to reach the exit, then step through to locate the next cosy Navigation Booth. Save your game to unlock the door and reveal more of Sector 1's map.
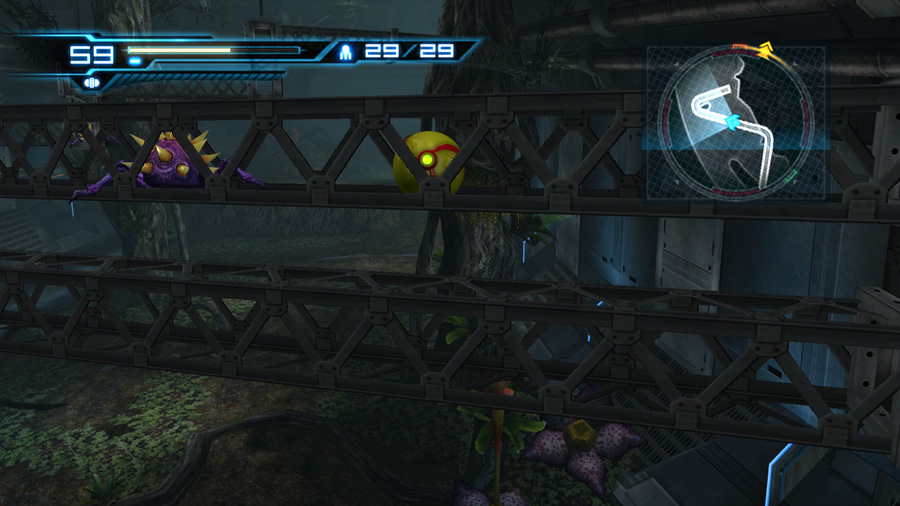
We're slowly moving closer to the target point on the map, so let's move onward. Leave the Navigation Booth and travel north. Step through the following L-shaped corridor, but take care when moving past the chalk-white immobile objects. As you pass by each one they'll explode open, revealing a fully-grown Kihunter - the larval Zeros you've seen recently must be advancing onto the next stage in their life cycles.
Move through the corridor and descend down into a cargo warehouse chamber filled with a few stacked crates. Zeros and further Kihunters inhabit this area, along with a large crane-like device up in the top-right corner. There's a Missile Tank hidden atop the crane, but sadly it's out-of-reach for now. Instead, take the exit in the corner below.
Beyond here is a tame chamber with no sign of insect activity. Empty specimen cages and cargo containers lie about the chamber, discarded and forgotten. There's an open doorway up ahead leading inside a ruined elevator shaft, but before stepping inside, be sure to grab Missile Tank S1.12 from the crate hanging up above.
Once you're ready, step inside the elevator shaft and look for yellow-and-black patterned bars running up the walls. Jump up toward these bars and use them to ascend the shaft. Clear out the annoying Geemers along the way if you wish (touch one and Samus will take a nasty knock, falling off the wall in the process). Once you reach the apex of the shaft, you should spot a single Sensor switch directly beneath the elevator's transport platform above. Don't worry, there won't by any platforms crashing down on Samus' head this time.
Energize the switch to activate a well-placed Morph Ball Launcher far below at the base of the shaft (incidentally, you can actually energize the switch while hanging from the lowest bar on the left wall). Fall down and enter the device in Morph Ball mode. Lay a bomb to be instantly launched up through the shaft. Samus will crash through the base of the elevator's cabin, creating a crude but effective opening in the barrier.
Watch out for bugs in this infested pipeline.
Exit the elevator shaft and travel south. More Kihunters await in the next corridor - clear them from a distance and try not to take any damage. The reason for health-preservation is waiting in the next room. Step through the southern end of the corridor to find yourself in the observation chamber overlooking the swamp region where you recently fought the Groganch. Both exits will promptly lock - step forward to find three Griptians ambushing Samus from the observation window.
Deal with the intruders to unlock the doors and allow further progress (check the mini-bosses guide again if you need help dealing with them). Enjoy the view if you wish before moving onward (take note of the visible Energy Part outside the window - we'll pick that up later). Exit the chamber via the eastern door and travel through the long corridor beyond (home to another wildlife enclosure along the wall).
Watch out for wayward Reos along the way, and take note of the Sensor switch at the far end. The switch is on the other side of a solid glass window, so you can probably guess that the Wave Beam is required to strike it. Leave it for now and take the nearby exit. Travel through the next curving corridor, but pause near the overgrown sections to deal with a pair of local Whipvines.
Follow the curvature of the corridor and move through to locate the start of an enormous region filled with foliage. The region curves southward down to the next Navigation Booth, so we'll be on-track to the Exam Center soon. Follow the dirt path south through the forested area. Even though there's no hologram generator hiding the exit here, another surprise awaits further in. As you close in on the Navigation Booth, a Groganch unravels itself and attacks.
Feel free to fight the beast if you wish, but it's not tied to the doors in the area so you're not forced to take it on. If you travel up to the Navigation Booth's door, the lousy thing is locked and glows orange. There must be a control terminal somewhere nearby. The good news is that the terminal is only a few metres from the door, but it rests high atop a silo over on the right.
So we'll need to find a way up there somehow. If you look around the area (while dodging purple orbs if the Groganch is still wandering about), there doesn't seem to be much to help Samus elevate her position (that ladder on the side of the silo won't help).

The Exam Center - a tall building on a grassy plain, inside a starship.
Instead, look closely at the northern wall (the one relatively uncovered by foliage). See the red glowing lights streaming along it? Walk over to the small cliff overlooking the area near the Navigation Booth's door. Up against the wall there is an active cargo wall runner waiting for use. Jump up and grab hold of the red bar to hang from it. The device will begin its transport route, taking Samus along almost the entire length of the curving wall.
During transit the Groganch can't hit you with its purple orbs, but two swarms of Reos will emerge from the wall during the trip. Stay in first-person view and look in the direction the cargo wall runner is travelling. Simply open up with Missiles or Charge Beam shots when the Reos appear, but don't let them fly too close or they could knock Samus off.
Upon successful arrival at your destination, leap off the device and climb up the nearby platform. We're now high above the ground among the trees, and that open metal pipe nearby looks promising. Activate the Morph Ball and enter the pipe. Follow the network of pipes among the treetops to travel back towards the Navigation Booth's door. When you reach a junction and must choose between a lower and an upper pipe, hop up and take the upper path. Watch out for two Geemers beyond here, just take it slow and leave them a few presents to clear them out.
Continue following the network of pipes - eventually you'll find Energy Tank S1.01 along the way. Move onward to finally arrive at the top of the silo. Stand up and activate the nearby terminal to at last unlock the door below. Leap down and step inside the now-open Navigation Booth. Save your game here to unlock the door ahead and reveal the final section of the map where our target lies.
Phew, nearly there. Travel south to locate a vast chamber filled with all sorts of pipes, specimen tanks, stairwells and walkways. Now it looks like we're back on board a starship. Climb up the stairs and travel to the opposite corner of the area to locate the exit (you might also spot another Power Bomb blast shield pod in here, along with a Missile Tank high atop an inaccessible walkway - we'll deal with them both much later on).
Keen observers will often find the solution to a locked door.
Step through the exit in the south-eastern corner of the area to finally arrive at the Biosphere Test Area, and a sight we've never seen before in a Metroid game. This region is home to yet another illusory planetary environment. Wide sweeping grassy plains stretch out beneath an almost cloudless sunny blue sky. It seems completely out-of-place alongside the worlds we've explored with Samus before, but we are on a crazy ship full of unpredictable sights after all.
The game takes control here for a moment as Samus crosses the grassy plains to the Exam Center in the distance. The Exam Center itself is a tall multi-storey building residing on the far side of the Test Area (yes, a tall building inside a starship, doesn't that sound odd itself?). Samus automatically walks inside the Exam Center, where you find yourself locked inside a darkened foyer. There's nowhere else to go and no welcoming party, so step inside the large elevator at the far end of the foyer.
You'll be taken up into the bowels of the Exam Center where the ambience is nothing like the sunny green pastures outside. Moody music along with dusty ventilation systems present a dark corridor stretching to the left. A large blast shield is shut tight on your right, so follow the open corridor. Along the way you might spot a ruined object resting on the ground - there's plenty of these devices littered throughout the corridors - clearly this place is in complete disorder.
Move through the L-shaped corridor to arrive at another handy Navigation Booth. Save your game here to unlock the door ahead - but no further map will appear on the sub-screen. The only map you have here is what appears on the in-game mini-map.
Let's find out what's so special about this place. Exit the Navigation Booth and cross the next corridor to locate a T-junction. The path on the left simply leads to a dead-end, so our target must be down the right corridor. At the far end you'll locate a locked door with pulsing orange lights. There must be a terminal nearby to unlock it.
Look closely at the sealed blast shield on the wall beside the locked door - enter first-person view and aim at a small cracked segment of the door to reveal a weakness there. Launch a Missile at it (or lay a bomb beside it in Morph Ball mode) to dismantle a small section of the door, revealing a narrow tunnel inside. Roll through the improvised tunnel and step through the hidden corridor beyond to locate a small power generator chamber.
This deserted command room monitors most regions aboard the Bottle Ship.
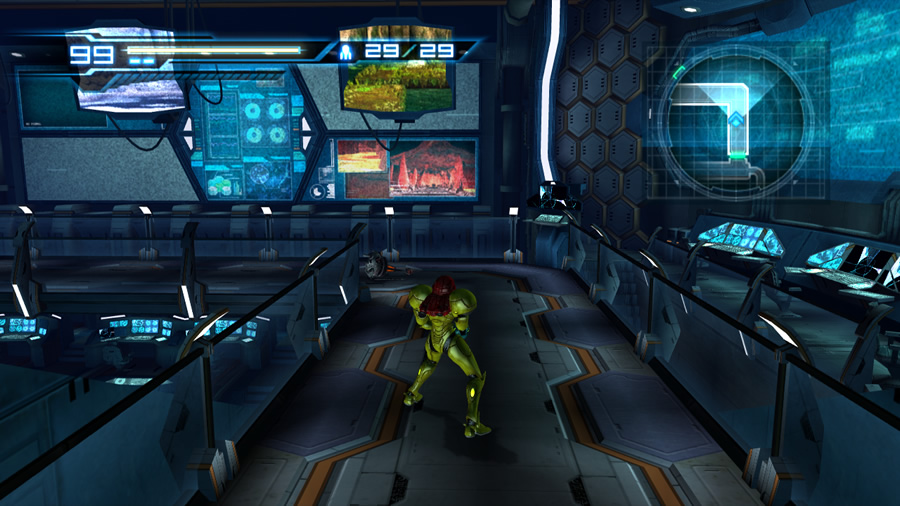
Simply activate the terminal on the far wall to unlock the door in the previous corridor. Backtrack to the now-unlocked door and step through to a huge observation command centre. This area is filled with eye candy - massive computer monitors and terminals line the walls of the chamber. Take note of the displays shown on the monitors - some of them show areas of Sector 1 you've already explored, while others show icy and fiery regions yet to be discovered.
Step through the raised catwalk to the exit on the far side of the chamber. Move through to a network of corridors that seem to take inspiration from the internal decor of a Star Destroyer from Star Wars (this place should look familiar if you've played Star Wars: Republic Commando). Another T-junction greets you at the entrance; once again the left path leads to a dead-end, so we'll travel right.
More broken glass, damaged circuitry and inactive drones litter this corridor. Travel down to the far end and follow the corridor as it turns north. Climb up the tall stairwell to find evidence that someone is already here - a door at the top of the stairs has been manually pried open. If someone is already here, did they lock that earlier door we passed by on the way through? Hmmmm...