


Data
Guides and strategies
- Techniques Guide
- Power-up locations
- Bosses Guide
- Mini-bosses Guide
- Search View Guide
- Obstacles Guide
- Walkthrough
- Game endings
- Secrets and tips
- Game maps
Media
Chapter 16: Revenge at the Refinery
A hologram generator hides among the rocks.
Curiously, the southern door of the Navigation Booth is now locked. With only one way forward, travel north to locate an empty corridor, covered with sand. Step forward to find something unusual - a Grapple Point hovering up on the ceiling. This corridor is an unlikely place for a Grapple Point, but you'll definitely want to use it. The Grapple Point is hovering directly above a small pit where a Sandfang lives. Sandfangs are large earthworms that enjoy burrowing out of the ground to try and eat Samus - use the Grapple Point and swing over the pit to avoid the hostile creature.
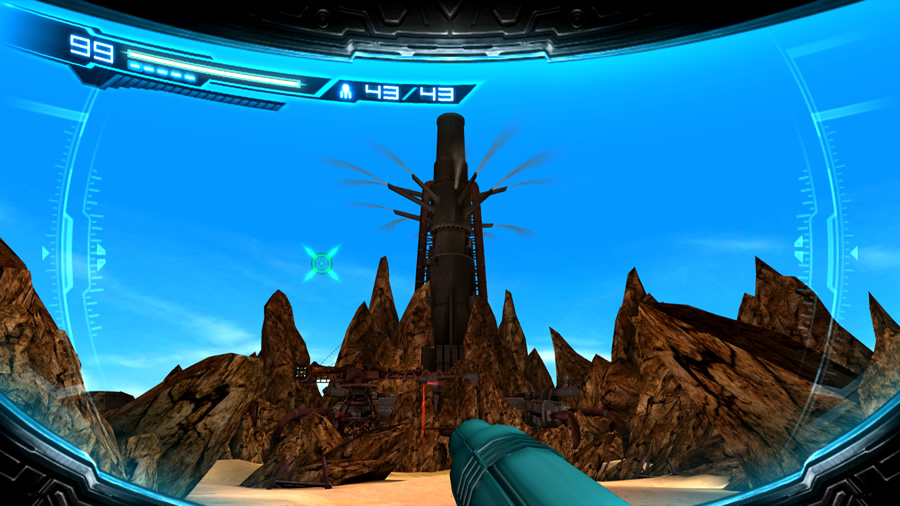
Step through the exit ahead to arrive at the Environmental Test Floor. This enormous desert-themed region looks like the surface of a rocky, scorched planet, complete with jagged rocks, cliffs and a huge industrial facility looming in the distance. Before you can start exploring, two rogue Dessgeegas stomp toward Samus. Stay near the entrance and clear them both before looking around.
As you explore the region, take care around the darkened circular depressions in the sand. Two more Sandfangs inhabit this area, and will emerge from these pits when Samus travels close (sometimes you can see the tip of the worm sticking up above the ground). It's probably best to deal with them both to avoid any hassle. Move around the sand pits to hunt them down, but keep your distance when a target becomes visible. Use Charge Beam shots and attack from afar. Be ready to Sensemove if the Sandfangs eject globs of mucus at Samus, or if they suddenly emerge from the ground and lunge at her.
With both Sandfangs gone, let's take a look around. The views from the edges of the sandfalls are quite nice, it's such a pity that this place isn't a real planet... After surveying the area, you should be able to spot the tell-tale sign of a hologram generator high up on the western side of the region. There's no direct way to climb up there, and the industrial complex up north doesn't have any visible entrance.
Instead, you'll need to use the tall crane bearing a Grapple Point. At the moment the Grapple Point is too far away from the hologram generator's platform. However, there's an interesting device mounted on the back of the crane. Stand back from the crane and enter first-person view. Lock onto the device and release a Missile at it; the impact will slightly rotate the entire crane.
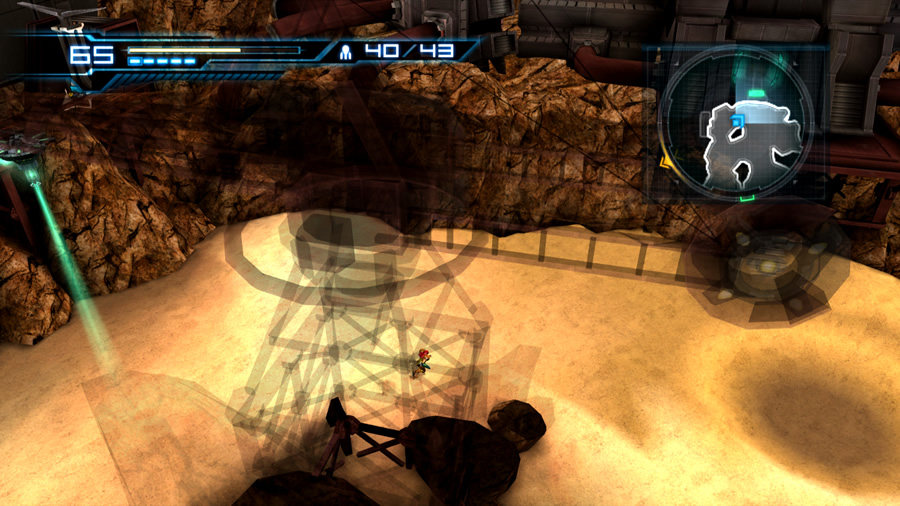
Swing the crane around to reach the refinery's entrance.
Wait for the crane to stop moving, then fire at the device again. Keep repeating this cycle until the Grapple Point has swung around to face the hologram generator's platform. Swing up there by way of the Grapple Beam, then power down the hologram generator (first enjoy the view if you wish).
The illusion sky will vanish, revealing a grey ceiling and metal walls wrapping around the entire region. The industrial facility remains solid (along with all the smoke pouring from its horizontal chimneys), and an entrance will emerge from a fake rock wall.
Leap down and rotate the crane to make the Grapple Point face the newly-uncovered door. Swing up and step inside to locate a downward-sloping tunnel. The decor in here looks very much like a miniaturised version of the tunnels inside the second Death Star from Star Wars. Several inhabiting Mellas remind us that we're not in that galaxy far, far away. Deal with the pests, or simply roll underneath them in Morph Ball mode (try to avoid suffering damage on Hard mode, you need health preservation here).
Enter the Desert Refinery at the base of the slope. This is the interior of the massive facility you saw outside, and this journey will see you scale to the very top of the refinery. Start the ascent straight away and begin climbing up the stairwells before you. Shoot ahead as you climb up the stairs; several Heat Bulls have taken up residence and need to be cleared out from a safe distance (don't take a hit on Hard mode!). Use Missiles from afar if you wish.
After climbing up a few floors and conquering several Heat Bulls, Super Zebesians will unexpectedly leap down from above. Carefully deal with the first pair, then continue your ascent and watch out for further Heat Bulls. A third Super Zebesian will fire at Samus from high atop a distant wall. Once the Heat Bulls are gone, send a Missile at the wall-hugging Zebesian to knock it down.
Deal with this foe and continue climbing skyward. More Super Zebesians await, together with further Heat Bulls. Remember to attack them all from a distance (don't go near them on Hard mode), and slowly work your way through the opposition.
Unlock the door to complete this short diversion.
Your climb will eventually end at a high wall where a Grapple Point awaits. Swing up the tall wall and move onward. This path will direct you to an area where a pair of tall turbines rotate diligently. Just like in the Sector Generator Room of Sector 2, these turbines possess bars where Samus can hang from their sides (the bars glow blue). Clear any visible Heat Bulls still roving around.
Using wall-jumps, if you climb up to the very top of the first turbine, an exit there is currently locked (if you have trouble lining up with the walls while hanging from a turbine, remember to watch Samus' stance. She changes her stance slightly when lined up with a wall or platform).
Instead of climbing up to the locked door, scale the turbine at its base and leap across to the first ledge on the right. Follow the path there to arrive at the second turbine. Step around to the far wall beside this turbine and knock the Novas off the wall. Climb to the very top of this turbine and wait for it to carry Samus around to face the left side.
From here you should be able to clearly see the door's control terminal - leap across and activate it to unlock the nearby door. Climb back down and move around to the first turbine, then simply scale that one to the top to reach the now-unlocked exit.
Step through to emerge outside, high above the desert below. A winding maintenance catwalk wraps up around the refinery's tower. But before you can enjoy the view from here, energy projectiles are no doubt flying at Samus by now. Begin climbing up the catwalk to locate the source - FG-1000 units inhabit this area along with smaller FG-II Graham units hovering outside the catwalk. The FG-1000 units are easy to deal with thanks to the Ice Beam and Wave Beam, but take care and Sensemove the myriad of projectiles sent at Samus.
The FG-II Graham units can't take much punishment either, so simply fire at them as you pass by to clear them out (you might notice that these drones look similar to the inactive drones you found in the Exam Center of Sector 1). Eventually the path will conclude at a tall wall - I don't know how the scientists managed to move around this place, but the Speed Booster will make quick work of this obstacle.
Ensure that all hostiles are gone, then backtrack far enough to build up the Speed Booster's charge. Begin the run, then just as you're about to run face-first into the wall, Shinespark directly up. Once in the air, hold forward to allow Samus to land snugly on the platform. This narrow catwalk leads to a small opening in the side of the refinery, so activate the Morph Ball and crawl back inside (as a side note, invisible walls will stop adventurous players from leaping off the side of the refinery up here).
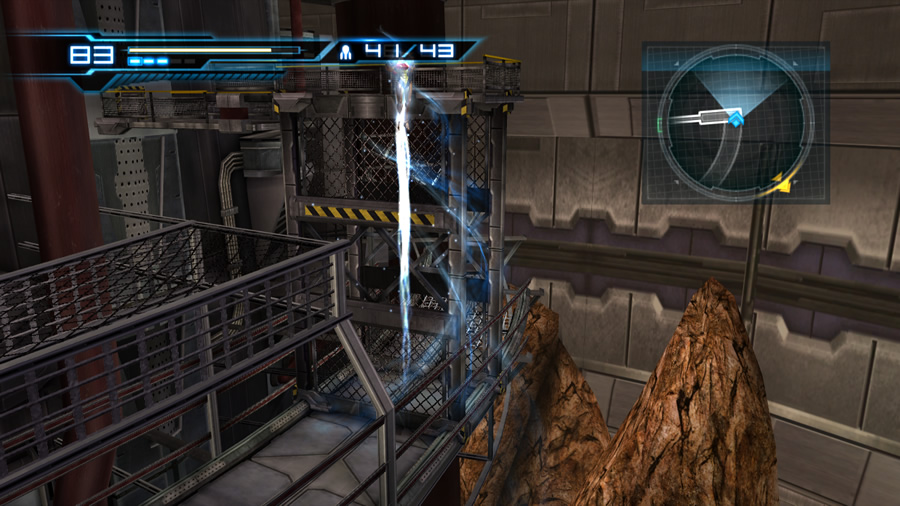
A Shinespark jump will easily conquer this wall.
You're now back inside the refinery, high above a chamber filled with large turbines busily crushing rocks and other minerals (and this place isn't an illusion, it literally is a traditional mineral processing plant on board a starship). Follow the piping and take a right turn at the T-junction to eventually locate Missile Tank S3.04. Backtrack to the T-junction and travel left to locate an exit out of the pipe network.
Stand up and exit the chamber to find a welcoming Navigation Booth. Save your game to unlock the next door and continue onward. Another maintenance catwalk continues the path up the refinery's exterior, patrolled by more automated drones. Clear all hostiles as you climb, and try not to take any damage (especially on Hard mode). If you do take any damage from the drones on Hard mode, clear them all out and backtrack to the Navigation Booth to restore your health.
Ascend to the top of the winding path to find yourself almost touching the ceiling that was once the illusory sky. A single door here leads back inside the refinery. Walk through it and get ready to Sensemove immediately. The camera moves forward to an elevator unit in the centre of the chamber, where our good friend the Rhedogian immediately bursts through and lunges hungrily at Samus. Keep tapping the D-Pad to ensure that your Sensemove works at the right moment.
Time for the third round against this goon. The mandibles on the Rhedogian keep growing back, so remember that your foe is restored to full strength. Check the mini-bosses guide if you still need help surviving these encounters.
After delivering enough pain to your wannabe-nemesis, the Rhedogian will lift off and slowly float upward, right outside the refinery's walls. Send a Missile or two into it and watch as it conveniently falls off the edge of the refinery. No doubt you'll be greeting it again sometime soon.
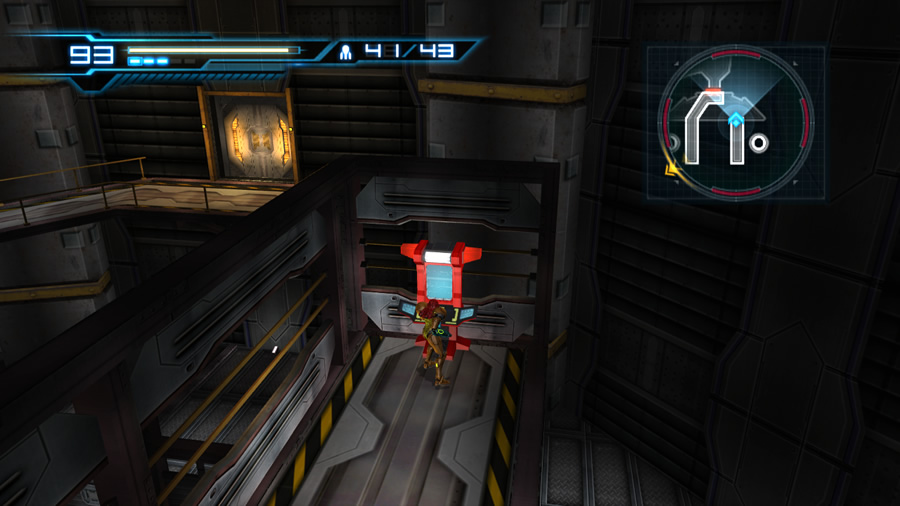
The Rhedogian's departure will restore power to the elevator, regardless of its missing outer shell. Step aboard and take a well-deserved breather as the lift descends through the refinery, dropping Samus off in a chamber deep below the facility. Climb out and step around the elevator in the dusty chamber. A long darkened corridor stretches out ahead, and by now you might notice something moving up ahead.
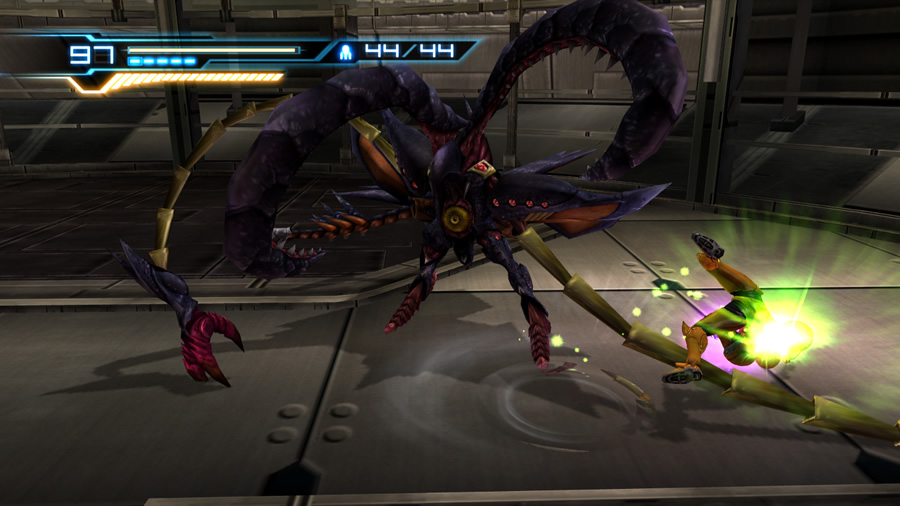
The Rhedogian is determined to best Samus.
The moving object will reveal itself as a rare sight - the game's second Dragotix. Just like the first one in Sector 1, this specimen tends to wander around and only attacks Samus if she's too close, so feel free to leave it be. Hide in a corner and wait for it to walk past, then duck out and run ahead. Proceed through the rocky path to eventually see a wide red pit. A lava lake resides at the base of the pit, where two Magdollites wait patiently for a meal. Grapple Points hover above the pit, so we'll use those to cross it safely.
If you accidentally fall into the lava pit (or have an adventurous spirit), look for a small open vent in the bottom-right corner of the pit. Follow the narrow tunnel to find an open maintenance shaft. Simply wall-jump up the shaft to reach the top of the lava pit.
Cross the lava pit by way of the Grapple Points, landing in an empty open space ahead.
GAME-BREAKING BUG ALERT!
You've now arrived at the door in Sector 3 that may spell an end to your game. The door atop the metal scaffolding ahead should be green, and unlocked. If it's red, it won't unlock and you'll literally need to start the game again. This only happens if you had earlier backtracked to the room where the Ice Beam was granted, right after defeating your first Dessgeegas (the two-legged purple brutes). Check the secrets and tips page for more details.
If you've safely avoided the glitch, step through the door to finally depart the refinery area. Move through the corridor to find yourself in a familiar place. You're now atop the tall cliff in the chamber where you first fought Dessgeegas, shortly after receiving the Ice Beam. There's even a group of Dessgeegas still here, awaiting your arrival. No need to play with them - quickly duck inside the door at the base of the cliff and move onward. We're now heading for the enormous lava lake to look for a path leading to the Geothermal Power Plant.
Step through the network of shafts and tunnels here (there's two Missile Tanks hidden in this region, but you can't reach them yet). Save your game at the Navigation Booth before stepping out to the lava lake. Outside at the lake, you need to make your way to the western side of the area, where a door awaits that hasn't been explored yet.
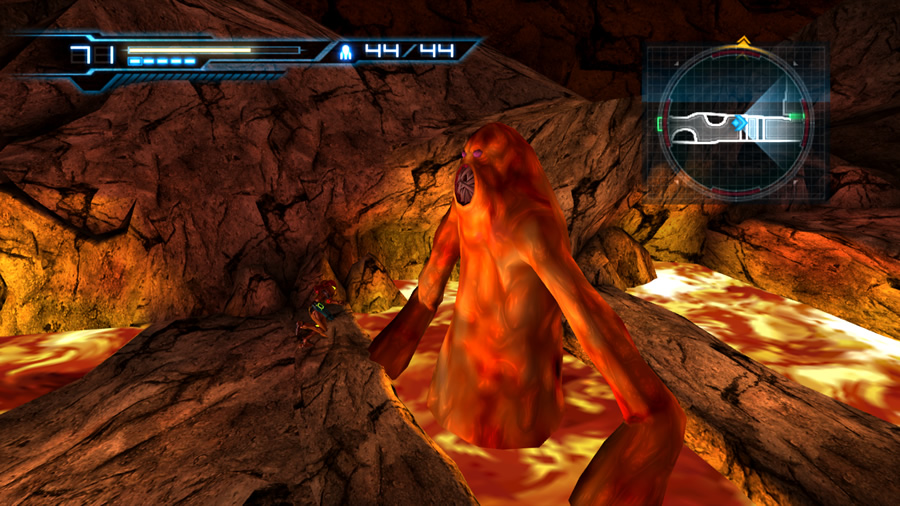
Watch your step in the Cave of Magdollites.
Nearby, a string of Grapple Points connect the northern and southern paths of the lake together (look for them along the wall beside the door). But for now you need to travel to the western side instead. Work your way along the path, freezing any irritating Magdollites emerging from the lava (at least this time you have the comfort of the Varia Suit).
Once you reach the small rocky cliff housing Energy Part S3.02 (pick it up if you haven't already), take a closer look at the background. A sequence of small islands reach up to a single visible Grapple Point above the lava. That looks promising, so keep moving to find the lowest of the island-stepping stones. Climb up to arrive at the start of a sequence of Grapple Points among tall rocky islands. The view from here is quite generous. Carefully swing across the Grapple Points and follow the islands to eventually arrive at a door on the western side of the lake.
Step inside to find a long indoor cave, completely enclosed in a rocky facade. Small lava pits dot the path, where Magdollites of all sizes emerge to pester Samus. Don't worry about them; keep running and jumping over the lava to outrun any of the Magdollites' attacks. A handy Navigation Booth awaits travellers at the far end of the cave. Step inside and save your game to reveal the final major segment of Sector 3's map, and the Geothermal Power Plant directly south.