


Data
Guides and strategies
- Techniques Guide
- Power-up locations
- Bosses Guide
- Mini-bosses Guide
- Search View Guide
- Obstacles Guide
- Walkthrough
- Game endings
- Secrets and tips
- Game maps
Media
Chapter 20: Farewell
Samus' presence awakens Sector Zero.
The lobby at the base of the elevator shaft is deserted, as expected. Silent, glowing walls and a pristine polished floor give us the impression of a highly restricted area. Step inside the neighbouring Navigation Booth and save your game to unlock the door.
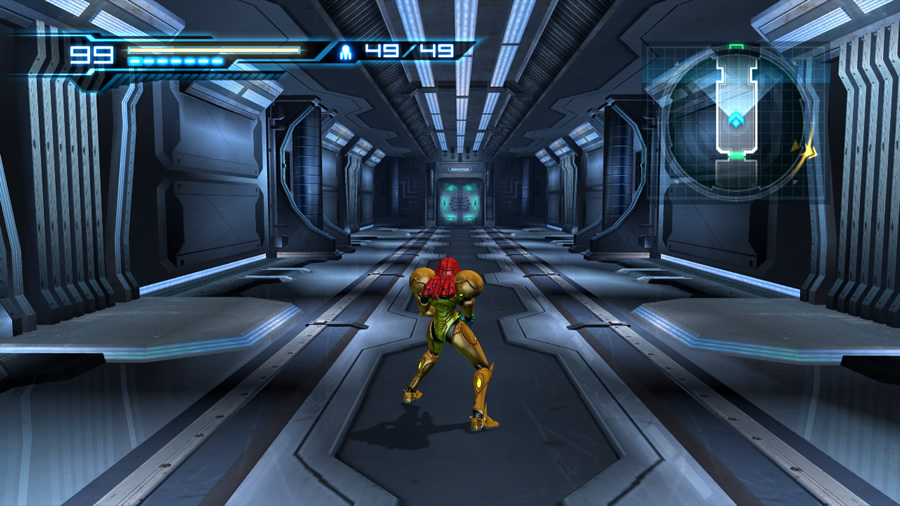
Move onward to find a large, deep corridor. Nothing stirs in the shadows of this near-pitch-black room. Step forward and watch as the lights automatically come to life, slowly illuminating the entire chamber. An intriguing musical piece welcomes Samus to Sector Zero. Do you have a sneaky suspicion that something big is about to happen?
Cross the corridor and step through the next door to find another long hallway, disappearing around a slight bend. Lights begin clicking to life in here too - it really looks like the area hasn't seen much activity for a long time. Walk through the bending corridor and don't be surprised if it feels like a marathon - this U-shaped corridor is very long.
By now the music is climbing in pitch, and if you check your map, the target is extremely close. Eventually the seemingly-endless hallway will conclude at a chamber with a single door. Step up to the door and Samus will automatically pause before walking through. Here we go.
There it is... The entrance to Sector Zero.
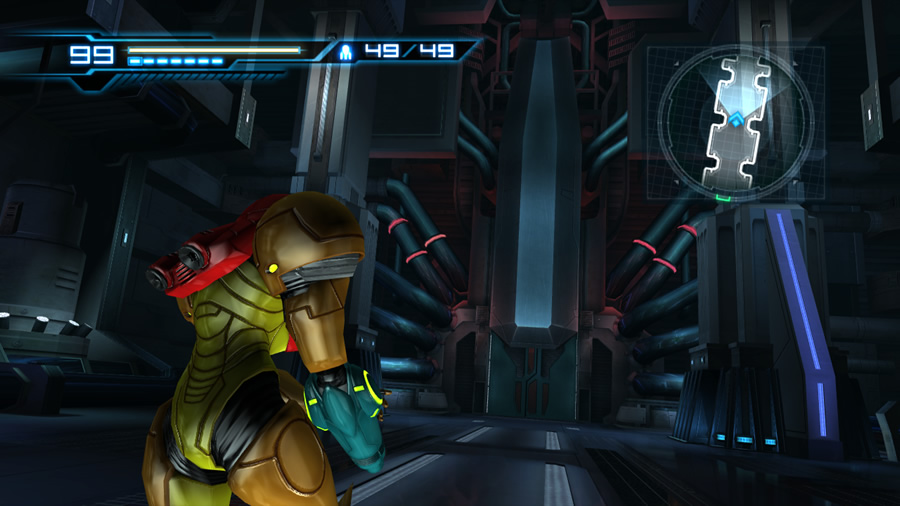
The next intricate room is Sector Zero's antechamber. The big black door at the far end leads right into Sector Zero, and to the home of all the Federation's Metroids and Mother Brain AI. The camera settles in behind Samus at an odd angle (likely to help heighten the building tension). You're now stuck behind Samus and can only walk forward slowly - no turning back now.
As you move toward the black door, we see the point-of-view of something watching Samus from above... It can't be The Deleter (unless he's learned to fly), so what is it?
The unseen observer continues to stalk Samus as she travels closer to Sector Zero's entrance. Walk right up to the ominous black door and the floating object will close in on Samus. With only a few metres between Samus and a likely horde of Metroids, the game shunts you into first-person view. Argghh!! So close!
Search View segment #13 - At the entrance of Sector Zero
Something has been stalking Samus - you need to find it to complete this segment.
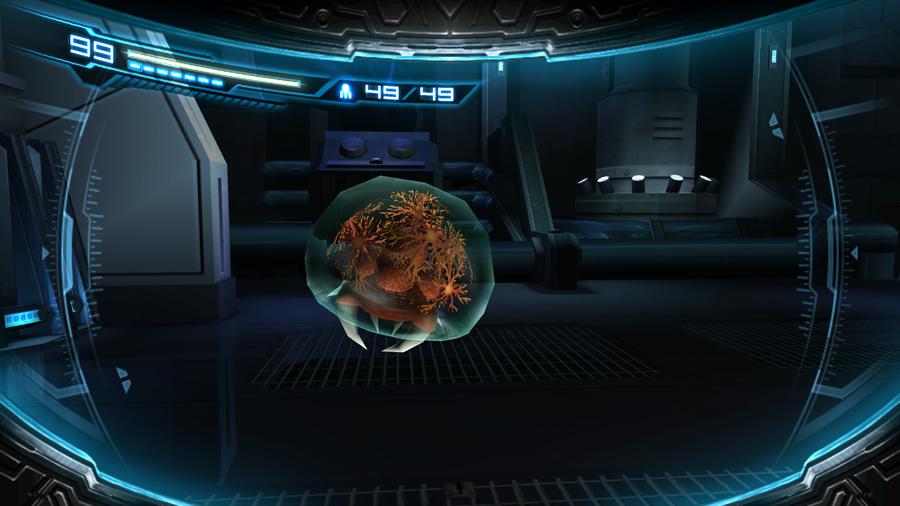 Simply turn to your left to reveal the identity of the unseen follower - there's no need to target anything specific.
It's a baby Metroid! The little tyke must have escaped the confines of Sector Zero, and it looks just like the infant Metroid Samus bonded with back on SR388. Samus doesn't know what to do... Does she blast the parasite before it attacks, or does its resemblance to the original infant Metroid stay her trigger finger?

Samus struggles to accept Adam's proposed mission.
But before she can decide, someone literally shoots her in the back! Who did that!? A direct hit from an annoying Freeze Gun completely paralyses Samus to the point of her suit dematerialising, leaving her at the mercy of the hovering baby Metroid.
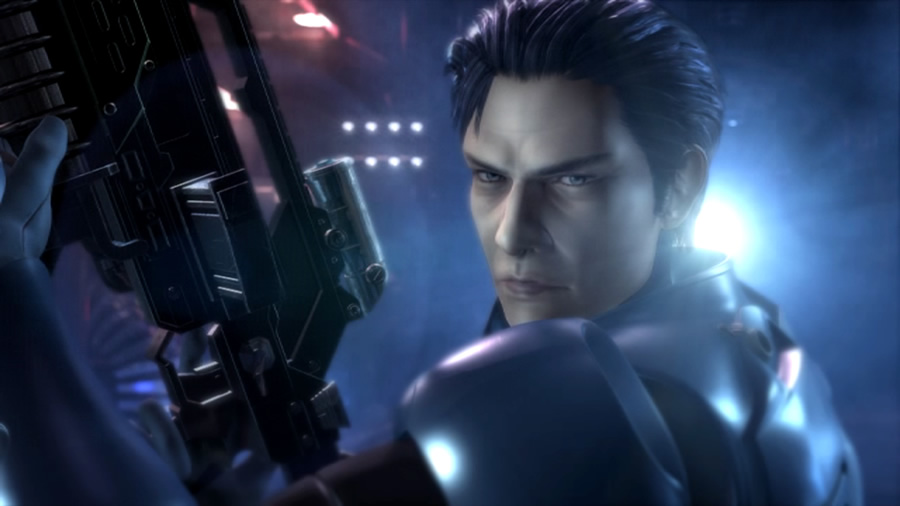
However, a second Freeze Gun projectile connects directly with the infant, neutralizing it permanently. We see the feet of the shooter as he approaches Samus - it's a Federation soldier.
But it's not The Deleter. It's Adam. Why the heck did he shoot Samus in the back? Was Adam aiming for the infant Metroid and miss by accident in the first shot?
A lengthy and bittersweet cutscene plays, revealing that Adam already knows about the Metroid breeding program. Adam firmly believes that destroying the Metroids and their Mother Brain handler is the best option.
Except that Samus won't be doing it. The Metroids in Sector Zero can't be frozen, so Samus would be no match for their unstoppable might. Instead, Adam will trigger Sector Zero's self-destruct protocol and sacrifice himself to eliminate the threat. Before meeting his end, Adam orders Samus to find and put down Ridley once and for all. The revival of the Bottle Ship's engine systems and its destination of Galactic Federation HQ smells strongly of an attack, so we also need to find a way to divert the ship off-course. Finally, Samus is tasked to return to the Bioweapon Research Center and look for a survivor in Room MW.
Adam enters Sector Zero while Samus begins to recover from the Freeze Gun-induced wound. She tearfully witnesses Adam's final moments before we see Sector Zero detach from the Bottle Ship and hear it explode off-screen. So that's how Adam chose to give his life so that Samus might live...
Although the galaxy is safe once again from the threat of Metroids, Samus still has work to do. Her suit returns to full power before you regain control of her. Feel free to step back inside the antechamber of Sector Zero and take a look around. But the big black door remains locked tight, so in the end you never had a chance to explore Sector Zero's innards. Ah well...
No objections, right lady?
Inspiring music illustrates Samus' resolve to complete this mission, so our next destination is back at the Bioweapon Research Center to find Ridley and the newly-discovered survivor.
Depart the Sector Zero antechamber and move through the curving hallway outside. This time the pretty hallway isn't deserted. A whole platoon of Super Zebesians have curiously arrived to ambush Samus as you move through the hallway.
Deal with them if you wish (the Screw Attack once again makes quick work of it). Move deeper through the curving hallway for another surprise. A blast door seals the compartment you departed moments ago, likely triggered by the recent self-destruction of Sector Zero. Follow the corridor and the surprises keep mounting. The lights in the section of hallway nearest the blast door suddenly fizzle out. What does that mean? The entire darkened hallway suddenly detaches from the ship and floats away into space!
Completely ignore any visible Super Zebesians - just run! As the hallway becomes exposed to the vacuum of space, sudden decompression begins sucking everything out the hatch, including Samus. Try as you might, you can't stop her gradual movement toward the gaping void. Before long, Samus inevitably joins the hapless Super Zebesians and falls toward open space. The screen fades to black...
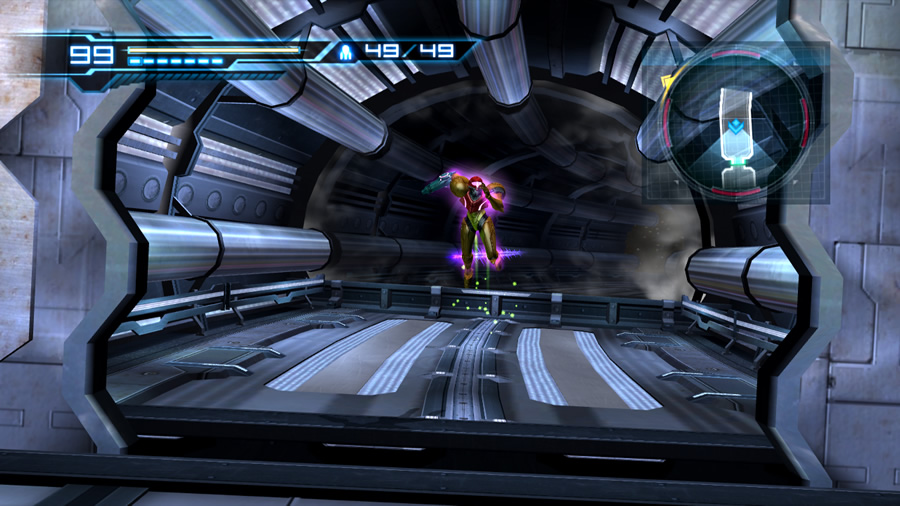
But that won't do at all. The sub-screen soon appears and reveals that in a moment of quick-thinking, Samus has activated her Gravity Suit. Return to the game and she'll plummet to the floor, right at the edge of space (can you see that the entrance of the curving hallway is still visible in the distance?). A purple aura now shimmers over Samus to represent the Gravity Suit (no purple suit this time).
Now Samus can move freely around the decompressing chamber. The rest of the curving hallway will slowly detach and drift into space, so you need to stay ahead of each segment and escape, otherwise it's an instant Game Over.
Sprint through the hallway, and leap into the air if your current hallway segment begins detaching from the ship. Also leap up and fly with the Space Jump whenever a Super Zebesian moves into view - the Screw Attack will keep Samus safe from their projectiles. Don't relent and keep going, even if each segment seems to detach just before Samus clears it - you can still remain airborne within a segment while it begins drifting away.
Escape the doomed corridor before the entire structure detaches into space.
Reach the end of the marathon and Samus will automatically dive for the exit, landing safely at the end of the hallway. A second blast shield locks it tight.
Phew, Samus was right when she said there wasn't any time to grieve Adam's loss. It may have been difficult to realise during the frantic escape, but Samus can no longer receive authorisation from Adam to use new abilities anymore. That means it's game on - she activated the Gravity Suit on her own initiative once the need arose. Remember that...
Our adventures here are now thoroughly complete, so let's return to Sector 2. Save your game in the Navigation Booth on the way.
Once back in the frozen and relatively peaceful Sector 2, step through the corridor where Samus was standing when the Bottle Ship's engines roared to life. You might notice a small round hatch in one corner of this area, bearing three red lights (its little alcove even appears on the mini-map). You'll discover what this hatch is later on.
Move onward to Nightmare's chamber and descend to the base. The creature's inert remains still rest in a heap... Always remember - if a boss character's body doesn't disappear upon their defeat, something's not right (well, except for Chykka in Metroid Prime 2). Try to enter the Navigation Booth next door. Nightmare suddenly returns to life, painfully picking itself up off the floor. Despite the pained shrieks and feeble movements, you now have a fresh new boss encounter against Nightmare. Refer to the bosses guide for tips to help ensure survival against its array of new attacks.
Defeat Nightmare and a final critical explosion tears its body apart, separating the head from the arms and tail. Nightmare's thoroughly-broken remains now lie silently on the floor of the chamber. You might feel a sense of pity for the frozen pained expression on the creature's face (I did). Poor thing, why did the Federation scientists have to create such a monster?
Depart the chamber and save your game at the Navigation Booth if you wish. We now need to backtrack through the areas where the gravity had been adversely affected, but thanks to the Gravity Suit, Samus can now move unhindered.
On your way through, E-Recovery Tank S2.02 and Missile Tanks S2.15 and S2.16 can be reached, thanks to Gravity Suit assistance.

There's an item waiting for Samus in that small alcove.
Return to the start of the trail leading to Sector Zero, in the chamber where the lifeless Gigafraug rests (two Baristutes now happily play in there). From here you can freely explore any part of Sector 2 and pick up a few items now accessible, but in this walkthrough we'll leave them for now and travel to the Bioweapon Research Center in Sector 1.
Backtrack to the main elevator in Sector 2 and return to the Main Sector. From there, slip down to Sector 1 and make your way through to the Bioweapon Research Center. As you move through Sector 1, try to resist the urge to skirt off and look for any remaining items (the whole sector is now open to explore).
Return to the Bioweapon Research Center access elevator, where you originally tracked The Deleter a while ago. It's powered up and ready to go, so hop inside. As Samus (characteristically) silently rides aboard the elevator, a separate cutscene abruptly shows a battered Ridley, hiding at an unknown location.
Surrounded by his own green blood and severely weakened, we witness Ridley's final moments as an unseen behemoth enters the chamber and assaults Ridley on-sight. Samus likely heard Ridley's final scream - it won't be long before you find him...