


Data
Guides and strategies
- Techniques Guide
- Power-up locations
- Bosses Guide
- Mini-bosses Guide
- Search View Guide
- Obstacles Guide
- Walkthrough
- Game endings
- Secrets and tips
- Game maps
Media
Chapter 5: A Dark Intelligence
Unfortunately for this Geemer, the only exit is inside the specimen tank.
The first two doors in the corridor are sealed, so let's step through door number 3. Inside is the Breeding Room, and another over-the-shoulder perspective region. Step inside the seemingly-innocuous room and through the door on your left. A cutscene ensues as Samus arrives in what looks like a cage meant for the raising of animals. What she discovers there is the last thing you'd want to see in an animal habitat - a deceased lab worker.
There's nothing you can do for the poor fellow, so once the cutscene ends, feel free to look around the chamber before leaving the Breeding Room. As you step back out into the corridor, the door will oddly lock itself. So you've seen everything you need to in there.
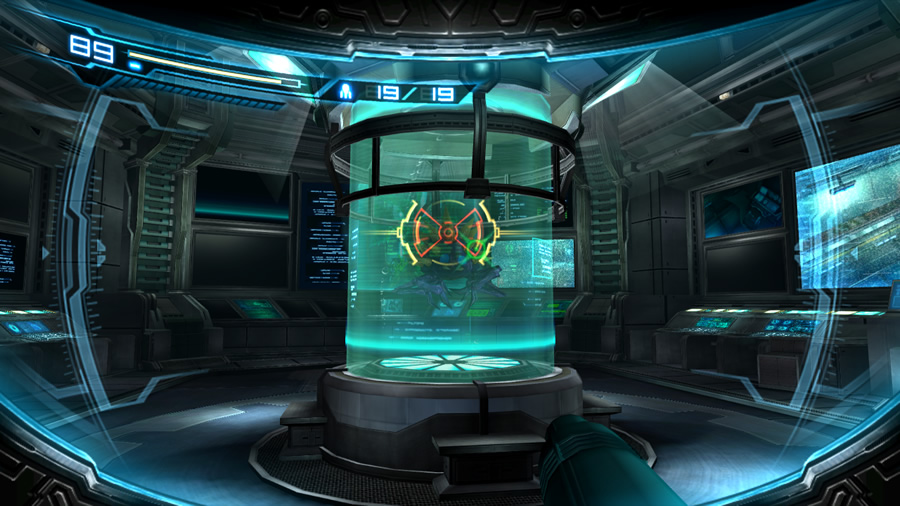
Travel back to the two-storey chamber and climb up the stairwell. We still can't breach the Super Missile blast shield, so step inside the nearby monitoring chamber and look for something that has changed since your last visit.
There's a Geemer now floating inside the central specimen tank, so let's make some noise with it. Enter first-person view and release a Missile into the target to breach the specimen tank. Activate the Morph Ball and climb inside the tank to locate a ventilation tunnel beneath it. Follow the tunnel network to find yourself back outside in the corridor containing the wildlife enclosure (which is curiously empty, even if you didn't attack the creatures in there).
Step back outside to the open-air jungle where you faced the trio of Griptian earlier. Climb down to the sealed door on the ground level. The door is still locked, but from here the camera moves to an odd low angle, showing a quivering bush in the bottom-right corner of the screen. Walk towards the bush to trigger the game's next search-view segment.
Search View segment #3 - After exiting the Breeding Room area
You'll be facing a long jungle path, which is now devoid of Wavers and Geemers. This segment shouldn't be too difficult to solve. Remain still and look for something unusual in the foliage (it might take a few seconds to see it).
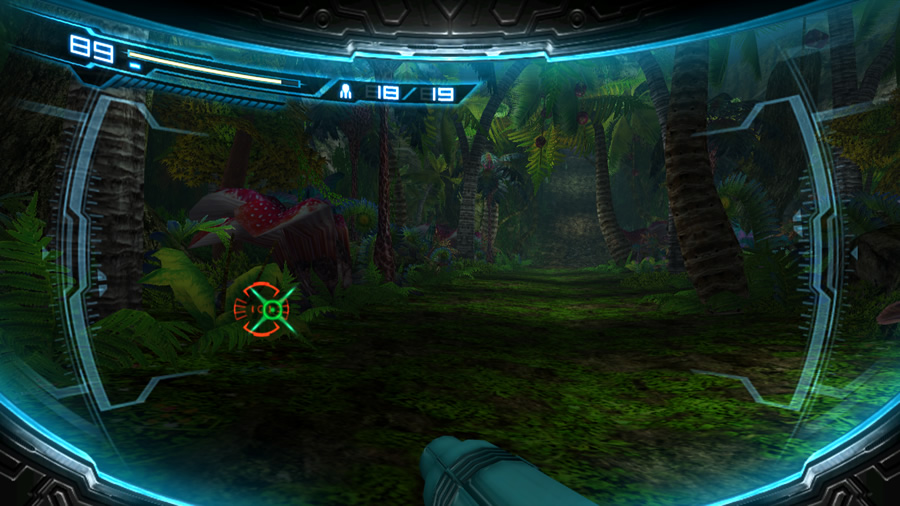 Look for a moving fern bush on the left side of the screen, then target the left-hand branch of the fern to complete the segment.
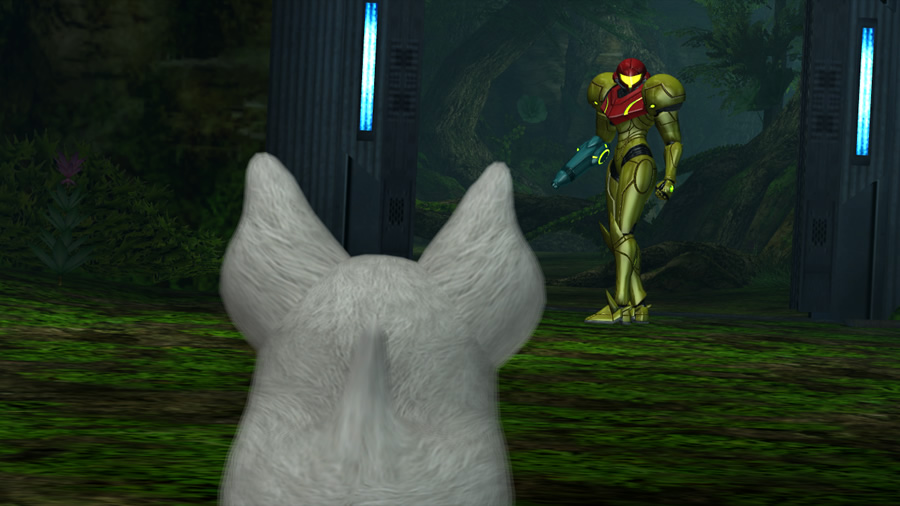
Something is watching Samus...
With the target found, out pops a very curious creature from the underbrush. The little specimen looks like a fuzzy white chicken with long bird-like legs. The playful infant is toying with a coconut-like shell and seems harmless enough. Is this creature related to the Etecoons and Dachoras Samus met in Super Metroid, or is it just a harmless resident of the increasingly bizarre Bottle Ship? We don't find out now - the creature scurries off once it spies Samus watching it.
Adam chimes in and graciously unlocks the nearby locked door, so let's get going. As you step toward the door however, a cutscene interrupts Samus' progress - someone is watching her from behind. Samus spins around as the little white chicken reappears, simply standing on the spot, gazing at Samus.
Very strange behaviour for a creature who moments ago ran for its life. Sudden eerie music doesn't help paint a good picture for this little fella, but the creature presents no danger to Samus so she simply turns and leaves it to its own devices. Was that a mistake on her part?
The next chamber lands Samus in the strangest place yet... A thick and lush forest stretches out beyond her, with a deep blue sky permeating the air above. Have we just teleported to the surface of a nearby planet? Spin around and look at the door behind you - it's gone! All that you can now see is a pathway stretching into the distance, looking nothing like the chamber you just left.
Try and backtrack - Samus will smack into an unseen wall as a visible distortion appears on impact. So is it all just an elaborate hologram, simply emulating the look of a real planet? (I wish it wasn't...)
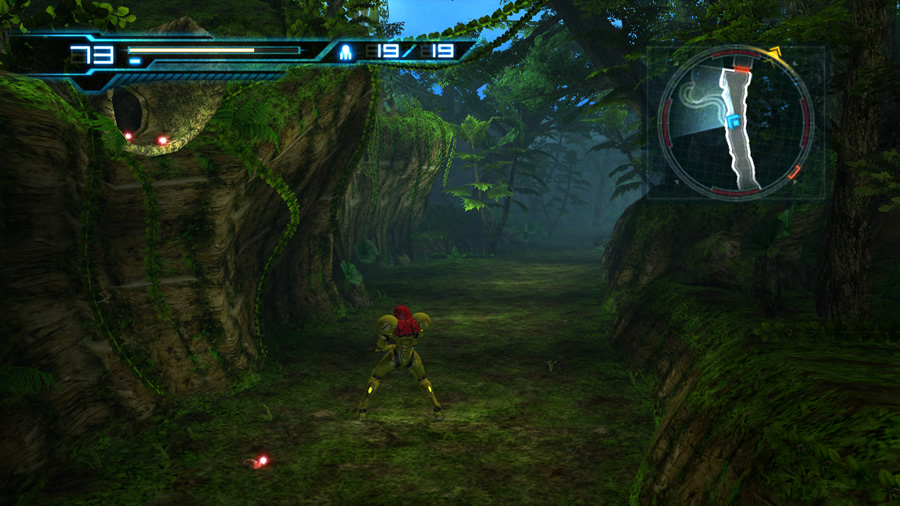
A beautiful forest path in outer space.
Follow the real path up ahead and take care as you pass a pair of Fly Pods. Clear both out and any emerging Reo if you wish. Following the path as far as you can will eventually result in Samus striking another invisible wall, even if the path looks like it continues onward. Listen carefully, can you hear a nearby mechanical humming sound?
Enter first-person view and look up at the cliff on the left side of the path. See the rotating yellow pylon? That device is a hologram generator, responsible for keeping the illusory environment active. Now we just need to get up there and switch it off.
Backtrack down the path and look closely for a dirt tunnel up on the left side. A sequence of cute glowing bugs migrating out of it should help you identify the opening. Climb inside and follow the earthy tunnel to arrive at the semi-transparent hologram generator.
Step up to the terminal beside the generator to power it down. Watch as the illusion wall dissipates into a metallic wall, complete with an unlocked door. The blue sky has now also disappeared, and the door you entered this region via is visible. Be sure to pick up Missile Tank S1.02 before leaving.
Exit the forest and step through the following corridor, overrun with a pack of Geemers. The door at the far end is locked tight, but there's also a Sensor switch directly above it. Enter first-person view and energize the switch to activate the pest-control system, knocking out all the Geemers in the process. The door will unlock, allowing you to arrive at the next crazy destination.
Beyond here lies another illusory world: a lush desert environment complete with alien clouds and sun. A waterfall cascades down a rocky cliff up ahead, producing a clear river splitting the region in two. The rocky cliff overlooks the entire area which is otherwise a dead-end, so we'll need to find a way up there. The hologram generator is visible up near the entrance (and a large rectangular object appears to be hovering in mid-air on the far side of the canyon).
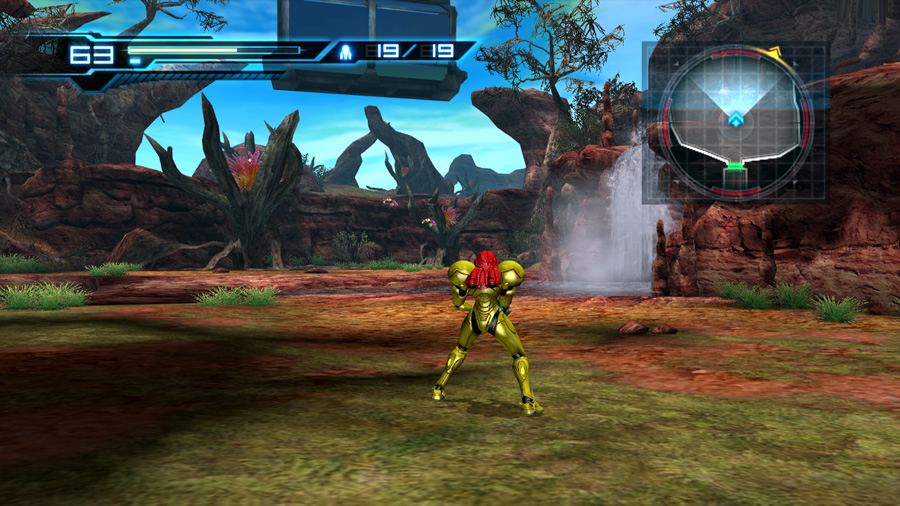
From the forest to the desert in a matter of seconds.
Step forward and watch out for the Reo zipping about the area. Eventually you might spot more Reo swarming out from behind the waterfall - enter first-person view and look through it to discover a Fly Pod hiding in a cave. Clear the Fly Pod and walk into the hidden cave to discover a small opening in the rock wall. Use the Morph Ball to crawl through - follow the tunnels around to eventually find yourself up atop the cliff (use a bomb to clear the obstruction at the end).
The view from up above is quite pretty. Attempts to travel north into the open plain beyond will be hindered by an invisible wall. Right above here is the large floating rectangle, so it must be attached to the real wall. Another curious sight awaits just ahead - a large glistening creature lies fast asleep on the grass, snoring gently. Leave the beast to its slumber and travel around to the hologram generator at the far end of the cliff.
Activate the terminal to power down the generator and reveal the chamber's real dimensions. A wall solidifies on the northern face of the area along with your exit. Unfortunately, that unseen monster from earlier lets loose another of its shrieks, awakening the nearby slumbering creature. Three Sidehoppers also leap down from above to give Samus grief. Take care with these three foes and deal with them quickly before the larger monster wanders over.
The now-wide awake creature is called a Dragotix, and inexplicably possesses two heads on either end of its body. Check out the mini-bosses guide for more information, but seeing as the doors aren't locked and the creature seemed so peaceful moments ago, feel free to bypass and leave it be. Travel over to the corner where it once slept to find a narrow shaft set in the wall. If the Dragotix is stuck inside the shaft, backtrack and exit the room (or barge in and quickly jump up the wall!). If you leave the room, return and the Dragotix will break free. Wall jump up the shaft to locate the exit.
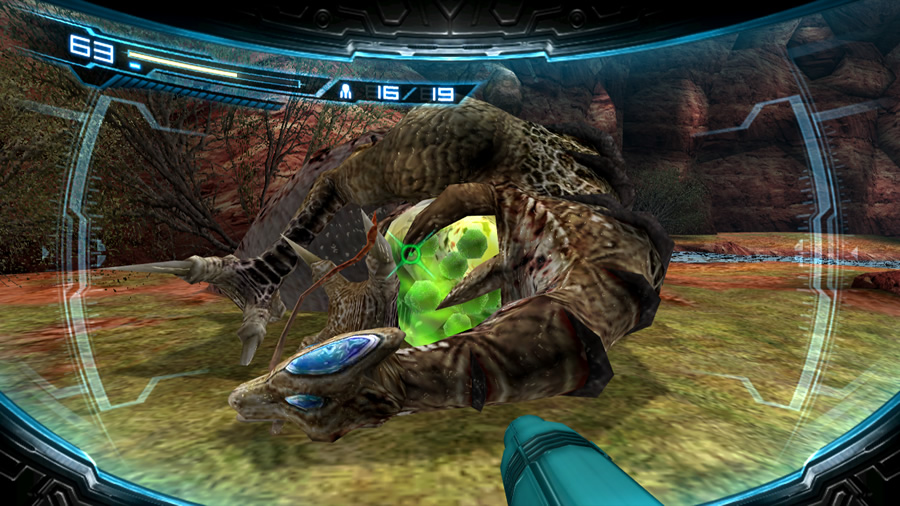
Don't wake the two-headed space monster...
Step through to find a cleaner corridor nonetheless infested with Geemers. A Sensor switch hides above the entrance; energize it to release the pesticide and deal with the Geemers if you wish, but don't forget to pick up Missile Tank S1.03 before leaving. Move onward and proceed through the next narrow corridor, taking care as you pass by the clustered Wavers. At this point if your health is low (on Normal or Hard mode) you might want to shoot down the Wavers from afar rather than risk further damage among them.
Walk through the curving corridor to locate a steep slope; this one is also overgrown with thick spiky vines. Slide down the slope and try your best to time your jumps over the obstructions. Step through the door at the base to locate the welcoming sight of a Navigation Booth. Save your game before moving on.