


Data
Guides and strategies
- Techniques Guide
- Power-up locations
- Bosses Guide
- Mini-bosses Guide
- Search View Guide
- Obstacles Guide
- Walkthrough
- Game endings
- Secrets and tips
- Game maps
Media
Chapter 4: Space Jungle
Foliage on board a starship? I guess they'll never run out of oxygen...
This chamber houses the main entrance points for Sectors 1-3. At the moment only Sector 1's elevator is open, so let's jump right inside. The ride down is fairly uneventful, except for a computerised voice warning travellers of the dangers inherit in Sector 1 and to avoid wandering around alone... Great.
Upon arriving in the Sector 1 foyer, the voice continues looping its warnings in a distant echoed tone (it's actually a really great mood-setter). Exit the foyer via the eastern door to locate the familiar white glow of a Navigation Booth. Save your game to unlock the door ahead and reveal a sizeable chunk of Sector 1 on your map.
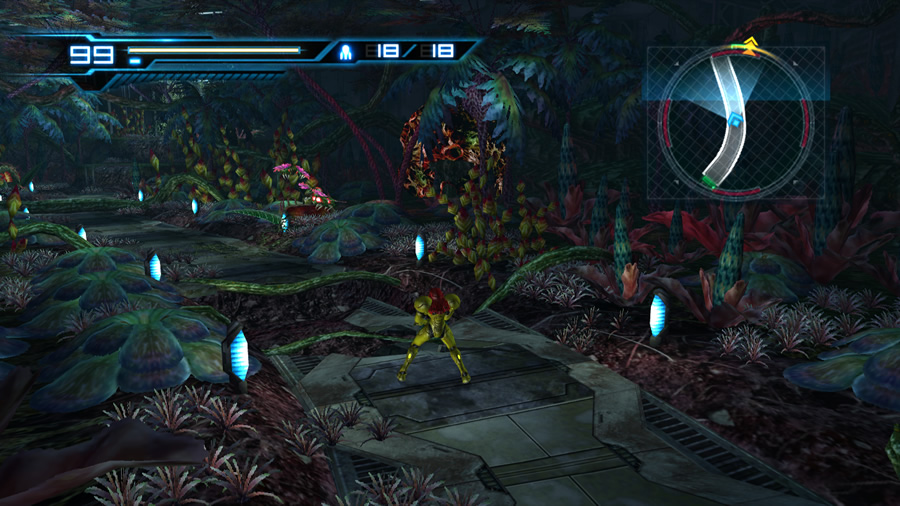
Depart the Navigation Booth to enter the Biosphere (Sector 1's formal name). Step through the following L-shaped corridor to arrive in the first of many unusual locations aboard the Bottle Ship. An enormous chamber filled with all manner of lush plant life stretches out - the metal walls and ceiling are almost completely covered in vegetation.
A path twists and turns among the foliage, and somewhere up ahead you might spot a swarm of Reo popping out from a nearby Fly Pod. Follow the path through the chamber and take care near the pesky flying bugs, but don't be too worried about them. Two Fly Pods inhabit the region, and both possess a curious overgrown Venus fly trap creature nearby. These specimens, known as Grippers, are busy eating any Reo unfortunate enough to wander too close.
The end of the winding path presents an overgrown door up above a ledge. Climb up and enter first-person view, then deliver a Missile into the dense foliage to clear the door. Step on through and keep your ears open - hear a strange chirping sound? Keep moving forward to locate an enlarged circular chamber, bordered with glass windows and dense foliage.
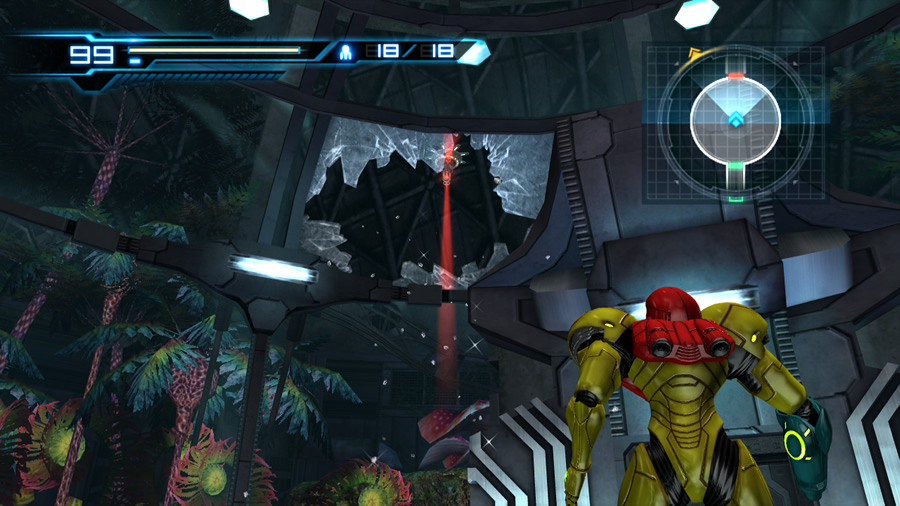
Something broke that glass window - where is it?
The exit up ahead is locked, and something promptly smashes through a nearby glass window. We see the remains of the window, but not what caused the damage. You'll hear the chirping sound again before a large chameleon-type creature appears on Samus' right. The creature immediately attacks Samus with its tail in an attempt to grab and hurl her across the chamber. If you're fast enough, very quickly use a Sensemove (just tap the D-Pad in any direction) to escape from the creature's opening attack.
Don't worry too much if you're caught, just press the D-Pad and fire rapidly to eventually break free. Several enemy encounters throughout the game will operate in a similar fashion, where an enemy will suddenly attack Samus and can harm her immediately if a Sensemove isn't performed. So keep your wits up and don't hesitate to use it!
Back to the fight at hand. These purple beasts are known as Ghalmanians and can willingly deploy a cloaking effect to render themselves invisible to the naked eye. There's two of the pests to deal with here, so feel free to refer to the Ghalmanian entry in the mini-bosses guide for tips to take them out.
Clearing all hostiles will unlock the chamber and allow further progress. Take note that this won't be the last enemy encounter you'll face in this circular arena, there's plenty more later on... You might also spot a hovering object through the broken window - that's this game's version of a Grapple Point. It can't be used until Adam grants permission to use the Grapple Beam (grumble grumble).
Exit the chamber and move north through a partially overgrown corridor (don't worry about the Fly Pods up in the ceiling). Beyond here you'll discover what is likely the largest chamber in the game. This is essentially Sector 1's arboretum - the chamber is home to a ridiculously massive tree winding up the centre, complete with colossal roots and vines snaking out in every direction.
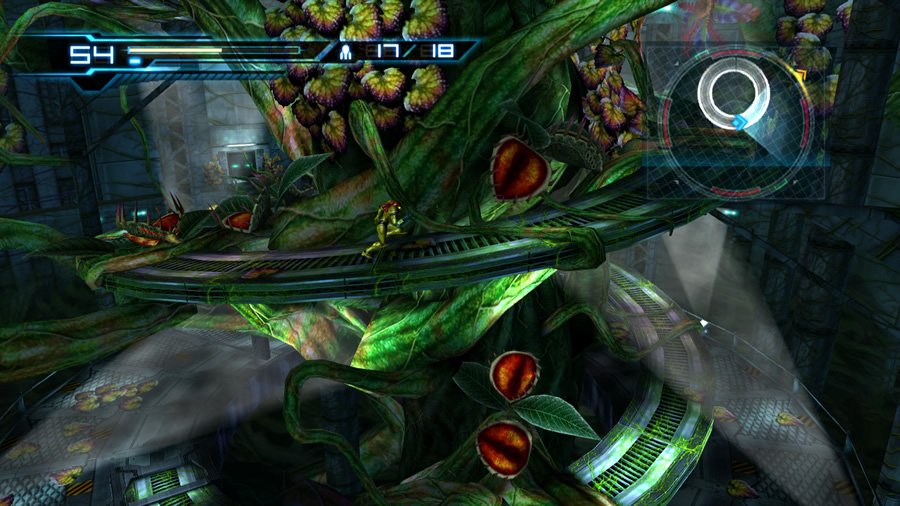
This tree defies the tallest sequoias on Earth.
Step into the chamber and move towards the tree itself. Our next target location is high up on the western wall, so look for a winding platform up around the tree to begin your ascent (feel free to explore further north, but you'll eventually reach a dead-end that requires the Grapple Beam to proceed).
Begin climbing up the sloping ramp and take extreme care as you pass what look like Venus fly traps in the background. The first batch is harmless, but the second and third are not so.
Keep a close eye on any brightly-coloured ones, as these inanimate Gripper come to life and immediately try to snack on Samus when she moves too close. If you're caught, just press everything rapidly to eventually squirm free. Otherwise, be ready for the creatures to come to life, then instantly perform a Sensemove to avoid the attack. Once the Gripper is moving, stand back, enter first-person view and fire a locked-on Missile to easily conquer them (but if you Sensemoved higher up the ramp, feel free to carry on).
Survive both Grippers and take an easy stroll up to the top of the tree. At the top, follow the platform leading away from the tree and watch out for invading Geemers. The exit on the western wall is covered in thick foliage, so use a Missile to clear it away (deal with any Reo and their Fly Pod on the nearby wall if you need to). With the door clear, step inside the Navigation Booth and save your game to receive more of Sector 1's map.
The next Navigation Booth is some distance away to the north-west, so let's get going. Exit the chamber and carefully proceed through the next corridor, taking care around the awakening Wavers. These little fellas tend to fly about in their own classic Metroid way, but can unexpectedly lunge towards Samus. Either move through quickly or keep tapping the D-Pad for a well-timed Sensemove dodge.
Leave this corridor to locate a vast hollow tunnel twisting through what looks like an underground cave. Take care near the pair of Grippers ahead - step close to awaken them and Sensemove backward to avoid harm. Fire Missiles at them from a distance (stand atop the thick vines on the ground to make a clear shot).
Follow the blue light in this tunnel to score a mandatory Missile Tank.
Once the path is safe, step forward once the path is safe to find yourself looking down an enormous slope. Walk onto the slope and Samus will automatically begin sliding down the terrain. It won't be a smooth ride however, thanks to thick spiky vines blocking the tunnel. Move Samus around the obstructions and jump over any that block the entire passage (timing your jumps can be hard, don't worry if Samus takes a hit).
A lush jungle greets Samus at the foot of the slope. You can't walk back up the slope (only the Speed Booster can do it), so let's see where this jungle leads. Watch out for the local Wavers and Geemers slinking around the underbrush, but don't worry about attacking them all.
Take a few steps through the jungle path and listen as an inhuman shriek emanates from somewhere out-of-sight. All the little critters will quickly hide as a new threat emerges from the far end of the chamber.
The invader is a rolling oversized armadillo known as a Griptian, and has not arrived to wish Samus well on her journey. You'll face three of these foes before clearing the chamber, so feel free to refer to the mini-bosses guide for tips to deal with them safely (they'll give you plenty of practice with Overblasts and Lethal Strikes).
Once the Griptians are gone (curiously, they weren't the source of the shriek heard earlier), all the Geemers will come out to play again. We've got better things to do than play with the little critters, so make your way to the western end of the region. There's a sealed door at the far end of the chamber, so instead we'll climb up to the door where the first Griptian appeared.
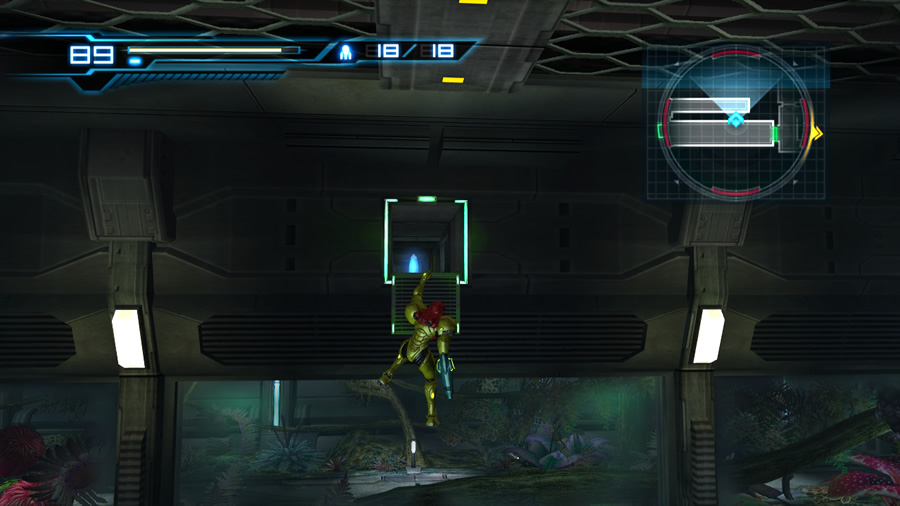
Step inside to locate a corridor home to a habitat enclosure, not unlike one you might find in a modern-day zoo on Earth. The enclosure runs the length of the corridor and houses a few Wavers and what look like mini-Grippers (called Poison Grippers). There's a small broken section in the glass near the door, which is curiously a perfect size and shape for the Morph Ball to squeeze through. It's just a ruse however, as there's nothing to be found inside the enclosure apart from the locals.
Step down to the far end of the corridor to locate something of interest. The door there is sealed by a blast shield that registers in first-person view as a Super Missile blast shield. Without Super Missiles we're out of luck, so instead look for a small open duct up on the wall nearby, above the window of the wildlife enclosure.
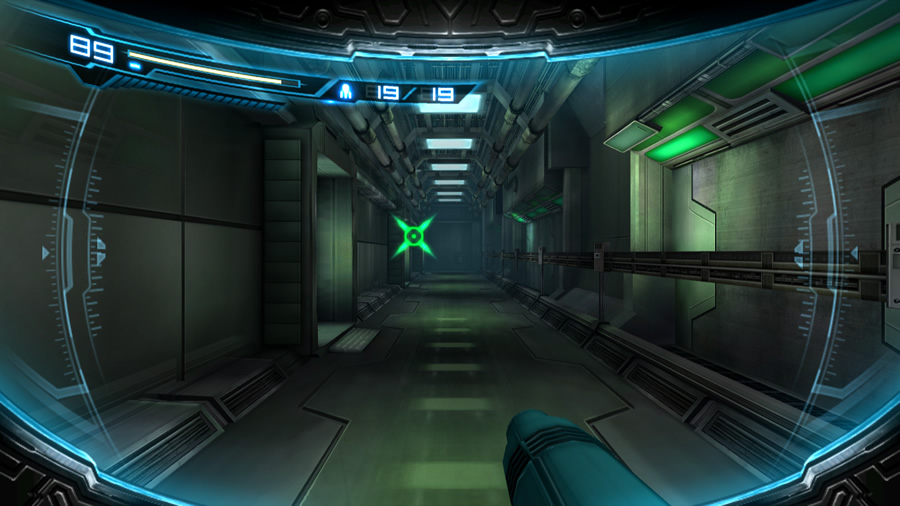
This is an unassuming corridor, but the music helps fill it with dread.
Climb inside the open duct and roll through the ventilation shaft network. On the way you'll snag Missile Tank S1.01 while the Poison Grippers emit strange bird-like noises from below. Follow the vents to find yourself deposited in a two-storey chamber, right on the other side of the door covered with the Super Missile blast shield.
The nearest door to Samus opens to the blast shield, so instead take a look through the other door in the corner. Inside lies a fancy observation chamber fitted with several monitors and a central glowing specimen tank.
There's only eye-candy in here, so step back outside and climb down the stairwell. There's a map on the wall near the exit on the lower floor. It represents this sequence of rooms you're exploring, so there must be some significance to this area.
Step through the door to locate a long corridor housing three doors along the western wall. The music unexpectedly switches to a rather ominous and moody melody here, so we must be on the right track.