


Data
Guides and strategies
- Techniques Guide
- Power-up locations
- Bosses Guide
- Mini-bosses Guide
- Search View Guide
- Obstacles Guide
- Walkthrough
- Game endings
- Secrets and tips
- Game maps
Media
Chapter 9: The Bioweapons Plot
Something helped itself to all these rations - it likely wasn't human.
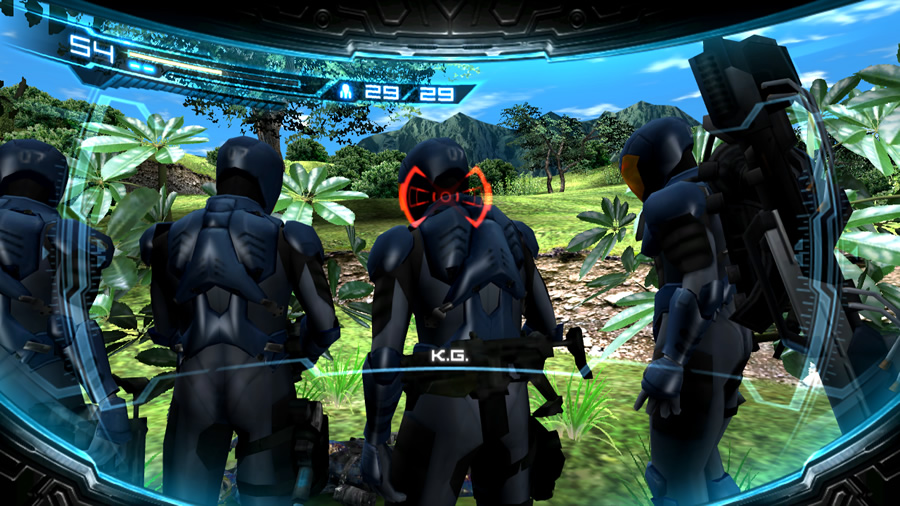
The game sends you into an over-the-shoulder viewpoint, so simply walk forward through the door to trigger a cutscene. Samus quickly learns that David Beckham... er... I mean James Pierce, has already arrived. K.G., Anthony and Maurice duck inside moments later, but Lyle is nowhere to be found (uhoh). Maurice begins working at a large computer terminal while the others scout the area.
Once you've regained control of Samus, feel free to look around the large observation chamber (the view outside is quite nice, but the music still doesn't match that sunny blue sky). You can't leave through the pried-open door, so instead we'll follow Anthony up the stairs in the south-eastern corner. Through the door lies another handy Navigation Booth; save your game to unlock the exit ahead.
Step through the locker room beyond the Navigation Booth to find yourself facing a red locked door. By now you might be sick of Samus' slow walking pace in this viewpoint, but we're stuck with it for now (I guess Nintendo thought that it would add to the moody atmosphere).
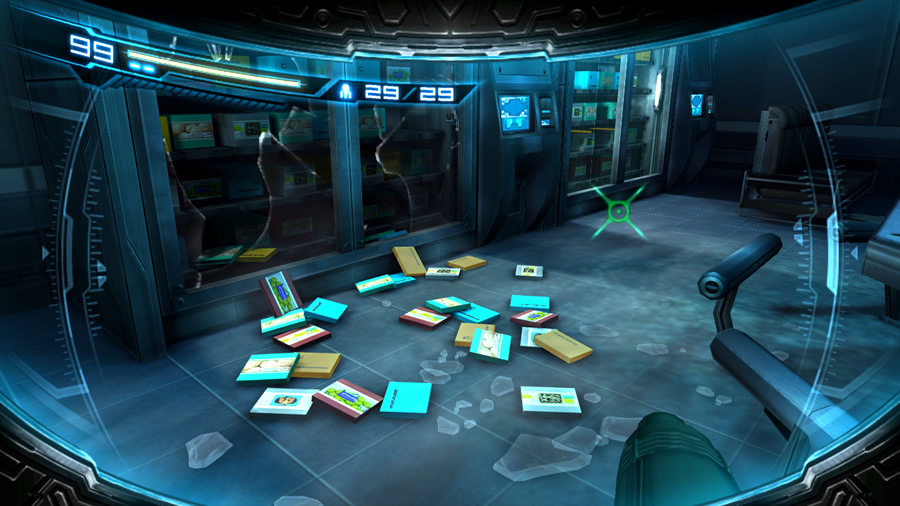
Turn right and step through the almost-pitch-black corridor. A small alcove halfway down houses nothing, so keep going to the far end. Exit the corridor to find the scientists' mess hall - a large chamber filled with lounges, vending machines and even a recreational speaker system. One of the vending machines is busted open, spilling its contents and frigid air into the chamber. The scattered litter and paper doesn't help soften the atmosphere - this place has been long abandoned.
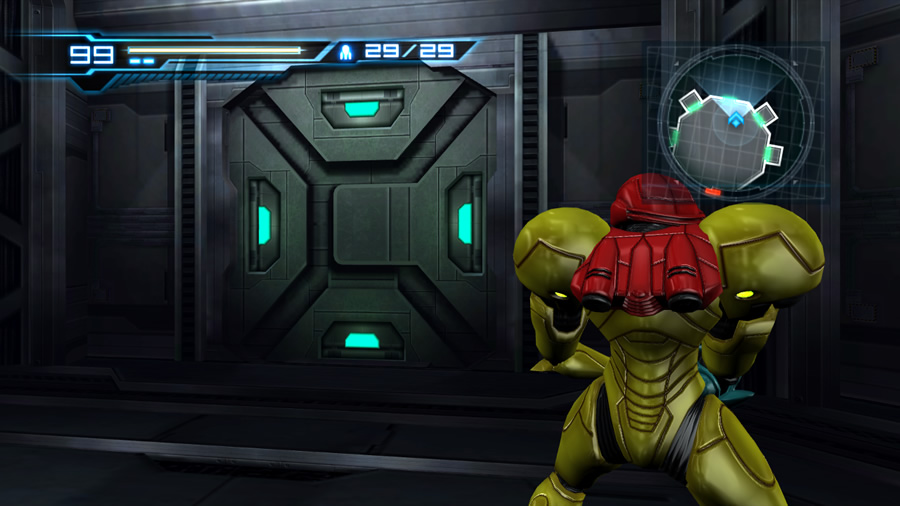
What's behind door number 3?
Step around the mess hall and exit the chamber. Move through the next damaged hallway to arrive in a roomy operating theatre. Large (empty) stasis tanks line the chamber, surrounding an operating table. K.G. and James are busy doing something at the table. All you can do is target and identify them, so let's leave them to it and keep moving.
Exit the operating theatre and step through the next corridor. Beyond here lies a small antechamber - move through to locate a large and roomy empty chamber. An incessant beeping sound permeates the air here, and as Samus enters the chamber you'll be shown a close-up of something glowing blue. The door then locks itself behind Samus, so we'll need to find the source of that sound to proceed.
Five doors line the walls around the chamber, so which one do we choose? If you try door numbers 1, 2, 4 and 5 (counting from the left), only small empty chambers present themselves. So door number 3 must be our target, coincidentally the door that lies directly opposite the entrance of the chamber. Opening this door will trigger a cutscene, revealing the source of the beeping sound.
A large inactive creature, roughly the shape of a classic Zebesian, falls forward and flops to the ground.
Search View segment #5 - Inside the Exam Center (1)
The dead Zebesian lies inert on the floor as Samus inspects it. This is a tricky segment, as you need to look for something very tiny on the body of the Zebesian that helps identify where it came from. The identifying mark is on the upper body.
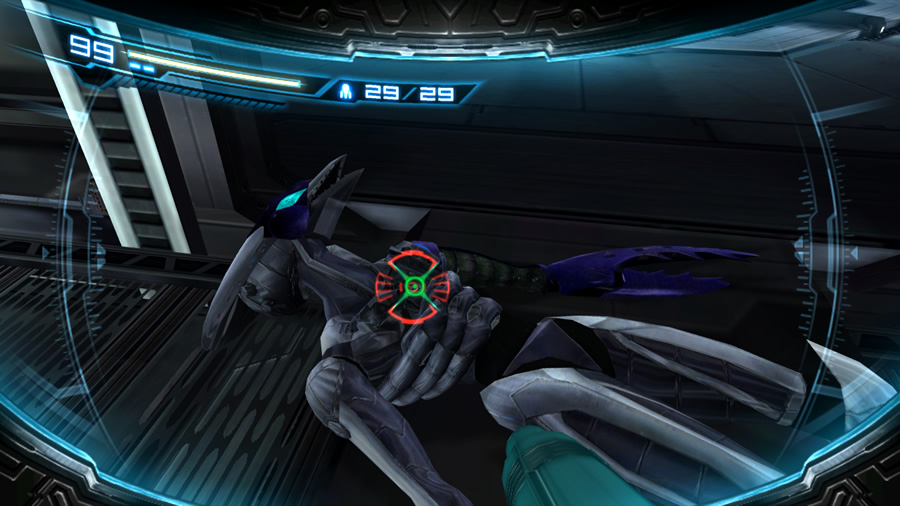 Target the tiny Galactic Federation emblem on the Zebesian's damaged chest plate, right below the creature's neck.
The following cutscene begins to unravel the true nature of the Bottle Ship, as Maurice calls everyone back to the main computer room. We learn that the Galactic Federation's plans for the Bottle Ship were to raise potential bioweapons (sounds very much like a precursor to the events in Metroid Fusion, so where do they keep the likely Metroids here?) and that the person in charge is one Dr. Madeline Bergman.
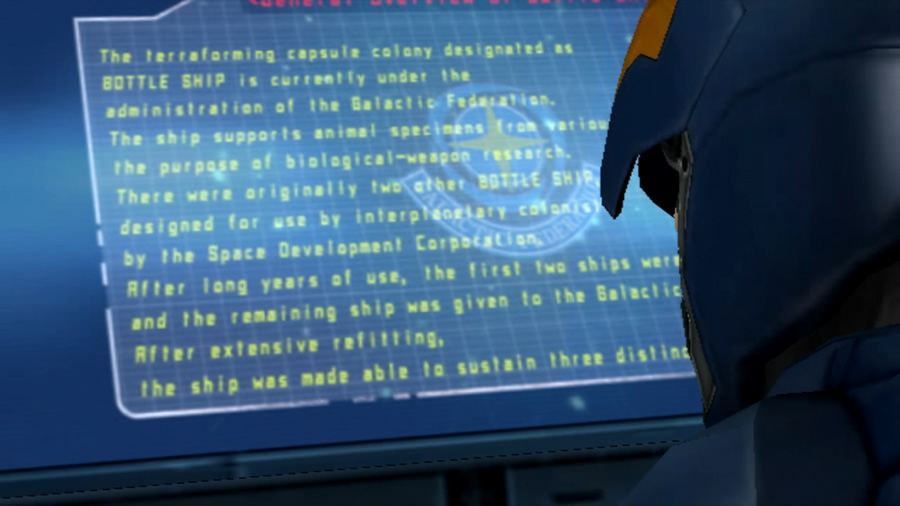
Maurice unlocks some of the Bottle Ship's history.
Maurice continues his work at the main computer while the other three troopers search the building for Madeline (still no sign of Lyle...). Once you regain control, head up to the Navigation Booth and save your game on the way through. The music has now changed to a sprightly little intriguing tune, so let's see what else hides in walls of the Exam Center.
Beyond the locker room you'll find that the red locked door from earlier is now open. There's nothing else to be found down at the chamber where you found the first Zebesian, so let's see what lies beyond this unlocked door. Step through to an elongated meeting room where the scientists were no doubt once busy planning their bioweapons. Anthony and K.G. are searching through some scattered paper on the floor at the far end, and it looks like James is investigating elsewhere.
Exit the meeting room and step through the next corridor to locate another antechamber, similar to the one you found outside the Zebesian's chamber. Sure enough, inside lies another airy circular chamber. Small corridors wrap around the outside perimeter. There's no immediate sign of anything in here, so let's take a look down one of the surrounding corridors.
However, as you step towards one of the corridor entrances, a single drop of liquid falls from the ceiling. Samus whirls around and enters first-person view, ready for the next search segment.
Search View segment #6 - Inside the Exam Center (2)
Seeing as there's nothing down on the floor of the chamber, why not search for the source of the falling liquid and look up? (turn up the volume too, can you hear faint noises coming from somewhere?)
 Several very-much-alive Zebesians are clinging to the ceiling - simply target one of them to end this segment. You can also look up and target one of them as soon as you enter the chamber, without walking forward and waiting for the liquid to fall.

Why is this creature so vicious toward Samus?
We'll now be dealing with these old friends, which are apparently upgraded with cybernetic enhancements. But if Zebes was completely destroyed, what are these guys doing here?
We'll find out later, but for now you'll have 7 Cyborg Zebesians to fight. Check the mini-bosses guide if you need help dealing with them, and take extra special care on Hard mode - their weapons can very quickly drain your single Energy Tank. Don't let them surround you, and use Overblasts as much as possible.
Once their numbers drop to around two or three left, the remaining hostiles will likely retreat into the surrounding corridors - simply run after them and deal with each in the tight confined space. If you ever need to recharge your health with Concentration, try to hide in the surrounding corridors and use it quickly before a Zebesian gives chase. Hopefully you should have enough time before the Zebesians run after you.
Conquer all 7 targets and the door will unlock. Let's clear off before any other hostiles turn up. Adam has already called for the evacuation of all the soldiers, so let's follow them and leave the Exam Center. Return to the nearby Navigation Booth and be sure to save your game before leaving. Exit the chamber and climb down the stairwell in the main computer room to trigger another cutscene.
By now the soldiers have already made it outside the Exam Center and are currently locked in battle with a large, hairy, overgrown purple monster. The beast shrieks very much like the unseen creature plaguing Samus on her travels through Sector 1, so it looks like we've found the source. Samus briskly exits the Exam Center and rushes to aid the soldiers, but the purple monster lies in ambush. Leaping down from the building, it pins her firmly to the ground. There's no chance to Sensemove this attack so we'll have to go along with it.
The troops observe their fallen comrade.
Several Griptians and a swarm of Reo arrive to keep the soldiers busy, so you'll be dealing with this Mystery Creature alone. The battle takes place entirely in first-person view and is ridiculously frantic (that music doesn't help). Check the bosses guide if you need help surviving this encounter. Good luck on Hard mode - master the first-person view Sensemove and you'll endure!
Anthony finally comes to Samus' aid and uses his Plasma Cannon to punch a steaming green hole in the creature's chest. He tries to nail the beast with a second shot but to no avail - the creatures slams through a nearby wall and escapes the scene (I originally thought that Anthony did score a hit and the monster exploded, but unfortunately the explosion is caused by the creature busting through the wall).
The other soldiers round up the remaining Griptians and Reos before discovering an unfortunate sight nearby. Lyle's lifeless body is found, explaining why he never turned up at the Exam Center. Before any further condolences or investigations can be made, we find ourselves locked into Samus' first-person view for the next search segment.
Search View segment #7 - After defeating the Mystery Creature
This search-view segment is ridiculously hard to complete and the solution is not obvious in any way. You'll start off facing the backs of the four troopers as they observe an unfortunate sight. You need to find something of interest in this scene. It's not among the soldiers, so spin around and look for something behind Samus. It's on the ground, and it's not the damaged rover vehicle resting a few metres away.
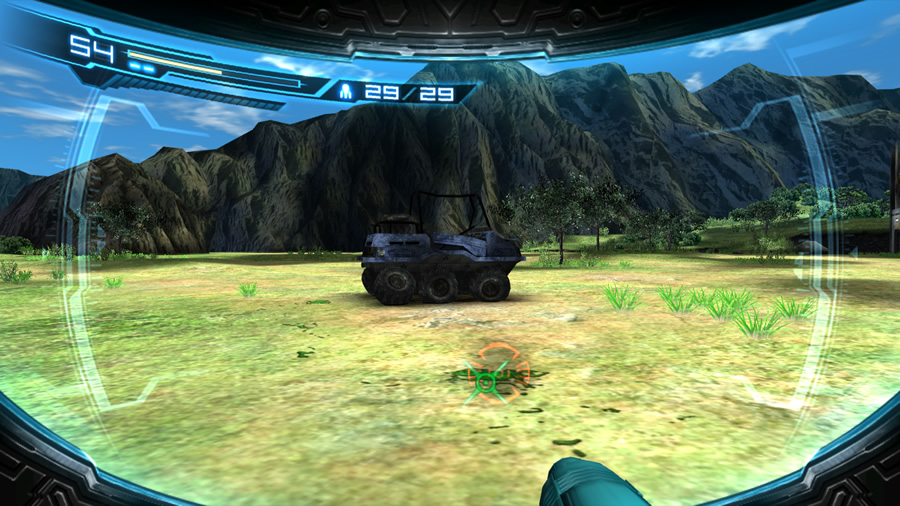 Turn around to face away from the troopers' backs and look for a splash of green blood - on the green grass - a few paces directly in front of Samus. The blood is hard to see, but it's a darker shade of green than the surrounding grass. Target it to end this segment.
The trail of green blood will direct Samus around to the other side of the blue rover, where the furry little chicken creature we've seen earlier now lies dead... How did it get here? Did that sadistic purple monster defeat Lyle and try to eat this creature? Samus moves in to investigate the corpse, only to find that the creature isn't dead, it's simply an empty discarded shell. What became of the life-form that emerged from it? We'll find out later.
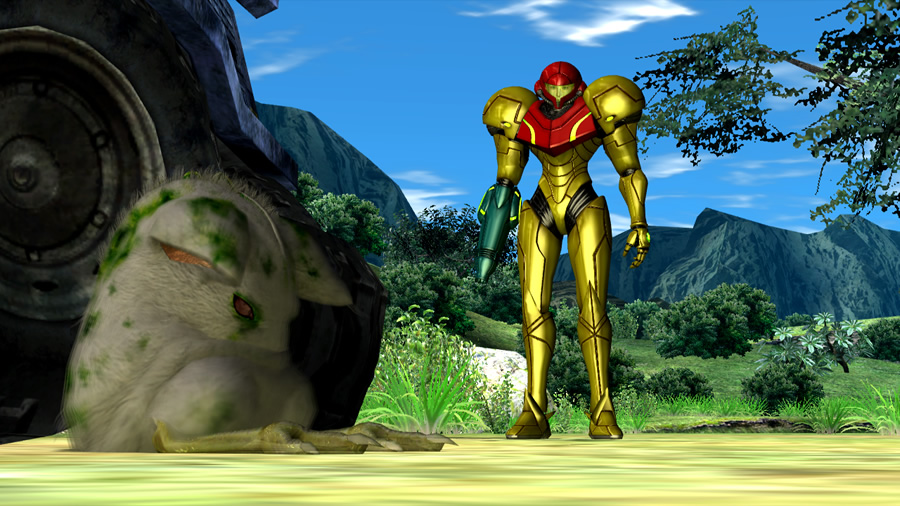
Our furry little friend has been busy...
Adam chimes in and orders Samus to follow the purple monster into Sector 3, so we're done with Sector 1 for now. Feel free to explore the idyllic scenery of the grassy plains outside the Exam Center (you can also inspect Lyle's unfortunate state). The other troopers have vanished by now, likely sent on other errands by Adam.
The only unlocked door is the one directly beneath the damaged wall where the purple monster made an improvised exit, so let's step through there. Cross the corridor to a huge elevator shaft at the far end. A cutscene takes over the action as Samus leaps down the elevator shaft, exiting the lush greenery of Sector 1 and entering the heated bowels of Sector 3.
She steps through a recently damaged corridor which is covered in splashes of green blood - clearly the purple monster stalked this corridor moments ago, and Anthony sure gave it a nasty injury. A gaping hole in the ceiling is likely where the creature fled, but we can't follow it up there. Samus ponders the current situation before we witness several explosions rocking the Exam Center, sending it imploding into a heap... Huh? Why did that happen? Once again, we'll find out later.