


Chapter 12: The Everlasting Deluge
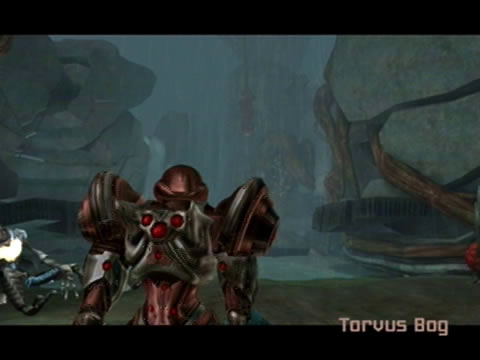
The Torvus Bog is quite a sight - everlasting rain.
Step outside the cavern for a sight completely different to that of Agon - you'll find yourself in a swampy area filled with twisting vines, waterfalls and ponds everywhere. Watch out for an ambush from Shriekbats as you enter this first rain swept area. Look skyward to see a completely overcast sky and rain pouring over your visor. Scan one of the hanging pods you see dangling from the vines - these Torvus Hanging Pods tend to hold energy and missile refills, so shoot them down whenever you spot them.
Exit this first swamp area to find the Torvus Lagoon and watch as the game introduces the Torvus Bog. Before moving forward, scan one of the many Torvus Bearerpods scattered around and scan the fallen Luminoth warrior nearby for your Logbook. If you venture closer to the lagoon itself, watch out for the small spinning creatures waiting below the surface. Scan one to reveal them as Shredders, in close proximity they'll take to the skies and try to fly right into you.
Stand back and take them from a distance. Blow open the Bearerpods if you need health, just stand back from their toxic clouds as they blow apart. See that small ledge above the left side of the lagoon? Jump up there and blow the red blast shield off the door you find. Go inside and save your game at the save station before moving on.
Back in the lagoon, you'll see a large a quarter-ring platform over beside the massive tree in the corner. Those two sealed gates on either end of the platform are connected to it, but scanning the platform reveals it has absolutely no power at the moment. The terminal to re-energize it lies behind the left gate, so no luck for now.
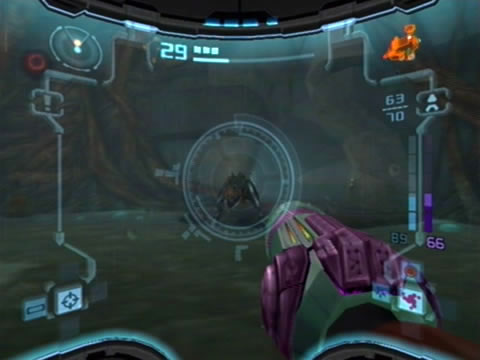
Rather, we'll be taking a dive down into the lagoon to proceed. Take a dip to find your movement and sight underwater seriously hindered. Sadly there's no Gravity Suit to help you, so just take it easy for now. Wade through the water deeper down, eventually you'll encounter a swarm of small creatures swimming around in circles. Scan one to reveal them as Hydlings. These little fellas won't really bother you, just leave them be and search for an underwater black door as your exit.

Samus can barely see a few feet ahead underwater.
Beyond here you'll still find yourself underwater with a second swarm of Hydlings swimming about. Activate the Morph Ball and roll through the ruined circular structure ahead to make it through. Once on the other side, use the underwater ledges to emerge above. Once you reach the door spin around to see an emerald Luminoth Lore Projector on the far wall, for now you can't scan it. Don't forget to scan the visible Grapple Point before leaving (again, for now you can't use it).
Past the Path of Roots you'll discover the Great Bridge - a large watery area bordering on a massive Luminoth structure. Walk forward towards the water to disturb several creatures lying underwater. They'll spring into the air and disappear, so switch on your Scan Visor and wait for them to show themselves. Scan one quickly when it appears, these Shriekers fire invisible sonic blasts at you from afar, but won't cause much damage.
For now you can only spot them when they reappear, so concentrate on each one at a time. Use the Dark Beam and keep strafing to avoid damage yourself. With the area clear have a look around. The door leading inside the large structure only leads to a narrow tunnel where you'll find your path blocked by a green door. That translator gate over in the corner is also inaccessible for now, so we'll head through the door with the red blast shield attached.
Scan one of the small red eyes you see on the walls, these Sentinel Crystals are little more than decoration, U-Mos apparently uses them as a sort of security camera. On the northern side of the area you may spot a cliff high above with a scannable control terminal there. Scanning it from below is useless, you'll only find out what it does when you enter this area through the door up there. So blow the red blast shield off the door nearby and head on through.
Grenchlers are nasty foes - keep moving to avoid their attacks.
Inside you'll find a cosy little cavern complete with a narrow tunnel. Roll through here to spot an inactive Dark Portal along with a Missile Expansion, we'll grab this later on. Beyond this tunnel you'll find yourself conveniently back at the Torvus Lagoon, this time on the other side of the locked gate and right in front of the bridge's control terminal. Scan it to raise the bridge outside and lower the gates, opening the path around to the white door nearby.
Proceed through the white door and through the next tight canyon. Use missiles on the swarm of Shredders emerging from the pond you find before moving safely through. Beyond here is a huge open area containing a large dual bridge. You'll be immediately greeted by two nasty looking two-legged creatures somewhat resembling the Sheegoths of Phendrana Drifts fame. Scan one to reveal them as Grenchlers.
These nasty customers can fire bolts of electricity at you besides their own standard ramming attack, so keeping your distance won't help unless you strafe quickly. They're only vulnerable from behind, so target one and spin around it, sending missiles and Dark Beam shots into their backs. When the back breaks off, finish it with a few more shots into the exposed area.
With both targets taken care of, take a look around. Scan one of the Bloatsacs scattered about for your Logbook, then scan the bridge above to reveal that it's possible to move the bridge, but the control terminal is not present (hint: it's on Dark Aether's surface).
Climb atop the large circular platforms protruding from the lake and climb up to the bridge. You'll spot the Bomb Slot responsible for moving the bridge but it's in a state of dimensional flux, so not much you can do with it now. Cross the bridge to find the way forward - an inactive Dark Portal. Charge it up and step on in. Once in Dark Aether you'll be greeted by a similar sight upon your first trip to Dark Agon.
Chapters:
- Planetfall
- The World Divided
- Fate of the Federation Troopers
- The Plight of the Luminoth
- The Sands of Agon
- Dark Aether
- The Space Pirate's Lair
- Samus vs Dark Samus
- Unlocking the Dark Agon Temple
- Restoring the Energy Controller
- The Journey to Torvus
- The Everlasting Deluge
- Restoring the Flooded Temple
- Taking the Fight to the Ing
- Expanding Samus' Arsenal
- The Underwater Temple
- Securing the Dark Torvus Temple
- The Path to Sanctuary
- The Mechanical Marvels of Aether
- The Sub Guardian Nightmare
- Subterranean Conquest
- Searching the Fortress
- Retrieving the Charge Combos
- Following the Echoes
- The Screw Attack Returns
- The King of all Mechanoids
- Gearing up for the Finale
- Unlocking the Sky Temple
- The Final Treasure Hunt
- Ending the War