


Chapter 23: Repositories of Chozo and Pirate Worlds
Stop by the Observatory to receive more orbital data.
Backtrack to your ship and feel free to save your game there. While we're here at SkyTown, we'll head over to the eastern region and clear out the remaining items waiting there, plus take a visit to the Chozo Observatory to retrieve more satellite data. Hop aboard your gunship and fly over to Landing Site B in Eastern SkyTown (this way we avoid the Concourse chamber where a lot of Phaazoids reside).
Upon touching down, make your way over to the Chozo Observatory from here.
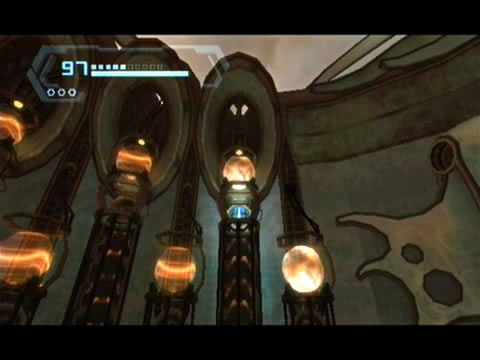
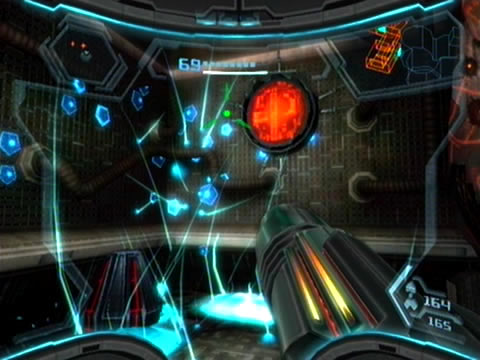
As you step inside the ancient chamber the sound of a Phaazoid discharging its shockwaves can be heard, so climb up and deal with the white sphere. With your position clear, you're now free to access three remaining Bomb Slots thanks to the Spider Ball. Near the slots you previously activated to receive info about Bryyo and Norion, one final slot resides above a Spider Ball track. Activate this one and watch as a satellite launches, granting you all the locations of every item here on SkyTown.
Rotate the tower sections to form a clear path.
Funnily enough we've already found everything, save for one item - very conveniently right next door. Be sure to activate the pair of remaining Bomb Slots over among the other set to receive Logbook entries for both Tallon IV and Aether (great for nostalgic reading). Now there's one final piece of equipment to use here in the observatory, but you'll find it at the very base of the holoprojector covered by an impenetrable sheet of Phazite armour. So we'll need to come back later once that new weapon is ours.
Exit the observatory and head for the Concourse Ventilation chamber nearby (watch out for yet another Phaazoid hiding in the maintenance shaft). Outside in the Concourse Ventilation you'll find yourself attacked by a pair of Phaazoids - one of the two contains a Red Phaazoid target so be sure to destroy it for a bonus gold credit (but don't be careless around the balcony's edge).
With the area clear take a look around for a nearby Spider Ball track attached to the wall. Climb up to eventually locate Missile Expansion ST.11 waiting very patiently on a high balcony. Give yourself a pat on the back - that's it for SkyTown. We've now picked up every item to be found here and squashed all the Red Phaazoids lurking in the region.
These Aerotroopers have upgraded their armour.
Travel back to the SkyTown Federation Landing site via the Chozo Observatory and climb aboard your ship. Say farewell to Elysia once more (but feel free to explore to your heart's content if you wish) and return to the Research Facility landing site on the Pirate Homeworld - the Hazard Shield is within easy reach now that we've secured the Spider Ball.
Touch down and head to the nearby Transit Station 1-A, we'll take the shortcut there to reach the Craneyard quickly. As you step aboard the train you may receive another communication from Admiral Dane - the Federation fleet has promptly arrived and taken up position above the planet (curiously they're not being engaged by those tri-pronged Pirate destroyers...).
The fleet's hit a snag - the planetary energy shield protecting the entire Pirate base is still active and can't be penetrated. So it's up to Samus to bring the shield down and allow her buddies to attack. Admiral Dane highlights the Command Station on your map back in the Pirate Command region as your primary target, but we'll continue onward to the Hazard Shield for now.
Once in Transit Station 1-B, step outside to the Proving Grounds and ride the lift down to the Craneyard. You'll find the region exactly as you left it before, with the Hazard Shield still waiting snugly inside a small pod attached to the large structure outside. But this time we can delve deeper into this rain swept area. Climb up the tall Spider Ball track on the western wall to find yourself inside a narrow chute. Follow the chute till you find yourself deposited inside a small chamber, right across from the Hazard Shield's position.
Space Pirates won't be afraid of diving out under the pouring rain.
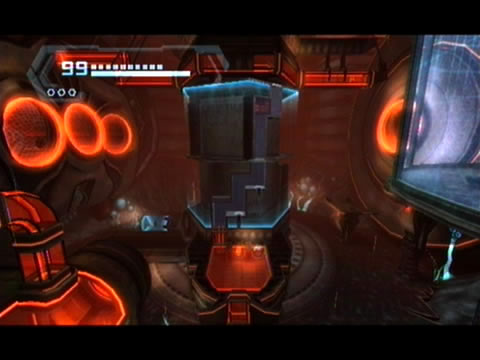
Roll through the next connecting chute to reach the base of the tall tower structure where two active Spinners reside. Each of these devices controls one of the two rotate-capable sections on the tower. Firstly, line up the pair of moveable sections so that a path cleanly leads up the right side of the tower (lay a bomb to lock in each tower section when you hear a loud clunk). Climb up to discover Missile Expansion PH.07 hiding down the end of a narrow chute.
Climb back down to the Spinners and rotate the tower sections to line up a Spider Ball track-path up the left side. Climb up and follow the proceeding chute to drop yourself off inside the command station on the eastern side of the region. You're home free from here, simply activate the nearby hand scanner and watch as a mechanical arm reaches down and picks up your prize, drawing it inside and uncoupling its housing to give you free access to the Hazard Shield.
Pick up the Hazard Shield for a set of funky new shoulder plates and backplate for Samus - it may not look like much but with this new gear you'll be able to survive outside in the caustic rain, as well as being granted the ability to take a swim in any Fuel Gel deposits back on Bryyo (you'll definitely need that later).
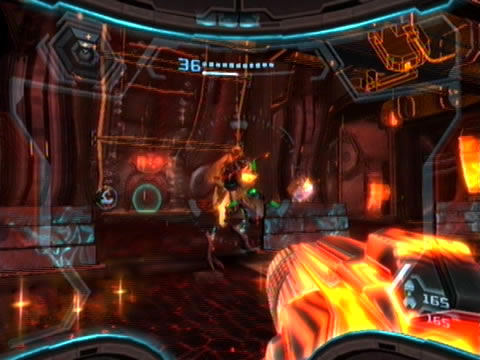
But your presence here certainly hasn't gone unnoticed. Two Assault Aerotroopers don't like you stealing the Pirate's technology, sending ballistics down to breach the orange windows covering the command station. Quickly scan one of the two targets for your Logbook before engaging. With their thick orange armour plates they'll be free from acid rain damage, and only beam fire can breach their armour - Missiles simply bounce right off.
You could always just use Hypermode to down both targets quickly (especially if they do the same), but try to breach the armour on one and send a charged Plasma Beam shot into the target before tearing his jetpack off to receive a bonus Friend Voucher (if you haven't already - remember that eventually these guys bow out of the game, so you're best to get this one early).
The Pirate lore terminals easily blend into the backdrop.
With both aerial targets down you'll be almost free to leave. A hand scanner outside at the base of the tower powers up, so let's head down there. As you jump outside in the rain you'll notice a thick orange energy shield appearing over Samus' arm cannon - that's the Hazard Shield firing up. Step towards the hand scanner and activate it to retract the glass windows up on the observation deck, granting your exit.
But your exit still isn't guaranteed. An Assault Trooper steps up and raises the alarm, summoning a pair of Commando Pirates to join the fight. The acid rain can't hurt these targets so they'll join you outside - use Hypermode to deal with them quickly as no doubt they'll enter Hypermode as well. With all targets gone we're clear to leave. Climb up the observation deck, but be sure to take in the sights above as well - the skyline here is dominated by yet more Phazon tentacles and the huge planetary energy shield.
Now that you've got protection from the acid rain (and the Grapple Voltage), we'll be clear to move through the Command Courtyard back in Pirate Command. But if you check your map now you'll see a small area here in Pirate Research we haven't explored yet, so we'll take a visit there first. Step through to the Airshaft and climb down to Metroid Processing.
Quickly cross the room and step through to the Creche Transit chamber before any loose Phazon Metroids give you trouble. Remember picking up a Missile here in the Creche Transit earlier? Take out the lone Jolly Roger Drone patrolling then step outside under the rain. Walk forward (don't worry about the pair of docile Metroids in the walls here) and leap up to the visible Grab Ledge to pull yourself up the small cliff.
This Metroid Hatcher looks very hungry...
Turn around and look back the way you came - the structure you recently exited looms high above. Around the corner here lies a massive organic Phazon blockage. Scan the spiky wall to learn that a Phazon-based explosive blast should do the trick and remove the gross barrier. So fire up Hypermode and simply let loose a Hyper Missile or two to completely eradicate the wall.
Step inside the cozy chamber beyond and be sure to scan the red Pirate lore terminal up ahead for the Taking Valhalla entry. This one reveals the Pirate's plans for the Valhalla - Dark Samus needed one of the Federation's Aurora Units to help better control the living planet Phaaze, and hence the assault on the Valhalla began. Naturally, the Pirates jettisoned any remaining Federation survivors into space, hoping to leave the wreck of the vessel as an ominous sign for the Federation.
Little did they know that leaving the ship intact will eventually prove fatal for themselves and Dark Samus (more on that later).
Step through the exit nearby to discover the vast Metroid Creche chamber. Home to a number of large vats set in the floor, take a look around the soppy wet Phazon-riddled region to find a pair of sealed Wall Jump surfaces on the far side of the chamber, blocking your passage through the exit up above. High above them lies a Bomb Slot - somehow we'll need to get up there to release the security panels. Don't forget to crack open the Phazon canisters here to retrieve health.
The Pirates move to defend the rain-swept courtyard.
Scan each of the vats in the floor to learn that these holding cells have corresponding Spinner devices used to unlock them (you can even see inside them via the X-Ray Visor). Luckily for us, one of the holding cells already has an active Spinner device. Use the Boost Ball in the Spinner to raise the holding cell out from the floor.
With enough altitude gained the cell will open, sending a gush of wind (and Samus) up into the air. You'll find yourself sent snugly into a Bomb Slot high in the ceiling, so drop a bomb to power up another Spinner on the holding cell near the entrance of the room.
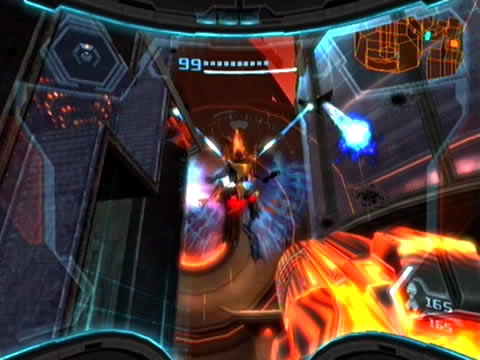
Use the Boost Ball in the newly-powered Spinner to be shunted up into another Bomb Slot. Activate this one to power up a Spinner device on the third and final holding cell. Except this one's got a problem as the Spinner hologram flickers momentarily. Without warning, the holding cell opens wide, releasing a very large - and very ugly - specimen from within.
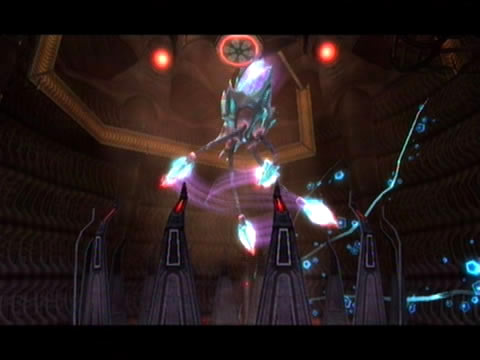
This massive tentacled beast is a Metroid Hatcher, yet another evolutionary form of the parasite thanks to Phazon exposure. The beast won't be happy to see you and is the only thing keeping you held here, so refer to the bosses guide for tips to quell this Phazon-produced nightmare.

Beyond lies the Skyway entrance.
With the creature suffering a gooey end, the Spinner device atop its former holding cell returns. Grab all the scattered health and Missile refills before entering Morph Ball mode. Roll into the hologram and use the Boost Ball to elevate the holding cell. This one blows you into a hidden maintenance tunnel up in the ceiling, where you'll roll through an unseen tunnel network before reappearing.
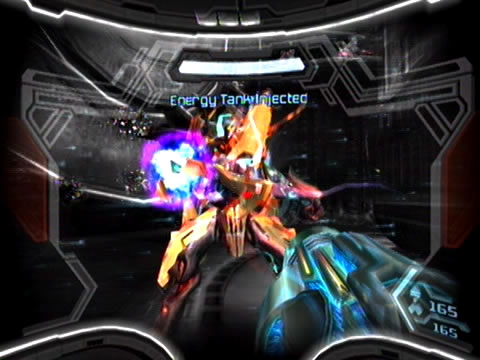
Follow the maintenance rails along until you spot a Spider Ball track up in the ceiling a short way along. Climb along and travel around the myriad of Spider Ball tracks strewn throughout the region (remember to use the Boost Ball to reach disconnected tracks). Eventually you'll find yourself deposited into a small rail where Energy Tank PH.02 resides.
Pick up your prize and fall back down to the floor. Use the Spinner again on the Metroid Hatcher's holding cell to launch yourself up to the maintenance rails again. Follow them along till you conveniently reach the Bomb Slot directly above the sealed Wall Jump surfaces.
Lay a bomb to retract the security panels, granting you free access to use the Screw Attack. Leap up the Wall Jump surfaces and head through the (finally) accessible exit. Beyond lies Transit Station 3-A, linking back to the Pirate Command region. Be sure to save your game at the save station next door if you wish. Summon the train by scanning the large panel bearing a symbol below the Pirate base chart, then simply press the hand scanner to announce the arrival of your ride.
Chapters:
- GFS Olympus
- Meet the Hunters
- The Liberation of Norion
- Heroes Corrupted
- A Broken World Ravaged by War
- The Deadly Phazon Threat
- A Fallen ally
- Samus' Gunship on the Frontlines
- Disabling a Leviathan's shield
- Heart of the Phazon Corrupter
- Chozo Paradise Among the Clouds
- Restoring Aurora Unit 217
- Hunting the Rogue Machine
- Uncovering Bryyo's Secrets
- Ghost Ship
- The tip of the SkyTown Iceberg
- Piecing together the Leviathan's Bane
- The Metroids Arrive
- Save the Second Chozo World
- The Pirate's Homeworld Unveiled
- Rescue operations in Enemy Territory
- The Final Chozo Gift
- Repositories of Chozo and Pirate Worlds
- Phazon Mines Part 2
- Breaking out the Heavy Weaponry
- Storming Pirate Command
- Join the Federation's Leviathan Strike
- Return to Norion
- Excavation of the Bryyo Ruins
- Bryyo's Final Bow
- Charting out the Ruined Valhalla
- Aurora 313's Final Message
- Ridley's Final Phazon Fight
- Opening the Wormhole
- The Source of the Poison
- The Masters of Phaaze