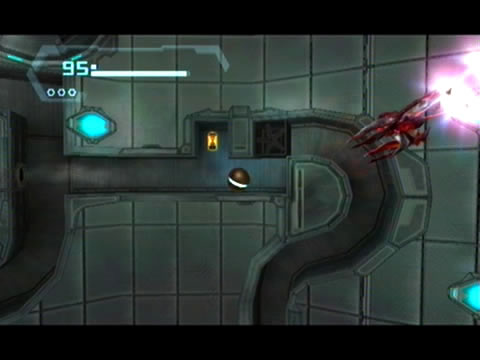
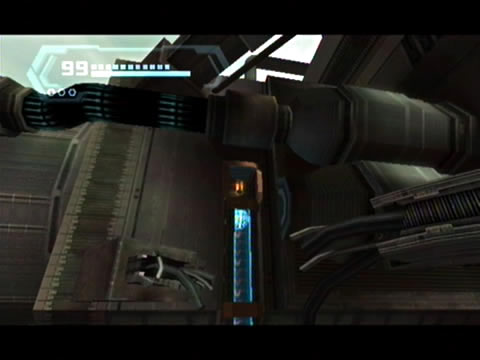
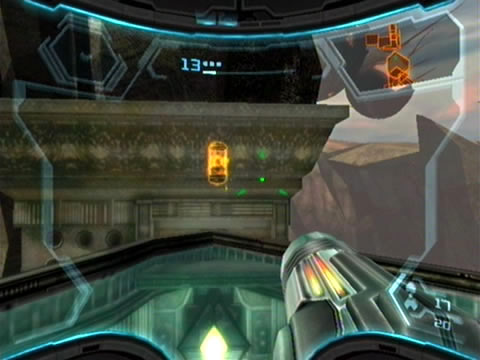
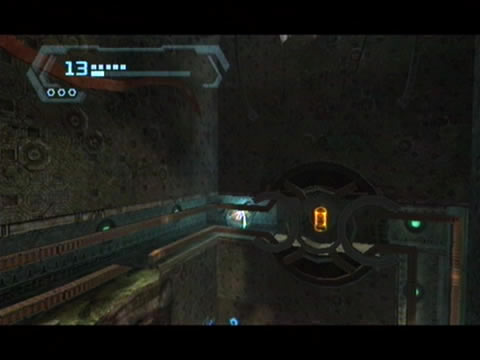
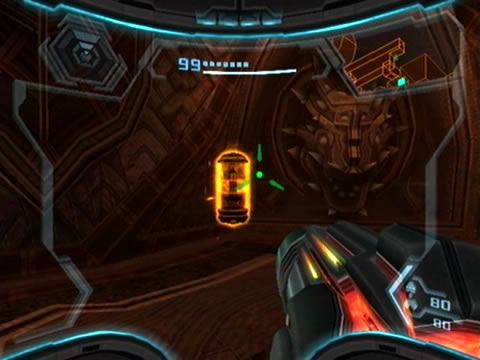
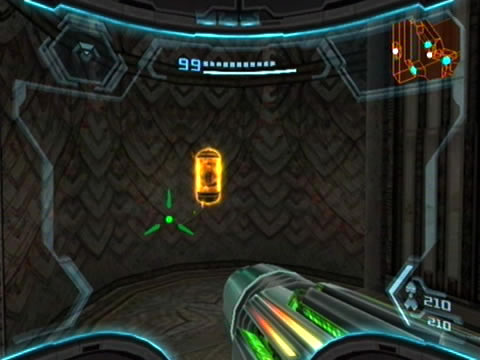
Missile locations

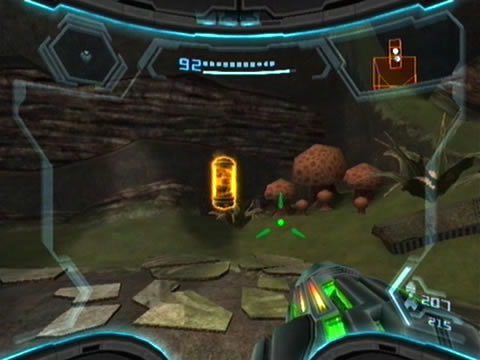
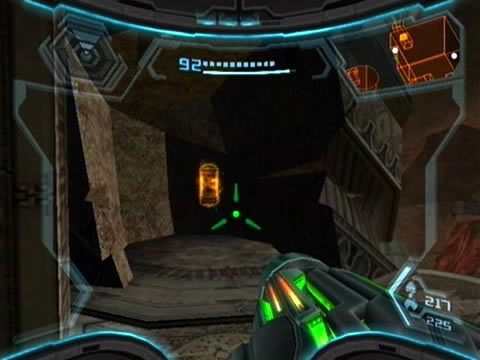
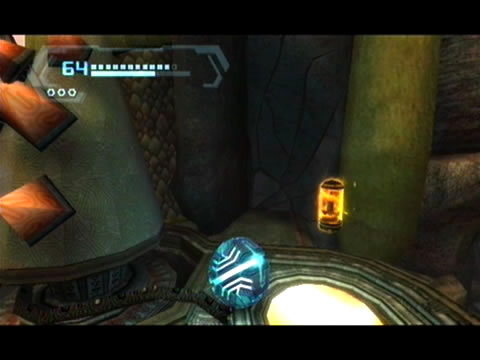
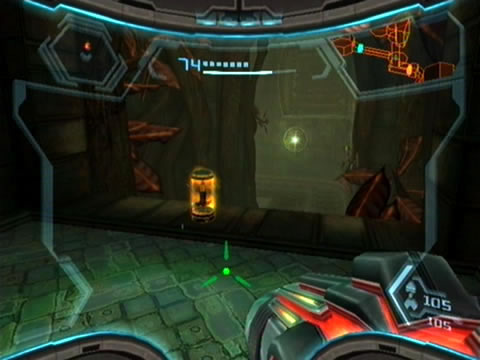
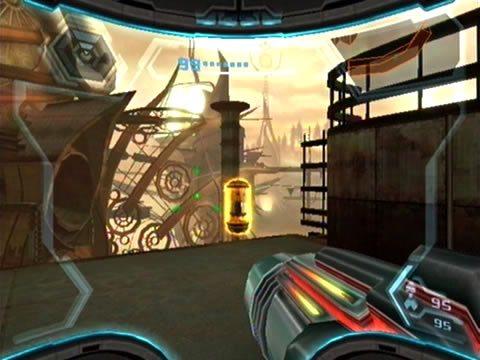
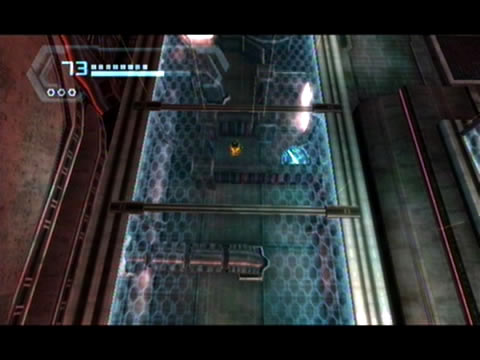
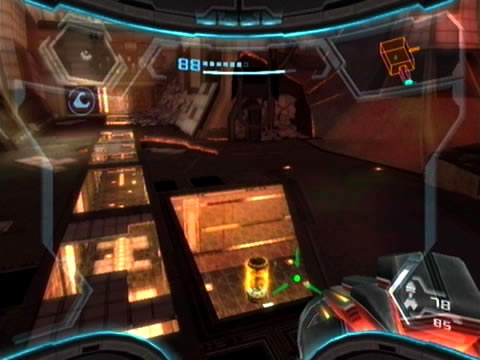
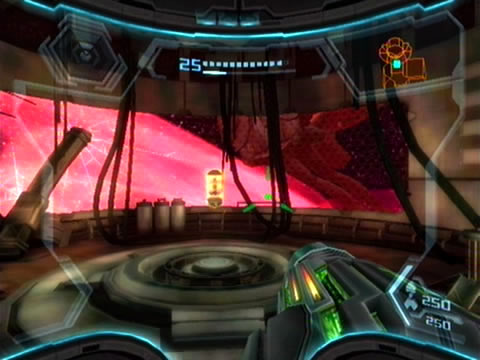
Upon receiving the Missile Launcher upgrade you'll have a whopping fifty extra Missile Expansions waiting to be found throughout the game. Each one grants you an extra five Missiles, up to a possible 255. All your Missiles will become ice-powered once you've scored the Ice Missile upgrade.

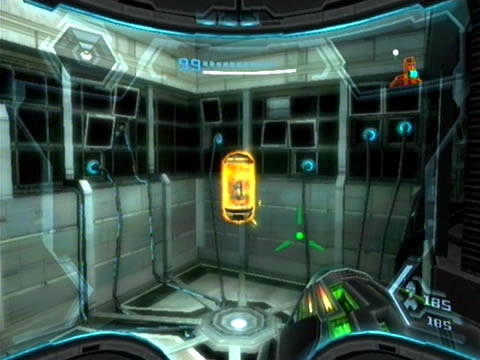
Samus' upgrades | Missile locations | Ship Missile locations
Energy Tank locations | Energy Cell locations

Norion

Click for larger view

1.

(Cargo Hub)
As you first enter the Cargo Hub you'll see a number of unfortunate fallen GF Marines scattered around the chamber. Take out the rounds of ambushing Aeromines and return to the entrance. See the small chute in the wall nearby? Use the Grapple Lasso to rip off a panel beside the chute and activate the terminal to slide it open. Roll through and make your way through the network of narrow tunnels to eventually discover this Missile hiding inside (although watch out for the Jolly Roger drone).

Click for larger view

2.

(Docking Hub Alpha)
You'll need either the Grapple Swing or Screw Attack to reach this. Touch down at Docking Hub Alpha and look for a hidden alcove behind your ship. You'll spot this Missile directly across a short chasm, simply use the Grapple Swing or the Screw Attack to reach it.

Click for larger view

3.

(Substation West)
Upon scoring the Plasma Beam from Ghor at SkyTown, return to the Cargo Hub and repair the damaged circuit panel present. Enter the following chamber and use the Morph Ball to enter the narrow tunnel lining the curved wall. This Missile awaits at the far end, but watch out for the pistons constantly extending and retracting; you don't want to find yourself pushed off onto the heated coils below. Take care while rolling through the tunnel and stay put up against pistons that aren't glowing. Time your movement to reach the Missile.

Click for larger view

4.

(Maintenance Station)
You'll need the Ice Missile upgrade to find this. Return to the Maintenance Station room and look for a white blast-shielded door. Simply knock the shield off with an Ice Missile and enter the chamber beyond to locate this Missile Expansion inside.

Click for larger view

5.

(Cargo Dock A)
The Spider Ball will grant you access to this Missile. Head for the Cargo Dock A area and look for a Spider Ball track hidden along a wall in the south-west corner. Simply follow the track to eventually find it leading straight to this Missile high above.

Bryyo

Click for larger view

1.

(Grand Court Path)
From the entrance of the Grand Court Path chamber, climb up the narrow tunnel and look for a large Fuel Gel statue resting inside an alcove on the right. Destroy it with a Missile and climb up. Leap over the gap to another alcove on the opposite wall and follow the path around. Jump across the opening where a large block of ice resides below to easily reach this Missile's alcove ahead.

Click for larger view

2.

(Hillside Vista)
On your first visit to the Hillside Vista, blow open a rock near the entrance and roll through inside the narrow network of tunnels. Gather enough Snatchers to send Samus on a skyward trip and quickly hug the left side of the area to fly up a tunnel where this Missile awaits.

Click for larger view

3.

(Crash Site)
After activating the map station aboard the downed GF frigate, go outside and head back inside the service duct you originally used to enter the ship. Climb up the network of tunnels while watching out for all the active circuitry - eventually you'll pop back outside atop one of the ship's wings. This Missile awaits right at the tip of the wing.

Click for larger view

4.

(Bryyo Fire - Main Lift)
Enter the narrow tunnel network inside the Main Lift and gather enough Snatchers to float Samus skyward. Hold left as you ascend and quickly drop a bomb just as you reach the highest platform near the Korba. Roll through the tunnel you'll find ahead to discover this Missile snugly at the end.

Click for larger view

5.

(Bryyo Fire - Gel Hall)
An easy find, simply wait for the Golem head in this chamber to rotate and face the thick yellow cable. Send a Charge Beam blast at the head to ignite the Fuel Gel and burn through the cable. With the cable torn apart a platform will promptly fall from the ceiling bearing your prize.

Click for larger view

6.

(Bryyo Fire - Gel Hall)
Once you've picked up the Ice Missile upgrade, return to this chamber and stand atop the platform where you discovered the previous Missile. See the tunnel leading around the corner out of sight? Use Ice Missiles to create handy stepping stones in the Fuel Gel; around the corner you'll discover this Missile waiting.

Click for larger view

7.

(Bryyo Fire - Gel Refinery Site)
From the Gel Hall chamber, see the white blast-shielded door on the far side of the Fuel Gel pool? Use Ice Missiles to create stepping stones and another to breach the shield. Enter the following chamber and use the Grapple Swing to pass over the deadly chasm below (shoot the red switches on each Grapple Point to extend them - and don't look down). Beyond you'll find yourself back outside at the Gel Refinery Site. Look for weakened support pipes around the corner, use the Grapple Lasso to rip it off and discover this Missile right behind it.

Click for larger view

8.

(Reliquary III)
You'll need the Ice Missile upgrade to find this. Return to the Grand Court and use the Grapple Points above to reach a white blast-shielded door hiding in an alcove. Blow it off with an Ice Missile and enter the chamber beyond to locate this Missile Expansion among two of the only Geemers you'll see in the game.

Click for larger view

9.

(Jungle Generator)
As you enter the Jungle Generator chamber you can't miss the Bryyo Lore mural directly ahead. This Missile shares the alcove right in front of it.

Click for larger view

10.

(Generator Hall North)
Upon dismantling both anti-aircraft turrets and on your way back to the Jungle Generator you'll pass through the Generator Hall North region. This Missile rests inside a sealed-off alcove along a wall, simply use the pump terminal nearby to rotate the lock open to retrieve it.

Click for larger view

11.

(Bryyo Fire - Imperial Hall)
You'll require the Plasma Beam to reach this Missile. Head to the Gel Refinery Site and melt all the ice adorning the far wall. See all the narrow tunnels etched into the wall? Use the Morph Ball and enter the network, dropping bombs on the small exhaust ports to launch yourself along the vertical sections. Move around the network, watching out for flame exhaust vents as you go.

Eventually you'll find yourself dropped off at a completely frozen door. Melt the ice and head inside. Swing around the Refinery Access to find yourself back in the Imperial Hall. Move ahead to find two moveable panels along the wall. Rip them down with the Grapple Lasso and use both to reach the alcove ahead where this Missile waits patiently.

Click for larger view

12.

(Gateway)
With the Plasma Beam secured in your inventory, head for the Gateway chamber. Climb up to the once-sealed door and enter the narrow tunnels along the wall in the chamber inside. Roll right and exit the tunnel. See the frozen Reptilicus ahead on the far wall? Melt it with the Plasma Beam to reveal a narrow tunnel. Roll through to find this Missile waiting on the right.

Click for larger view

13.

(Falls of Fire)
The Screw Attack will help you reach this. Head for the Falls of Fire and use the Golem to reach the bottom of the huge shaft. Once at the base you should spot a short series of Wall Jump surfaces leading skyward. Use the Screw Attack and climb up the shaft to find this Missile waiting above.

Click for larger view

14.

(Fuel Gel Pool)
You'll need the Ice Missile upgrade, Plasma Beam and Ship Grapple to reach this. Head for the Hidden Court and climb up to the orange door on the north side (you may need the Screw Attack to climb up successfully). Proceed through and work your way around the following region to locate the Fuel Gel Pool. Use the Ship Grapple to remove the gigantic Golem head from the pool and freeze the Fuel Gel spouts to climb up to the alcove where this Missile awaits.

Click for larger view

15.

(Fuel Gel Pool)
The Hazard Shield will help you safely reach this Missile. Back in the Fuel Gel Pool, once you've removed the Golem head by way of the Ship Grapple, dive into the oily mess and look for a hidden cave underneath the spout on the far side. Inside awaits this Missile Expansion.

Click for larger view

16.

(Hidden Court)
Travel to the Hidden Court and climb up to the orange door on the north side by way of the Screw Attack or after opening up the gate on the south side and revealing a Grapple Point. Leap across to the half-pipe and launch yourself up to the right side to find this Missile hiding in an alcove there.

Click for larger view

17.

(Hall of the Golems)
You'll need the Grapple Voltage and Spider Ball to find this. Head for the Hangar Bay and exit the region via the orange door. Move through to ultimately find yourself at the Hall of the Golems. Look for the Golem on the right and use the Grapple Voltage to power the seal covering its Bomb Slot.

Energize the Golem with a Morph Ball Bomb and watch as it powers a huge network of Spider Ball tracks leading around the chamber and up to this Missile Expansion. Use the Spider Ball and make your way across the tracks, watching out for electrical activity along the way. Use the Boost Ball and double bomb-jumps to clear the final sections of track to reach this Missile.

Click for larger view

18.

(Burrow)
Once again in the Hall of the Golems, use an Ice Missile to break the cover off the middle Golem's Bomb Slot. Energize the Golem and watch as it freezes the entire Fuel Gel falls. Climb up the frozen structure and exit the chamber ahead (watch out for the pathetically annoying Fargul Hatcher). Enter the narrow opening you find to locate a narrow network of tunnels filled with crystallized Fuel Gel. Move to the bottom and use Morph Ball Bombs to break through the formations, then head for the left side where this Missile awaits. Use a double bomb-jump to reach its alcove.

Click for larger view

19.

(Ancient Courtyard)
With the Boost Ball in your inventory, head for the Ancient Courtyard. Once there, look up at where the massive Maldium-laced gate once resided. See the Missile Expansion up there? Use the Boost Ball in the half-pipe where the gate once stood to reach it easily.

Click for larger view

20.

(Bryyo Fire - Temple of Bryyo)
The Hazard Shield is most certainly needed to retrieve this Missile Expansion, along with the X-Ray Visor and Nova Beam. Head to the Temple of Bryyo and clear any hostiles from the area. Look for a Phazite shield covering a portion of the wall on the far side and use the X-Ray Visor in tandem with the Nova Beam to strike the four switches hidden on the other side. A floor section nearby will slide open, activate the Morph Ball and dive into the Fuel Gel. Follow the terrain around to eventually locate this Missile wading in the oil in a corner.

SkyTown

Click for larger view

1.

(Transit Hub)
On your first trip to the Transit Hub area you'll spot this Missile Expansion in clear sight within a narrow tunnel. Use the Morph Ball and double-bomb jump to reach it easily.

Click for larger view

2.

(Barracks Access)
Step inside the Barracks Access and look for the Steamlord ahead looming down at you. Walk towards the laser fields sweeping across the area ahead and activate the Morph Ball. Drop down and look behind you to spot this Missile sitting not far away.

Click for larger view

3.

(Skybridge Hera)
This sneaky customer resides inside a small pillar at the Skybridge Hera region. Listen for the humming sound near the entrance beside the Junction area, you'll find it hidden inside a small opening on the side of the pillar. Use the Morph Ball to reach inside.

Click for larger view

4.

(Main Docking Bay)
Right after defeating Ghor and scoring the Plasma Beam, climb back up to the observation window overlooking the landing pad. Ghor's reckless rampaging has caused a huge pillar to crash through the window. Melt the damaged metal debris covering the pillar with the Plasma Beam to find this Missile Expansion hidden inside.

Click for larger view

5.

(Eastern SkyTown - Gearworks)
After receiving the Ship Grapple upgrade, head back to the Gearworks area. As you arrive you'll witness a Space Pirate ATC arrive and do a number on the huge gear system nearby. Destroy the craft then use the Screw Attack to snag the floating Missile Expansion where the gears once were.

Click for larger view

6.

(Eastern SkyTown - Botanica)
Upon reactivating the holoprojector in the Chozo Observatory, climb up to the orange door above and head through. Move through the leafy Botanica area and turn around as you reach the highest point of the region. Use the Screw Attack to backtrack across the elevated alcoves; you'll find this Missile Expansion waiting in an alcove directly above the entrance of the area.

Click for larger view

7.

(Eastern SkyTown - Concourse)
Remember finding an elevator in the Concourse area which you couldn't activate? Eventually after finding the Seeker Missile you'll find yourself above the elevator where its locking system lives. From here, turn around and look for a narrow opening in the wall. Roll through to discover this Missile Expansion waiting beyond.

Click for larger view

8.

(Construction Bay)
The Screw Attack is needed to reach this. Head for the Construction Bay area and climb up to the entrance leading inside to the Ballista Storage. Look out over to the huge floating structure possessing all the Grapple Points on its underside. See the small alcove atop it where a Databot hovers? Use the Screw Attack to reach it; this Missile Expansion awaits there.

Click for larger view

9.

(Powerworks)
Right after picking up the Spider Ball you'll exit the area by way of a network of Spider Ball tracks at the base of the giant pod structure. Work your way across till you reach a platform where a Spider Ball track leads skyward up a shaft. Turn around and look for another track leading off around the corner - follow it to locate this Missile.

Click for larger view

10.

(Steambot Barracks)
Return to the Steambot Barracks after you've picked up the Spider Ball upgrade. Roll through the narrow tunnels up at the top of the chamber to eventually find a set of Spider Ball tracks leading up to this Missile Expansion.

Click for larger view

11.

(Eastern SkyTown - Concourse Ventilation)
Travel to the outside section of this chamber adjacent to the Chozo Observatory and use the Spider Ball to ascend the tracks running up a wall. You'll discover this Missile waiting atop a platform at the very top.

Pirate Homeworld

Click for larger view

1.

(Pirate Command - Command Courtyard)
On your first trip to the Command Courtyard you'll need to power down the ventilation fans in the corner of the chamber to proceed. As you roll through the narrow tunnels leading around to the Energy Cell station you'll spot this Missile Expansion hiding in an alcove. Roll around to the opposite side of the area and follow the left path upon reaching a junction to eventually find your way to the Missile.

Click for larger view

2.

(Pirate Command - Command Station)
Your first trip to the Command Station will be through a set of narrow tunnels under the floor. Follow the right path at the blue-tinted lift to locate this Missile Expansion hiding below a force field .

Click for larger view

3.

(Pirate Command - Security Air Lock)
After securing the X-Ray Visor upgrade you'll eventually find yourself inside the Security Air Lock. This time you're on the right side of the gate, simply stroll forward to pick up this Missile Expansion waiting inside the gate.

Click for larger view

4.

(Pirate Research - Scrapvault)
This Missile awaits high above in the Scrapvault region. Look high above the head of the giant deceased specimen to see the Missile Expansion atop a platform. Climb up there and use the Grab Ledge to reach it easily.

Click for larger view

5.

(Pirate Research - Metroid Processing)
Extract the Energy Cell in this region powering the Metroid's force fields. Deal with all the Phazon Metroids once they break out, then look for this Missile Expansion resting inside one of their alcoves.

Click for larger view

6.

(Pirate Research - Creche Transit)
Enter the Creche Transit area by way of the Metroid Processing chamber and look for a small cracked covering in the corner. Blow it open with a Morph Ball Bomb and roll through the narrow tunnel beyond. Use the Boost Ball to rotate the circular junction out under the acid rain to give yourself a clear path to this Missile ahead.

Click for larger view

7.

(Pirate Research - Craneyard)
Head for the Craneyard after receiving the Spider Ball upgrade and follow the Spider Ball tracks there. Once you've found yourself at the base of the tall structure possessing two rotating wall sections, use the Spinners at the base to line up a path over to the top-right corner of the structure. Climb up to find this Missile Expansion waiting at the end of a short red chute.

Click for larger view

8.

(Pirate Mines - Phazon Quarry)
On your initial trip to the Mining Site you'll be assaulted by a number of Assault Pirate Troopers and Commando Pirates in the Phazon Quarry. Clear them all out, then summon the huge mining drill via the terminal hidden in a corner. Instruct the drill to mine the wall on the right side to reveal this Missile Expansion hiding within it (I wonder how it got there?).

Click for larger view

9.

(Pirate Mines - Phazon Mine Entry)
Upon securing the Nova Beam, exit the Main Cavern via the green door and look for a large Phazite wall covering in the following chamber. Switch on the X-Ray Visor and fire at each lock pod to release the Phazite wall - revealing this Missile Expansion inside a small room beyond (along with a pesky Phazon Metroid).

Click for larger view

10.

(Pirate Command - Lift Hub)
You'll need the Grapple Voltage to find this one. Return to base of the Lift Hub and look for a purple terminal beside a sealed elevator shaft door. Energize the terminal via the Grapple Voltage to crank the door open. Inside you'll spot this Missile beyond a rickety lift container. Step inside the lift to dislodge it slightly, then jump out and shoot the cable atop to break it free. Leap across the gap to reach this Missile.

Click for larger view

11.

(Pirate Command - Flux Control)
With the Spider Ball upgrade secured, return to the Flux Control area and travel down to the base of the area. Once there pull the tunnel covering over the left tunnel and roll through the right to find yourself inside the shaft of the giant energy turbine. Climb up the Spider Ball track to find this Missile Expansion not far up the shaft.

GFS Valhalla

Click for larger view

1.

(MedLab Alpha)
From the wrecked Repair Bay, head up through to the Security Access corridor. Travel west to eventually locate a chamber with a pile of wreckage on the far wall. Use the Grapple Lasso to clear off all the debris, then enter a narrow opening in the corner and roll through to discover this Missile Expansion hidden under the floor (although watch out for Phazon Hoppers).

Click for larger view

2.

(Auxiliary Lift)
Upon re-establishing power to the elevator in the Auxiliary Lift, look for a narrow opening on the east wall at the top of the shaft. Go inside and travel left at the base of the narrow tunnel to discover this Missile Expansion snugly tucked away.

Click for larger view

3.

(Weapons Cache)
Use two Energy Cells in the Stairwell area to raise the damaged ramp, granting you access to the floor above. Climb up and enter the Weapons Cache to find this Missile Expansion waiting inside.