


Chapter 6: The Deadly Phazon Threat
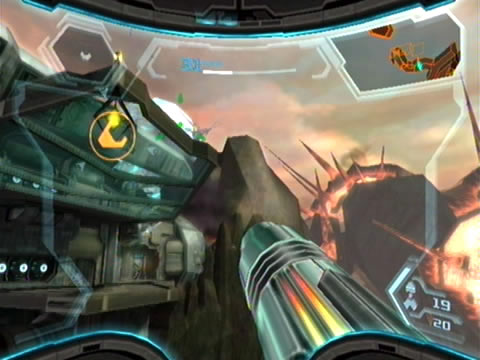
This wrecked Federation frigate has seen better days.
Once back in the Gateway, move outdoors to find the region now inhabited by two more of the Reptilicus creatures. Deal with both (watch out if they teleport close by), then scan one of the Nightbarbs in the appearing swarms for your Logbook if you missed out earlier. Now that you've got the Grapple Swing safely tucked away, the crashed Federation frigate can be excavated. Exit the Gateway via the south-eastern door and move through to the crash site (try to scan one of the dive-bombing Shriekbats for your Logbook).
Take in the scene before you: the huge frigate (identified as the GFS Theseus) may not have had any luck in the initial crash, but at least the craft ditched down into the towering rock spire (imagine trying to locate it down in the forest kilometers below?). Swing across the chasm to find the only access door on the frigate's hull completely sealed. Instead, look for a small cracked panel nearby. Scanning the panel reveals elements of Talloric alloy within the hull, so lay a bomb beside it to reveal a hidden access port.
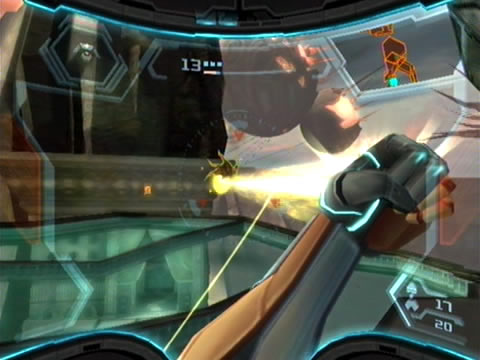
Gragnol Adults require special treatment to deal with.
Roll inside and through the network of tunnels beyond to find yourself inside the ship's satellite array. Now to get this thing back online. First use Charge Beam blasts to deal with the lone Atomic inhabiting the room (scan it first for your Logbook). Take a look around the chamber (you'll find an unfortunate GF Marine beside a door) - see the large panel on the north-western wall held in place by two large clamps? Lock onto each clamp and release them with a single Missile blast each.
With the panel unsealed you'll find three power rods inhabiting the wall beneath. The center pair of rods are already connected, so you'll need to repair the top and bottom ones. Use the Grapple Lasso and lock onto each inactive rod, grappling them out into position. Grapple the second of the pair straight away to ensure they remain locked in place.

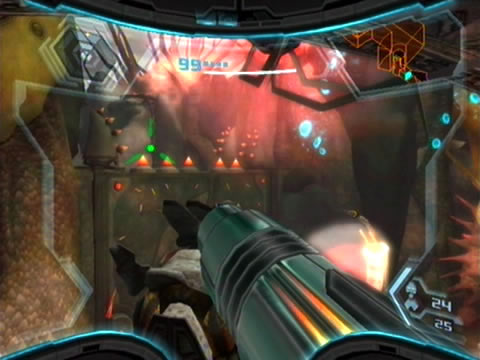
Always use Hypermode to deal with tougher targets.
With all three rods connected, a huge bulky satellite unit rises from the floor while the ceiling opens. Simply use the interface on the side of the unit and follow the on-screen instructions to realign the satellite, granting you a (mostly) complete map of Bryyo. The map also reveals two new ship landing locations, so there's plenty more to explore now. Aurora 242 will also chime in and reveal the locations of two unique energy signatures - no doubt shield generators for the Leviathan's protection.
If you exit the crashed frigate on the south side you'll discover the Falls of Fire - a deep chasm possessing a number of Fuel Gel spouts. There's not much you can do about crossing the gap now (scan a Fuel Gel spout to learn that it's susceptible to sub-zero projectiles), so return to the frigate and head back out in the direction of the Gateway chamber. As you exit the interior of the frigate immediately look towards the stone pillar across the chasm - someone's watching you from there. After a pause, the unmistakable form of Rundas leaps into the air and streaks away out of sight (if you're quick you can step forward and scan him from here).
Now before you return to the Gateway, re-enter the frigate via the narrow tunnel near the door to find electrical components all fired up. Scale the narrow network of tunnels to eventually find yourself atop the ship's wing where Missile BR.03 awaits. A pair of Gragnol Adults share the wing with the Missile Expansion, quickly scan one for your Logbook. If you fire at these overgrown insects a powerful energy field protects the target, so instead lock onto the tail and grapple it off to finish the hostile.

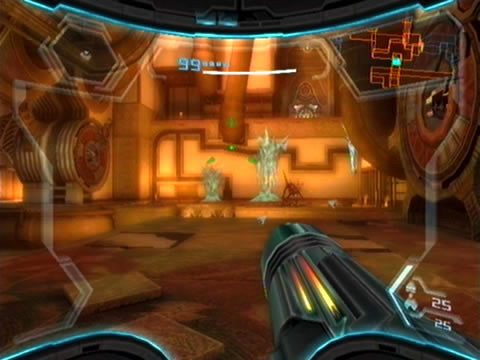
Space Pirates have deployed their own Hypermode equipment.
Return to the Gateway and travel across the region back towards your ship (deal with the Reptilicus pair if they hassle you). Back in the Gateway Hall you'll have a nasty surprise atop Rundas' frozen bridge. A pack of Alpha Hoppers burst from their overgrown nests, quickly scan one for your Logbook before engaging them (this is your only chance). These targets are far more cunning than the regular variety, so keep them in view and try to stay out of close proximity. Remember to pick up any health refills each one may drop, and if you forget to use Hypermode the game will chime in with a reminder message.
With all targets clear you're free to return to Samus' gunship (notice the size of the huge Golem weapon under the ship?). Save your game once there and press the center panel to bring up the selection of landing zones. Initially your first selection should be the Fiery Airdock, but we'll head for the Thorn Jungle Airdock first.
Upon touching down in a region thick with huge thorny foliage, step off the landing pad and proceed through the exit ahead. As you enter the Overgrown Ruins a not-so-friendly face greets you. An Armored Pirate Trooper springs from cover and promptly enters its own form of Hypermode. Now whenever a Space Pirate enters Hypermode you'll do best to do the same, otherwise they'll take a terrific beating to bring down and their weapons pack far more of a punch.
Dodge anything the first one throws at you, then try to hold out till it returns to normal to scan it for your Logbook (whenever a creature enters Hypermode you'll need to wait for them to exit before scanning them for your Logbook). Be warned on the Hypermode difficulty as well, almost every time you encounter Pirate forces they'll enter Hypermode almost immediately.
Only immense firepower can swing this gate open.
Deal with the second target before taking a look around. Down the far end you'll find more evidence of Space Pirate activities - a large active force field blocks the path. Use the Scan Visor to discover a few wall sections composed of crystallized Fuel Gel. Send a Missile into each formation to break though; you'll discover Energy Tank BR.02 hiding in a chamber past the opening at ground level.
With this handy Energy Tank safely tucked away, let's find a way to power down the force field. Look for crystallized Fuel Gel high up a wall - break through and roll into the exposed narrow tunnel. Beyond you'll discover a small alcove overlooking the scenery outside in the Ancient Courtyard. A lone Space Pirate ATC hovers near the ground, while a huge compound gate and radio jamming unit inhabit the region. Turn around - see the small terminal beside the tunnel entrance? Interface with the unit and follow the instructions to power down the force field below.
Now let's go pay those Pirates outside a visit. Climb back down to the now-inactive force field and step through the door there. As you step outside, the ATC promptly retreats, leaving you to deal with a pair of Pirate Militia. Clear both out and take a look around. Scan the Space Pirate Crate and Large Space Pirate Crate for your Logbook, then switch on the Command Visor. See the icon hovering above the huge gate blocking your path? If you try to lock onto it now that radio jammer won't allow a clear signal though, so you'll need to grapple the front of the jammer to temporarily disable it.
But then if you try to lock onto the gate again, your ship doesn't possess any firepower strong enough to break through. So that's the end of our short trip to the Thorn Jungle (but that Energy Tank will come in handy). Return to your ship and deal with the pair of Armored Pirate Troopers in the Overgrown Ruins along the way. Climb aboard and fly to the Fiery Airdock.
This region of Bryyo teems with Fuel Gel reserves.
Upon landing you'll find everything aglow in this heated region of Bryyo. Although the liquid substance streaming around the docking bay looks somewhat like lava, scan the liquid for your Logbook to reveal it as Fuel Gel. Starships across the galaxy use this gooey fluid to power their engines, so naturally you should never come in contact with the stuff. You'll also find that Samus' gunship isn't the only craft here, as Rundas' ship rests high above (notice the ice covering the ground where it rests?).
Step forward and exit the amazingly detailed docking bay (don't forget to marvel at the architecture). Beyond lies the Imperial Hall - a tall and narrow corridor lined with stone monuments for every leader of the Bryyo Empire. Scan them as you go to learn of the bizarre names and dynasties of the planet's history (and you thought Luminoth names were hard to pronounce).
Step around the corner ahead to find a large stone panel blocking your path. See the small Fuel Gel spout within the disc? Send a Charge Beam blast into the torrent to ignite the liquid and send the disc rotating into the wall (nice little mechanism). Do the same for the second stone disc to clear a path through the corridor. Down the far end of the corridor lies an ornate stone head blocking a narrow opening. You'll discover where that leads later on. Head up the ramp nearby and exit the Imperial Hall.
Beyond lies the Gel Refinery Site, where literally everything glows a healthy orange (the bloom lighting is gorgeous). Deal with the pair of Reptilicus Hunters giving you trouble before looking around. Break out your Scan Visor and scan objects throughout the region (watch out for the Fuel Gel pool at the center). For now there's only one exit for you to take, so head over to the eastern side and look for a door high atop a ledge. See the dual Fuel Gel spouts over on the right? Ignite both with Charge Beam blasts to rotate a handy platform into place. Use it to climb up to the door and move through to the Main Lift region.
Inside the scaly chamber you'll discover two items of interest, a narrow tunnel in the opposite wall and a Bryyo Lore panel to one side. Rip the panel covering the lore off with the Grapple Lasso and scan the Age of Schism entry for your Logbook (this one details the beginning of the end for the peaceful Bryyo natives - the Chozo did warn them...).
Samus' PED overloads and marks a grim reality.
Activate the Morph Ball and roll through the tunnel to find yourself inside a cave inhabited by another group of Snatchers. There's no other way to go, so gather up enough to send Samus floating skyward. Hold left just like last time, but don't drop yourself off at the first ledge. Float right up to the ledge closest the Korba and lay a bomb just as you come over the lip. Roll along the tunnel to eventually discover Missile Expansion BR.04 packed down the end of a tunnel.
Return to the Korba's chamber and lay a bomb beside the odd small plant before falling down to the ledge below. Roll through here to find yourself snugly one floor up from the main entrance below. Another two items of interest reside here, one side contains an ancient elevator, while the other possesses a narrow tunnel fashioned in the shape of a lizard head - completely filled with ice. Rundas certainly doesn't want you going through there just yet, so remember this location for later (or mark it on your map if you wish).
Step aboard the elevator and look for a thin metal lever hidden along the wall. Lock on and grapple it back to engage the elevator's motor and send yourself to the base of the shaft. At the base you'll discover a red blast shield barring your exit. Blow it off with a single Missile and step through the door.
Time for a change of scene. As you step inside the chamber beyond the brooding Bryyo Fire music instantly changes to that classic Phazon Mines theme. Defeat the pair of ambushing Hoppers and step around the corner to discover the changing atmosphere. Welcome to the Corrupted Pool, a large cavern filled with liquid Phazon. You exit is far ahead beyond the pool, but that huge nasty growth of Phazon vines blocks your path.
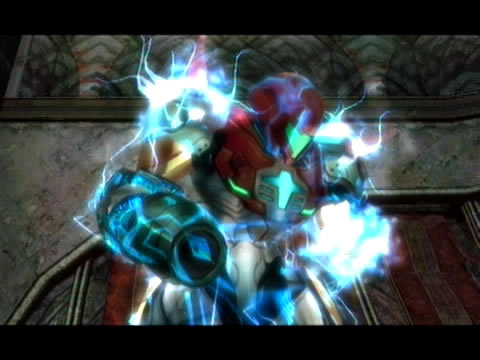
You know what to do, simply enter Hypermode and blast the growths on the vines to clear them away. Except this time there's a nasty twist. As you send a few shots into the vines Samus' visor suddenly glitches before a short cutscene shows her body coursing with overloading Phazon energy.
But her PED Suit does have major advantages.
As the game returns to her visor view you'll see a grim scene - weird Phazon veins and blotches dot her view, while the normally-white Phazon meter flashes a deadly red. The message: "Phazon Overload Detected. Rapidly tap A to expel Phazon" appears. Do exactly as it says and empty that sucker. Fire madly to reduce your Phazon meter, emptying it completely to exit Hypermode.
Now that was certainly unsettling. Aurora 242 chimes in to ask if Samus is alright (naturally she won't respond), and comments that her life support readings went loopy for a short time. What you've just experienced is Samus' first instance of Corrupt Hypermode, in which Phazon energy levels climb to dangerous levels in her body.
If you'd allowed the Phazon levels to continue climbing without expelling it through your weapons, Samus would have been in for a fate worse than death. Suffice it to say, never allow the Phazon meter to max out (although simply firing your weapon to lower it sure makes that job easy). There's a few more intricate details to Corrupt Hypermode, so refer to the Hypermode Guide for more.
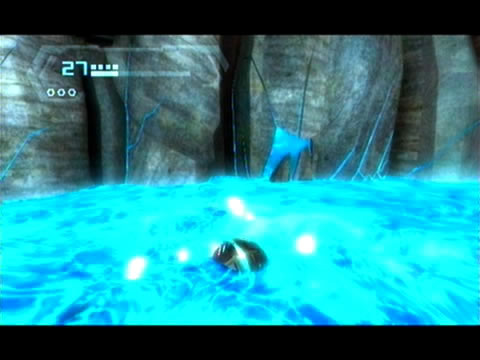
Aurora 242 promises more details later on, leaving you clear to exit this creepy cavern. But before you do, it's time to discover another perk of the PED Suit. See the giant Phazon pool before you? Jump on in (really). Watch as the Phazon actually restores Samus' health to maximum instead of sapping it away. With all your health restored, climb out and swing across the pool to the other side. Exit this area to discover the enormous Gel Processing Site. Step forward into the chamber and watch as Samus looks up - Rundas is watching her from high atop a platform. Without a word he turns away, goading Samus to follow. So let's do just that.
Chapters:
- GFS Olympus
- Meet the Hunters
- The Liberation of Norion
- Heroes Corrupted
- A Broken World Ravaged by War
- The Deadly Phazon Threat
- A Fallen ally
- Samus' Gunship on the Frontlines
- Disabling a Leviathan's shield
- Heart of the Phazon Corrupter
- Chozo Paradise Among the Clouds
- Restoring Aurora Unit 217
- Hunting the Rogue Machine
- Uncovering Bryyo's Secrets
- Ghost Ship
- The tip of the SkyTown Iceberg
- Piecing together the Leviathan's Bane
- The Metroids Arrive
- Save the Second Chozo World
- The Pirate's Homeworld Unveiled
- Rescue operations in Enemy Territory
- The Final Chozo Gift
- Repositories of Chozo and Pirate Worlds
- Phazon Mines Part 2
- Breaking out the Heavy Weaponry
- Storming Pirate Command
- Join the Federation's Leviathan Strike
- Return to Norion
- Excavation of the Bryyo Ruins
- Bryyo's Final Bow
- Charting out the Ruined Valhalla
- Aurora 313's Final Message
- Ridley's Final Phazon Fight
- Opening the Wormhole
- The Source of the Poison
- The Masters of Phaaze