


Chapter 25: Breaking out the Heavy Weaponry
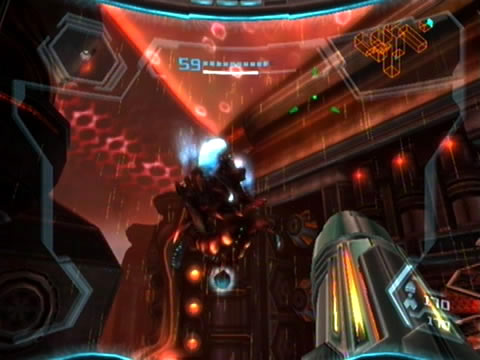
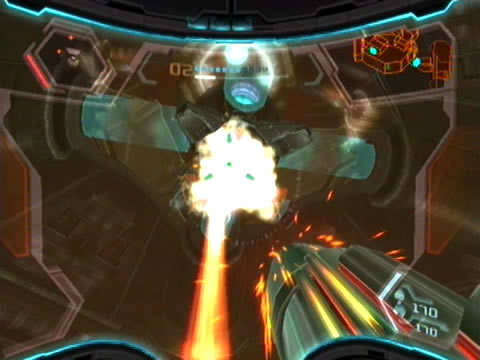
Outrun this enormous Phazon Harvester Drone.
Exit the Mine Lift to locate the Phazon Harvesting region: a massive open-air chasm filled with raw Phazon. You'll want to remain atop the many balconies here, but climbing across the area won't be easy. This region is home to a Phazon Harvester Drone - a massive crab-like creature defying gravity as it floats above the area.
Normally used to extract Phazon ore, that blue orb on the creature's underbelly can also be used as an extremely potent weapon. Deploying a roving searchlight looking for targets, if the searchlight finds you the drone will deploy a massive energy burst capable of dismantling the many interconnecting platforms above the chasm.
So that's certainly not good. Luckily for us, shooting at the blue orb will eventually disable the entire drone for a few seconds as electricity courses over its body. Quickly use that time to make your way back and forth across the chasm to the only exit higher up. Take cover as the drone recovers and continues its patrol, as you don't want to find yourself stuck in the middle as it opens fire.
Don't worry if any of the interconnecting platforms fall, as either the Screw Attack or handy Grab Ledges will guarantee you safe passage. Since this region is outdoors, you might think it would be mighty handy to summon your gunship to make a run on the drone, but thanks to that still-active planetary energy shield, no luck.
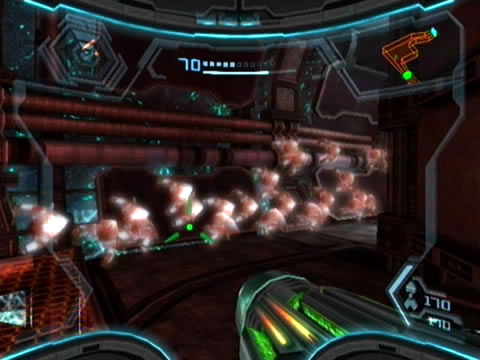
Reach the exit high above on the northern wall and quickly step through before the drone squeezes off another shot. Beyond here lies Drill Shaft 1, home to a pair of massive green Phazon drilling beams. Watch out for Jolly Roger Drones here, don't leave any in the air as you'll not want any distractions while leaping over the ominous shaft below.
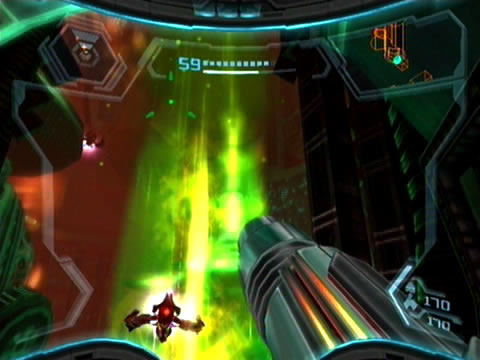
Stand well clear from those piercing mining drills.
Scan one of the giant mining laser emitters to learn that these high frequency beams cut through solid Phazon before the extractor beam up ahead sucks up any loose Phazon deposits. That sounds like it could be used as a potent weapon...
Leap across the gap ahead and snag the Grab Ledge right after the beam disperses to safely climb atop the platform. A trio of Jolly Rogers attack you from here, so knock them out of the sky before proceeding. Leap towards the second Grab Ledge as the mining beam dissipates, then be sure to leap across to the nearby ledge where all the crates rest to find a Pirate lore terminal. Scan this one for the Victory and Loss entry. The Pirates sure love to hate Samus, as this one documents their victory at Bryyo and Elysia, but utter failure at Norion, all thanks to Samus and her buddies.
But not without cost. The Pirates revel in the fact that Dark Samus managed to mark them with Phazon corruption, waiting for the day when the hunters join Dark Samus' side. That may have come to pass with the other hunters... but with Samus: never. Now, have you been wondering what might be powering all these huge Phazon mining drills? Exit the drilling shaft nearby to discover the answer. Deep inside the Main Cavern beyond lies a chamber housing a huge laser assembly, and an upgrade item sitting directly on top.
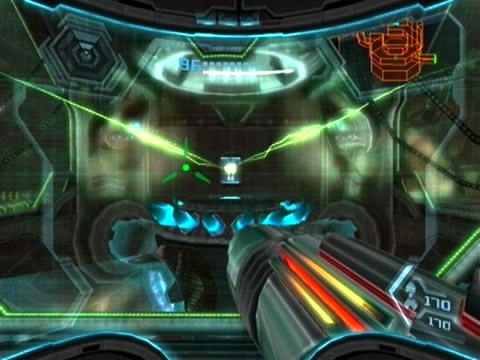
The Nova Beam awaits.
Scan the object to reveal it as the Nova Beam! Now that's certainly something you don't want to miss out on. Scan the laser assembly as well to learn that the device switches between piercing beams used to cut Phazon ore, and a tractor beam system to draw up loose minerals. Look down through the window: we'll need to find a way down to the main chamber below to have a chance of retrieving the Nova Beam.
Step around the observation window and crack open any crates for health refills. The only other exit around here is a green door, and (you guessed it) can only be opened with a shot from the Nova Beam. Keep moving around the passage to find a small doorway sealed by a Phazite blast door - the terminal beside it isn't receiving power and the activator node lies beyond the Phazite door, so that Nova Beam is in high demand here.
Spin around to find an inactive elevator shaft, simply activate the hand scanner nearby to restore power. Ride the lift down to the vast chamber below the Nova Beam and its mining laser assembly. Strangely, even though the Pirates have no sense of workplace safety (which explains the completely exposed mining laser down here), you're about to begin a heated fight with swarms of Pirate hostiles. A Phazite shield promptly covers the lift, sealing you inside this bowl of madness.

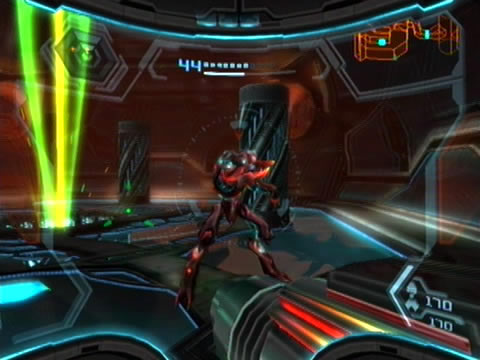
Don't waste an opportunity to sneak in a critical shot.
Assault Pirate Troopers and Commando Pirates promptly swarm through small hatches surrounding the chamber. To be quite honest, they won't stop attacking in waves, so you'll need to find a way to bring that Nova Beam down quickly. Luckily tall pistons will extend from the floor as the green mining beam deploys, so you'll have limited cover. But only attack your foes enough to break their personal armour off - you'll see why soon.
Eventually the mining drill will cease and the tractor beam deploys, sucking everything - including yourself and the Pirates - toward its hungry maw. You visor fills with slight static as you find yourself slowly drawn towards the beam - keep fighting it and stay far away from the vortex. The Pirates won't have so much luck, as they'll immediately stop firing on you and grab hold of small handholds on the ground.
But we can't let them stay held on for long, otherwise the mining drill will return and the Pirates will happily resume firing at you. So quickly blast away at a hapless target, using either the Plasma Beam or Hypermode. With enough damaged dealt, the Pirate will let go - watch as it's instantly drawn into the beam where it meets a nasty end. The explosion will also jam the laser assembly and send it into cool-down mode, deploying four horn-shaped objects from its underside.
Very heavy Pirate opposition defends the laser assembly.
The laser assembly can't operate without these cooling devices, so quickly lock on and destroy one of them before they disappear. By destroying a single one the rest will vanish as the mining system returns to normal. The Pirates will resume their attacks as the mining drill restarts, so be sure to take cover behind a piston and only damage the Pirates enough to tear their armour off. Commando Pirates arrive to replace any fallen personnel, so be sure to use Hypermode to avoid losing too much health.
You're in for a tough fight, especially on Hypermode difficulty. Plenty of health and endurance is needed here, so don't worry if you enter Corrupt Hypermode - use it as much as you can and wait for the system to auto-vent. Remember to only break off the Commandos' armour and wait for them to grab hold as the tractor beam deploys before finishing them off.
Destroy the assembly's cooling units to earn your prize.
Destroy all four of the laser assembly's cooling units to completely dismantle the device - watch as its four support pods explode right before the main assembly plummets to the floor, sending out a devastating shockwave upon impact to clear out any remaining hostiles. With your position secure, be sure to grab any loose health and Missile refills before climbing aboard the ruined laser assembly to claim your well-deserved prize - the Nova Beam.
Not only does this final addition to your weaponry grant Samus a green-tinged energy blast with each shot, but its high-frequency blasts are capable of penetrating Phazite armoured objects and opening up green doors. So let's put it to good use right away. Step towards the sealed elevator and switch on the X-Ray Visor. See the pair of glowing yellow control nodes on the opposite side? Simply lock on and fire at each to restore power to the control unit attached to the Phazite door.
Keep the X-Ray Visor on and successfully interface with the control unit to retract the Phazite blast door. Step aboard the lift and return topside.
Now before we head on through the green door on the north side of the region, we'll see what's beyond the nearby small Phazite blast shield. Fire up the X-Ray Visor and shoot at the single power node beyond the door to restore power to the control unit nearby. Interface with it successfully to retract the blast door and reveal an exit on the other side.

Samus receives the ultimate weapon.
Step through to Drill Shaft 2 to discover a huge lone drill operating inside a sealed chamber. Except this one looks to be stuck. Activate the X-Ray Visor to see the drill's internal mechanism at work. Wait for it to lower down fully to see a small red orb appear within. Quickly shoot it with your Nova Beam to clear the obstruction and raise the drill clear of the hole.
Carefully hop down into the hole (don't touch the Phazon Leeches) and travel around the winding conduits below to find an exit. Step through the green door to find yourself right back in the Phazon Quarry, this time on the second floor above the terminal you used to operate the mining drill here. Except there's something interesting down the far end of the balcony.
Step forward to find another handy device - Energy Cell #9. This one is merely keeping a blast shield sealed on this balcony, so I'm sure the Pirates won't mind if we put it to better use. Extract the device and watch as a hatch opens right beside you, granting you easy access to the main Phazon Quarry chamber. With that task done, backtrack and return to the Main Cavern where you recently acquired the Nova Beam.
Once there, step through the green door on the northern side to reach the Phazon Mine Entry. Step further into the chamber to discover a pair of huge Phazite blast shields sealing off one corner. Simply activate the X-Ray Visor and fire at each of the control nodes to release the blast shield's lock and gain entry. As the shield rises, so does a Phazon Metroid within the chamber.
But don't bother attacking it as you would normally. Instead, activate the X-Ray Visor again. See the glowing core in the Metroid? Lock onto the target to see your visor curiously zoom in on its core. What does this mean? Fire a single shot at the core to find out. The Nova Beam effortlessly penetrates the Metroid's outer shell, instantly destroying it with one shot to is Phazon core. Wow. Don't forget this trick.
Plenty of critters for target practice.
Pick up Missile Expansion PH.09 resting here and be sure to scan the Pirate lore terminal nearby for the Bryyo Falls entry. The Pirates don't seem too worried with the report of Rundas' failure to stop Samus and the Bryyo Seed's destruction - their weakness lied in overconfidence of Ghor's abilities. Exit the chamber and step around the corner. Watch out for a stream of Crawlmines, we certainly haven't seen these critters in a while. Move past them and exit the chamber beyond to locate the vast Landing Site Charlie.
But the landing pad is littered with damaged metal debris, so you'll need to move about clearing out the obstructions. The Nova Beam carries on all the abilities of the Plasma Beam, so simply use charged shots or repeated fire to melt the panels.
With all debris clear the landing beacons will reactivate, allowing your ship to land. Summon your gunship and climb aboard, remembering to save your game now. With the Nova Beam now safely tucked away, nothing can stop us from storming the Command Station to shut down the Pirate's defense systems. So we'll head for the Command Center location now.
Chapters:
- GFS Olympus
- Meet the Hunters
- The Liberation of Norion
- Heroes Corrupted
- A Broken World Ravaged by War
- The Deadly Phazon Threat
- A Fallen ally
- Samus' Gunship on the Frontlines
- Disabling a Leviathan's shield
- Heart of the Phazon Corrupter
- Chozo Paradise Among the Clouds
- Restoring Aurora Unit 217
- Hunting the Rogue Machine
- Uncovering Bryyo's Secrets
- Ghost Ship
- The tip of the SkyTown Iceberg
- Piecing together the Leviathan's Bane
- The Metroids Arrive
- Save the Second Chozo World
- The Pirate's Homeworld Unveiled
- Rescue operations in Enemy Territory
- The Final Chozo Gift
- Repositories of Chozo and Pirate Worlds
- Phazon Mines Part 2
- Breaking out the Heavy Weaponry
- Storming Pirate Command
- Join the Federation's Leviathan Strike
- Return to Norion
- Excavation of the Bryyo Ruins
- Bryyo's Final Bow
- Charting out the Ruined Valhalla
- Aurora 313's Final Message
- Ridley's Final Phazon Fight
- Opening the Wormhole
- The Source of the Poison
- The Masters of Phaaze