


Chapter 30: Bryyo's Final Bow
Multiple Phaazoids conceal a single red one at the Jousting Field.
Depart your ship upon touchdown at the Thorn Jungle Airdock and step through to the Ancient Courtyard. Along the way you'll face a lone pesky Reptilicus, looks like they're retaking the Pirate's former base.
Two Phaazoids await in the Ancient Courtyard, take care while dispatching both. With both Phazon entities dissipated, be sure to use the Boost Ball on the half-pipe where the massive compound gate once stood to reach Missile Expansion BR.19 high above. Step through to the Enlightened Walkway and deal with the lone Phaazoid lurking there if you wish.
Move through to the Jousting Field to find this place absolutely crawling with annoying Phaazoids. Three of the floating orbs live here - one of them contains a Red Phaazoid. Eliminate all the targets (be very careful if you enter Corrupt Hypermode - don't touch any of the tiny Phaazoid balls). Clear all hostiles out and don't forget to pick up the bonus gold credit from the destroyed Red Phaazoid.
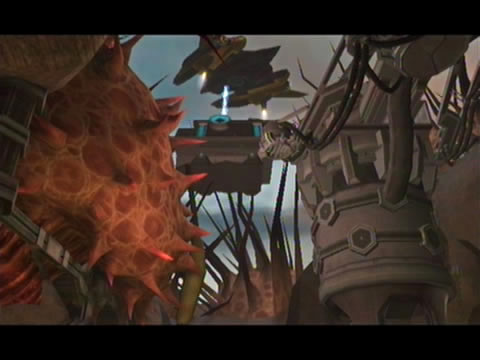
Summon your ship to heft the portable power generator sky high.
You're going to drain plenty of health here to clear out all these hostiles with Hypermode, so be sure to swing by the save station up ahead through the Field Access region. Once freshly restored, move through to the eastern end of the Field Access and be sure to quickly scan one of the trio of Shriekbats roosting there if you never managed to earlier.
We're now heading for the North Jungle Court where one of the pair of anti-air turrets once stood, so step inside the Jungle Generator and head through the left exit. Watch out for another pair of Shriekbats roosting inside Generator Hall North - looks like the Pirates really have abandoned their base here. I hope you picked up the Missile Expansion set in the wall up ahead back when taking out the Leviathan shield generator, otherwise you'll need to travel around the opposite direction to reach the North Jungle Court.
But if you had picked it up already, simply enter the tunnel and use a double-bomb jump to climb up. Roll outside and stand up -watch out for a lone Shelbug greeting you with sharp spines. Move around to the exit through the eastern passage and step inside the North Jungle Court. Ride down the small lift to reach the open-air (and completely deserted) region where the turret still stands smouldering.
Drop it right into position to energize the fuel pump.
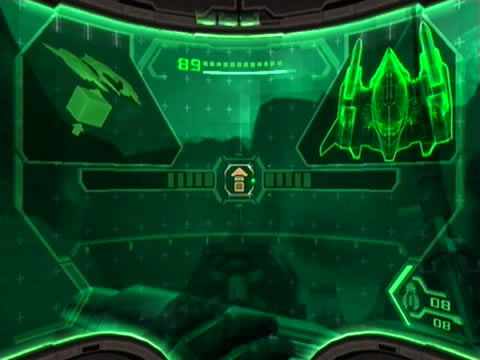
If you check your map now, you'll see an exit on the north-eastern corner of the chamber connected to the Machineworks Bridge. All we need to do is find that exit. Firstly, leap atop the destroyed anti-air turret and take a look at the north-eastern alcove. See the gigantic object resting there? Scan the object to learn that this portable power generator can be moved with the right equipment.
Thankfully there's a Ship Grapple Point positioned right atop the generator. Activate the Command Visor and summon your ship to grapple the generator. Watch as it swoops down and effortlessly drags the generator airborne and out of sight. We'll need that giant box later. Use the Screw Attack from here to land atop the now-empty balcony. With the generator departed, a tiny hole is revealed where it once stood.
Use the Morph Ball to climb down the hole into a cozy underground chamber. Exit via the only visible door to find yourself instantly back at a familiar location. You're now standing on the far side of the Machineworks Bridge, ready to extend this half of the bridge. So hop in the Spinner device and use the Boost Ball to rotate the bridge into position, fully bridging the dark chasm.
Now let's go find a use for that power generator your helpful ship is lugging around. Cross the gap and travel through to the vast Hall of the Golems chamber. Climb up the frozen Fuel Gel falls and step through to the Burrow region (waste the pathetic Fargul Hatcher if it gives you trouble again). Move through the Burrow and head for the Hidden Court beyond.
Once there, take a look at the huge GF Fuel Gel pump dominating the region. Scan the device to learn that a large battery appears to have been removed from it. A large battery you say? How about a gigantic power generator? Leap over to the half-pipe on the western wall thanks to the Screw Attack and spin around to face the pump. Fire up your Command Visor to see an icon hovering above an empty bay beside the unit.
One final item hides in icy Bryyo.
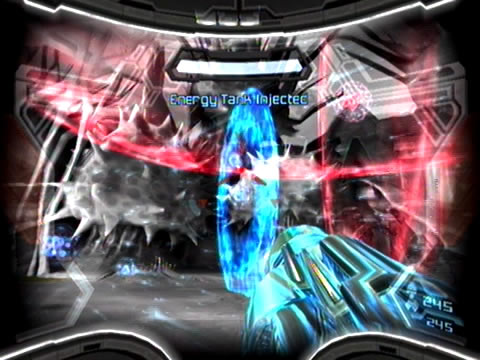
Simply command your ship to deposit the power generator there, then watch as the simple action of dropping the generator off instantly restores power to the Fuel Gel pump, extending a number of pumping lines. A small section near the top of the pump promptly rotates around, revealing Energy Cell #4 awaiting your presence. So let's not keep it waiting. Use the Boost Ball to ascend the half-pipe and travel around the southern wall to reach the Energy Cell station.
Extract the device to pick up your last Energy Cell - check your inventory to find all nine secured. You know what that means? Every corner of the GFS Valhalla's wreck is now accessible. But before we head for the doomed vessel, there's a few more items to pick up on Bryyo. So climb down through the exit underground here and ascend the Ruined Shrine, heading for the Hangar Bay.
Once there, summon your ship and climb aboard. Select the Fiery Airdock - the only region left unchecked. Step off your ship upon arrival and move through to the Imperial Hall. Cross the corridor and head for the Gel Refinery Site - from there move up to the Main Lift. Have you guessed yet where we're headed? We'll be taking a short trip back to the gorgeous Bryyo Ice world to pick up a remaining item there.
Climb up through the innards of the Main Lift and head for the second floor. Roll through the narrow lizard-head-shaped tunnel there and enter Warp Site Alpha. Step into the blue teleporter residing here to once again find yourself instantly whisked away to the land of ice. Check your map upon arrival - see the white dot way over in the Tower chamber?
Climb up the Tower to seek your prize.
Move through the icy halls and pass beyond the massive Hall of Remembrance. Step inside the Tower chamber and look for a Spider Ball track far at the base of the shaft. Climb aboard and move through the network of Spider Ball tracks, using the Boost Ball to bust through ice stalactites and reach disconnected tracks. Eventually, far at the very top of the region you'll discover Energy Tank BR.05 waiting very patiently in a most freezing location.
With this item secured we're clear to head back to normal fiery Bryyo. Backtrack through Bryyo Ice and step inside the glowing orange teleporter at Warp Site Bravo. Once back in Bryyo Fire, there's two more tasks at hand before Bryyo's secured. Head back to the Main Lift and hop aboard the archaic elevator leading down to the Corrupted Pool. Naturally there's a Phaazoid taking up residence here, so tear it apart before moving through to the Gel Processing Site.
Once inside the massive Fuel Gel center you'll find the area inhabited by two more Phaazoids. One of the pair contains a Red Phaazoid, so be sure to eliminate both and pick up your bonus gold credit before leaving. One item left - check your map to see it clearly in the Temple of Bryyo. So let's climb up the Gel Processing Site and head west.
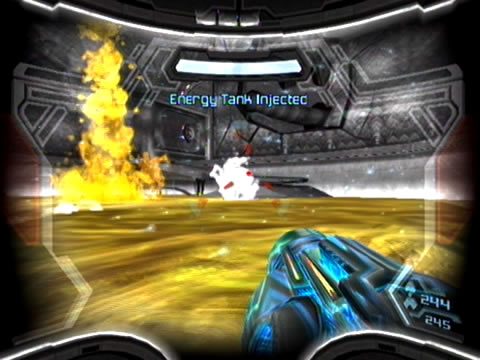
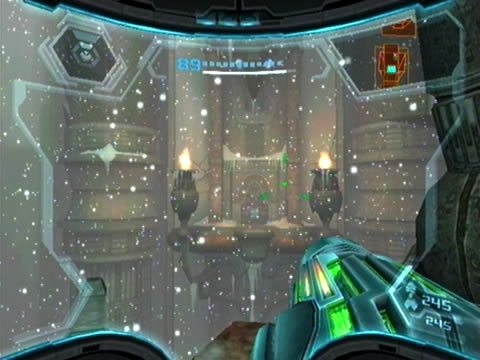
The Hazard Shield works wonders in Fuel Gel.
Travel to the temple to find it inhabited by numerous Warp Hounds and their Reptilicus herder. Scan one of the beasts for your Logbook if you missed out much earlier. Clear the area before looking around. Far in the distance on the southern wall you'll discover a small Phazite armour plating covering something important. Switch on your X-Ray Visor to reveal four control switches hidden beneath. Strike the red one and all corresponding red switches to eventually retract a nearby platform covering the Fuel Gel under the floor. Let's take a dip and hop in the murky liquid. Activate the Morph Ball and explore the region - eventually you'll discover Missile Expansion BR.20 hiding in a corner some distance away.
Phew, that's it, Bryyo's secure. We've now picked up all remaining items and dealt with all the Red Phaazoids occurring here, so let's head for the GFS Valhalla and uncover its secrets. Roll back to the entrance and climb out of the icky fuel. Exit the temple and head back to the Gel Cavern - feel free to use the shortcut there to zip back to the Imperial Hall. Watch out for diving Shriekbats as you arrive and head back to your ship from here.
Climb aboard and say farewell to Bryyo (hopefully the planet's set for better days in the future).
Chapters:
- GFS Olympus
- Meet the Hunters
- The Liberation of Norion
- Heroes Corrupted
- A Broken World Ravaged by War
- The Deadly Phazon Threat
- A Fallen ally
- Samus' Gunship on the Frontlines
- Disabling a Leviathan's shield
- Heart of the Phazon Corrupter
- Chozo Paradise Among the Clouds
- Restoring Aurora Unit 217
- Hunting the Rogue Machine
- Uncovering Bryyo's Secrets
- Ghost Ship
- The tip of the SkyTown Iceberg
- Piecing together the Leviathan's Bane
- The Metroids Arrive
- Save the Second Chozo World
- The Pirate's Homeworld Unveiled
- Rescue operations in Enemy Territory
- The Final Chozo Gift
- Repositories of Chozo and Pirate Worlds
- Phazon Mines Part 2
- Breaking out the Heavy Weaponry
- Storming Pirate Command
- Join the Federation's Leviathan Strike
- Return to Norion
- Excavation of the Bryyo Ruins
- Bryyo's Final Bow
- Charting out the Ruined Valhalla
- Aurora 313's Final Message
- Ridley's Final Phazon Fight
- Opening the Wormhole
- The Source of the Poison
- The Masters of Phaaze