


Chapter 22: The Final Chozo Gift
Enough losses, let's end this already. The next time you see Dark Samus, it won't just be a fleeting glimpse.
Transit stations allow instant access between regions of the Pirate base.
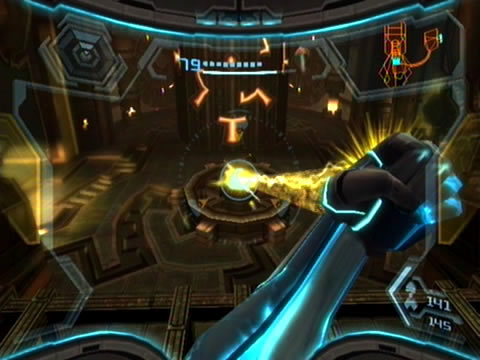
Gandrayda leaves behind a purple upgrade item, scan it to reveal the upgrade as the Grapple Voltage! Remember seeing various force fields powered by nearby purple terminals? This handy tool for your Grapple Beam allows you to either siphon power from said terminals or charge them up to restore the equipment tied into their systems.
The only exit from these Proving Grounds lies behind an active force field, so we'll give this baby a try right away. Lock onto the C-icon above the nearby purple terminal and deploy the Grapple Lasso. With the beam attached, hold Down on the Control Stick to drain all power from the device (and give yourself a tiny bit of life energy).
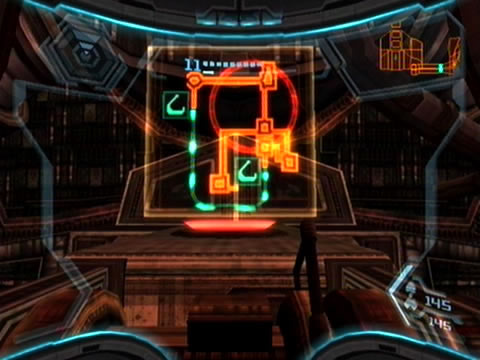
The large elevator behind you restores operation before the force field falls, but instead of heading back down we'll stake the exit ahead for a handy shortcut. Leave the tentacled horizon of the Proving Grounds and move through to Transit Station 1-B. You'll discover a vast docking bay where two huge gates cover a transit rail. Take a good look at the large computer display on the wall nearby, scan it to learn that this chart represents all the regions of the Pirate base and their connecting transit lanes.
You're currently in the Research Facility region up on the top left, while over on the right lies the Command Center. Another region is represented below the Command Center, while a tiny section rests in the bottom right corner. Notice the highlighted route here links back to the entrance of the Research Facility? That's our handy shortcut.
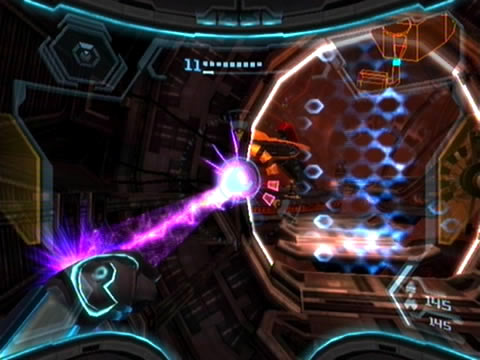
Drain this terminal to open the way.
Scan the terminal displaying the green L-shaped symbol and activate the powered hand scanner to summon a massive transit train ride. Jump aboard your luxury express and interface with the control unit inside the engine cabin. Follow the on-screen instructions to send the train hurtling down the bowels of the transit lane. Eventually you'll find yourself debarking in Transit Station 1-A - very conveniently right next door to the landing site.
Eventually Aurora 242 will chime in (surprisingly without condolences for Gandrayda). Your good buddy Aurora 217 has discovered evidence of more Chozo artifacts back on SkyTown, no doubt it's the Spider Ball just waiting to be discovered. Don't forget to scan the Pirate lore terminal on the northern wall of Transit Station 1-A before leaving. The entry "The Leviathan" tells of the Pirate's work in combining their technology with Dark Samus' to create a twisted fusion of flesh and machine, something not unlike the horrid Leviathans that impacted the trio of corrupted planets.
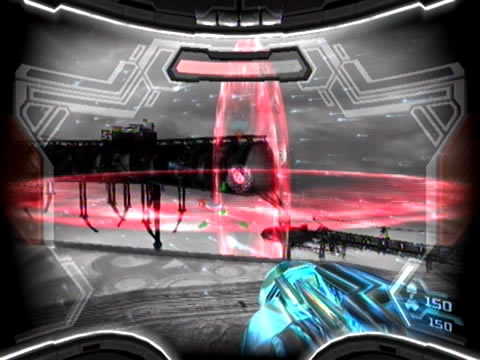
Step outside to Landing Site Alpha and simply use your new Grapple Voltage to drain the force field blocking your path. Leap across the gap to reach the safety of your ship and climb aboard. Before departing, take a quick look at your SkyTown map. See the unexplored region near the Junction chamber? Looks like that's your target.
Remove this eye candy with your Grapple Voltage.
Depart the Pirate Homeworld and head for Landing Site A aboard SkyTown. Thank goodness there's still plenty of items to pick up in this serene locale. From the landing site, travel over to the Junction region (remember the rickety structure where the pod felt like it was on its last legs?). But before we head south to unexplored regions, we'll take a trip nearby for some extra items and to find Elysian Logbook lore entries in correct chronological order.
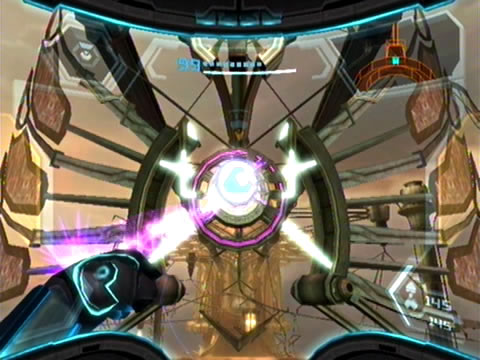
Move west to Skybridge Hera and launch yourself over to the far side. Travel through the maintenance shaft to the Observation Bay (try using the Grapple Voltage on the Dragoons here, but don't overload them with energy as Samus will get carried away far too much). Step outside to the Observation Bay for an interesting sight up ahead. A glowing white sphere hovers above one of the suspended platforms up ahead - scan the object to reveal it as a Phaazoid.
These Phazon-based phenomena only appear once a planet's Seed has been demolished, so expect to see more of these odd beings back on Bryyo as well (and eventually the Pirate Homeworld). Only Phazon-based weaponry can harm them, so you'll need to use Hypermode. Try to avoid the nasty thin shockwaves each one deploys frequently. Upon delivering enough Phazon goodness the sphere will split in two, forming two smaller spheres. Sometimes one of the smaller spheres is red - these Red Phaazoids will actually drop gold credits upon their destruction so you'll definitely want to go hunting for them.
Only one gold credit can be obtained from any Red Phaazoid, so once you've picked one up that's all they'll give. Ignore this first Phaazoid, instead take a look at the tall maintenance chute on your right. See the purple terminal beside it? Simply deliver enough power into the device via the Grapple Voltage to restore power to the chute, granting you a handy shortcut up to the top of the Observation Bay.

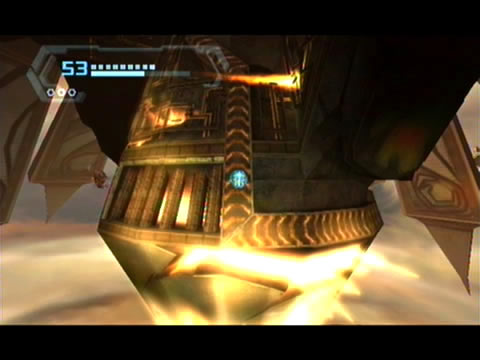
Another grand view of SkyTown's architecture.
Ride up the shaft and stand up - then take a look out over at the long curving structure floating above the vast skyline. See the small balcony? Line your sights up and Screw Attack over there, waiting patiently aboard is Missile Expansion ST.08. Also don't forget to fire at the Databot hovering here and scan the target for the Phazon lore entry. This one documents the detection of multiple objects launching forth from the sentient planet - one of them heading straight for Elysia.
Ultimately entering Elysian atmosphere and striking the surface deep below the clouds, the Elysians detected Phazon corruption immediately spreading forth from the Leviathan. Thankfully that's all history now. Use the Screw Attack to return to the distant balcony, then head over to the door leading inside the pod. But before stepping inside, spin around and look down at the nearby floating structure.
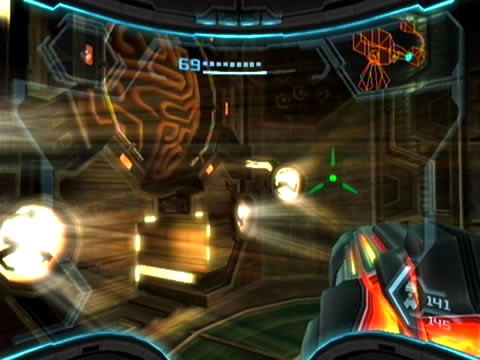
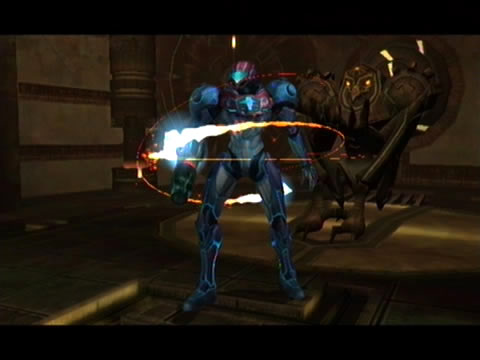
See the lone Phaazoid loitering there? Enter Hypermode and fire a single shot to draw it towards you. Blast the Phaazoid till it splits in two - this one reveals a Red Phaazoid. Quickly exit Hypermode and scan the new target. Re-enter Hypermode and finish both targets - notice the Red Phaazoid drops a visible gold credit - don't forget to pick the token up.
With that encounter done and dusted we'll head inside the Ballista pod for another handy item. Eventually you'll receive communication from Admiral Dane himself - the Federation is planning their assault of the Pirate Homeworld and will chime in again when preparations are complete. Let's hope they don't start the party without Samus on-site.
Ride the caged lift down inside the Ballista Storage (where you picked up the Boost Ball) to find company waiting in the old Defense Drone's stomping ground. The final group of Steambots and their Steamlord commander ambush you here, so be sure to scan any of them for your Logbook if you haven't already - this is your last chance. This time you've got a massive upper hand to combat the looming Steamlord: simply switch on your X-Ray Visor to track the menace easily. Lock on and open up on the target with all you've got to easily win this fight.
Something special hides in the Powerworks.
With the chamber now filled with scrap metal, sweep around and look for a pair of purple terminals set above ventilation fans - looks like these fellas are keeping something concealed. Overload both units with Grapple Voltage energy to expose a control station between the fans, along with one convenient Energy Cell #8. Pick up the portable power source before heading back up outside.
We're all done here, so let's head back to the Junction chamber. Once there, feel free to travel north to the Hoverplat Docking Site - way out among the central cluster of floating platforms here lies a Databot containing the Intruder lore entry, but a handy Ship Missile Expansion also resides here, however you'll need the Spider Ball to reach it, so you may want to return later to save yourself the trip.
Back inside the Junction region, travel south to discover Zipline Station Charlie and a huge elaborate gate keeping the region well-sealed. Simply attach the Grapple Lasso to the central purple terminal atop the gate, then use the Grapple Voltage to send enough energy into the device to release the lock (don't worry, you won't lose too much health in the process). With the gate swung wide your path is cleared.
Hop aboard the Zipline Cable and enjoy the view. Shoot open the shutters blocking the cable en route to the next pod structure, but you'll notice some of the shutters blow clean off their hinges. Uhoh. Eventually you'll reach a smoking section of cable worked on by a pair of Aerial Repair Drones. But before the little fellas can finish their work, the cable section promptly snaps - luckily right as you pass over a floating platform.
Land safely on solid ground and spin around to face the nearest pod in the distance. Leap down aboard the circular platform and Screw Attack from here to reach the pod safely. Land on solid ground and step inside the Powerworks Access tunnel. Right inside the cozy chamber lies a sealed tunnel behind an active energy barrier. See the purple control terminal beside the shield? Simply use your Grapple Voltage to sap it dry, easily powering down the obstructing energy barrier.
Lift this gear back onto its spoke to reveal your prize.
Roll through the narrow tunnel and move onward through to the Powerworks chamber. Here's where that juicy hidden cache of Chozo technology awaits. Step toward the glowing energy core set in the wall ahead (don't worry, it won't bite). Scan the object to learn that restoring power to this device will quickly render this chamber a non-dead end.
See the quad power nodes setup around the central core? Simply use your Seeker Missile to energize all four at once, instantly restoring power to the Chozo machinery and opening up a tiny maintenance tunnel. Roll through the opening between the now-sunlit nodes to find yourself dropped off down in the main hold of the Powerworks.
Take the scene in around you: moving parts cover most of the chamber, where huge gears grind relentlessly to keep the pod afloat. A thick central pillar dominates the chamber, with a huge cog resting motionless on the floor beside it. Look straight up, a system of inactive gears await their fallen piece - looks like this place hasn't been visited for a while.
A lone Databot silently circles the central pillar, shoot the target then scan it for the Defeat lore entry. This marks the Elysian's final recorded entry, not long after most of the robotic beings and Ghor were consumed by the corruptive Phazon, joining the ranks of the Space Pirates and ultimately Dark Samus (then why was that ATC firing upon Tinbots soon after you picked up the Ship Grapple?).
Now to effect repairs on the fallen gear. Scan the object to learn that it's still moveable, but from the floor there's not much leverage. So leap up atop the nearby elevated platform and look down at the gear. See the C-icon? Deploy the Grapple Lasso and pull it back to gracefully launch the gear spinning into the air. Quickly discharge a single Missile to force the gear back onto its axle (now that's doing it with style).
Samus completes her Morph Ball abilities with the Spider Ball.
With the gear restored all its fellow counterparts spring back to life, instantly retracting the once-solid pillar barrier in the center of the chamber. Revealed within is your prize - the Spider Ball! Clutched within the hands of a millennia-old Chozo statue, step down and claim your final Morph Ball upgrade (sorry, no Power Bombs this time).
With plenty of Spider Ball tracks now accessible out in the wild and no visible exit from this elaborate engine room, the statue's platform slides open to reveal a handy exit below. Take your leave and climb down the opening. Climb down among the thick pipes to locate a cozy chamber bearing a single tiny exit. Roll through here to discover the open-air lower region of the Powerworks, handily covered in Spider Ball tracks. Hold Z to attach to the magnetic rails, and don't let go. Make your way across the region, taking care and employing patience around hazardous active flame exhaust vents.
Hold on tight.
Eventually you'll reach the safety of solid ground tucked higher in the pod. But before climbing up the vertical track beside the rotating turbine, look for a nearby track leading back outside the perilous drop. Follow it along and use the Boost Ball to propel yourself along disconnected tracks; beyond here lies Missile Expansion ST.09. Grab the well-hidden power-up and return to the balcony high above. Stand up and scan one of the Spider Ball tracks for your Logbook before taking a trip up the vertical shaft.
Use the Boost Ball again to travel along the disconnected tracks, and follow the narrow tunnel high above to return safely to the entrance of the region. Step back outside to the Powerworks Access corridor and return to Zipline Station Charlie. Now we have to find some way back the main Junction, thanks to the now-offline Zipline Cable here.
See the hovering platform over on the right nearby? That looks just about right for a Screw Attack leap, so engage your flying ability and leap over to safety. Climb aboard the elongated platform beside it to find a very convenient Spider Ball track leading skyward. Climb up the thin structure and enjoy the grand view along the way. Use the Boost Ball again to cross disconnected tracks, and take care boosting between the active energy electrical nodes high above the Zipline Cable.

The views never get old no matter where you are.
As you pass through the first set of electrical nodes, be sure to double bomb-jump your way up to a circular Spider Ball track where Energy Tank ST.04 enjoys a magnificent view. Keep moving along the twisting tracks to eventually find yourself touching down on solid ground; from here simply Screw Attack back to the Junction's pod safely.
Step inside - there's a couple more items to be found here on SkyTown before we leave. Travel north to the Hoverplat Docking Site and carefully Screw Attack across the wide open air to reach the precariously floating platforms (four long jumps should do the trick). Reach the central cluster of platforms and watch out for a lone Phaazoid lulling about, be sure to destroy this one and eliminate the emerging Red Phaazoid to receive a bonus gold credit.
With your position clear, climb up the nearby twisting Spider Ball tracks and follow the network along to ultimately discover Ship Missile Expansion ST.02. Touch down safely on the far end of the network and be sure to fire at the nearby Databot here to scan the Invader lore entry. This one documented the arrival of Space Pirates shortly after the Leviathan made landfall, and their efforts to attack SkyTown's facilities and build the Leviathan's protective shield.
Hunt Red Phaazoids for bonus credits.
The Elysians also apparently discovered that each Pirate trooper's Phazon corruption literally sustained the being's life, driving it and directing its will - but we already know now why that is. Turn around and look down off the northern side of the platform - ironic to see the Leviathan now reduced to nothing more than a petrified rock.
Before returning to the Junction chamber and ultimately your ship, take a quick trip to the Steambot Barracks pod structure at the far end of this region. Step inside and use the Boost Ball on the elaborate half-pipe to reach the apex of the region. Step around to the active lift and climb inside the narrow chute in the wall ahead. Climb through here and use the Spider Ball at the far end to reach Missile Expansion ST.10 tucked away in a corner (you passed by this item on your first trip through the Steambot Barracks).
Well, that's it for the main SkyTown region, we've now completely cleared out all the pickups here. Feel free to pay Aurora 217 a visit (notice its image now displays on all the holographic panels decorating SkyTown), but you'll discover it busy crunching new data within its now-obscure AU tank.
Chapters:
- GFS Olympus
- Meet the Hunters
- The Liberation of Norion
- Heroes Corrupted
- A Broken World Ravaged by War
- The Deadly Phazon Threat
- A Fallen ally
- Samus' Gunship on the Frontlines
- Disabling a Leviathan's shield
- Heart of the Phazon Corrupter
- Chozo Paradise Among the Clouds
- Restoring Aurora Unit 217
- Hunting the Rogue Machine
- Uncovering Bryyo's Secrets
- Ghost Ship
- The tip of the SkyTown Iceberg
- Piecing together the Leviathan's Bane
- The Metroids Arrive
- Save the Second Chozo World
- The Pirate's Homeworld Unveiled
- Rescue operations in Enemy Territory
- The Final Chozo Gift
- Repositories of Chozo and Pirate Worlds
- Phazon Mines Part 2
- Breaking out the Heavy Weaponry
- Storming Pirate Command
- Join the Federation's Leviathan Strike
- Return to Norion
- Excavation of the Bryyo Ruins
- Bryyo's Final Bow
- Charting out the Ruined Valhalla
- Aurora 313's Final Message
- Ridley's Final Phazon Fight
- Opening the Wormhole
- The Source of the Poison
- The Masters of Phaaze